
Installing an access riser is one of the smartest investments a homeowner can make for their property, as it eliminates the need for expensive, labor-intensive digging every time your system requires maintenance. When searching for the best septic riser kits, you’ll find that total installation costs typically range from $400 to $1,200, depending on the depth of your tank and the specific materials chosen. These kits simplify the process of reaching your tank’s inspection ports, allowing for easier pumping, routine inspections, and emergency access. By bringing the access point to ground level, you ensure that your system remains compliant with local regulations while saving significant money on excavation labor fees over the lifespan of your septic infrastructure.
Key Takeaways
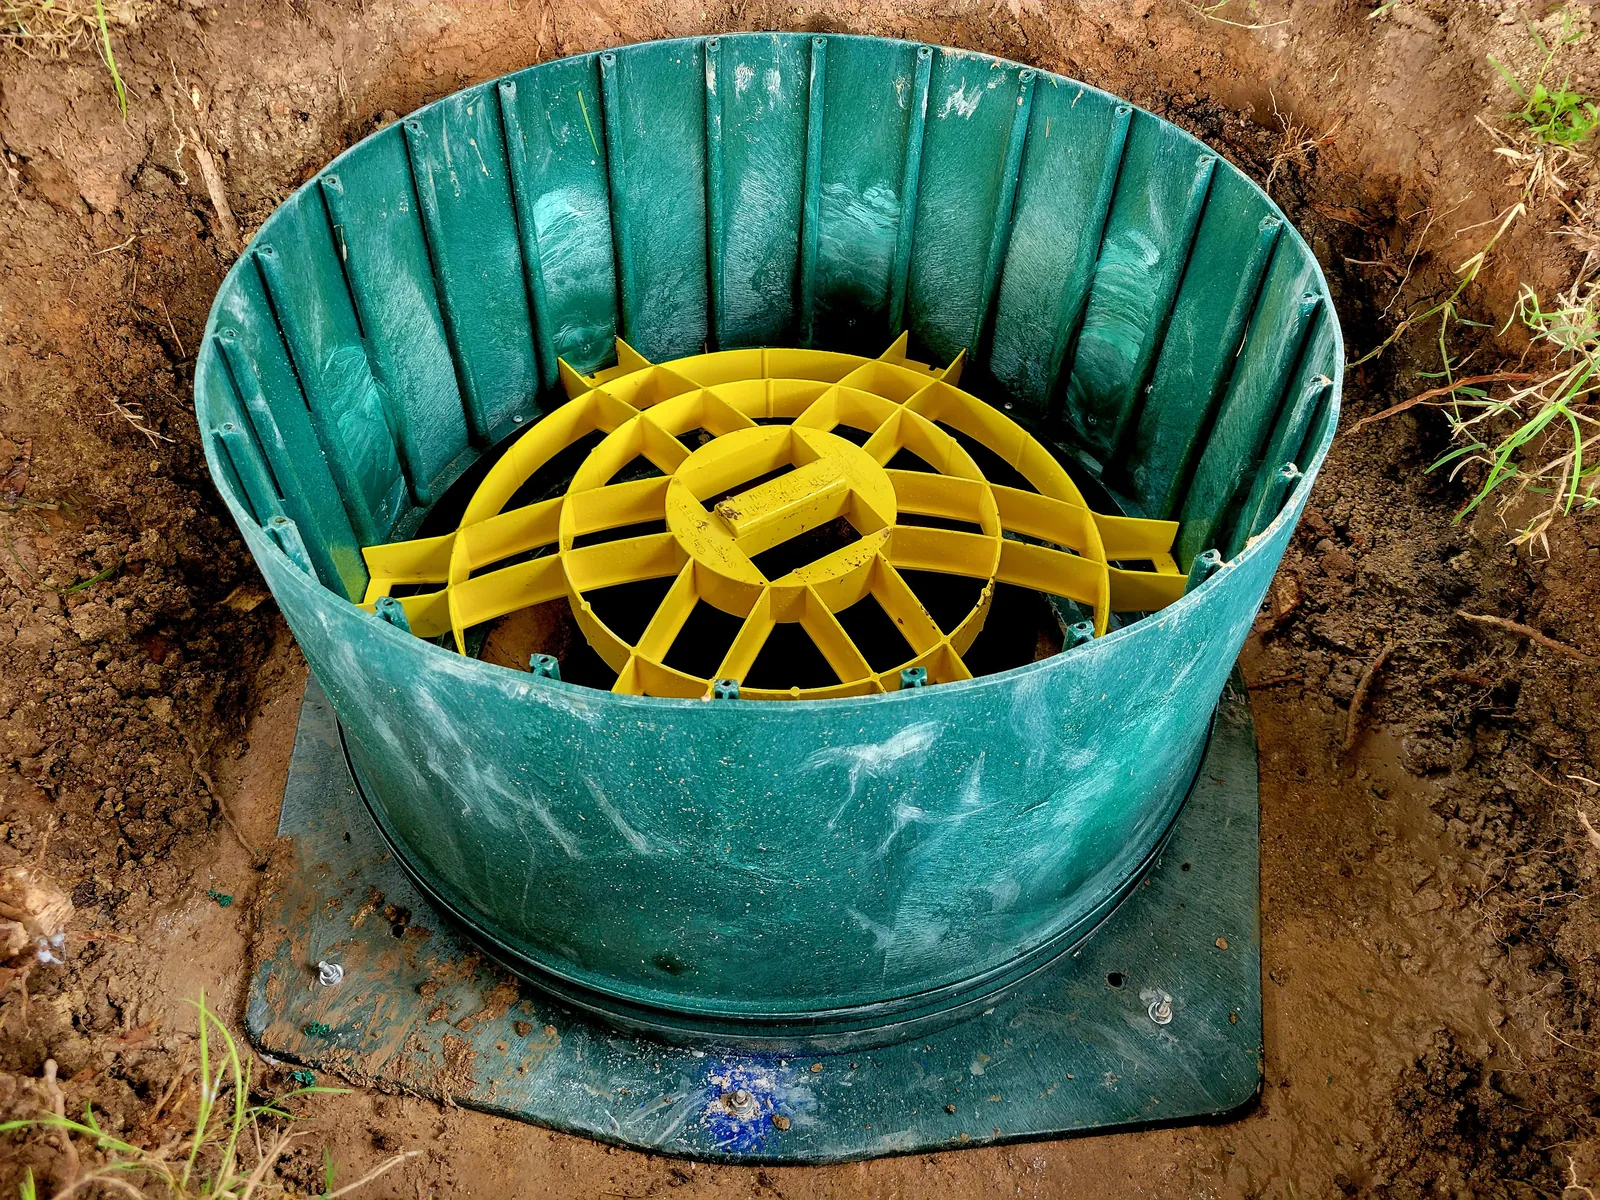
- Measure your tank opening diameter accurately before purchasing, as standard sizes range from 12 to 30 inches.
- Prioritize kits made from high-density polyethylene or durable concrete to ensure long-term resistance to soil pressure and moisture.
- Check your local jurisdiction’s health department guidelines, as some regions mandate specific riser heights or locking lid mechanisms.
- Always use professional-grade butyl sealant or specialized gaskets to prevent groundwater infiltration, which can overload your drain field.
- Consider a “stackable” modular design if you anticipate needing to adjust the height of the riser as your landscaping grade changes over time.
Why Do You Need A Riser?
The primary purpose of a septic riser is to bring the access manhole of your underground tank to the surface. Without one, you must locate the tank by probing the soil, digging a large hole, and then backfilling it once the work is finished. This process isn’t only physically demanding but also destroys your lawn and landscaping. By installing a riser, you create a permanent, accessible portal that stays flush with or slightly above the ground.
Maintenance efficiency is the most significant benefit. When a septic pumper arrives, they can immediately open the lid and begin their work without searching for the tank or digging up your yard. This reduces the time the technician spends on-site, which often leads to lower service fees. Furthermore, having an accessible riser allows you to perform visual inspections yourself, helping you identify potential issues like high water levels or blockages before they become catastrophic system failures.
Choosing The Right Materials
When evaluating different kits, you’ll encounter two primary material categories: plastic and concrete. Each has distinct advantages depending on your specific soil conditions and budget.
- High-Density Polyethylene (HDPE): These are the most popular choices for modern residential systems. They’re lightweight, relatively easy to install, and highly resistant to chemical corrosion from septic gases.
- Concrete Risers: While heavier and more labor-intensive to install, concrete risers are extremely durable and blend well with older, traditional systems. They’re often preferred in areas with heavy vehicle traffic where a plastic lid might be crushed.
- Composite/Fiberglass: These offer a middle ground, providing the strength of concrete with the lighter weight of plastic. They’re excellent for deep installations where structural integrity is paramount.
Material durability is critical because the riser must withstand the weight of the soil above it and the constant freeze-thaw cycles of the ground. Always ensure the lid is UV-protected if it will be exposed to sunlight, as cheaper plastics can become brittle and crack over several years.
Comparing Riser Kit Options
| Feature | Plastic (HDPE) Kits | Concrete Risers | Composite Kits |
|---|---|---|---|
| Ease of Install | High (Lightweight) | Low (Requires heavy lifting) | Moderate |
| Cost Range | $300 – $700 | $200 – $600 | $400 – $900 |
| Durability | Excellent | Superior | Very Good |
| Seal Integrity | High (Gasketed) | Moderate (Mortar needed) | High |
How To Measure Your Tank
Before you commit to a purchase, you must verify the dimensions of your existing tank opening. Most septic tanks have circular manholes, but some older designs use rectangular or square openings. If your tank has an unusual shape, you may need a custom adapter flange.
Accurate measurements are non-negotiable. Measure the diameter of the opening from the inside edge to the inside edge. If the opening has a raised lip or a cast-in flange, make sure the kit you select is compatible with that specific geometry. Some manufacturers offer universal adapter rings that bridge the gap between different tank manufacturers and their riser kits.
Warning: Never enter a septic tank to measure from the inside. The gases inside a septic tank are toxic and can be fatal. Always perform measurements from the surface using a tape measure or a long stick, and keep your head well away from the opening while it’s uncovered.
Safety And Regulatory Compliance
Every state and county has specific codes regarding septic systems. The United States Environmental Protection Agency emphasizes that proper maintenance and accessible components are vital for protecting groundwater quality and preventing the spread of contaminants. You must contact your local building or health department before starting your installation to see if they require a permit or specific safety features.
One common requirement is the use of tamper-resistant fasteners. Because these risers bring access to the surface, they pose a safety risk to small children or pets if left unlocked. Ensure the kit you buy includes a heavy-duty lid with stainless steel screws or a locking mechanism that requires a specialized tool to open.
Step-By-Step Installation Overview
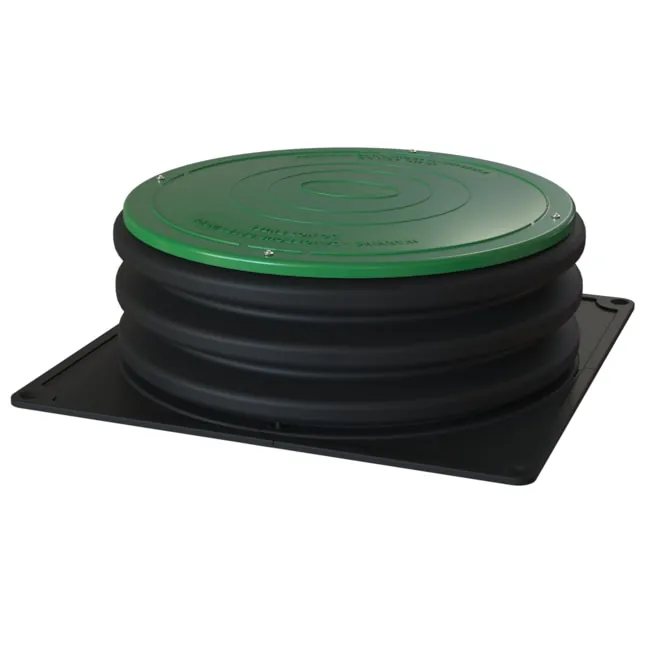
Installing a riser is a project that many capable DIY enthusiasts can handle, though it does require significant digging. Always call your local utility location service—often reached by dialing 811—at least three days before you start digging to ensure you don’t strike any underground electrical, gas, or water lines.
- Locate and Expose: Dig around the perimeter of the tank lid until the entire top surface is visible.
- Clean the Surface: Remove all dirt, moss, and debris from the area where the riser will be attached to ensure a watertight seal.
- Leveling: Use a level to ensure the riser base is perfectly horizontal. If the tank top is uneven, you may need to use a leveling compound or a specialized flange.
- Sealant Application: Apply a thick bead of butyl sealant or the manufacturer-provided gasket between the tank and the riser base.
- Secure the Riser: Bolt the riser base to the tank using the provided anchors.
- Backfill: Carefully pack soil around the exterior of the riser to stabilize it.
Proper sealing is the most important step in the entire process. If the connection between the tank and the riser isn’t airtight and watertight, rainwater can seep into your septic system. This extra water—known as inflow and infiltration—can overwhelm your drain field and lead to premature system failure.
The Importance Of Proper Sealing
The integrity of your riser system depends entirely on the quality of the seal. Over time, ground movement and frost heave can cause minor shifts in the soil. A flexible seal, such as a high-quality butyl rope or a thick rubber gasket, is far superior to rigid cement or mortar, which will inevitably crack under pressure.
When choosing your kit, look for watertight seals that are specifically rated for underground use. If you’re installing a plastic riser on a concrete tank, the expansion and contraction rates of the two materials will differ during temperature changes. A flexible sealant will accommodate this movement, whereas a rigid adhesive will eventually separate, creating a path for surface water to enter the tank.
Troubleshooting Common Riser Issues
Even with high-quality kits, problems can arise. If you notice your riser is leaking or has become unstable, address the issue immediately to prevent environmental contamination.
- Loose Lids: If the lid doesn’t fit snugly, it may allow odors to escape. Check if the gasket is worn or if the fasteners are stripped.
- Riser Tilting: This usually occurs due to poor backfilling. If the ground around the riser isn’t compacted correctly, the riser can lean over time. You may need to excavate around the base, straighten the unit, and add compacted gravel to provide a better foundation.
- Odor Problems: If you smell sewage near the riser, check the seal between the riser base and the tank. If the seal is intact, ensure the lid is airtight. Some risers come with a secondary internal lid that provides an extra layer of odor protection.
Selecting The Best Brands
When shopping for riser kits, look for established manufacturers that provide clear installation instructions and readily available replacement parts. Some of the most highly regarded brands in the industry include:
- Polylok: Known for their modular, stackable designs that are very easy to customize to the exact height needed.
- Tuf-Tite: Offers a wide range of riser sizes and high-quality, injection-molded components that are built to last.
- Norwesco: A major player in the tank industry that produces robust, reliable riser systems compatible with most standard residential tanks.
- Roth: Often used for their specialized, high-durability plastic components that are designed to withstand extreme environmental conditions.
Brand reliability is important because you want a system that will be supported for years to come. If a lid breaks five years from now, you want to be able to order a replacement that fits perfectly without having to replace the entire riser assembly.
Comparison Of Riser Lid Types
| Lid Type | Best Use Case | Safety Level |
|---|---|---|
| Standard Plastic | Non-traffic areas, garden beds | Moderate |
| Heavy-Duty Plastic | High-traffic areas (pedestrian) | High |
| Concrete/Stone | Aesthetic integration with landscape | High |
| Traffic-Rated | Driveways or gravel paths | Maximum |
Frequent Maintenance Tips
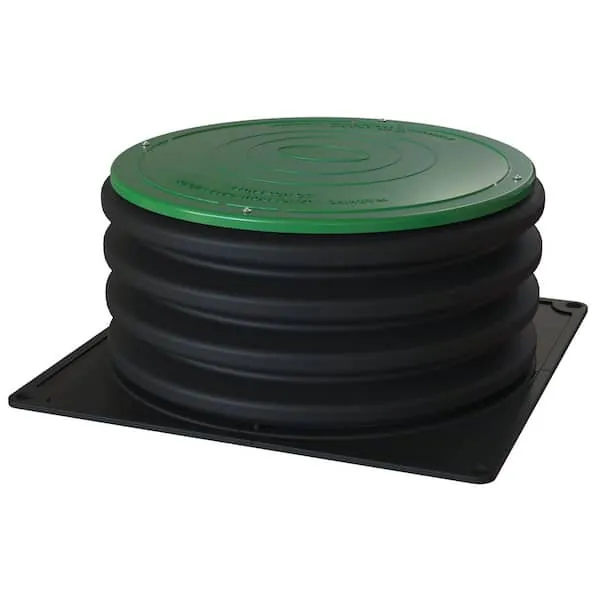
Once your riser is installed, your maintenance routine becomes much simpler. However, you should still perform a few tasks annually to ensure everything remains in top condition.
- Check Fasteners: Every year, inspect the screws or bolts holding the lid in place. Ensure they aren’t rusting and that they’re tightened securely.
- Clear Debris: Keep the area around the riser free of heavy mulch, leaves, or thick vegetation that could trap moisture against the riser walls.
- Visual Inspection: During the dry season, check the perimeter of the riser for any signs of sinking or soil erosion. A little bit of maintenance today prevents a massive repair bill tomorrow.
Pro Tip: If you’re worried about the aesthetics of a plastic riser lid, you can purchase a decorative faux-rock cover that sits over the top of the riser. This allows you to hide the access point within your landscaping while still maintaining quick, easy access for the septic pumper.
Related guides
- TF-100 vs K-2006: Which Pool Test Kit Is Right for You in 2026
- 9 Best Robotic Pool Cleaners for Automated Maintenance in 2026
- Taylor TF 100 vs TF Pro: Which Test Kit Is Right for You in 2026
Frequently Asked Questions
Do I need a permit to install a septic riser?
In most jurisdictions, you do need a permit to modify your septic system, even for something as minor as a riser. Regulations vary significantly by county, so contact your local environmental health department before purchasing a kit. They can confirm if you’re required to use specific materials or if a professional installer must sign off on the work to ensure compliance with health codes.
Can I drive over a plastic septic riser?
Standard plastic risers aren’t designed to support the weight of a vehicle. If your septic tank is located in a driveway or a path where cars might park, you must use a traffic-rated riser kit that includes a reinforced heavy-duty lid and a concrete collar to distribute the weight. Installing a standard kit in a traffic area will almost certainly result in the riser being crushed.
How deep can a riser be installed?
Most modular riser systems can be stacked to reach depths of several feet. However, the deeper the riser, the more important it’s to ensure the base is securely anchored to the tank. If you need to go deeper than three feet, it’s highly recommended to consult with a professional, as the lateral soil pressure on the riser walls increases significantly with depth.
What should I do if my riser lid is stuck?
If the lid has been in place for a long time, the gasket may have become compressed or stuck to the riser base. Try using a gentle prying tool, such as a flathead screwdriver or a pry bar, to break the seal. Avoid using extreme force, as this could crack the plastic. If it remains stuck, lubricating the edge of the lid with a silicone-based spray can help loosen the connection.
Can I install a riser on an old concrete tank?
Yes, you can install a riser on an older concrete tank, but it requires careful preparation. You must ensure the top surface of the tank is clean and level before installing the base. If the concrete is crumbling or severely degraded around the opening, you may need to patch it with a high-strength concrete repair compound before attempting to mount the riser, or the seal won’t hold.
Conclusion
The next step in your project should be to locate your septic tank’s “as-built” drawing at your local county health department office. This document will provide the exact dimensions and location of your tank, ensuring you purchase the correct riser diameter. Once you have those specifications, you can confidently order your kit and begin planning your installation.