
Yes, you can cook pizza in a camping oven as long as you maintain a consistent temperature and use a stone or heavy tray to manage heat distribution. Most portable stoves reach the necessary heat for a crust, but success depends entirely on the specific heat output of your stove and the insulation of the oven box.
Different models perform differently based on their fuel source, whether propane or butane, and how well they retain heat. You’ll need to account for outside air temperature and wind, as these external factors change the cooking time and fuel consumption significantly.
Can I cook pizza in a camping oven? Choosing the best model
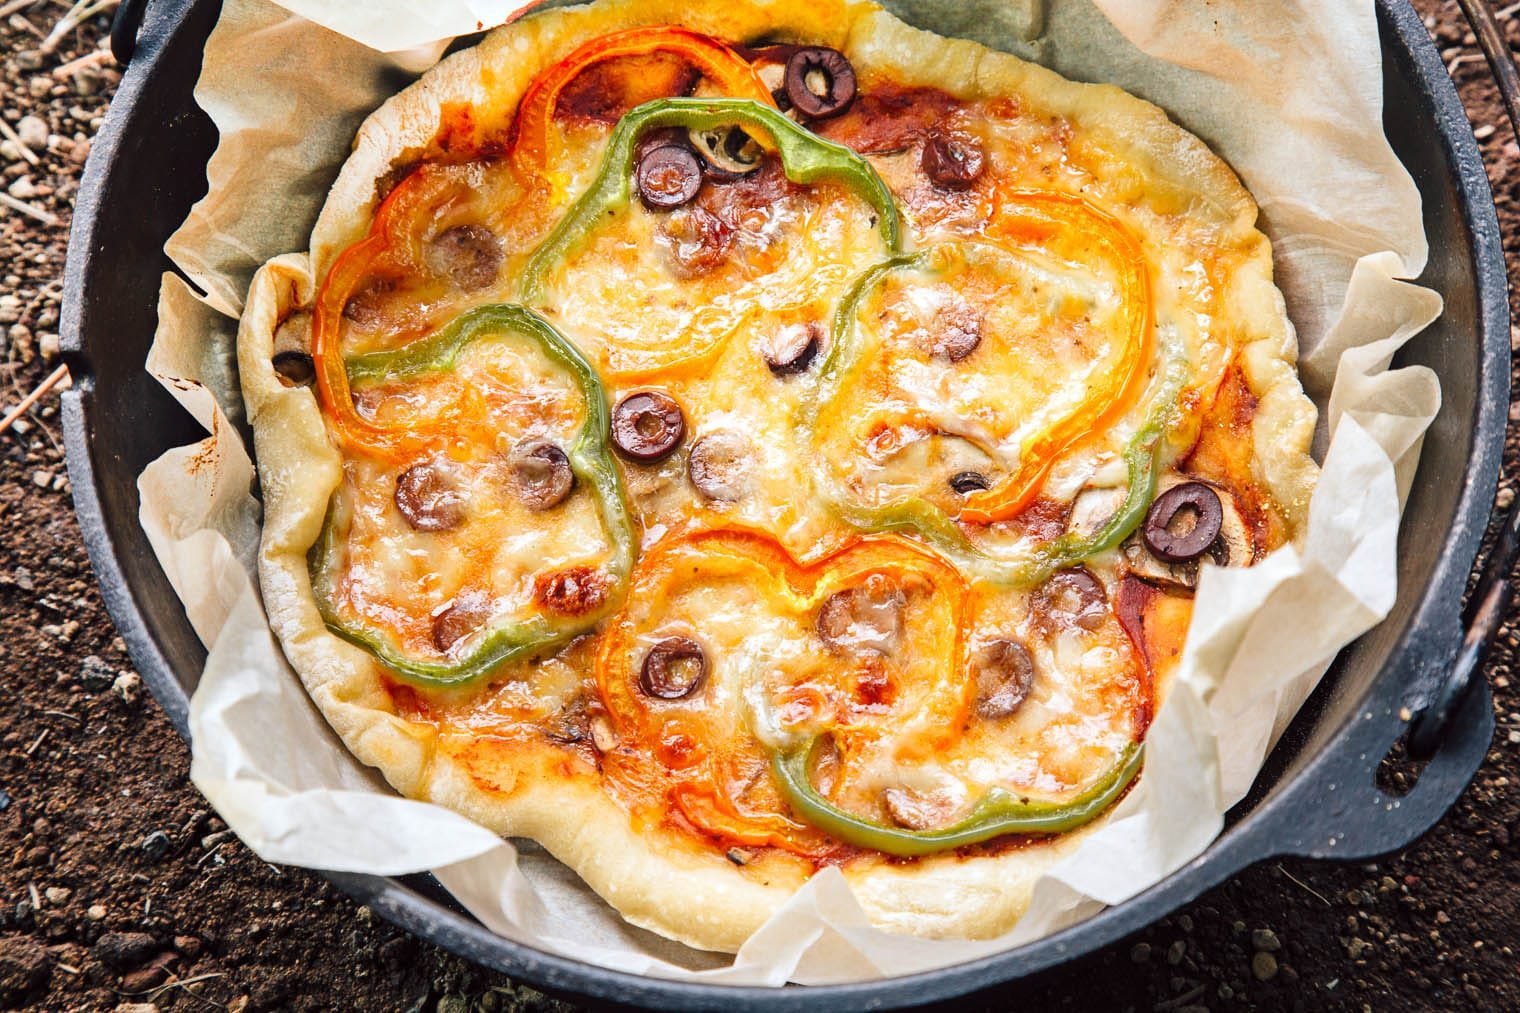
Choosing the right equipment is the first step toward a crisp crust. A camping oven is typically a metal box that sits on top of a portable stove, using the burner’s flame to heat the internal air.
If you own a fold-flat oven model, you likely have less insulation than a rigid, fixed-wall unit. Models with thick, double-walled metal sides hold heat better, which is crucial for melting cheese without burning the bottom of the dough. Check the label on your specific oven for its maximum temperature rating; many camping units are designed to stay below 400°F to prevent warping the metal. If your stove is a high-output model, you must keep the flame lower than you would for boiling water to avoid scorching the pizza base.
The most common mistake is assuming that all portable stoves deliver even heat. High-BTU burners often create a concentrated hot spot directly in the center of the oven floor. If your flame produces a blue cone longer than an inch, you’re likely to char the center of your crust before the edges finish baking. To fix this, place a heavy-duty cast iron heat diffuser or a small pizza stone between the burner and the oven floor. This simple addition spreads the thermal energy across the entire base.
Use this decision rule to manage your heat: if you’re baking thin-crust pizzas, use a high-heat, short-duration approach with the burner set to medium. If you’re baking thicker doughs or breads, keep the burner on low and extend the bake time by at least ten minutes. You can tell which method you need by the moisture content of your dough. Wetter, stickier doughs require the lower, slower heat setting to ensure the interior cooks through before the exterior turns dark.
Factors that change the outcome
The most important factor is the heat stability of your oven. Unlike home appliances, camping ovens lack heavy thermal mass, meaning the temperature drops the moment you open the door. You should avoid checking the pizza until at least ten minutes have passed, as every opening lets out the heat you need for a proper rise.
The type of pizza dough you use also changes the process. A thin, pre-baked crust needs less time and can handle slightly lower temperatures. If you’re using raw, fresh dough, you need a higher, steady heat to ensure the center cooks through before the bottom burns.
Wind exposure is the mistake most people make. A light breeze can strip heat from the metal walls of the oven, causing the internal temperature to plummet. If you’re cooking in an open area, you must use a wind guard around the base of your stove. This stabilizes the flame and ensures the oven receives consistent energy.
Operating your portable oven
- Place your camping oven on a stable, level stove burner and ensure it’s centered to distribute heat evenly.
- Preheat the oven for 10 to 15 minutes on a medium flame; the temperature is ready when the internal thermometer reads at least 350°F.
- Place a pizza stone or a heavy-duty steel baking sheet inside the oven during the preheat phase to help hold heat.
- Slide your pizza onto the preheated stone using a peel or a flat piece of cardboard.
- Close the door immediately and keep it shut for the first 8 minutes of the cooking process.
- Check the pizza by looking through the window or opening the door quickly; the cheese should be bubbling and the crust should be golden brown.
- Rotate the pizza 180 degrees if you notice one side browning faster than the other.
- Remove the pizza once the crust reaches your desired crispness, which typically takes 12 to 18 minutes depending on the thickness of the dough.
The judgment call here is the bottom crust. If the top looks perfect but the bottom is soft, the stone wasn’t hot enough. If the bottom is black but the cheese isn’t melted, your flame was too high.
Heat and cooking variations
| Situation | Adjustment | Time Requirement | What to watch |
|---|---|---|---|
| Windy conditions | Use wind guard | Add 5 minutes | Uneven browning |
| Thin crust pizza | Medium-low heat | 8-10 minutes | Burnt edges |
| Thick dough base | Medium heat | 15-20 minutes | Doughy center |
| High altitude | Increase heat | Add 10 minutes | Slow rising |
| Frozen pizza | Thaw first | 12-15 minutes | Soggy crust |
Achieving a quality result
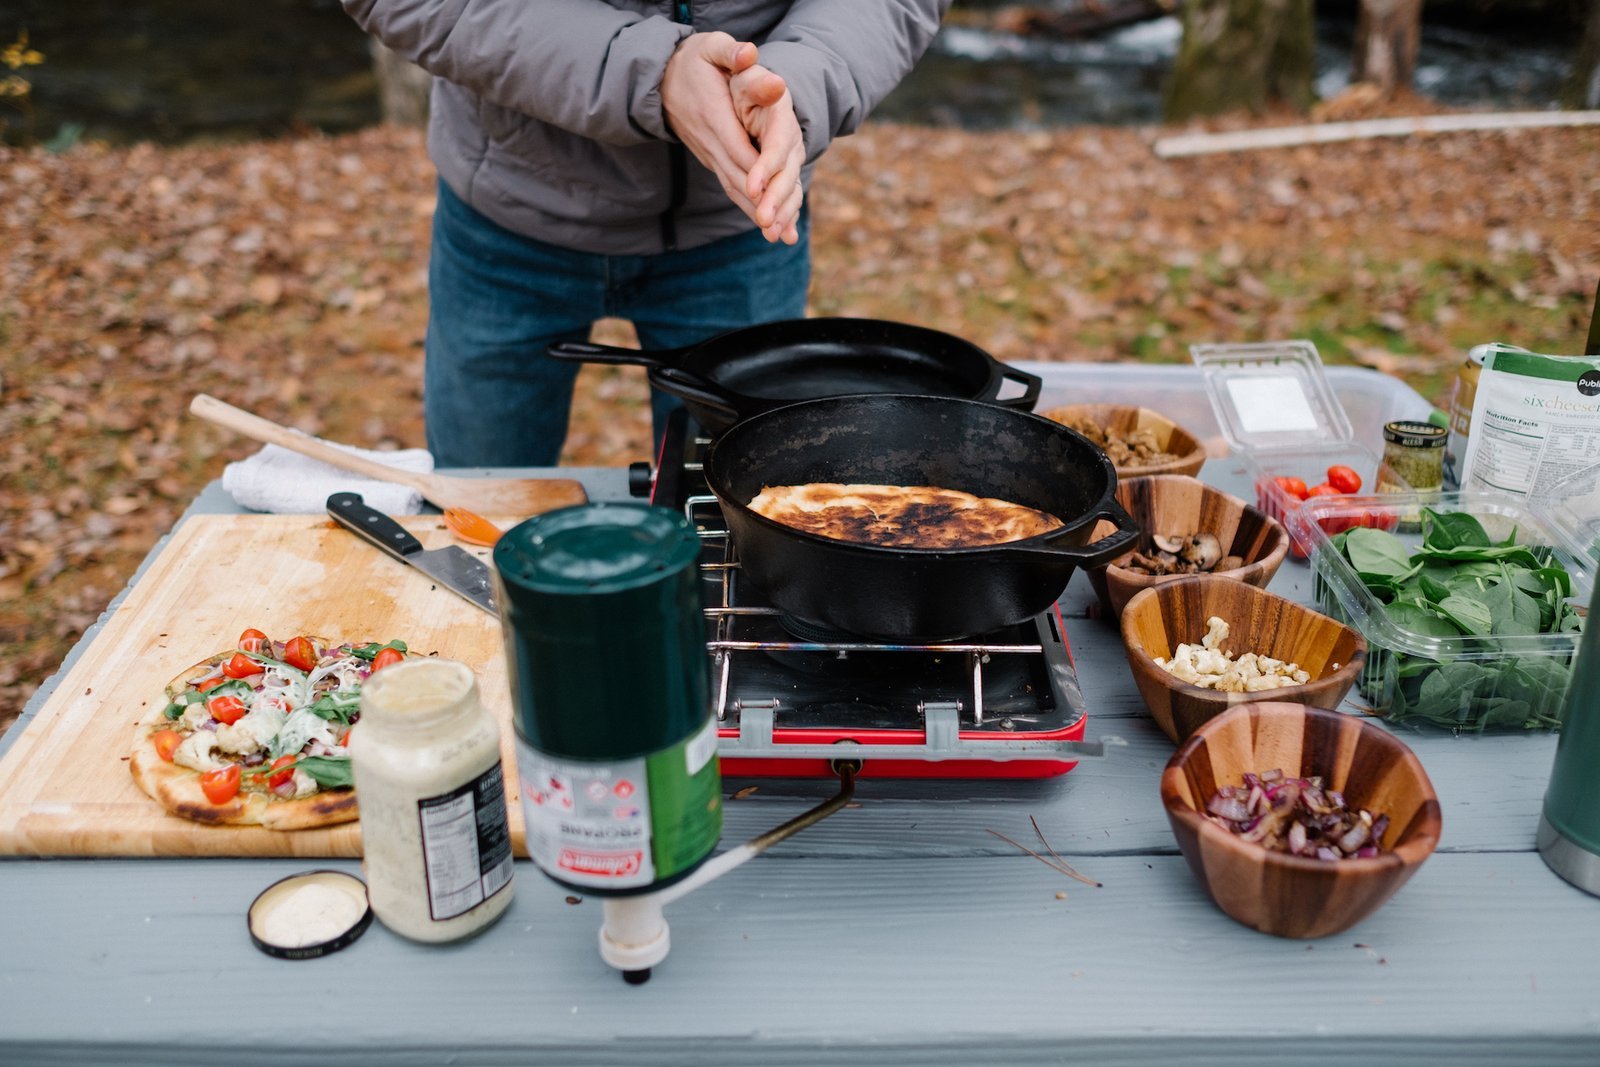
Heat management techniques
Experienced campers know that the oven’s internal thermometer is often inaccurate. Use a portable infrared thermometer pointed at the center of the pizza stone to get an actual reading of the surface temperature. If the stone is below 400°F, you won’t get a crisp crust regardless of how long you leave the pizza inside. Keep the flame at a level that maintains a constant temperature rather than trying to blast it with maximum heat, as this prevents the “cold center, burnt bottom” problem.
Preparation and placement
Prepare your pizza on a piece of parchment paper to make sliding it onto the stone easier. This reduces the time the oven door stays open, preventing a massive drop in internal heat. Once the pizza is in, resist the urge to move it for the first few minutes. Moving it too early can tear the dough if it hasn’t yet set. For safe consumption, cook any meat-based toppings until they reach an internal temperature of 165°F as noted in FoodSafety.gov’s chart for reheated or prepared foods.
Common issues and fixes
| What you notice | What it means | What to do first | How to stop it |
|---|---|---|---|
| Burnt bottom | Heat too high | Lower the flame | Use a thicker stone |
| Raw top | Heat lost | Close the door | Use a wind shield |
| Uneven cooking | Hot spots | Rotate halfway | Use a heat diffuser |
| Soggy crust | Low heat | Increase flame | Preheat stone longer |
| Burnt edges | Too close to wall | Move to center | Use smaller pizza |
Most bakers mistake a burnt bottom for a faulty oven. In reality, the stone has simply reached a temperature that’s too high. Switch to a thinner steel or reduce your preheat time by ten minutes to balance the temperature.
A raw top often signals a lack of ambient heat. If you’re cooking outdoors, a 5-mph breeze can drop your internal oven temperature by nearly 100°F. If the crust sets but the cheese remains cold, stop opening the door to peek. Every opening costs you 30 seconds of recovery time.
Uneven cooking usually stems from the “shadow” effect of the burner. If your pizza is consistently dark on one side, your oven has a dominant heat source. Rotate your pizza 180 degrees exactly when the crust begins to rise. If you wait until the cheese melts, the damage is already done.
Avoid the common mistake of rushing the preheat. Use an infrared thermometer to verify the surface temperature before launching. You can’t rush the stone’s thermal soak.
Regulatory and safety limits
Camping ovens aren’t regulated by the same safety standards as indoor household ranges. This means they lack automatic shut-offs or precise thermal regulation. Never leave the stove unattended while the oven is running, as the exterior metal can exceed 200°F, posing a burn risk to users or nearby gear. If you’re using a propane-powered setup, ensure you’re in a well-ventilated area to prevent carbon monoxide buildup. Never operate these units inside a tent or a confined vehicle, as the risk of fire and toxic gas accumulation is severe. Always check the manufacturer’s manual for your specific oven to see if it’s approved for use with the specific BTU output of your stove, as some ovens will melt if paired with high-output burners.
Managing the cost of cooking
The primary cost of using a camping oven is fuel consumption. A standard 16-ounce propane canister might last 2 to 4 hours on a medium setting. Cooking a pizza takes about 15 minutes of preheating plus 15 minutes of cook time, consuming a significant portion of your fuel supply. If you’re planning to cook multiple pizzas, the cost in fuel adds up quickly.
Compare the price of a single fuel canister at your local hardware store against the number of meals you plan to cook to decide if this method is efficient for your trip.
A common mistake is failing to account for ambient temperature. In windy or cold conditions, your stove must work harder to maintain internal heat, which can slash your burn time by 30 percent. If the temperature drops below 40 degrees Fahrenheit, prioritize wind screens to protect your fuel efficiency.
The decision rule is simple: if you’re stationary for three or more days, the weight of a heavy oven is offset by the quality of meals. If you’re moving camp daily, the effort of hauling the unit and extra fuel canisters outweighs the benefit.
Additionally, the weight of the oven and the stone adds to your pack load, which is a hidden cost in effort if you’re hiking to your site. Carrying a significant amount of extra weight for a single meal is rarely worth the exertion. Always calculate the total weight of the oven plus the fuel required for the entire trip before committing to the gear. If the total weight exceeds ten percent of your base pack weight, leave the oven at home and opt for dehydrated meals.
Maintaining your equipment
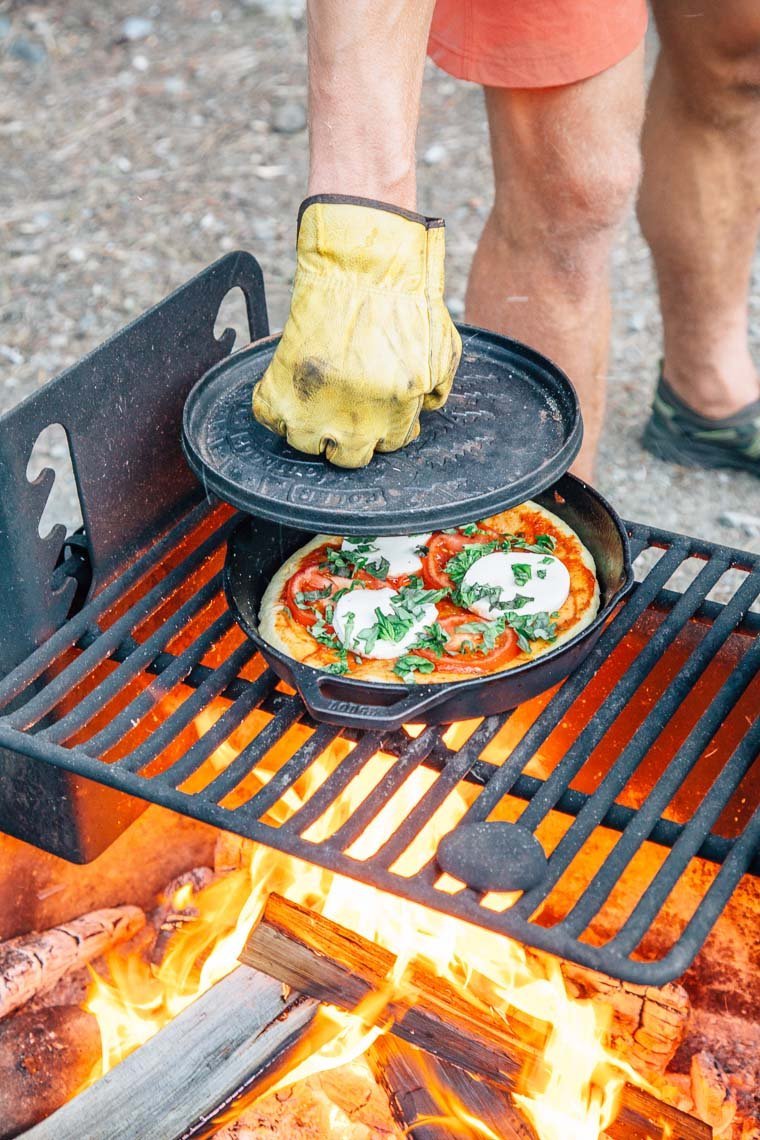
After cooking, wait for the oven and the stone to cool completely before cleaning. Never pour water on a hot stone, as the thermal shock will cause it to crack instantly.
Wipe the interior of the oven with a damp cloth to remove grease, but avoid harsh chemicals that might leave residue. If you use soap, stick to mild, unscented dish detergent. Any chemical lingering on the metal will vaporize and taint the flavor of your next pizza.
If you notice soot buildup on the outside of the oven, use a dry scouring pad to remove it before packing. Soot is porous and acts like a permanent marker; it will rub off onto your other camping gear if left untreated.
Store the oven in a dry bag to prevent rust, especially if you live in a humid climate.
If the door hinge becomes stiff, a small amount of food-grade lubricant can restore smooth movement. Avoid standard household oils, which can turn rancid near high heat. If the hinge remains tight after lubrication, check for debris trapped in the pin.
When to avoid this method
Don’t use a camping oven if you’re cooking during a fire ban or in high-wind conditions where the stove flame can’t be fully shielded. If you’re using a liquid fuel stove that’s difficult to regulate, this method is also the wrong choice, as you risk a flare-up that could ruin the pizza or damage the oven. In these cases, it’s safer to use a cast-iron skillet directly on the stove with a lid, which offers better control over the heat and requires less specialized equipment. If you aren’t confident in managing a live flame for an extended period, stick to meals that don’t require baking.
Can I use a regular baking sheet instead of a stone?
Yes, you can use a heavy baking sheet, but it won’t hold heat as well as a stone. If you use a thin sheet, the bottom of the pizza may not crisp up, so you should increase the preheat time by five minutes to ensure the metal is fully saturated with heat.
How do I know if the pizza is cooked through?
The pizza is done when the cheese is melted, browned in spots, and the crust is firm to the touch. You can lift one edge with a spatula to check that the bottom is golden brown, which is the most reliable sign of a finished crust in a portable oven.
Is it safe to cook pizza in a tent?
No, it’s never safe to operate a camping oven or stove inside a tent. The risk of fire, carbon monoxide poisoning, and melting synthetic tent fabric is extremely high, and you should always cook on a stable, non-flammable surface at least ten feet away from your shelter.
How long does a pizza take to cook?
It takes about 12 to 18 minutes to cook a pizza in a camping oven. This assumes a preheated oven at 350°F to 400°F; if your stove is lower power, you’ll need to add about 5 minutes to the total time and check the crust color frequently.
Why is my pizza burnt on the bottom but raw on top?
This happens because the heat source is too close to the bottom of the oven. You can fix this by placing a heat diffuser or a second tray between the burner and the oven floor to spread the heat out more evenly across the entire surface.
Does the type of fuel affect the cooking time?
Yes, propane and butane have different heat outputs, which changes the cooking time. Propane generally provides more consistent heat in cold weather, while butane may struggle; if you’re using butane in cold temperatures, add 5 to 10 minutes to your estimated cooking time to account for lower burner efficiency.
Start by setting up your stove in a wind-protected area and preheating the oven with a stone inside. You’ll know the setup is ready when the internal temperature reaches the target range, at which point you can slide in the pizza. Stop cooking and seek help if you notice any unusual gas smells, flickering flames, or if the oven casing begins to deform from the heat.