
Oatey plumbers putty is the industry standard for sealing joints in drains and strainers because it stays flexible for years without drying out or cracking. While many brands exist, a reliable, non-staining oil-based compound is the best plumbers putty for most household sink and basin repairs. This guide explains how to select the right material, prepare your surfaces, and apply the sealant to ensure a watertight bond that lasts through years of daily use.
How to choose the right plumbers putty
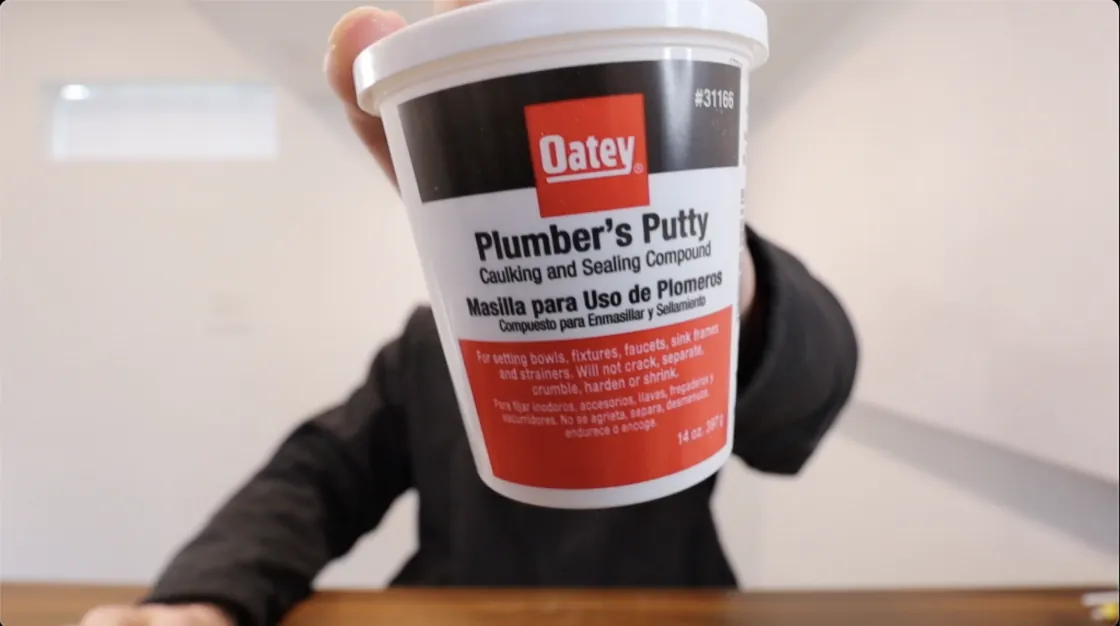
Plumbers putty is a soft, pliable, dough-like substance used to create a watertight seal between plumbing fixtures and drain components. It’s primarily used for setting sink strainers, shower drains, and toilet flanges where the seal isn’t under constant water pressure. This material is designed to remain soft, which allows it to compensate for small movements or temperature changes that might otherwise break a rigid seal.
The most common misconception about this product is that it functions like an adhesive or a glue. It doesn’t bond materials together permanently, nor is it meant to stop pressurized leaks inside pipes. It’s a compression-based sealant that works by being squeezed between two hard surfaces. If you attempt to use it for high-pressure applications, such as inside a supply line, the force of the water will push the putty out of the joint, leading to immediate failure.
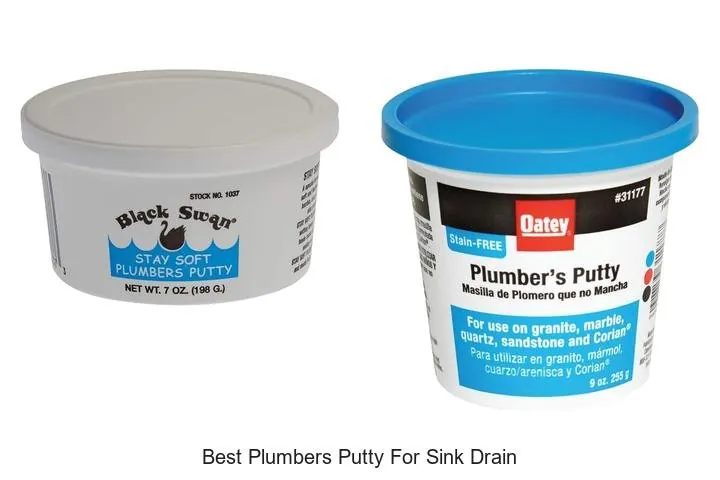
Always check the label before use, especially when working with natural stone like marble or granite. Standard oil-based putties can leach oils into porous stone, causing permanent staining. If you’re working with stone, you must use a stain-free plumbers putty specifically formulated to avoid these issues. If you’re unsure about your material, test a small, hidden area first to see if the oils leave a mark.
Applying the sealant correctly
- Clean the surface thoroughly with a rag and denatured alcohol to remove all old putty, grease, and debris.
- Take a golf-ball-sized amount of putty and roll it between your palms to create a long, thin rope about 1/4 inch thick.
- Wrap the rope of putty around the underside of the drain flange or strainer, making sure the ends overlap slightly.
- Press the fixture firmly into the sink opening, ensuring the putty is evenly distributed around the entire circumference.
- Tighten the locknut from underneath the sink, but don’t overtighten, as this will squeeze all the sealant out from under the flange.
- Wipe away the excess putty that squirts out around the edges with a clean cloth.
The judgement call that determines success is the amount of pressure you apply while tightening the nut. If you tighten it too much, the flange sits metal-to-metal against the sink, leaving no putty to create the seal. If you leave it too loose, water will seep through the gaps. You want to tighten just until you feel firm resistance, then give the nut one extra quarter-turn.
Essential figures and settings
| Situation | What to use | How long | What to watch for |
|---|---|---|---|
| Stainless steel sinks | Standard oil-based putty | Lifetime of joint | Excess squeezing out |
| Marble or granite | Stain-free formula | Lifetime of joint | Dark oily spots |
| Plastic strainers | Silicone-based sealant | Immediate | Compatibility with ABS |
| Toilet flanges | Wax ring | Until replacement | Proper compression |
| Outdoor drains | Exterior grade caulk | 24 hours cure | UV degradation |
Standard oil-based putty creates a flexible, watertight seal for steel, but it will leach oils into porous stone. If you’re installing a marble or granite vanity, use a stain-free, water-based putty to avoid permanent discoloration. You can tell if you have the wrong product by checking the label for “non-staining” properties; if it lacks this, don’t risk it on natural stone.
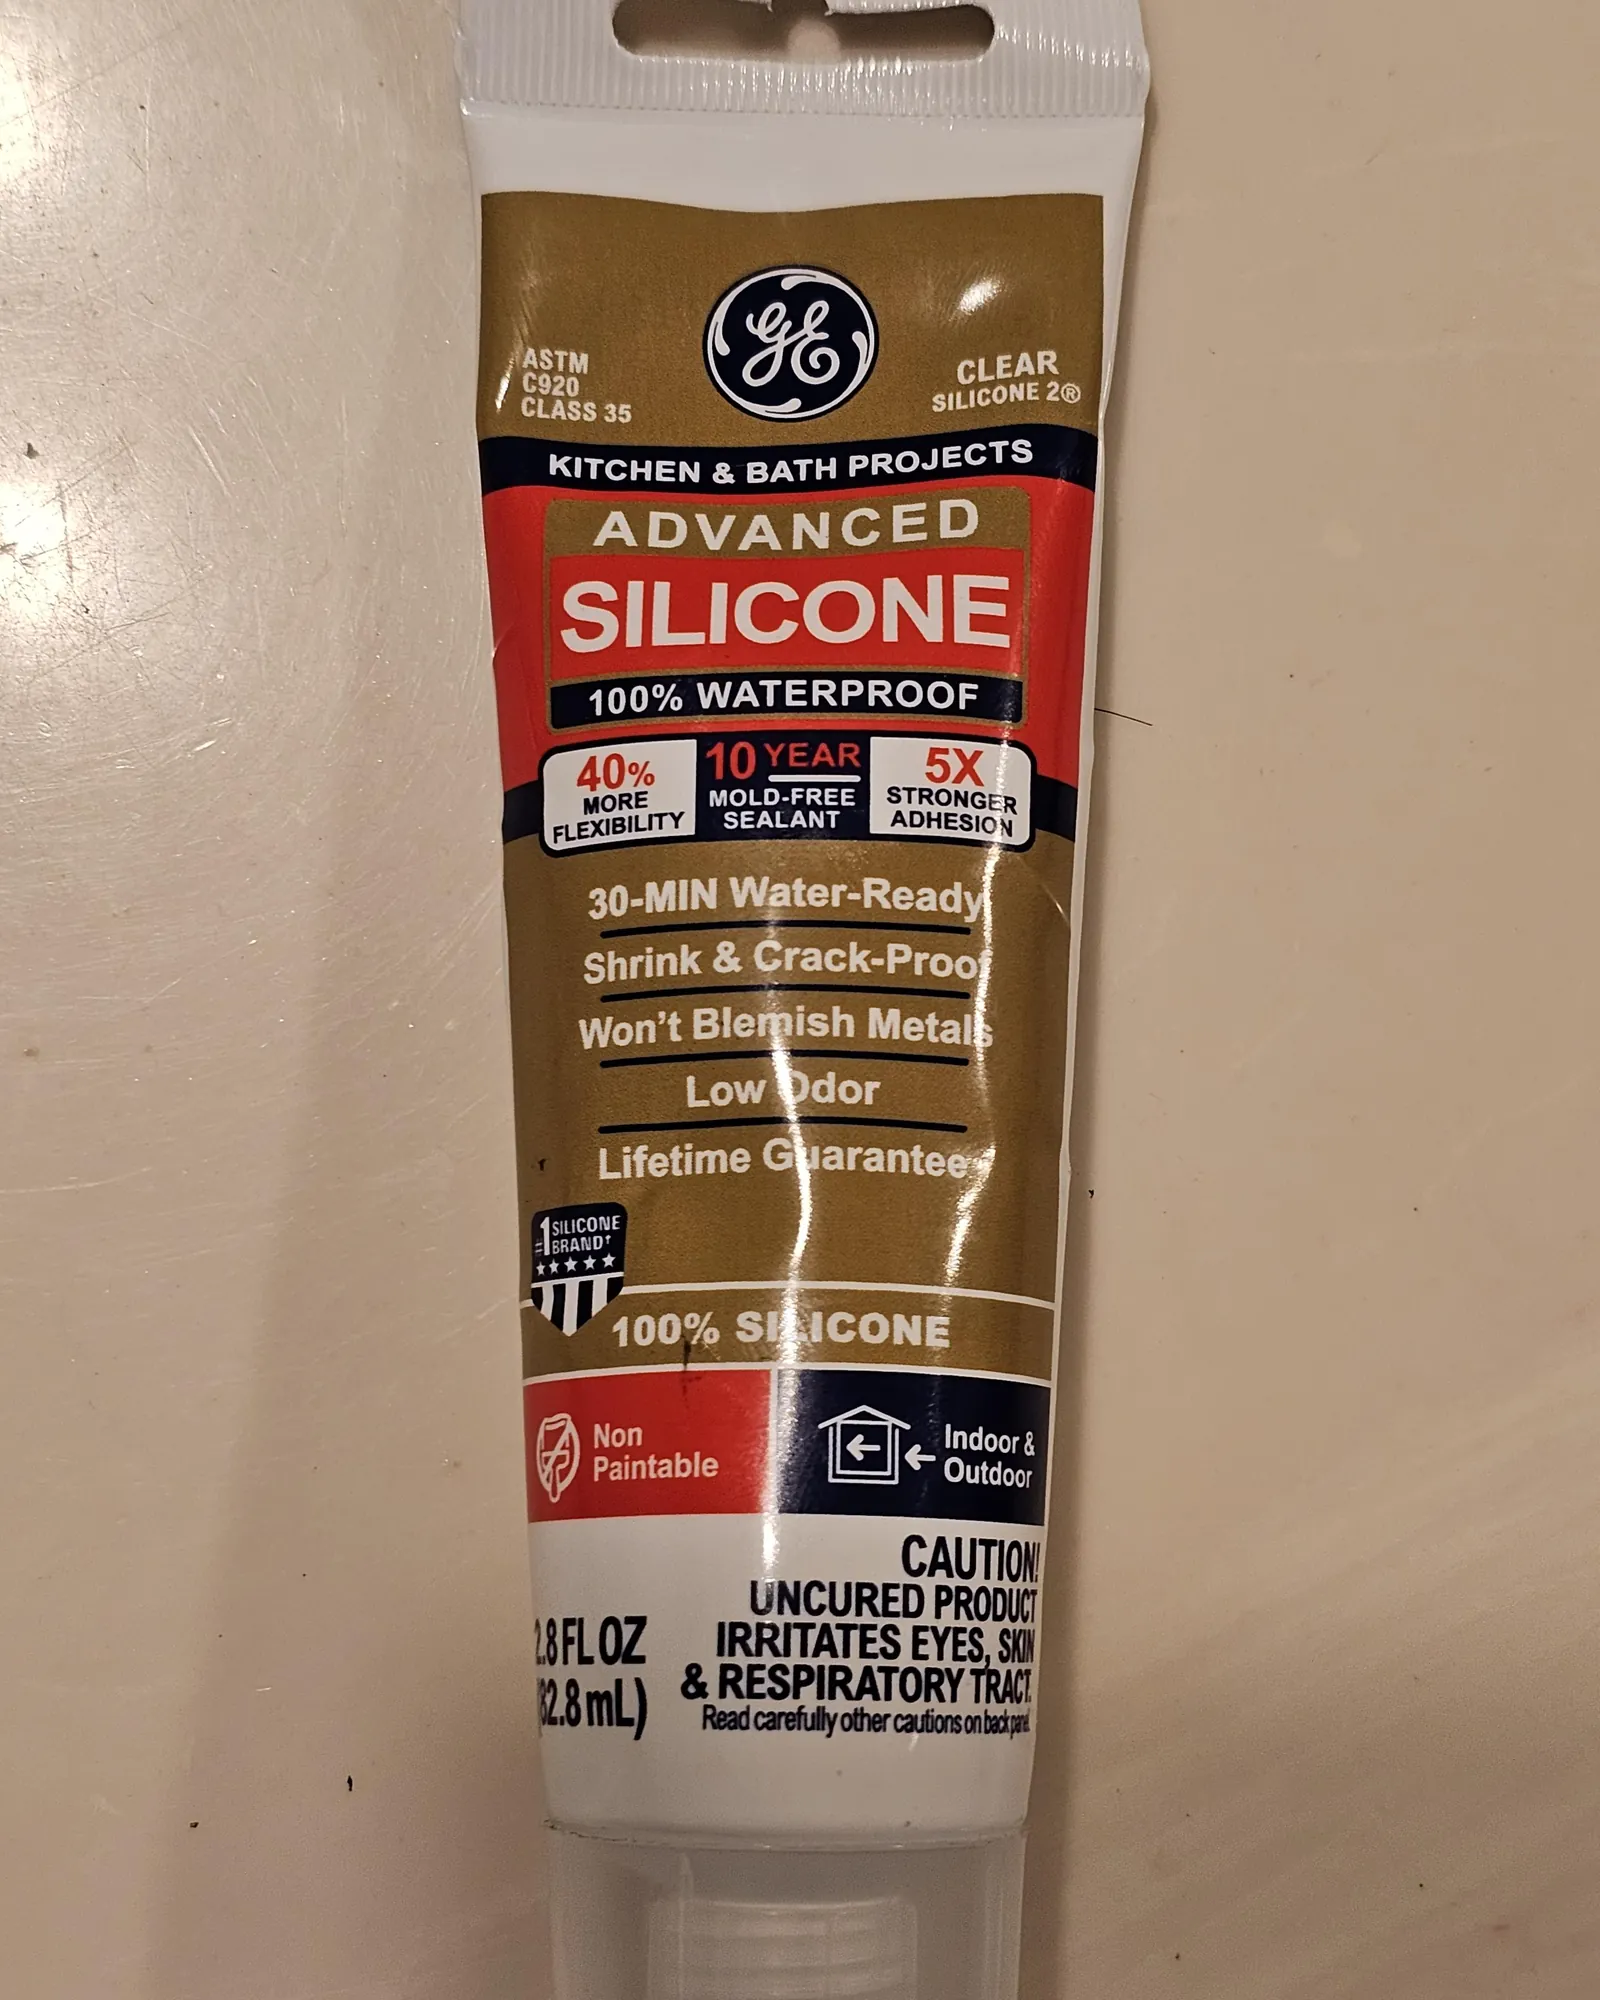
Plastic strainers often react poorly to oil-based putties, which can cause the material to crack or warp over time. Use a 100% silicone sealant instead. If the plastic is ABS, check the tube to ensure it’s rated for synthetic materials. A common mistake is applying too much silicone, which creates a messy bead that’s difficult to remove once cured. Apply a thin, consistent line to ensure a clean finish.
For toilet flanges, the wax ring must be compressed by the weight of the toilet itself. If the flange sits below the finished floor level, use an extra-thick wax ring or a plastic flange extender. Failing to achieve a tight seal leads to slow leaks that rot subflooring, which often goes unnoticed until the floor feels soft underfoot.
Outdoor drains require exterior-grade caulk specifically formulated to withstand temperature swings. If you use interior caulk, the sun’s UV rays will cause the material to become brittle and crack within one season. Always wait the full 24 hours for a cure before allowing water to flow through the drain. If you live in a region with heavy rainfall, look for products labeled for “submerged applications” to ensure the bond holds during storms.
Achieving a professional finish
Experienced professionals prioritize surface preparation above all else. If you leave even a small piece of old, hardened putty on the sink surface, the new material won’t form a continuous ring. This gap acts as a channel for water to escape. Always use a plastic putty knife or a fingernail to clear the drain opening before you begin the application process.
The sequence of your work also matters significantly. Beginners often try to apply the putty directly to the sink drain opening, but this makes it difficult to center the fixture. Instead, apply the putty to the underside of the strainer flange while it’s in your hands. This allows you to create a perfect circle and verify the thickness of your bead before the part ever touches the sink.
Partway through the tightening process, check the underside of the sink. You should see a small, consistent amount of putty pushing out around the entire perimeter of the flange. If you see a large gap where no putty appears, the flange is likely tilted. Loosen the nut, adjust the position of the fixture, and tighten again carefully to ensure the seal is uniform on all sides.
Troubleshooting common issues
| What you notice | What it usually means | What to do first |
|---|---|---|
| Water dripping under sink | Uneven compression | Loosen and recenter flange |
| Putty hard as a rock | Old or expired product | Replace with fresh tub |
| Stains on stone sink | Oil penetration | Use stain-free formula |
| Putty won’t hold shape | Too warm in room | Chill the putty briefly |
If you see a slow drip after tightening, check the flange for hairline cracks. A flange that isn’t perfectly level will leak regardless of how hard you crank the nut. If the leak persists after recentering, apply a thin bead of silicone sealant under the flange rim to bridge the gap.
When working with stone sinks, the most common mistake is using standard plumber’s putty. The oils in standard putty will permanently discolor porous materials like granite or marble. Always verify your product label explicitly states “stain-free” or “non-staining” before it touches the stone surface. If you have already applied the wrong product, remove it immediately and clean the area with a stone-safe degreaser.
If your putty feels like modeling clay that refuses to set, check the ambient temperature of your workspace.
If you’re unsure whether your putty is still viable, perform a simple pinch test. Roll a small marble-sized ball between your palms for thirty seconds. If the material develops cracks or crumbles during this process, it has lost its elasticity and will fail to create a watertight seal.
Discard any material that shows signs of separation or grit, as these impurities will create micro-channels for water to bypass your seal. Never attempt to soften old, brittle putty by adding water or oil; this ruins the chemical composition and guarantees a future leak.
Rules for safe installation
The primary rule when working with sink fixtures is to respect the material limitations of your plumbing components. Many manufacturers of plastic or acrylic sinks specifically advise against using oil-based putties because the chemicals leach into the porous surface, causing permanent discoloration or structural cracking over time. Always check the installation manual provided by the sink manufacturer to ensure the sealant you choose is chemically compatible with the sink material.
If the manual is missing, apply a small dab of your chosen sealant to an inconspicuous area on the underside of the basin. Wait 24 hours. If the material softens, bubbles, or changes color, discard that sealant immediately and switch to a neutral-cure silicone.
Never use putty on threaded connections that are intended to be permanent or rigid. Putty is a filler, not a thread locker, and it lacks the tensile strength to hold under vibration or thermal expansion. If you’re working on a pressure-bearing pipe joint, you must use Teflon tape or a liquid pipe thread sealant instead.
Using putty in these pressurized areas is a common mistake that leads to slow, insidious leaks once the system is under load. These leaks often go unnoticed for months, rotting the cabinetry beneath the sink and causing thousands of dollars in water damage. If you’re sealing a threaded pipe, apply the Teflon tape in the direction of the threads—clockwise—to ensure the tape tightens into the joint rather than bunching up as you screw it together.
For metal-to-metal connections, use three wraps of tape. If you’re dealing with plastic-to-metal connections, use only two wraps to avoid cracking the plastic threads from the added thickness.
If you find yourself needing to seal a high-pressure line, consult a local plumbing supply professional to verify the correct sealant for your specific pipe material and pressure rating. When in doubt, prioritize mechanical integrity over ease of removal; a joint that’s difficult to take apart is usually one that won’t fail when you’re away on vacation.
Maintaining your seal
Once you have installed your fixture, the putty will remain flexible for many years, provided the joint isn’t disturbed. You don’t need to perform any routine maintenance on the seal itself. If the fixture becomes loose over time due to vibration or movement, simply tighten the locknut underneath the sink by hand or with a wrench until the flange is snug again.
If you notice water pooling around the base or a persistent drip from the nut, don’t simply tighten the connection further. Over-tightening often cracks the flange or strips the threads of a plastic tailpiece. If the leak persists after a quarter-turn, the putty has likely dried out or shifted. In this case, you must break the seal entirely, clean the surfaces, and apply a fresh bead of putty.
When replacing the drain, the old putty should come off easily with a plastic scraper. If it feels brittle or stubborn, warming the area with a hair dryer on a low setting for 30 seconds can soften the old material. Never use metal tools to scrape the surface of a porcelain or plastic sink. Metal blades leave microscopic grooves in the finish, which destroy the smooth surface required for a watertight seal and provide a direct path for future leaks.
If you’re working with a stone or marble sink, avoid standard plumber’s putty. The oils in traditional oil-based putties will leach into porous stone and leave permanent dark stains. Use a silicone-based sealant instead.
You can identify if your sink requires this by checking for a matte, porous texture that absorbs a drop of water rather than letting it bead up. If the water darkens the surface, skip the putty and use a neutral-cure silicone to ensure the stone remains pristine.
When to use alternatives
You should avoid using putty if you’re installing a high-end designer fixture that requires a specific, manufacturer-supplied rubber gasket. In these cases, the gasket is designed to compress in a way that putty can’t match, and adding sealant may actually prevent the gasket from seating correctly. Follow the manufacturer’s instructions exactly for these precision-engineered parts.
If your fixture features a porous natural stone surface, such as marble or granite, skip the putty entirely. The oil in standard plumber’s putty will bleed into the stone, creating a permanent, unsightly dark ring around the drain flange. Use a non-staining, neutral-cure silicone sealant instead to protect the finish.
Don’t use putty for any application exposed to direct sunlight or high heat, such as an outdoor sink or a hot water heater drain. The heat causes the oils in the putty to evaporate, leaving behind a crumbly residue that provides no protection against leaks. For these high-temperature or outdoor environments, use a high-quality silicone caulk, which remains stable and flexible under a wide range of thermal conditions.
Check the material of your drain flange before choosing your sealant. Plastic or ABS components often react poorly to the chemicals in oil-based putties, which can cause the plastic to crack or warp over time. If the manufacturer specifies a plastic-safe sealant, look for a water-based or silicone-based product explicitly labeled as safe for synthetic materials.
Many installers make the mistake of using putty on overflow-equipped sinks. If you notice water pooling or backing up in the overflow channel, the putty may have squeezed into the small drainage holes, creating a blockage. In these instances, a thin bead of silicone is superior because it maintains its shape during tightening and won’t migrate into the internal drainage pathways. Always test your seal by filling the basin halfway and watching for seepage before you finish the installation.
Frequently asked questions
Can I use plumbers putty on plastic pipes?
Yes, you can use it on many plastic drain components, but you must first check the manufacturer’s guidance for the specific plastic type. Some plastics, such as certain types of ABS, can be sensitive to the oils in standard putties. If the manual suggests a silicone-based sealant instead, follow that recommendation to avoid damaging the fixture.
How long does plumbers putty last?
If the material in your tub becomes hard or crumbly, it has reached the end of its life and should be replaced. Keep the lid tightened after each use to ensure maximum longevity.
Is plumbers putty waterproof?
Yes, it’s designed specifically to be waterproof and is the go-to choice for creating seals around sink strainers and shower drains. It’s not, however, a permanent adhesive or a pressure-rated sealant. It works by creating a physical barrier that prevents water from passing through a gap, so it’s highly effective for any drain that relies on gravity rather than pump pressure.
What happens if I use too much putty?
Using too much putty simply creates a mess that you’ll have to clean up after the fixture is tightened. It doesn’t necessarily harm the seal, but it can make it difficult to get the flange to sit flat against the sink surface. If you see a large amount of excess squeezing out, you have likely used more than the required golf-ball-sized amount for a standard drain.
How do I remove old plumbers putty?
You can remove it by using a plastic putty knife or your fingers to peel the bulk of the material away from the surface. For any remaining residue, a soft cloth dampened with denatured alcohol or a mild degreaser will usually lift the oils right off. Never use a metal blade to scrape the sink, as this can easily scratch the finish and lead to permanent damage.
Conclusion
Once you’ve finished your repair, let the putty set for a few hours before turning the water back on. It’s a simple project, but you’ll feel great knowing your sink won’t leak anymore. Keep the leftover container in a cool spot, and you’ll be ready whenever another drip pops up.