
A limit switch is an electromechanical device that detects the presence or absence of an object by physical contact to control a circuit. These components act as safety interlocks or position sensors in industrial machinery. This article explains how to select, install, and troubleshoot a complete guide to limit switches for your specific automation task.
How limit switches work mechanically
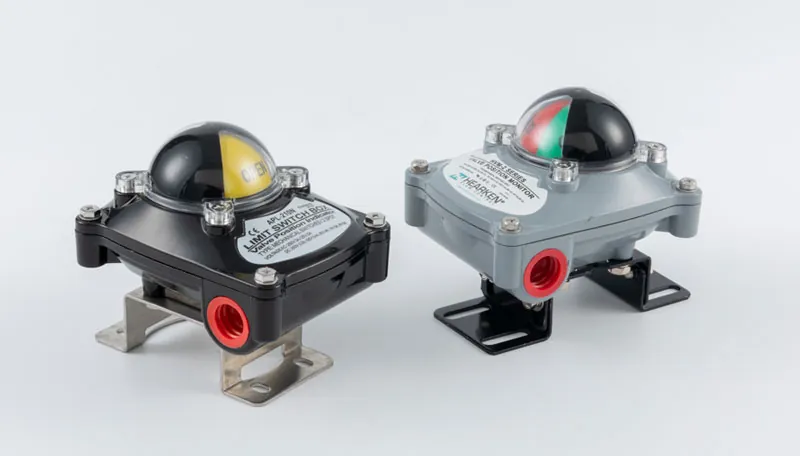
A limit switch works through a mechanical actuator—such as a roller, plunger, or lever—that triggers an internal electrical contact when pressed. When an object hits the actuator, the switch changes its state from open to closed, or closed to open. This sends a signal to a controller, like a PLC, to stop a motor or start a new process.
These devices are designed for rugged environments where non-contact sensors might fail due to dust or debris. They’re used in conveyor belts, elevators, and CNC machines to prevent over-travel or to detect part placement. A common mistake is choosing a switch with an inappropriate ingress protection rating. If the environment is wet or oily, use a sealed switch rated for that exposure; if the area is dry, a standard housing works fine.
Installing your hardware correctly
Follow these steps to ensure your sensor operates safely and consistently within your equipment’s limits.
- Mount the switch on a rigid, vibration-free surface near the target path.
- Align the actuator so the object strikes it at the recommended angle, usually stated in the manufacturer’s datasheet.
- Wire the switch to your control circuit using the normally open (NO) or normally closed (NC) terminals depending on your logic requirements.
- Adjust the trip point by moving the mounting bracket until the switch clicks exactly where the machine part should stop.
- Tighten all mounting screws to the torque specified by the maker to prevent the switch from shifting during high-speed operation.
- Test the switch by manually triggering it multiple times to ensure the controller responds instantly.
If you’re working with high-voltage circuits, ensure you have the proper electrical certification or follow the National Electrical Manufacturers Association guidelines for industrial control systems. Improper wiring can cause a short circuit or damage your controller. If you lack experience with industrial power, hire a qualified electrician to perform the final connections.
Key settings for common applications
Selecting the right switch depends on the speed of the object and the environment. This table helps you match the switch type to your specific needs.
| Situation | What to use | How long | What to watch for |
|---|---|---|---|
| High-speed impact | Roller lever | Instant | Wear on the roller |
| Precise positioning | Plunger | Milliseconds | Over-travel distance |
| Wet/oily area | Sealed housing | Indefinite | Seal integrity |
| Small space | Miniature switch | Low force | Mounting alignment |
| Heavy duty | Metal housing | High cycle | Mechanical fatigue |
Achieving reliable performance
Experienced technicians focus on the physical alignment of the switch relative to the target. If the actuator is hit too hard or at the wrong angle, the internal spring mechanism will fatigue quickly. Always ensure the object hits the actuator squarely to distribute the force evenly across the internal plunger.
Another detail is the “pre-travel” and “over-travel” distance. Pre-travel is the distance the actuator moves before the switch clicks, while over-travel is how much further it can move safely without breaking. If your machine’s movement exceeds the switch’s rated over-travel, the internal parts will snap. Always check the manufacturer’s data sheet for the specific millimeter limit of your model.
Troubleshooting common switch issues
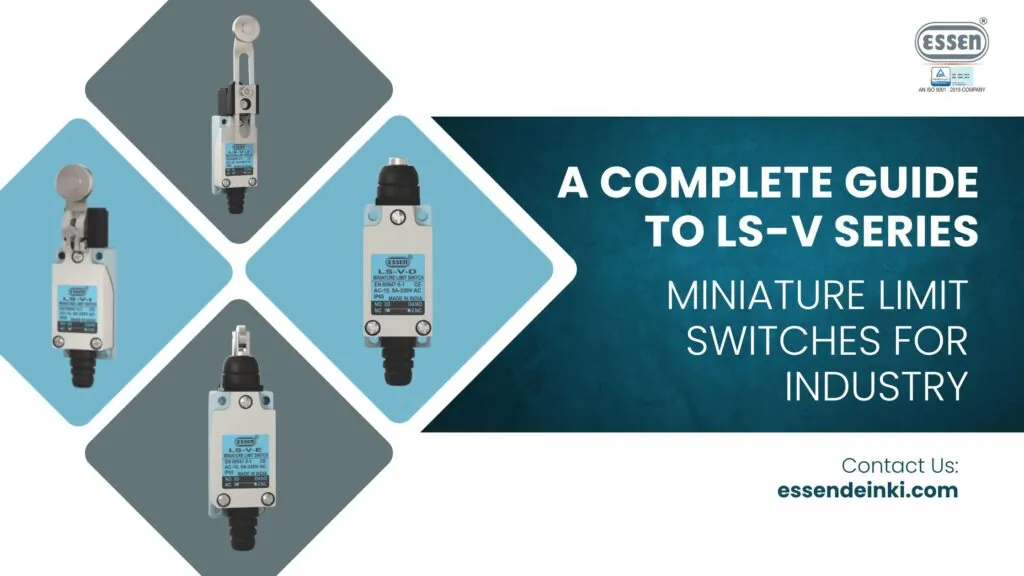
When a machine stops responding, the switch is often the first point of failure because it’s a physical contact component.
| What you notice | What it usually means | What to do first |
|---|---|---|
| No signal sent | Broken wire or contact | Check continuity with a meter |
| Switch stays stuck | Debris in the actuator | Clean the lever or plunger |
| Intermittent signals | Loose mounting screws | Tighten the mounting bracket |
| Controller error | Wired to wrong terminal | Verify NO/NC configuration |
Regulatory requirements and safety
Industrial safety regulations require that limit switches used as emergency stops must be “positive opening” devices. This means the mechanical action is forced to break the contact even if the internal springs weld together.
If you’re modifying machinery, you must ensure your setup complies with local safety laws regarding machine guarding. Installing a limit switch on a safety gate or a moving carriage requires adherence to specific standards for your industry. Always consult your machine’s manual for the required safety category before attempting any changes to the control logic.
Keeping your system maintained
Limit switches aren’t maintenance-free, as they rely on physical movement. Periodically inspect the actuator for signs of wear, such as flat spots on a roller or a bent lever. If the switch acts sluggish or fails to click, replace it immediately to prevent machine damage.
Keep the area around the switch free of metal shavings, grease, or industrial dust. If you find debris buildup, use compressed air to clear the housing. Never lubricate the internal contacts of the switch, as this will attract more dirt and cause the electrical signal to fail. If a switch fails twice in one month, investigate the machine for alignment issues rather than simply replacing the unit.
When to use alternatives
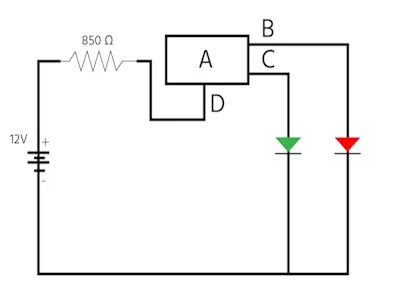
A limit switch is the wrong choice if the object is too light to trigger the mechanical spring or if the object is moving at extreme speeds that cause the switch to bounce. For light parts, use an optical sensor that detects the object using a beam of light. If the environment is explosive or contains heavy dust, consider a non-contact proximity sensor to avoid the risk of sparking or mechanical wear.
Related guides
- 10 Best Dimmer Switches for Precise Light Control in 2026
- Operational Limits of Restricted Category Aircraft Explained
- 10 Best Toilet Seats for Comfort and Easy Installation in 2026
Frequently asked questions
Can a limit switch be used for safety stops?
Yes, but it must be a positive opening switch that meets specific safety standards for your machine type. Always check the manufacturer’s documentation to ensure the device is rated for safety-critical applications rather than just position sensing.
How long do limit switches last?
They usually last for several million operations, but this depends on the force applied and the cleanliness of the environment. You can check your specific model’s cycle rating in the manufacturer’s technical manual to see its expected mechanical lifespan.
Is it safe to wire a switch myself?
No, if you’re working with high-voltage or industrial power, you should have a qualified professional perform the installation. Improperly wired switches can lead to short circuits, fire hazards, or the failure of safety interlocks on your machinery.
Why does my switch click but send no signal?
It usually means the internal contacts are dirty or the wiring has a loose connection. Use a multimeter to check for continuity across the terminals while you manually press the actuator to confirm if the electrical circuit is actually closing.
How do I know if I need a sealed switch?
You need a sealed switch if your machine operates in environments with water, oil, or fine dust. If your current switch is failing due to internal corrosion or debris buildup, replace it with an IP67 or higher-rated model.
What happens if the switch is hit too hard?
The internal spring or the actuator arm will likely break or bend, causing the switch to fail permanently. Always ensure your machine has a physical mechanical stop so the object doesn’t travel past the switch’s rated limit.
Conclusion
The reliability of your automation system depends on selecting the right switch for the load and mounting it securely. By following the recommended alignment steps and keeping the actuator free of debris, you ensure the switch provides a consistent signal for the life of your machine. Always defer to the manufacturer’s data sheet for the exact electrical and mechanical limits of your specific hardware.
