
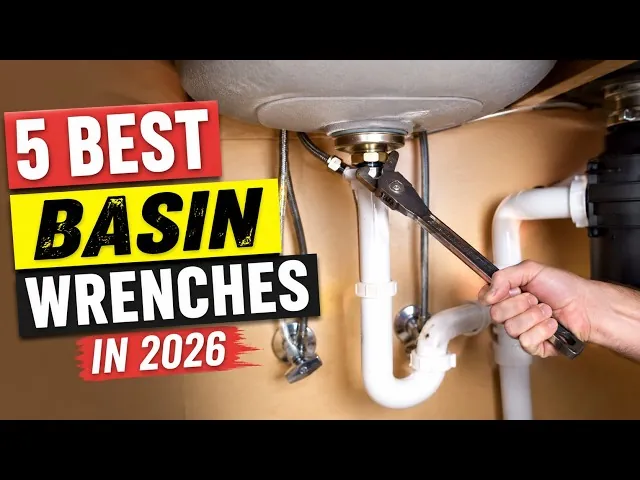
The most reliable tools for reaching tight spaces behind a sink are best basin wrenches, which feature a long, pivoting head designed to grip mounting nuts in areas where standard tools can’t fit. These wrenches consist of a hollow, metal shaft with a spring-loaded jaw at the end that rotates to lock onto fasteners. While many designs look similar, the specific length of the shaft and the ability of the head to swivel determine if you can reach the connections under your particular sink.
Types of plumbing wrenches for sinks
| Wrench type | Best for | Common example |
|---|---|---|
| Telescoping basin wrench | Adjustable reach | Ridgid model 31175 |
| Fixed-length wrench | Tight, shallow spaces | Standard steel 11-inch model |
| Multi-head wrench | Multiple nut sizes | Four-way plastic tool |
| Ratcheting wrench | Faster turning speed | Offset-head ratcheting model |
The telescoping basin wrench is your primary tool for reaching nuts hidden behind deep, narrow sink basins. Always check that the spring-loaded jaw grips the nut securely before applying torque to prevent rounding the plastic threads.
Use a fixed-length wrench when you have clear line-of-sight and enough room to maneuver your hands. These tools offer superior leverage compared to telescoping versions because they lack moving joints that can flex or slip under pressure. If you’re working in a tight, shallow space where a basin wrench feels clumsy, the 11-inch fixed model provides the necessary rigidity to break stubborn, corroded nuts loose.
Multi-head plastic wrenches are designed for the specific mounting nuts found on modern faucets. These tools are lightweight and inexpensive, making them the go-to choice for plastic supply lines that could crack under the force of a heavy steel wrench. Avoid using these on rusted, metal-to-metal connections, as the plastic teeth will strip immediately.
Ratcheting wrenches save time when you have limited swing room. If you can only move your handle three inches at a time, a ratcheting mechanism allows you to maintain constant contact with the nut without repositioning the tool. This prevents the common mistake of dropping the wrench into the dark, inaccessible cavity behind the cabinet wall.
If you feel the tool slipping, stop immediately and verify that the head is fully seated. Using a ratcheting tool at an angle often leads to stripped fastener heads, so keep the shaft perfectly perpendicular to the nut at all times.
Telescoping basin wrench
A telescoping basin wrench is a tool with an extendable shaft that allows you to reach deep behind deep-set sinks. It suits people who work on various plumbing setups, as the length changes to fit different distances from the access point.
Use the tool’s spring-loaded jaw to bite into the mounting nut. If the nut is rusted, spray it with a penetrating oil and wait ten minutes before applying force. Skipping this step often results in stripped threads or a snapped mounting bolt that requires a professional to drill out.
When working under a standard pedestal sink, set the length to 10 inches. For deep corner sinks, extend it to 17 inches. You can check the specific extension range by looking at the markings on the outer shaft or the product manual.
Always orient the jaw teeth toward the direction you intend to turn. If you need to loosen a nut, the jaw must face the left; if you’re tightening, flip the head to face the right. A common mistake is failing to verify this orientation before reaching into the dark cavity behind the basin. If the wrench slips, you risk scraping your knuckles against sharp metal brackets.
If you encounter a nut that refuses to budge, don’t force the handle until you feel the shaft flex. Excessive torque on a fully extended wrench can cause the locking mechanism to shear. Instead, retract the shaft to its shortest position to regain structural rigidity, then apply pressure.
If the space is so tight that you can’t rotate the handle, switch to a basin wrench with a T-handle design rather than a telescoping one. The telescoping model is ideal for reach, but the T-handle provides superior torque in confined areas where you lack the room to swing a long arm.
Check the jaw tension before each use. If the spring feels sluggish or fails to snap back against the nut, clean the pivot point with a degreaser. A weak spring will cause the wrench to fall off the nut repeatedly, turning a five-minute job into an hour of frustration. If the teeth are worn smooth, the tool is no longer safe for high-torque applications.
Fixed-length basin wrench
A fixed-length basin wrench is a solid, non-adjustable tool that offers maximum durability for heavy-duty tasks. It suits homeowners who have a single, consistent sink style and don’t need the flexibility of an adjustable model.
The primary advantage is the lack of a sliding jaw mechanism. Adjustable wrenches often fail at the pivot point when you apply significant force to a seized nut. Because a fixed tool is a single piece of tempered steel, you can exert maximum leverage without worrying about the jaw collapsing or the tension spring snapping mid-turn.
If the nut is heavily corroded, use a penetrating oil like PB Blaster ten minutes before applying the wrench. The fixed head provides a more reliable bite on rusted threads, reducing the risk of rounding off the nut’s edges. If the nut doesn’t budge after the first firm pull, stop immediately. Applying more force to a stuck nut often shears the mounting bolt, turning a simple faucet replacement into a costly plumbing repair.
Choose your tool based on the distance between the sink basin underside and the cabinet floor. If you have a standard kitchen faucet, use an 11-inch fixed model. For a bathroom vanity with a shallow cabinet, a shorter 9-inch model prevents the handle from hitting the floor during the rotation. Always check the tool’s body for the length measurement before you begin.
The most common mistake is using a fixed wrench in a space where you lack the clearance to complete a full 180-degree swing. If your cabinet wall is less than four inches from the mounting nut, you’ll find yourself unable to reset the wrench head. In these tight quarters, the tool becomes a trap rather than an asset. If you can’t rotate the handle at least a quarter-turn, switch to a basin wrench with a swiveling head instead.
Fixed-length tools are best for open-access areas where you can see the mounting hardware clearly. If you’re working blind behind a pedestal sink, the lack of an adjustable jaw makes it difficult to find the nut by feel alone. In those instances, a tool with a spring-loaded jaw is safer.
Multi-head basin wrench
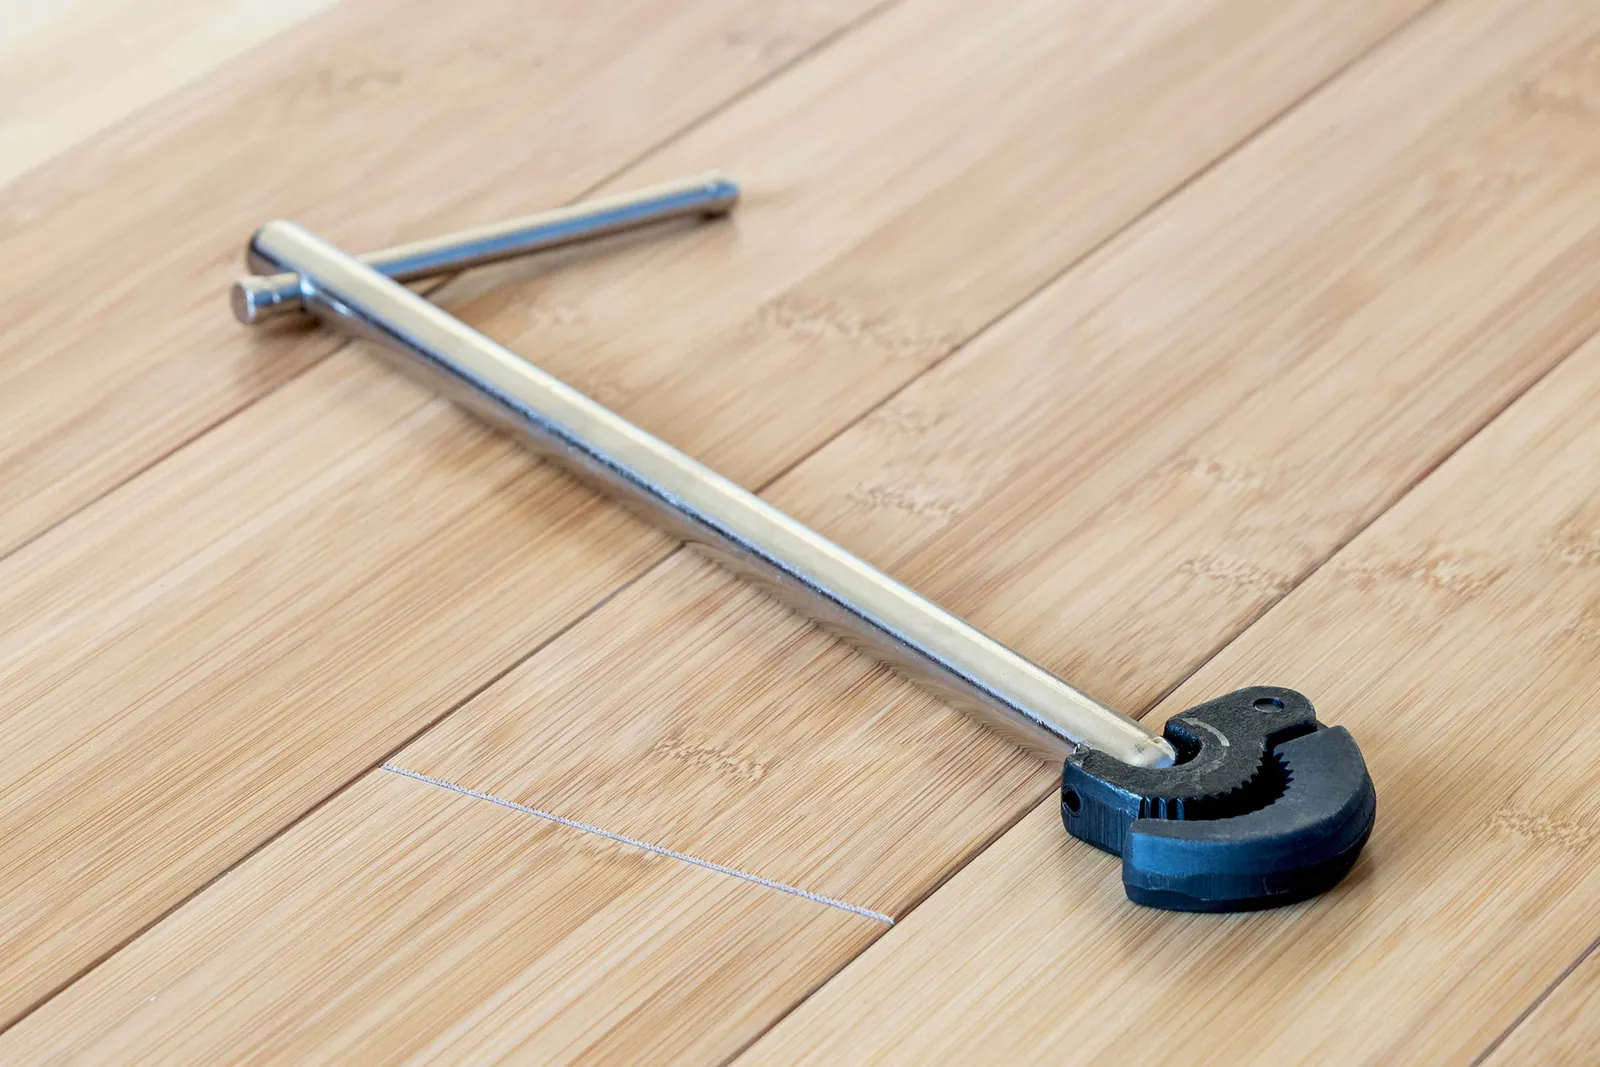
A multi-head basin wrench features a plastic or metal tool with different ends designed to fit various sizes of mounting nuts. It suits DIY enthusiasts who need one tool to handle multiple faucet installations without carrying a full kit.
- Swaps between sizes quickly without needing extra wrenches.
- Includes slots for common supply line nut sizes.
- Fits into tight corners where the tool body needs to be thin.
- Reduces the total number of tools stored in your kit.
This tool often requires less space than a traditional metal wrench, but it can’t apply as much force to rusted nuts. If you’re dealing with a heavily corroded nut, this plastic tool might bend under the pressure. You should use a metal wrench for rusted parts and reserve this multi-head tool for standard, routine installations.
Ratcheting basin wrench
A ratcheting basin wrench uses an internal cam-driven gear system to tighten or loosen mounting nuts without requiring you to remove the tool from the fastener. This design suits professionals or those performing multiple sink installations who must save time on repetitive turning motions.
In a standard basin wrench, you must constantly remove and reset the tool as you rotate the nut. The ratcheting model maintains constant contact with the fastener. You simply shift the lever on the head to toggle between clockwise and counter-clockwise rotation.
If you’re working in a space where the distance between the basin wall and the mounting nut is less than three inches, the ratcheting action is essential. It prevents your knuckles from scraping against cabinet walls during the final tightening stages.
Before you begin, verify the orientation of the ratcheting head. If the lever is set to the wrong direction, the teeth will fail to engage the nut, causing the tool to slip under tension. This mistake often leads to stripped plastic threads on modern mounting hardware, which can cost you an entire faucet assembly if the nut becomes permanently stuck.
Apply the tool by sliding the head onto the nut while the shaft is perpendicular to the basin. If the nut is rusted or seized, don’t force the ratchet mechanism. The internal gears are designed for speed, not extreme torque. If the nut doesn’t budge with moderate pressure, switch to a fixed-head wrench or apply a penetrating oil and wait ten minutes.
If you’re working on a pedestal sink where the underside is entirely obscured, use your non-dominant hand to guide the wrench head onto the nut by feel alone. Once the jaw clicks securely into place, the ratcheting motion allows you to complete the job in seconds rather than minutes. Always check that the tool is seated flush against the nut base to prevent the wrench from jumping off the fastener during a hard pull.
Other options for sink maintenance
Adjustable pliers serve as the primary tool for gripping supply lines and shut-off valves when the nut sits in an open area behind the basin. Choose these if you need a versatile, general-purpose tool for household repairs rather than a specialized device. However, don’t use them on chrome-plated fixtures without wrapping the jaws in a thick cloth. The teeth will mar the finish, leaving permanent scratches that invite corrosion and lower your home’s resale value.
Crowfoot wrenches attach to a standard socket extension to reach nuts at awkward, tight angles. They excel when you already own a socket set and face a bolt in a recessed, non-standard position where a traditional wrench can’t swing. If you find yourself struggling to gain leverage, check the clearance behind the mounting nut first. If the space measures less than two inches, a standard wrench will likely slip, risking stripped threads.
Distinguish between these tools based on the visibility of the nut. If you can see the fastener clearly and have room to rotate your wrist, stick with adjustable pliers. They offer better tactile feedback, preventing you from over-tightening and cracking the porcelain or plastic basin.
If the nut is hidden behind the sink’s mounting hardware or tucked into a corner, reach for the crowfoot wrench. Use a 3/8-inch drive extension to provide the reach needed to clear the basin’s rim. Always verify the nut size before starting.
Most standard supply nuts are 5/8-inch, but older homes often feature 1/2-inch or metric variants. Forcing a tool that’s even a fraction of an inch too large will round off the corners of the nut, turning a ten-minute maintenance task into a frustrating afternoon of cutting the fastener away with a hacksaw.
Choosing the right tool for the job
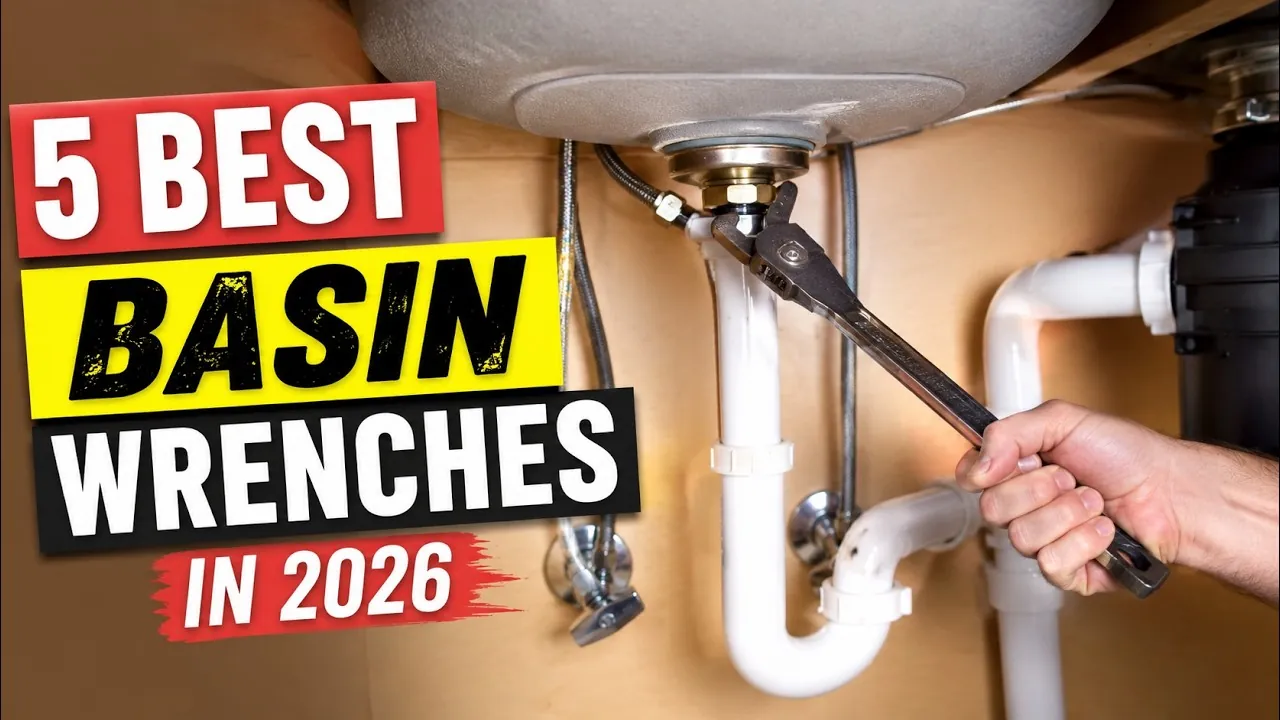
Selecting the right tool depends on the depth of your sink and the condition of the mounting nuts. If the nuts are deep behind a pedestal or a deep-well sink, a telescoping wrench is your only path to success.
If you’re working in a tight, shallow cabinet, a fixed-length wrench provides the best control without wasting space. For those facing rusted or stuck nuts, choose a metal tool over a plastic one, as metal can handle the high torque required to break the bond.
If you’re unsure of the size, measure the distance from the bottom of the sink rim to the nut.
Related guides
- Best Time to Test Pool Water: 5 Essential Testing Tools in 2026
- Biscuit Joint vs Dowel Joint: 10 Best Tools for Woodworking in 2026
Frequently asked questions
Can I use a regular wrench under a sink?
No, a regular wrench is too wide to fit the narrow space behind a sink basin. A basin wrench features a thin shaft and pivoting head designed to grip nuts in tight, parallel spaces. Avoid standard wrenches to prevent stripping nuts or damaging your plumbing.
How long should the handle be?
The handle should be at least 10 inches long to clear the back of most standard sinks. For deep-well or pedestal sinks, you may need a tool that extends to 17 inches or more to reach the mounting hardware. Ensure your tool length exceeds the distance from the counter to the nut.
Is it safe to use a plastic basin wrench?
Yes, it’s safe to use a plastic basin wrench for standard, non-corroded nuts on modern faucets. These tools are intended for light-duty work where extreme force is unnecessary. Don’t use plastic on rusted or seized nuts, as the material can snap under high pressure.
What happens if the nut is rusted?
If the nut is rusted, use a steel basin wrench and apply penetrating oil to break the seal. Let the oil sit for 10 minutes before attempting to turn the nut. Avoid forcing a rusted nut with a weak tool to prevent stripping the bolt or damaging the basin.
Does the jaw size matter?
Yes, the jaw size must match the nut, or the tool will slip. Most basin wrenches feature self-adjusting jaws that typically grip sizes from 1/2 inch to 1 1/4 inches. Ensure the jaw opens wide enough to surround the nut completely before you begin turning.
How do I know if the wrench is locked?
The wrench is locked when the spring-loaded jaw bites into the metal of the nut without sliding. Test this by placing the jaw on the nut and pulling the handle gently to confirm the teeth grip the surface. Reposition the jaw if the tool slips to ensure a secure hold.
Conclusion
Clear all items from under the sink to ensure you have a clear view of the mounting hardware. Once you have a line of sight, place the basin wrench jaw onto the nut and turn it slowly counter-clockwise to loosen it. Consult a professional plumber if you encounter persistent resistance.