
Paper capacitors are electronic components that use thin sheets of paper as a dielectric material between two metallic foil plates. They store electrical energy in an electrostatic field and were once common in vintage radios and older household appliances. Because they’re prone to absorbing moisture over time, they often fail by short-circuiting or leaking current, which is why modern circuits now favor more stable materials like polyester or ceramic.
These components work by sandwiching paper, usually impregnated with oil or wax, between aluminum or tin foil electrodes. The paper serves as an insulator that prevents the metal plates from touching. If you’re working on a piece of vintage electronics, check the capacitor casing for signs of bulging or leaking oil; if it looks damaged, you must replace it to avoid potential fire hazards or equipment failure.
The most common mistake people make is powering up an old device without testing the capacitors first. If a capacitor is dried out or cracked, it can cause the power supply to draw too much current, which might damage sensitive tubes or transformers. Always use a multimeter to check for leakage current or short circuits before applying full power to an antique radio or amplifier.
Replacing vintage paper capacitors
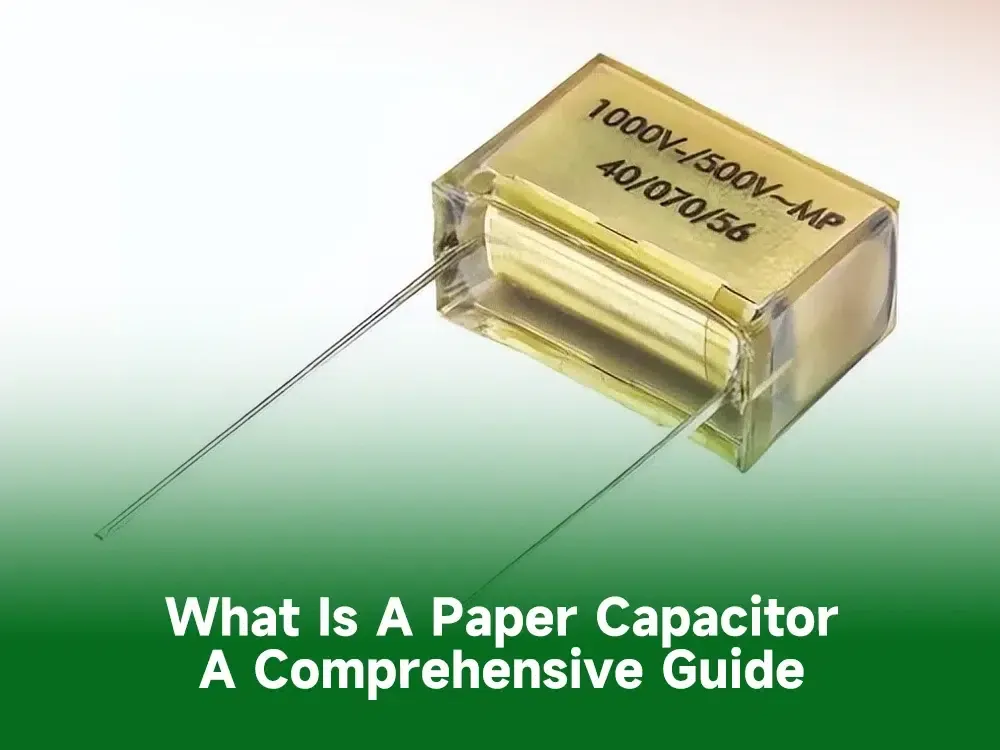
- Discharge the capacitor completely using a high-value resistor, such as a 10k-ohm resistor, to bleed off the stored voltage safely. Never touch the terminals with bare hands, as old capacitors can hold a lethal charge even if the device has been unplugged for days.
- Identify the capacitance value and voltage rating printed on the original component housing. If the text is faded, consult the original service manual for that specific model to ensure the replacement matches the required specifications.
- Unsolder the old unit from the circuit board or chassis using a temperature-controlled soldering iron set to about 650°F. If you aren’t comfortable working with high-voltage electronics, take the device to a professional technician to avoid the risk of severe electric shock.
- Solder a new, modern film capacitor of the same value into the circuit. Ensure the leads are trimmed short to prevent accidental contact with other nearby components.
- Verify the connection with a continuity test to confirm the new part is properly seated and doesn’t touch any neighboring wires.
Tip: Use a heat sink or a pair of needle-nose pliers on the lead wire while soldering to protect the new capacitor from heat damage.
How long restoration takes
The time required to replace these parts depends on the accessibility of the components and the complexity of the internal wiring.
| Situation | How long | What changes it | What to watch for |
|---|---|---|---|
| Single capacitor | 15–30 minutes | Ease of access | Clearance for tools |
| Full chassis rebuild | 4–8 hours | Number of parts | Wiring insulation |
| Power supply only | 1–2 hours | Component quantity | Voltage discharge |
Expect to double your estimate if the unit hasn’t been powered on in over a decade. Old capacitors often leak, creating a sticky residue that slows down desoldering. If you see a crusty, brown substance around the base of a component, add forty minutes of cleaning time to your schedule.
When working with power supplies, always use a multimeter to verify zero voltage before touching the leads. If the meter shows any residual charge, stop and wait another hour. Ignoring this step risks a painful shock or irreparable damage to the circuit board. If the wiring insulation cracks when you bend it, replace the entire run rather than patching it. Patching brittle wire creates a fire hazard that will fail within months.
Signs of a failed component
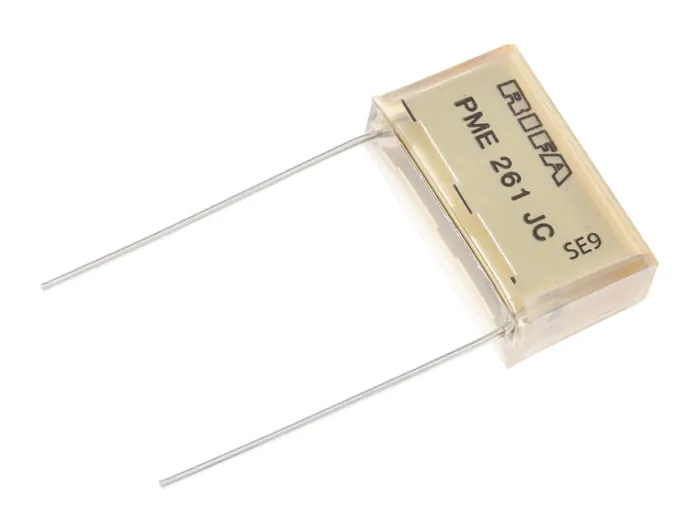
You can often identify a faulty unit by looking for physical changes. A bulging, cracked, or leaking casing is a clear sign that the internal paper has degraded and the oil or wax has lost its insulating properties.
In some cases, you may notice a humming sound from the device or a burning smell when it’s turned on, which suggests the dielectric has broken down completely. Listen closely for a high-pitched whine, as this often precedes a total short circuit.
For a definitive test, use an insulation resistance tester, also known as a megohmmeter, to measure leakage. Don’t mistake a temporary voltage spike for a permanent failure; wait for the reading to stabilize over sixty seconds before making your final call.
If the unit shows low resistance when it should be acting as an insulator, replace it immediately to prevent cascading damage to the circuit. Many technicians fail by testing only at low voltages, which allows marginal units to pass. Always test at the component’s maximum rated voltage to ensure the insulation holds under real-world stress.
Errors that ruin the restoration
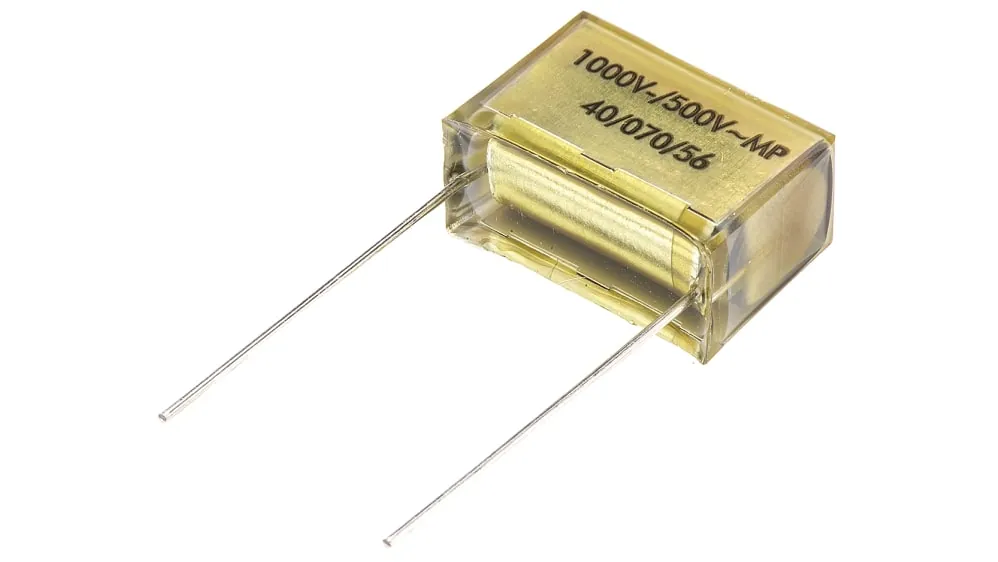
- Using wrong voltage ratings: If you install a replacement with a lower voltage rating than the original, the dielectric layer will fail under the operating load. Always choose a replacement with a voltage rating equal to or higher than the original part.
- Ignoring polarity in electrolytic types: While most paper capacitors are non-polarized, some older multi-section cans include electrolytic sections that must be oriented correctly. Installing these backward can cause the component to overheat or explode during operation.
- Applying excessive heat: Overheating the leads during installation can damage the internal seal of the new capacitor, leading to premature failure. Use quick, precise movements with your soldering iron to keep the heat transfer to a minimum.
- Failing to clean the chassis: Leaving behind old oil or wax residue from a leaking capacitor can cause short circuits on the circuit board. Always clean the area with isopropyl alcohol before installing the new component.
Related guides
- How to Load Paper in Printer: A Simple Step-by-Step Guide
- Best Toilet Paper Holders: How to Choose the Right Style in 2026
- Bidet vs Toilet Paper Cost Savings: Calculate Your Payback in 2026
Frequently asked questions
Can I test a paper capacitor with a simple multimeter?
Yes, you can use a multimeter to check for a short circuit, but it won’t tell you if the capacitor leaks under high voltage. Set your meter to the highest resistance range and touch the probes to the capacitor leads. A good capacitor will cause the meter to momentarily deflect or show a low reading that gradually increases to a very high value, while a bad one will show zero or very low resistance.
Is it safe to keep original paper capacitors in old radios?
No, it isn’t safe to leave them in place because they’re unreliable and prone to catastrophic failure. These components have likely dried out over several decades, making them a major fire risk. Replace them with modern polyester film capacitors to ensure the device operates safely and maintains its performance without risking damage to other rare or expensive parts.
How do I know if a capacitor is a paper type?
You can identify them by their appearance, as they’re often encased in cardboard tubes or wax-coated paper shells with wires coming out of the ends. They rarely have the modern plastic or ceramic finish seen on current components. If the label says “paper” or “wax-impregnated,” it’s almost certainly an older paper style that requires inspection or immediate replacement for safety.
What happens if I use a capacitor with a higher capacitance?
Using a higher capacitance value changes the frequency response of the circuit and may cause it to behave unexpectedly. In audio circuits, this can alter the sound quality or cause unwanted oscillations, while in power supplies, it could put unnecessary stress on rectifier tubes or diodes. Always match the original value as closely as possible to maintain the intended design of the electronic device.
How often should these capacitors be replaced?
There’s no fixed schedule, but if you have a device that hasn’t been serviced in over 30 years, the capacitors are likely past their functional limit. Paper degrades due to heat and humidity, so the environment where the device was stored is the main factor. If the equipment has been sitting in a damp basement or a hot attic, assume the capacitors have failed and replace them before use.
Conclusion
Replacing these components is a standard part of restoring vintage electronics to working order. Once the old, failing parts are removed and modern, reliable alternatives are installed, the device will be much safer and more stable for regular use. Always prioritize safety when dealing with high-voltage equipment and take the time to inspect the entire circuit for other signs of aging.
