
If your culligan water dispenser not working, the most common fix is to check that the power cord is pushed firmly into the wall outlet and the unit is switched on. Often, a simple power interruption or a tripped breaker stops the flow of water entirely. Before you call for help, verify the plug connection and ensure your home’s electrical panel hasn’t cut power to that specific circuit. If the lights on the unit are off, power is almost certainly the issue.
Why your Culligan dispenser stopped working
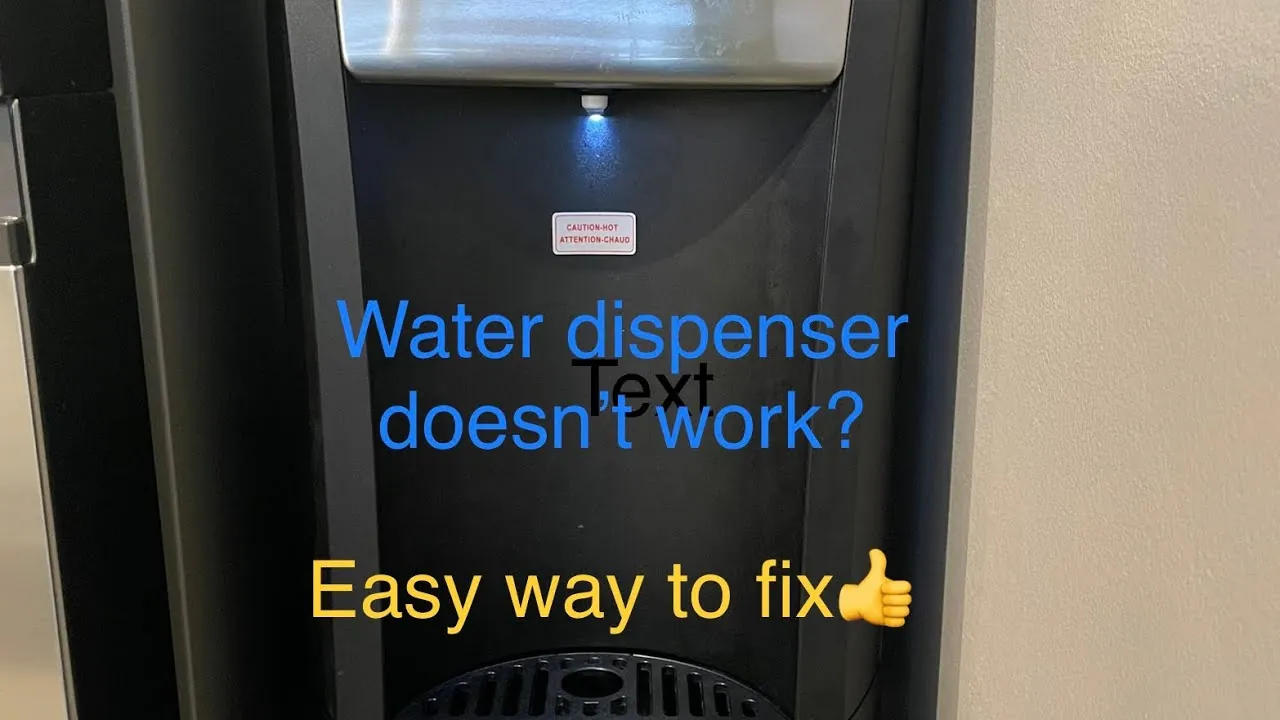
When a water dispenser stops functioning, it’s rarely due to a complex mechanical failure. In most cases, the machine has simply entered a safety mode or lost its connection to the power supply. If you hear a humming sound but no water comes out, the internal reservoir might be empty or the bottle isn’t seated correctly. If the machine is silent, the electrical path is broken.
If the reset button has popped out, press it firmly until you hear a click. If the unit still remains dark, test the outlet with a lamp to confirm the circuit breaker hasn’t tripped.
Another frequent cause involves the water flow itself. If the bottle is empty or the air vent is blocked, the pump can’t pull water through the system. If you notice leaks around the base, the issue could be a cracked bottle or a damaged seal. Stop using the unit immediately to prevent water damage to your floors.
You can distinguish between a pump failure and a blockage by listening closely. A high-pitched, strained whine indicates a blockage in the intake line, while a dull, rhythmic thudding suggests the pump motor has seized. If the motor is hot to the touch, unplug the unit and contact a professional, as a blown thermal fuse requires replacement. Never force the bottle into place if you feel resistance, as this often snaps the plastic puncture pin.
Resetting the power supply
If your unit has no lights or cooling power, start by checking the power source. Unplug the dispenser from the wall and wait for 60 seconds before plugging it back in. This simple cycle often resets the internal control board if it has encountered a minor power surge. Ensure you’re using a direct wall outlet rather than an extension cord or a power strip, as these often fail to deliver the steady voltage required for heating and cooling components.
If the unit still doesn’t turn on, look at your home’s circuit breaker panel. Locate the switch that matches the room where the dispenser is kept and ensure it’s in the “on” position. If the breaker has tripped, flip it all the way to “off” and then back to “on.”
If the unit works after this, you’re likely overloading that circuit with other appliances. If it trips again immediately, you must stop using the outlet and consult a licensed electrician to avoid a fire hazard.
Adjusting the water bottle
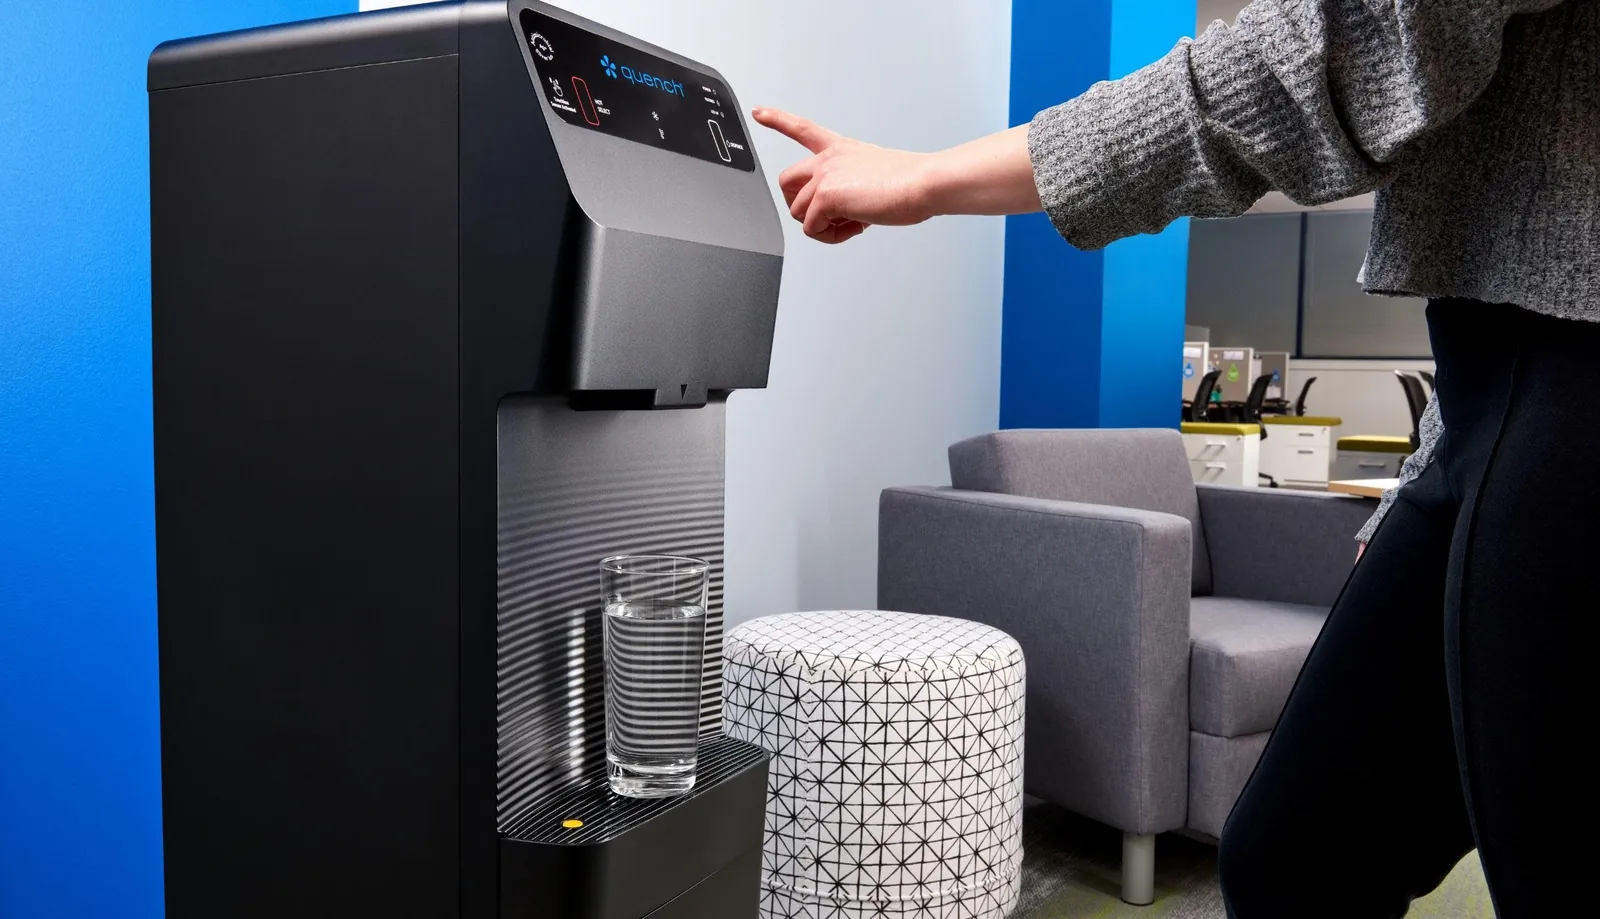
A common mistake involves the bottle not being properly seated on the spike. If the bottle isn’t pushed down fully, the air seal is broken, preventing the vacuum needed to draw water into the dispenser. Lift the bottle straight up, check the area for debris or plastic film from the cap, and lower it back down firmly until you hear the water begin to displace into the reservoir.
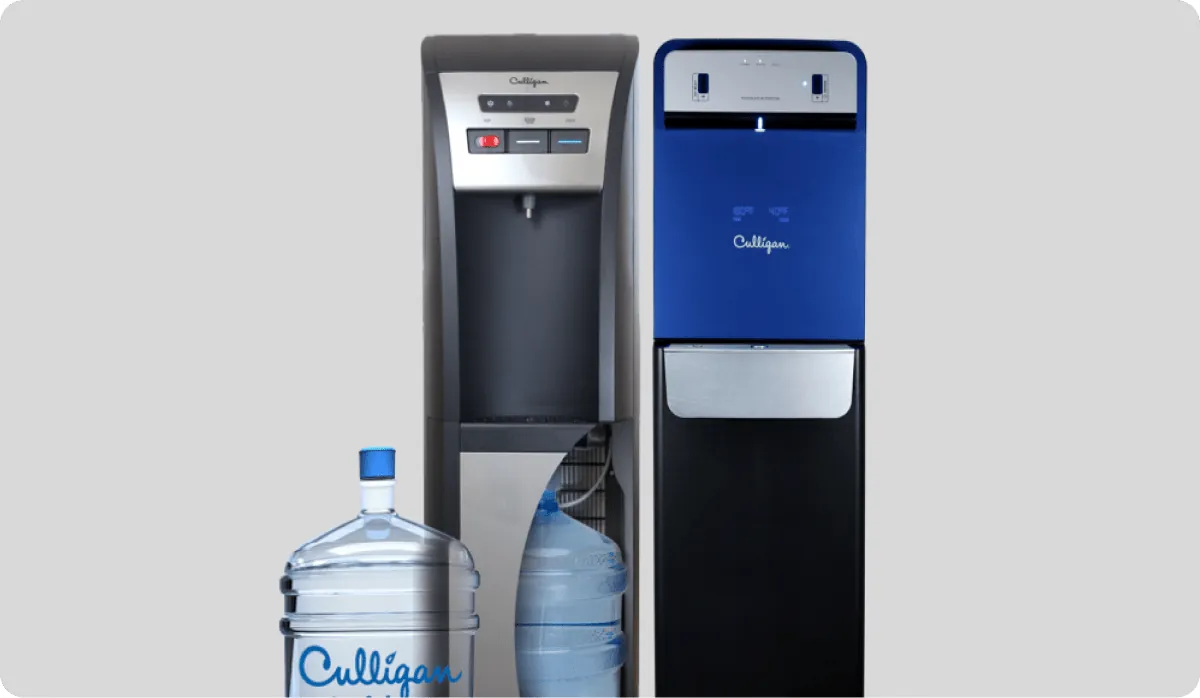
If you have a bottom-loading model, ensure the probe is fully inserted into the cap of the new bottle. If the probe is bent or dirty, it won’t create a proper seal. Wipe the probe with a clean cloth dampened with white vinegar to remove mineral buildup.
If you still see air bubbles or no water flow, verify that the bottle isn’t cracked, as even a tiny pinhole will ruin the vacuum and stop the water from moving into the tank.
If the water level in the reservoir remains stagnant after you reseat the bottle, check the air intake valve. A clogged valve prevents the necessary pressure equalization. If you notice a faint whistling sound, the seal is likely compromised by a warped bottle neck. In this case, replace the bottle immediately to prevent a leak. If the water flows but stops prematurely, the reservoir is likely air-locked. Simply open the drain plug for three seconds to release the trapped air.
Inspecting the faucet and lines
If the machine has power and the bottle is seated, the blockage might be at the faucet or in the internal tubing. Check the faucet levers for any visible obstructions or stuck mechanisms. Sometimes, scale buildup from hard water can harden inside the nozzle, preventing water from exiting. If you see white, crusty deposits, use a soft brush to gently clear the opening.
If the water flow is merely a trickle rather than a total stop, the problem is likely a clogged aerator screen. You can usually unscrew the nozzle tip with pliers and soak it in white vinegar for thirty minutes to dissolve the mineral deposits. If the flow remains weak after cleaning, the internal pump may be failing.
Check the lines at the back of the unit for any visible kinks or pinches. If the tubing is bent, carefully straighten it to allow water to flow freely. If the tubing feels brittle or cracks under light pressure, it has reached the end of its lifespan and requires professional replacement.
If the blockage is deep inside the internal tank or the cooling coil, don’t attempt to disassemble the unit. Opening the housing can void your warranty and poses a risk of electric shock. If these steps don’t restore flow, contact the manufacturer or a certified technician for internal service.
Avoid common repair mistakes
Prying at internal plastic valves with screwdrivers or pliers often snaps brittle tabs, turning a simple seal replacement into a full component overhaul. If you feel resistance, stop immediately; force is never the solution for internal plumbing.
Never bypass thermal fuses or safety sensors to keep a unit running. These components exist to prevent catastrophic overheating. Overriding them creates a genuine fire hazard that voids your warranty and insurance coverage. If the unit cuts out, the fuse did its job.
Avoid harsh household chemical cleaners inside the tank. These substances often etch interior linings or leave toxic residues that leach into your water supply. Use only food-grade, manufacturer-approved descaling solutions to ensure safety.
If water pools inside the cabinet, stop using the unit immediately. Even a small leak will eventually track toward the control board, shorting out expensive electrical components. If the floor of the unit is dry but you see mineral streaks, check the hoses first. If the base is wet, you’re likely dealing with a hairline tank crack that requires professional replacement.
Preventing future dispenser failures
| If you’re doing this | Do this instead | Why |
|---|---|---|
| Using an extension cord | Plug directly into the wall | Extension cords drop voltage and cause heat |
| Ignoring mineral buildup | Clean nozzles every month | Prevents scale from blocking water flow |
| Letting the bottle run dry | Replace it before it empties | Prevents air from entering the pump |
| Forcing the bottle down | Align it gently and slowly | Protects the seal from tearing |
Voltage drops can damage dispenser pumps. If your unit struggles to cycle water, don’t attempt to test the electrical outlet yourself; contact a qualified technician to inspect the power supply and ensure your setup is safe.
Scale buildup isn’t just about hygiene; it’s about pressure. If you see white, chalky flakes in your glass, soak the nozzle in a 50/50 mix of white vinegar and water for fifteen minutes.
When replacing bottles, stop when the water level hits the final two inches. If you hear a high-pitched whine, cut the power immediately and prime the pump by manually depressing the valve.
Finally, check your seal integrity every time you swap a bottle. If the rubber gasket looks cracked or feels brittle, replace it before the next cycle.
Frequently asked questions
How long does a water dispenser last?
A typical unit lasts for several years with regular cleaning and proper handling. If you live in an area with very hard water, components may wear out faster due to scale buildup. Extend the machine’s life by cleaning the intake and reservoir as directed by the owner’s manual, which provides the authoritative service schedule based on your specific usage.
Why is my water dispenser making a loud noise?
Noise is usually caused by the pump pulling air or the unit vibrating against a wall. Check that the bottle and tank are full to ensure the pump is primed. If the sound continues, move the unit away from walls or cabinets to ensure it sits on a level surface.
Is it safe to fix a leaking dispenser?
No, you shouldn’t attempt to repair internal leaks yourself because water and electricity are a dangerous mix. If you see water leaking from the bottom or the back of the unit, unplug it immediately and move it away from any electrical outlets. Contact the manufacturer’s support line or a professional repair service to handle the internal seals. Dealing with internal plumbing requires specific parts that aren’t available at hardware stores.
Why is the water not cold?
The cooling system takes 2 to 3 hours to reach the target temperature after initial setup. If the water remains warm after 4 hours, verify the cooling switch on the back is set to the “on” position, as it can be accidentally bumped during maintenance.
How often should I clean the dispenser?
You should sanitize the reservoir and the external surfaces at least every 3 to 6 months to prevent bacteria growth. Use a solution of one part white vinegar to three parts water to flush the system, then rinse it thoroughly with clean, bottled water before using it again. If you notice a strange taste or smell, perform this cleaning process immediately regardless of how much time has passed since the last one.
Conclusion
If the unit still won’t run after these checks, don’t hesitate to reach out to the company’s support team. They’ll help you determine if a part needs replacing or if it’s time for a professional technician to visit. You shouldn’t have to go without fresh, cold water for very long.
