
Slurry polishing removes microscopic surface layers from a material by combining chemical erosion with mechanical abrasion. In this process, a liquid mixture containing fine abrasive particles flows across a surface while a pad or tool applies pressure. This removes high spots and oxidation, leaving a mirror-like finish on hard materials like silicon wafers or stainless steel. It’s a precise way to achieve extreme flatness and low surface roughness on sensitive parts.
Parts used in slurry polishing
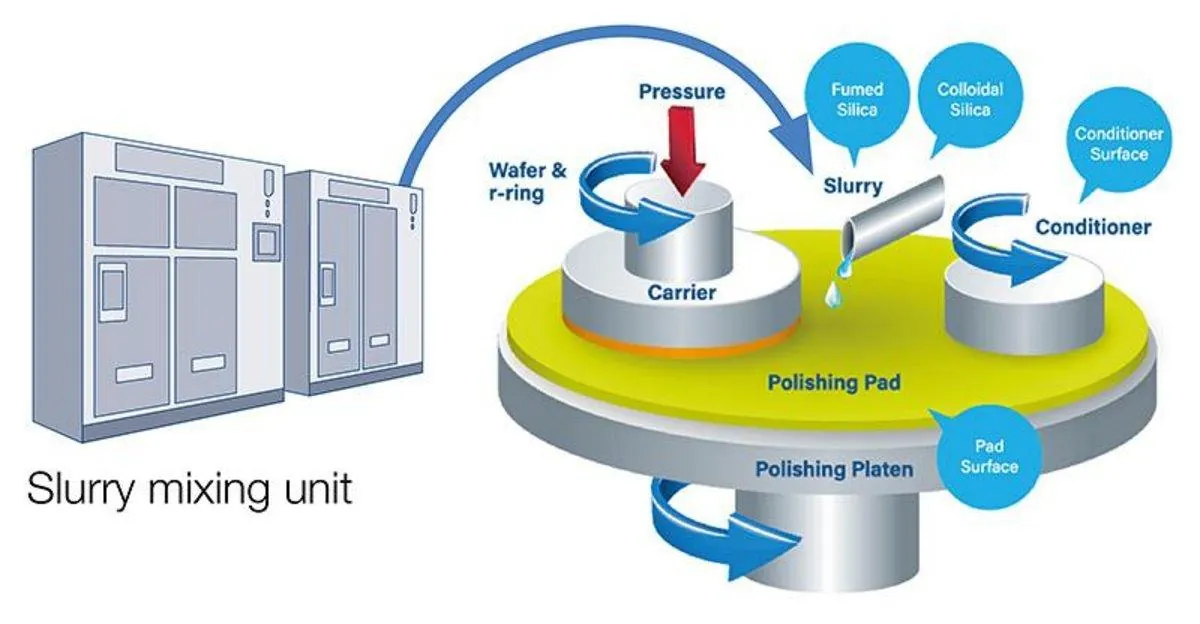
The equipment required for this process must maintain high control over pressure and flow. If you’re uncertain about the specific requirements for your equipment, check the technical manual provided by the manufacturer.
Matching the pad hardness to your slurry chemistry prevents most finish defects. A hard pad paired with a fine abrasive leaves deep scratches because it can’t conform to micro-roughness. Switching to a softer polyurethane pad lets the slurry do the cutting while the pad maintains flatness.
Carrier heads use vacuum or mechanical clamping depending on part geometry. Vacuum chucks fail on porous ceramics, causing the workpiece to shift mid-cycle. Mechanical clamps solve this but can chip brittle edges if the grip force exceeds the material’s fracture limit.
Platen speed directly controls your removal rate. Doubling the rotation doesn’t double material removal once the slurry film becomes too thin to replenish between passes.
| Part or input | What it does | What you notice when it goes wrong |
|---|---|---|
| Abrasive slurry | Cuts the surface material | Surface scratches or dull finish |
| Polishing pad | Distributes slurry and pressure | Uneven wear or poor flatness |
| Carrier head | Holds the workpiece steady | Part vibration or uneven thickness |
| Platen | Rotates at set speeds | Excessive heat or inconsistent texture |
| Rinse water | Cleans away leftover particles | Surface staining or residue buildup |
Steps for successful slurry polishing
- Mount the workpiece securely onto the carrier head using a vacuum or mechanical grip. This ensures the part doesn’t move during the high-speed rotation, which typically lasts 30 to 300 seconds depending on material hardness.
- Apply the abrasive slurry at a constant flow rate, usually measured in milliliters per minute. The exact volume depends on the platen diameter; check your machine’s documentation for the recommended flow setting for your specific surface area.
- Lower the carrier head onto the polishing pad until the target downforce is reached. This pressure is measured in pounds per square inch (psi); if you exceed the manufacturer’s maximum psi, you risk cracking the workpiece or tearing the pad.
- Begin the rotation of both the platen and the carrier head at a synchronized speed. Most industrial systems operate between 50 and 150 rotations per minute, with higher speeds used for faster material removal on harder metals.
- Monitor the temperature throughout the cycle to prevent thermal damage to the part.
- Stop the rotation and initiate a high-pressure water rinse to remove all abrasive particles. This prevents the slurry from drying on the surface, which can cause permanent pitting if left for more than 5 minutes.
The effect of slurry on surface quality
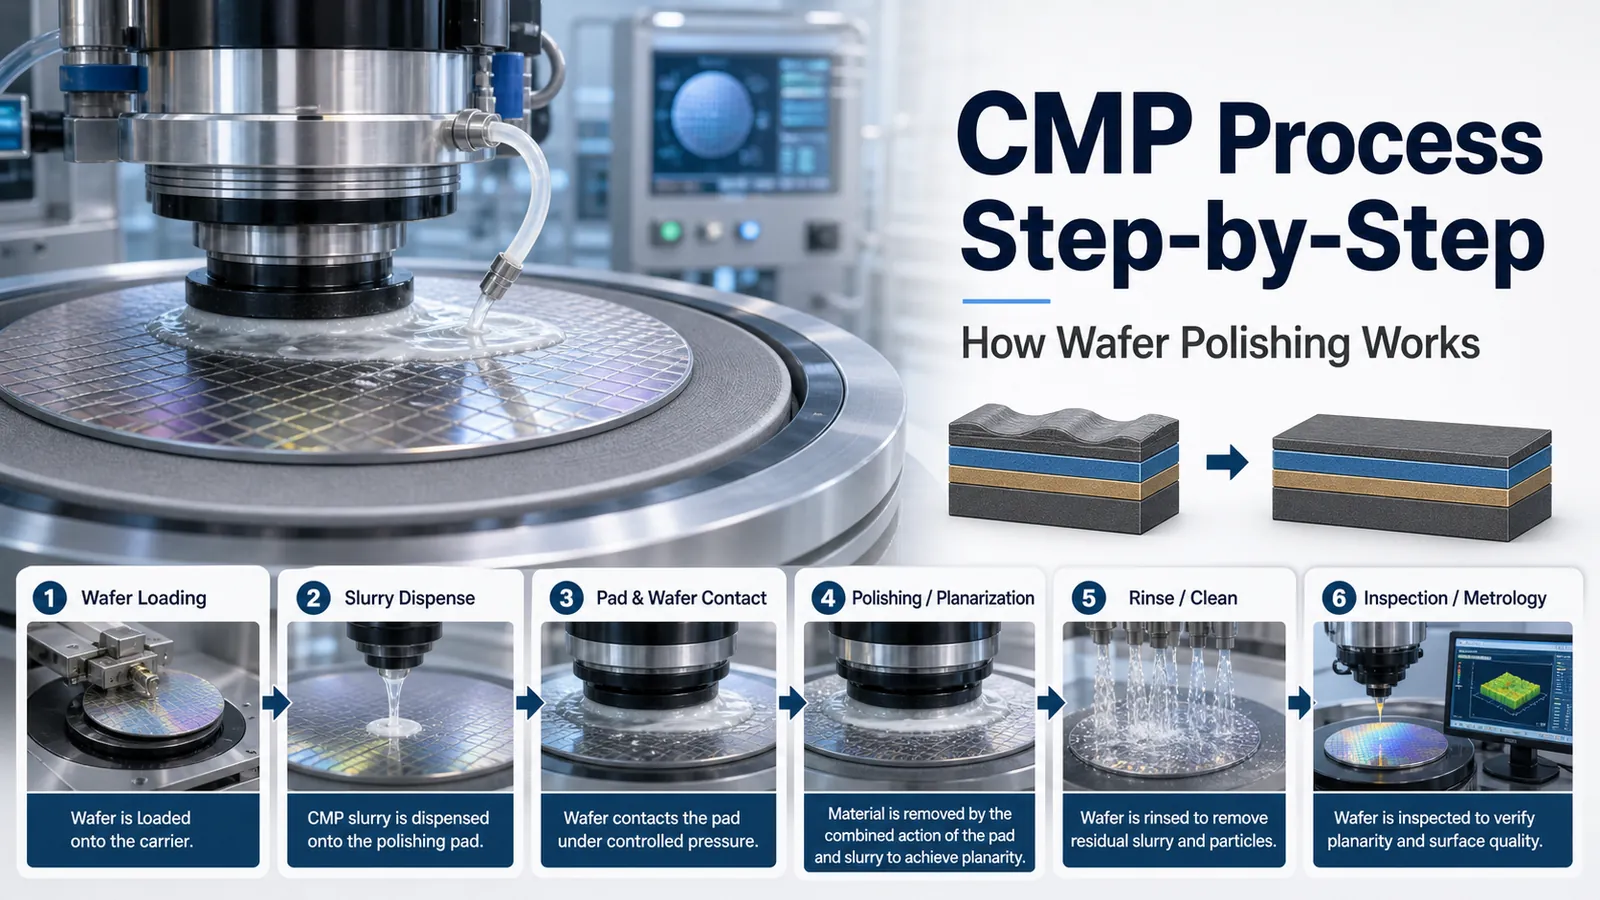
The interaction between the chemical components of the slurry and the mechanical action of the pad determines the final quality of the part. If the slurry chemistry is too acidic, it will etch the surface unevenly, leading to pits that ruin the finish. Conversely, if the chemical activity is too low, the mechanical friction won’t be enough to remove material efficiently, causing the process to take significantly longer than expected.
A common mistake is using a slurry that’s incompatible with the material being polished, which causes chemical corrosion rather than controlled removal. This costs time because the surface must be re-processed to remove the damage. Successful polishing relies on balancing the pH level of the slurry with the material’s reactivity.
If you observe orange-peel textures on your part, the pressure from the carrier head is likely too high for the pad density. If you see deep scratches, the abrasive particles are likely too large or the slurry isn’t being filtered properly. Always check the particle size distribution on the slurry container label before starting your run.
Controls and fixed design limits
Things you can control
- The rotation speed of the platen and carrier.
- The amount of downward pressure applied to the part.
- The flow rate of the slurry across the surface.
- The total duration of the polishing cycle.
Adjusting these four variables is how operators tune removal rates on a given setup. Change one at a time, because altering two together masks which adjustment caused the result.
Increasing downward pressure removes material faster but also generates more heat at the contact point. Excess heat warps thin substrates or degrades temperature-sensitive coatings.
Slurry flow rate determines whether fresh abrasive constantly reaches the work zone. Too little flow leaves spent particles trapped under the part, causing deep scratches.
Limits fixed by design
- The chemical composition of the abrasive slurry.
- The physical hardness and texture of the polishing pad.
- The maximum operating speed of the machine motor.
Operating machinery beyond these limits can cause hardware failure or injury. If you need to change the fundamental chemistry of the process, consult a materials engineer. Don’t attempt to modify the machine’s safety sensors or override the pressure regulators.
Habits for better results
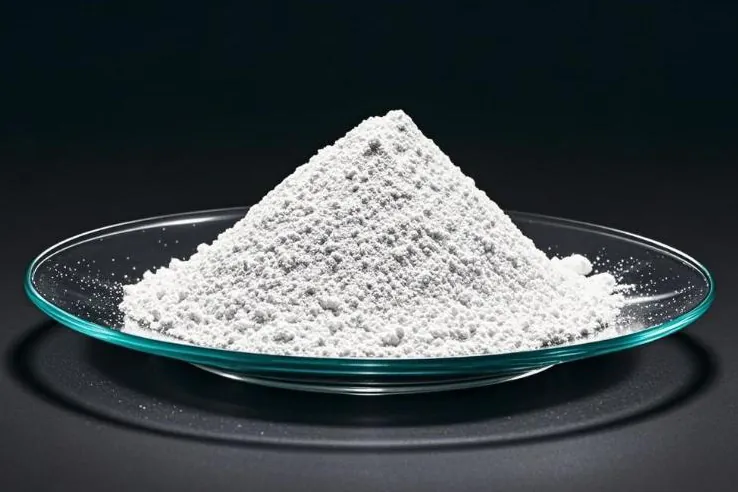
Consistency is the most important factor in achieving a repeatable finish. Start by checking the slurry concentration before every shift, as evaporation can change the viscosity and lead to inconsistent removal rates. For most standard applications, keeping the slurry temperature within a 2-degree range of the ambient room temperature ensures the chemical reactions remain stable throughout the process.
Always inspect your polishing pads for signs of glazing or hardened residue. If the pad surface feels slick, it’s no longer cutting efficiently and must be reconditioned or replaced. Track the number of parts processed on each pad; when you reach the manufacturer’s recommended limit, replace the pad to avoid surface defects. Finally, keep your rinse water filtered to prevent contamination from old slurry particles, which can scratch the surface during the final cleaning stage.
Frequently asked questions
How long does the polishing process usually take?
The process typically takes 30 to 300 seconds per cycle, depending on the material hardness and the amount of surface layer you need to remove. You can determine the exact time needed for your specific part by performing a test run and measuring the material thickness removed per minute.
Is it safe to handle the slurry with bare hands?
It isn’t safe to touch the slurry, as many chemical-mechanical slurries contain harsh acids or bases that can irritate or burn skin. Always wear protective gloves and safety glasses as specified in the material safety data sheet provided by your slurry supplier.
What happens if the slurry dries on the surface?
If the slurry dries, it leaves behind abrasive crust that’s extremely difficult to remove without causing deep scratches. You must ensure the part stays wet throughout the entire process and is rinsed immediately upon completion to avoid permanent surface damage.
Does the pad material affect the finish?
The pad material is the primary factor in determining the surface texture, as softer pads conform to the part while harder pads provide better flatness. You should select a pad based on the hardness of your workpiece; consult the manufacturer’s guide to match the pad density to your material.
How do I know if my slurry is still good?
You can check if the slurry is still good by measuring its pH level and inspecting it for clumps or separation. If the pH has shifted outside the range listed on the product label, or if the particles have settled into a hard layer, the slurry must be replaced.
Can I reuse the slurry after polishing?
You shouldn’t reuse the slurry, as it becomes contaminated with removed material that will scratch the next part you polish. The abrasive particles also break down during the process, reducing cut rate and finish quality.
Conclusion
If you’re planning to use this technique, start by testing a few abrasive mixtures on scrap pieces. You’ll quickly see which blend gives your material the smoothest result without wasting expensive parts. Small experiments like these build real confidence before you move to final production runs.
