
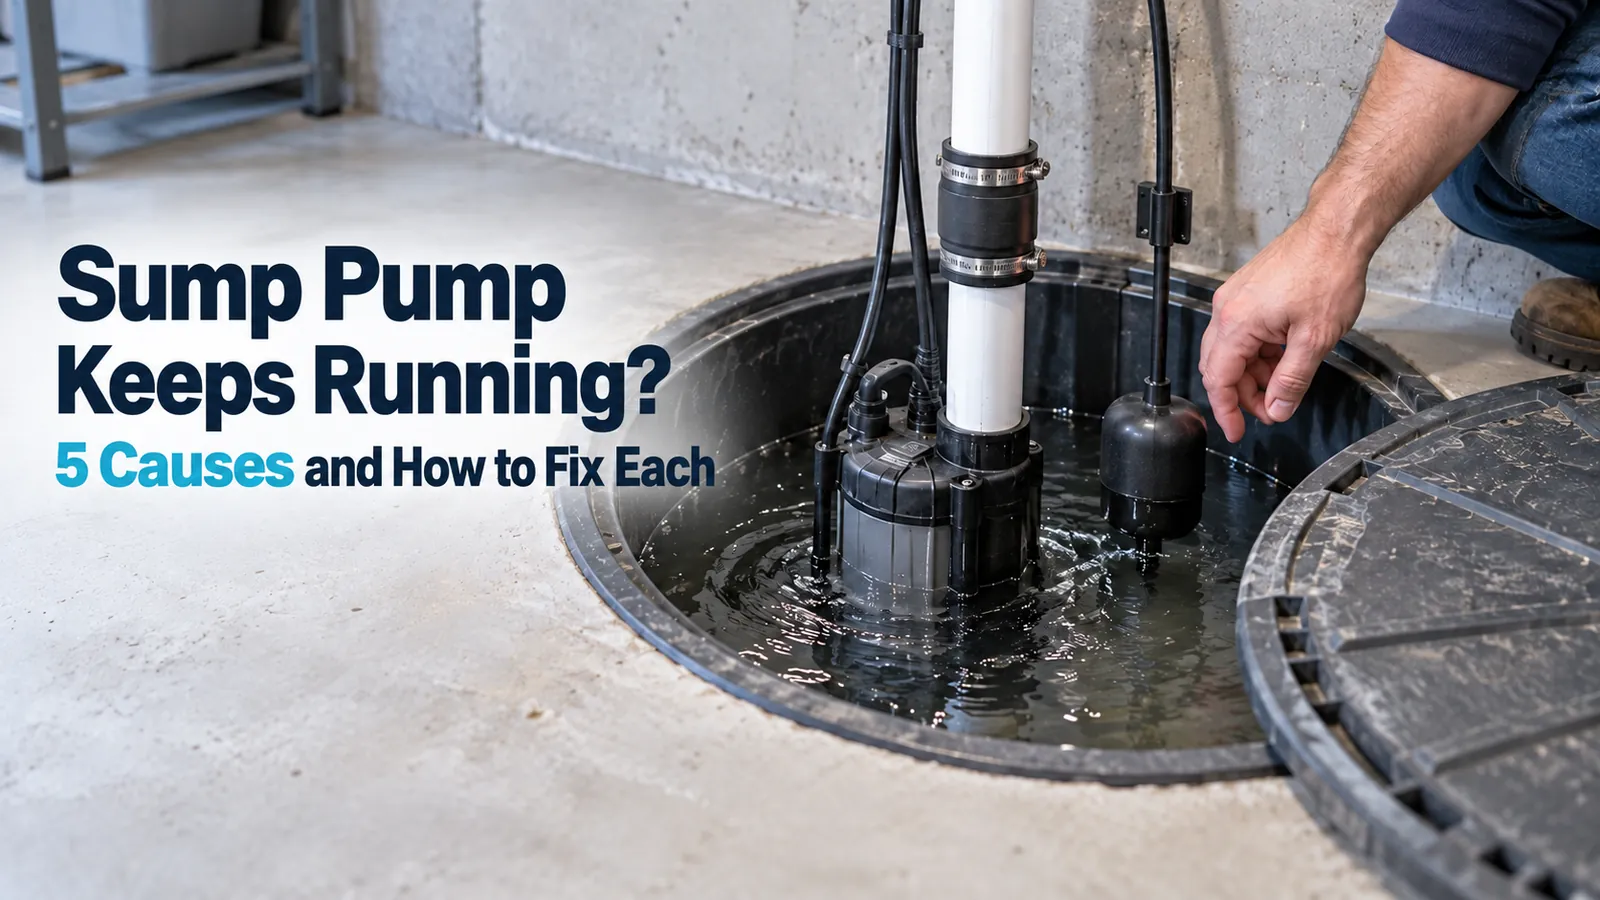
To stop a constant water flow into sump pit areas, you must first identify if the water is groundwater, a failed check valve, or a leak from your home’s plumbing. If the water is clear and the flow is steady regardless of rain, you likely have a high water table or a broken pipe. You can check your water meter; if it spins while all faucets are off, you have a plumbing leak that needs immediate attention from a professional plumber.
Reasons for constant water flow into sump pit

A sump pit fills constantly when the ground around your home is saturated, often due to a high water table. This water seeks the lowest point and drains into the pit through foundation drains or weeping tiles. This is a natural process for houses built in low-lying areas.
Another frequent cause is a faulty check valve on your sump pump discharge line. If this valve fails to close completely, water from the discharge pipe flows back into the pit after the pump turns off. This creates a cycle where the pump runs, stops, and immediately restarts because the same water keeps returning to the basin. You can verify this by listening for water rushing back into the pit immediately after the pump shuts down.
Finally, some homes experience continuous flow due to a leaking main water line or a persistent irrigation leak. If your local Environmental Protection Agency guidance suggests checking for hidden leaks, you should prioritize this if the water in your pit is clean and your water bill has recently increased. If the water is dirty or smells like soil, the issue is almost certainly related to external drainage rather than your home’s internal plumbing system.
Install a high-quality check valve
If your pump runs every few minutes and you hear water returning to the pit, installing a new, high-quality check valve is the best fix. This device prevents backflow by using a spring-loaded or swing-gate mechanism to seal the pipe once the pump stops. This fix is for homeowners who notice the pump cycles frequently even when it isn’t raining.
To install it, first unplug your pump and disconnect the discharge pipe above the existing valve. Remove the old valve and clean the pipe ends to ensure a tight seal with the new unit. Tighten the pipe clamps firmly, but don’t overtighten, as you might crack the plastic housing.
Once installed, plug the pump back in and run a test by pouring a bucket of water into the pit. If the pump shuts off and the water level stays steady, the valve is working correctly.
Note that if your discharge pipe is aged or brittle, you may need to replace a section of the PVC pipe to ensure the new valve fits snugly. If you aren’t comfortable working with plumbing pipes or if your pump is hardwired into your electrical panel, contact a licensed electrician or plumber. Working with water near electrical components carries a risk of shock, so always prioritize safety by turning off the power at the breaker before starting any work.
Extend your downspouts away from foundations
Redirecting rainwater is a highly effective way to reduce the amount of water reaching your sump pit. If your downspouts empty right next to your foundation, that water has nowhere to go but down into your basement drain system. This fix is perfect for homeowners who notice the sump pump cycles much more often during or immediately after rainstorms.
Purchase downspout extensions that carry the water at least 10 feet away from your home’s exterior walls. Ensure the ground slopes away from the foundation so water continues to move toward the yard rather than pooling near the basement wall.
You can test if this helps by observing the pump’s cycle rate during the next rainfall. If the pump runs less frequently than it did before you added the extensions, you have successfully reduced the external load on your drainage system.
If your yard is flat or the soil doesn’t drain well, you might need to bury the extensions or install a French drain to carry the water further away. This requires digging a trench, which can be physically demanding. If you have underground utility lines in your yard, contact your local utility provider to mark these lines before you begin any digging to avoid costly damage or injury.
Seal foundation cracks to stop seepage
When water enters the pit through cracks in the foundation walls or floor, sealing those gaps can stop the constant flow. This fix is reserved for cases where you can visually identify cracks that leak during heavy rain or high water table conditions. It’s worth the effort if you have a finished basement, as it protects your interior walls from moisture damage.
Use an epoxy or polyurethane injection kit to fill active cracks in the concrete. These kits are available at most hardware stores and include the necessary sealant and injection ports. Clean the crack thoroughly with a wire brush before applying the sealant to ensure it adheres to the concrete. For wide cracks, you may need hydraulic cement, which expands as it dries to create a waterproof plug.
If you find large, structural cracks that run horizontally or appear to be shifting, don’t attempt to fix these yourself. These indicate potential foundation failure that requires a professional structural engineer to evaluate. Attempting to seal structural cracks without proper support can lead to further damage to your home’s integrity. Always have a professional inspect foundation shifts to ensure your home remains safe and stable.
Common mistakes that make things worse
Directing downspouts into the foundation drain floods your weeping tile with roof water. This forces the system to manage thousands of gallons of runoff it was never designed to handle. If your basement floor remains damp after a light rain, check if your downspout elbows are physically coupled to the perimeter drain pipes.
Using a pump with insufficient horsepower for your specific water table causes the motor to run continuously. A standard 1/3 horsepower pump is often inadequate for homes with high water tables or heavy clay soil. If your pump cycles more than four times per hour during a storm, upgrade to a 1/2 horsepower model to prevent premature burnout.
Discharging water within ten feet of the foundation creates a recirculating loop. The water simply seeps back into the soil and returns to your sump pit. Always extend discharge lines at least fifteen feet away from the house, ideally toward a downward slope. A clogged intake forces the pump to cycle excessively, which can double your electrical costs.
Preventing future sump pit overflow

| If you’re doing this | Do this instead | Why |
|---|---|---|
| Leaving the pit cover off | Seal the pit cover tightly | Keeps debris out and prevents evaporation |
| Using a cheap, plastic check valve | Use a professional-grade silent valve | Lasts longer and prevents backflow noise |
| Relying on one single pump | Install a battery backup pump | Keeps your basement dry during power outages |
| Ignoring the pump cycle | Monitor the cycle frequency | Helps detect mechanical failure early |
A pump that cycles more than three times an hour during a dry spell indicates a failing check valve or a rising water table. If you hear the pump running constantly, pull the pit cover to check for a stuck float switch.
Most homeowners mistake a humming motor for a working pump. If the motor hums but the water level stays high, the impeller is jammed with silt. Clear this debris immediately to prevent the motor from burning out.
If your basement floor remains damp despite a running pump, your discharge pipe likely lacks a proper slope. The pipe must drop at least one-quarter inch per foot to ensure gravity clears the line completely. Without this pitch, standing water freezes in winter, creating a blockage that forces the pump to cycle until it fails. Replace any level horizontal runs with sloped PVC to avoid this common, costly repair.
Frequently asked questions
How long should a sump pump last?
A standard sump pump typically lasts between 7 and 10 years with proper maintenance. This estimate assumes the pump is sized correctly for your home’s water intake and isn’t running constantly. If your pump is over a decade old, test it frequently or consider a replacement.
Is it safe to leave a sump pump running constantly?
No, a sump pump is designed for intermittent use, and running it constantly will cause the motor to fail prematurely. If your pump never turns off, it indicates an issue with the check valve, a plumbing leak, or excessive water infiltration. Address the source immediately to prevent pump burnout.
Why is my sump pump cycling every minute?
Your pump is likely cycling frequently because water is flowing back into the pit from the discharge line due to a failed check valve. When the pump turns off, the water in the pipe drains back into the basin, triggering the float switch. Replace the valve to resolve this.
How much water is normal for a sump pit to have?
A small amount of standing water at the bottom of the pit is normal and prevents the motor from running dry. This depth is typically 1 to 2 inches depending on your model. If the water level is consistently high, investigate the drainage around your home’s foundation.
Can I fix a sump pump that makes a loud banging noise?
A loud banging noise usually indicates that the check valve is slamming shut, which can be fixed by installing a silent, spring-loaded valve. This noise occurs when the water column drops suddenly and hits the valve seat. A new valve will dampen this impact and reduce plumbing stress.
Conclusion
Maintaining your sump system ensures your basement stays dry. Check your pump, valves, and yard drainage regularly to keep the water moving away from your home. If you notice persistent issues, act quickly to prevent costly water damage.
