
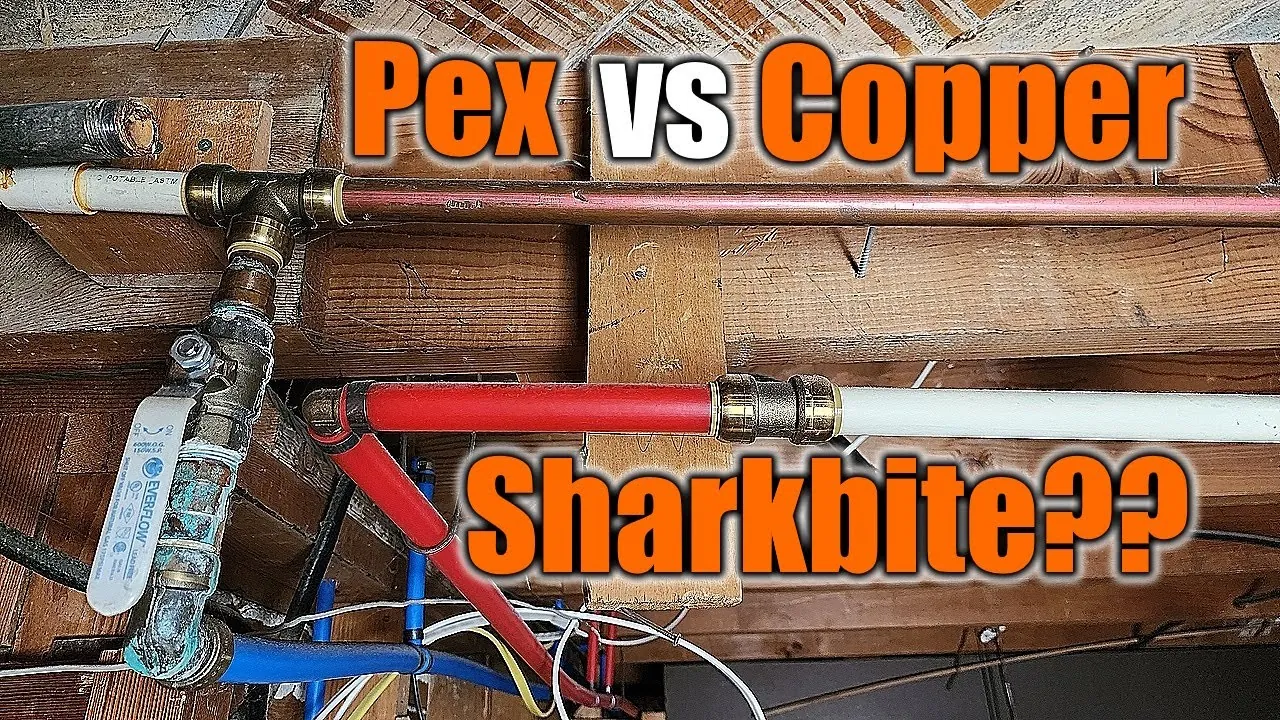
Copper is the better choice for visible pipes or outdoor lines because it lasts longer in sunlight, while pex vs copper pipes shows that flexible plastic is usually faster and cheaper for indoor plumbing renovations. If you have an easy, straight run, you’ll likely prefer the speed of plastic. If you’re working in a tight, older wall cavity, the rigid nature of metal might actually force you to open more wall space than you planned.
Comparing PEX and copper pipes
When you look at your options, you need to think about how they handle heat, pressure, and installation space. Each material serves a specific purpose in a home.
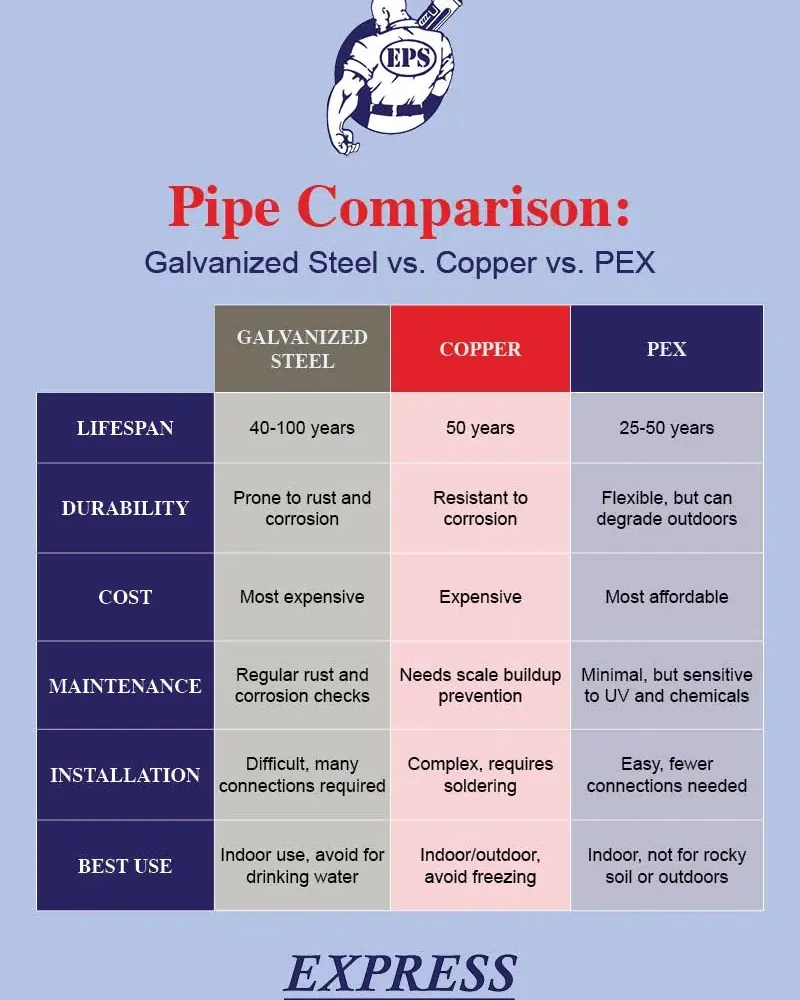
| Method | How long | Effort | Cost | Best for |
|---|---|---|---|---|
| Copper | 50+ years | High | High | Visible areas |
| PEX | 40-50 years | Low | Low | Retrofits |
| CPVC | 30-40 years | Medium | Low | Budget repairs |
Copper is rigid and resists UV light, making it the only reliable choice for exterior or exposed basement runs.
For interior walls, PEX is a common choice because it’s more resistant to bursting than rigid pipe when water freezes, though it isn’t immune to damage. Copper pipes will burst under the same conditions, leading to catastrophic flooding.
If you’re working with a tight budget, PEX or CPVC are your best bets. For those who want a system that will outlive the home and provides a classic look, copper remains the gold standard.
Always check your local building codes before starting. Some municipalities ban CPVC entirely due to fire safety concerns, while others mandate specific insulation thicknesses for copper. If you see a blue or red tint on your existing pipes, you’re likely working with PEX; don’t attempt to solder near these lines, as the heat will melt the material instantly.
Installing flexible plastic lines
Using PEX is popular because the tubing bends around corners, which means you don’t need to cut and solder a dozen small pieces. You simply pull a long, continuous line from your manifold to the fixture.
- Turn off the main water supply and drain the lines completely.
- Measure the distance from your distribution manifold to the sink or shower. Add at least 10 percent to this length to account for the natural sweep of the tubing.
- Cut the tube using a dedicated PEX cutter to keep the ends perfectly square. A jagged edge can damage the tubing or prevent a proper seal against the fitting barbs.
- Slide a crimp ring over the end and insert the brass or plastic fitting. Ensure the ring sits exactly 1/8 to 1/4 inch from the end of the tubing.
- Use a crimping tool to lock the ring and connection in place. Always verify the crimp with a go/no-go gauge to confirm the compression is within the specified tolerances.
This method is excellent for DIYers because it requires no open flame. Its main weakness is that it can degrade if exposed to direct UV light for long periods. If your pipes are in a crawlspace or basement, ensure you use proper hangers every 32 inches to prevent sagging. If you hear a thumping sound when turning on a faucet, you have likely left the lines too loose, which allows the tubing to vibrate against the joists.
Working with rigid metal piping
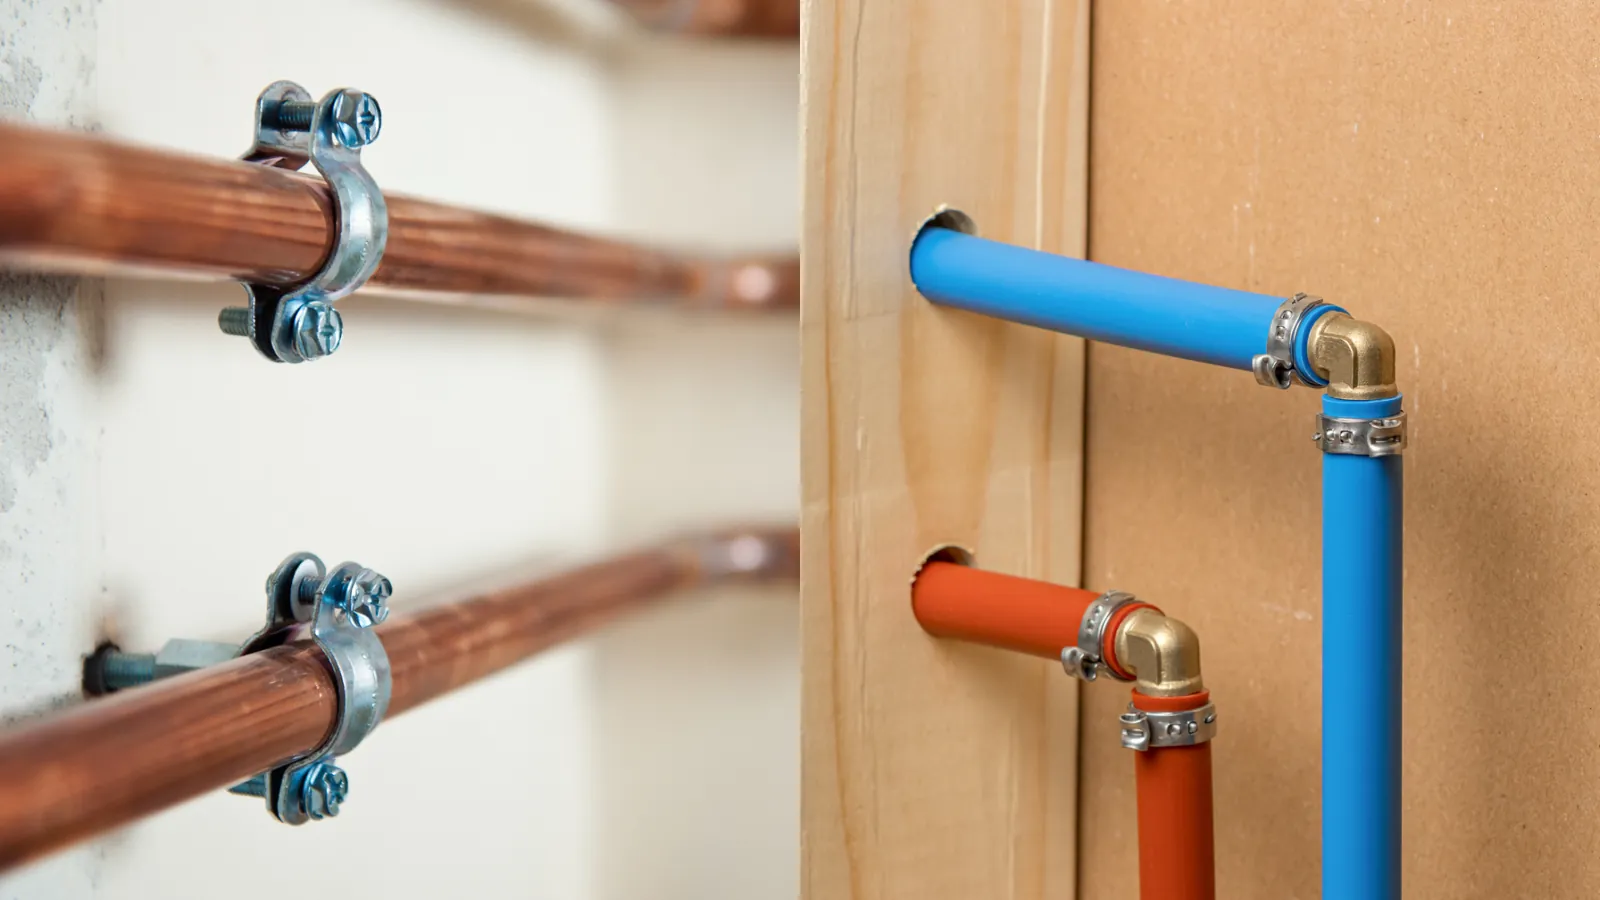
Copper remains the choice for professional plumbers who want a system that resists rodents and doesn’t sag. It requires more skill because you must cut each piece to the exact length and join them using heat.
- Clean the pipe ends and fittings with a wire brush until they’re shiny.
- Apply a thin layer of flux to both the pipe and the fitting.
- Heat the joint with a propane torch until the metal is hot enough to melt solder.
- Touch the lead-free solder to the joint, letting the heat pull it inside the fitting.
- Wipe away any excess solder with a damp rag once the joint cools.
This method is very reliable for hot water lines and outdoor irrigation. A significant drawback is the cost of copper, which fluctuates based on global market demand. If you have never soldered before, you should practice on scrap pieces first, as a bad joint will leak and cause water damage inside your walls.
Using chlorinated polyvinyl chloride
CPVC is a rigid plastic that you join using a chemical solvent cement. It’s simpler than soldering but requires more care than PEX because the joints are permanent once set.
- Cut the pipe to length using a hacksaw or plastic pipe cutter. Ensure the cut is square and remove any burrs with a file, as ragged edges prevent a proper seal.
- Apply primer to the outside of the pipe and the inside of the fitting.
- Brush the solvent cement onto the same surfaces while they’re still wet.
- Push the pipe into the fitting and give it a quarter turn to distribute the glue evenly.
- Hold the connection steady for 30 seconds to allow the bond to set.
If you’re working in temperatures below 40 degrees Fahrenheit, use a specialized cold-weather cement; standard formulas won’t cure correctly and will fail under pressure. Many installers make the mistake of using too much cement, which creates internal beads that restrict flow and weaken the joint. If the pipe slides into the fitting without resistance, throw the fitting away. A proper fit should feel snug before you even apply the glue.
This material is very resistant to corrosion and is often used in older homes where the plumbing is already plastic. The main weakness is that it becomes brittle over time, especially in areas with very high water pressure. Check your local code for the required pressure rating, as using Schedule 40 pipe where Schedule 80 is mandated will result in catastrophic failure.
Choosing the right material for your job
When you need to finish a project quickly, PEX is the clear winner because it doesn’t require drying time or fire safety precautions. If you’re doing this for the first time, PEX is also the most forgiving, as you can easily undo a mistake with a new fitting. However, if you want the best possible result for a high-end kitchen remodel where pipes might be visible, copper provides a professional, clean look that adds value to the home.
The trade-off is always between speed and permanence. If you choose the fastest path, you sacrifice the structural rigidity that metal provides. If you choose the most durable path, you pay more in both materials and the hours required to install them.
If you’re working in a tight crawlspace, PEX is the only practical choice because it bends around corners without extra elbows. Use copper only in open areas where you have enough room to maneuver a torch or a pipe cutter comfortably.
Most beginners make the mistake of buying cheap, generic fittings to save money. This often leads to slow leaks that rot your subfloor over several years. Always use a tool that meets the ASTM standard for your specific fitting type to ensure a watertight seal. If the connection tool feels loose, stop immediately. A poorly installed copper joint is far worse than a properly installed plastic one.
Rules for every plumbing project
Regardless of the material you pick, there are universal rules for maintaining a safe home water system. You must ensure that every connection is accessible for future inspections. Burying a joint inside a wall without a way to reach it’s a recipe for disaster. If a leak develops behind drywall, the resulting mold and structural rot will cost ten times more to fix than the original repair.
Always support your pipes with the correct straps or hangers. The weight of water is significant and can pull joints apart if the pipe isn’t secured correctly. Space these supports every four feet for rigid copper or CPVC to prevent sagging. If you hear a loud banging sound when closing a faucet, your pipes are likely vibrating against the framing because they lack proper cushioning.
If you’re unsure about your local plumbing codes, contact your municipal building department. They handle specific requirements and will dictate if you need a permit for your repair. If you aren’t comfortable working with pressurized systems, don’t hesitate to call a licensed plumber. Plumbing failures can cause thousands of dollars in water damage. Know your limits before you start; if you can’t shut off the main water valve in under sixty seconds, stop immediately.
Related guides
- Pipe Insulation Foam vs Heat Tape: Which One Do You Need in 2026
- 5 Best Drain Cleaner for Plastic Pipes Picks for Safe Plumbing in 2026
- Mini Pebble vs Pebble Tec: Which Pool Finish Wins in 2026
Frequently asked questions
Can I mix copper and plastic pipes?
Yes, you can mix them if you use the correct transition fittings. You should never connect them directly, as you must use appropriate transition fittings to ensure a secure, leak-proof mechanical connection. Always use a dielectric union or a specialized push-fit transition coupling to join the two materials safely. This ensures that the chemical and physical differences between the pipe types don’t compromise the integrity of your water lines.
How long do PEX pipes last?
PEX pipes are typically rated for 40 to 50 years of service in a standard residential home. This estimate assumes the pipes are kept away from direct sunlight and aren’t exposed to extreme temperatures outside the manufacturer’s recommended range. You should check the stamp on your specific brand of tubing, as some high-quality versions are tested for longer lifespans under ideal water chemistry conditions.
Is it safe to install my own plumbing?
Yes, it’s safe to install your own plumbing if you follow local codes and use the right tools. Most municipalities allow homeowners to perform their own repairs, provided the work passes a standard inspection. If you don’t feel confident in your ability to create a leak-proof seal, you should hire a professional to ensure your home remains protected from water damage and potential mold growth.
What happens if I use the wrong size pipe?
Using the wrong size pipe can lead to poor water pressure and noisy pipes throughout your home. If the pipe is too narrow, the water will struggle to reach your fixtures at the correct flow rate, causing a noticeable drop when multiple taps are open. Always check the original diameter of your existing plumbing and match it to ensure your system continues to function as it was originally designed.
How often should I check my pipes for leaks?
You should check your accessible pipes for leaks at least once every six months. Look for signs of corrosion on copper, or discoloration and swelling on plastic connections. If you notice a damp spot on a wall or a sudden increase in your water bill, you should perform an immediate inspection. Catching a small drip early can save you from a major repair bill later.
Conclusion
The choice between these materials depends on your budget and your skill level. If you’re a beginner, the flexibility of PEX makes it the most practical choice for almost any indoor repair. If you have the patience to learn soldering, copper is still the gold standard for long-term reliability and outdoor exposure. Regardless of what you choose, take your time with each connection to ensure your home stays dry for years to come.