
Quiet, energy-efficient bathroom exhaust fans moving at least 50 cubic feet of air per minute (CFM) are ideal for standard homes. These units prevent mold and fog by removing moisture. Whether you prioritize silence or high-speed ventilation, choose based on room size, ductwork, and features like LED lighting or humidity sensors.
Quick guide to bathroom ventilation
| Fan Type | Best For | Example |
|---|---|---|
| Standard Ceiling | Small to medium baths | Broan-NuTone 671 |
| Ultra-Quiet | Master bathrooms | Panasonic WhisperCeiling |
| Humidity Sensing | Preventing mold | Delta BreezIntegrity |
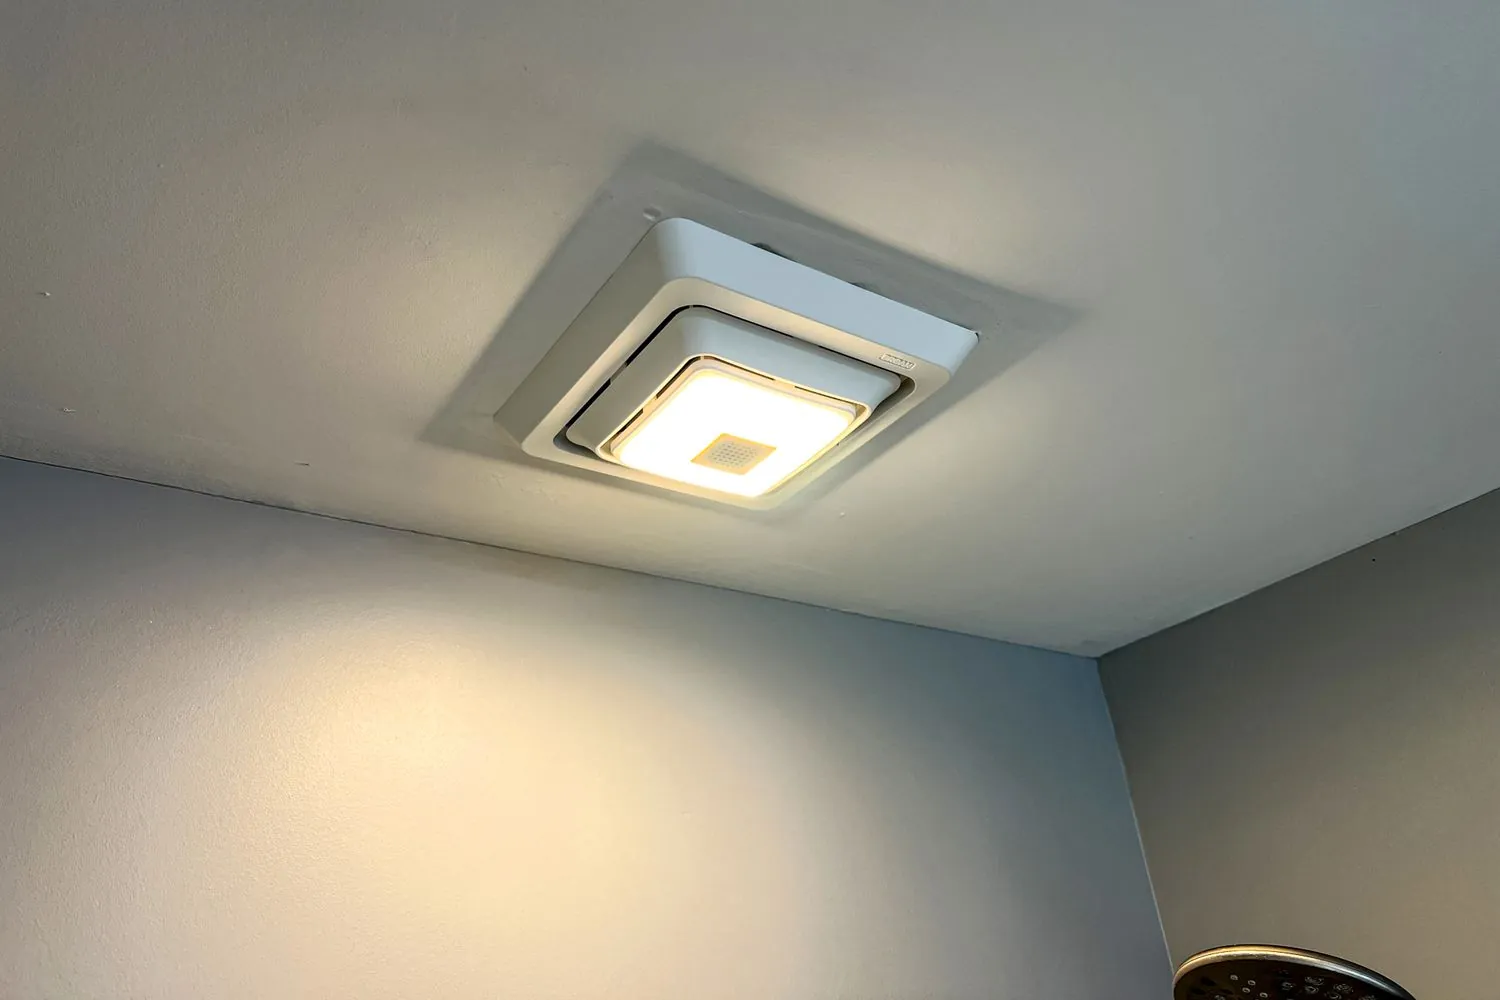
| Light-Integrated | Bathrooms lacking light | Home Decorators Collection |
| Wall-Mounted | Exterior wall venting | Panasonic WhisperWall |
Match your fan’s capacity to the room size by measuring the square footage. A standard rule is one cubic foot per minute (CFM) of airflow for every square foot of floor space, assuming an eight-foot ceiling. If your ceiling height exceeds eight feet, multiply your square footage by 1.1 to find the necessary CFM.
Always choose a unit rated for wet locations if you plan to install it directly above a shower or tub enclosure. These models feature specialized gaskets and corrosion-resistant housings that prevent electrical shorts from steam buildup. Standard fans installed in these zones often fail within two years due to moisture ingress.
Humidity-sensing fans are the most effective way to protect your drywall and paint. These units run automatically when they detect a spike in moisture levels, ensuring the fan stays on long enough to clear the air completely. Many homeowners mistakenly turn the fan off as soon as they step out of the shower, which leaves residual vapor to settle on surfaces.
If you’re replacing an existing fan, check the housing dimensions before you buy. A mistake many DIYers make is purchasing a high-performance fan that’s physically too large for the existing ceiling joists. This forces you to cut into framing, which adds hours of labor and potential structural damage.
If your bathroom lacks a window, prioritize a model with a high-lumen LED integrated light. These units consolidate your electrical wiring into one box, reducing the number of ceiling penetrations. This keeps your vapor barrier intact and prevents warm, moist air from escaping into the attic space during the winter months.
Standard ceiling exhaust fans
A standard ceiling-mounted fan is the most common choice for small to medium-sized bathrooms because it connects directly to your existing ceiling joists. These units suit homeowners who need a simple, reliable way to vent steam through the attic and out of the roof. They’re usually budget-friendly and don’t require major renovations to install if a hole is already cut in the drywall.
- Removes excess steam quickly during and after your shower.
- Helps maintain indoor air quality by lowering humidity levels.
- Fits between standard 16-inch on-center joist spacing.
To use one effectively, ensure your bathroom has at least 1 square foot of ventilation for every 100 square feet of floor space. If you’re replacing an old unit, check the housing dimensions on the manufacturer’s label to see if the new box will fit into the existing ceiling cutout without needing additional framing.
Most homeowners make the mistake of choosing a fan based solely on the size of the room rather than the volume of air it must move. You need a fan rated for at least 1 cubic foot per minute (CFM) of air for every square foot of floor space. If your bathroom has a vaulted ceiling or is larger than 100 square feet, calculate the CFM based on the total cubic volume of the room instead.
Avoid the error of using flexible, ribbed ducting for the entire run to the roof vent. This material creates significant air resistance that forces the fan motor to work harder, reducing its lifespan and increasing noise levels. Always use rigid metal ducting for the majority of the path, limiting flexible pipe only to the final, tight connection points.
You can determine if your current fan is struggling by holding a single square of toilet paper against the intake grille while the motor is running. If the fan can’t hold the paper in place, your ductwork is likely obstructed or the motor has lost its suction capacity. In these cases, a simple cleaning of the fan blades may restore performance, but a persistent failure indicates a need for a complete unit replacement.
If you notice condensation dripping from the fan housing after a shower, your ductwork is likely uninsulated. Cold air in the attic causes the warm, moist exhaust to condense before it exits the roof. Wrap the duct in R-8 fiberglass insulation to prevent this moisture from leaking back into your bathroom ceiling.
Ultra-quiet bathroom fans
Ultra-quiet fans use advanced motor technology to move high volumes of air without creating a loud hum. These are ideal for master bathrooms or homes where you prefer a peaceful environment while bathing. They often include larger housings that distribute airflow more evenly, which reduces the harsh noise associated with high-speed blades.
Operates at a low sone level, usually below 1.0 sones.
Moves air steadily to prevent moisture buildup on walls.
Includes specialized mounting brackets to reduce vibration noise.
These fans work best when paired with insulated flexible ducting, which prevents the “tunnel” sound that happens when air moves through bare metal pipes. If you’re installing one, verify the sones rating on the box; a lower number means a quieter fan. For a bathroom measuring 50 square feet, a unit rated at 50 CFM is sufficient, but if your bathroom is larger, you should increase the CFM proportionally to ensure effective air exchange.
Most homeowners make the mistake of choosing a fan based solely on the CFM rating while ignoring the duct diameter. If your existing ceiling opening uses a 3-inch duct but the new ultra-quiet fan requires a 4-inch or 6-inch pipe, the restricted airflow will force the motor to work harder. This creates a high-pitched whistling sound that negates the benefits of the quiet motor. Always measure your current ductwork before purchasing the unit.
You can distinguish between a high-quality unit and a cheap imitation by checking the housing material. A sturdy, heavy-gauge steel housing absorbs vibrations, whereas thin plastic housings often rattle against the drywall. If the fan feels flimsy in your hands, it will likely become a source of mechanical noise within a year of daily use.
If you’re renovating an older home, inspect the joist spacing in your ceiling. Many ultra-quiet models require a wider footprint than standard builder-grade fans. If your joists are spaced 12 inches apart rather than the modern standard of 16 inches, you may need to cut and reframe the ceiling structure to fit the larger housing.
Apply this simple rule for optimal performance: if your bathroom has a shower or tub, choose a fan with a humidity sensor that triggers automatically. If your bathroom is strictly for a toilet and sink, a standard wall switch or a simple timer is sufficient. Using a sensor in a room without a shower leads to unnecessary cycling, which wears out the motor bearings prematurely.
Finally, ensure the exterior vent hood has a backdraft damper that seals tightly when the fan is off. A loose damper allows wind to push air back into the bathroom, creating a flapping noise that no amount of motor insulation can suppress. If you hear a rhythmic tapping during windy days, the issue is your exterior cap, not the fan itself.
Humidity sensing exhaust fans
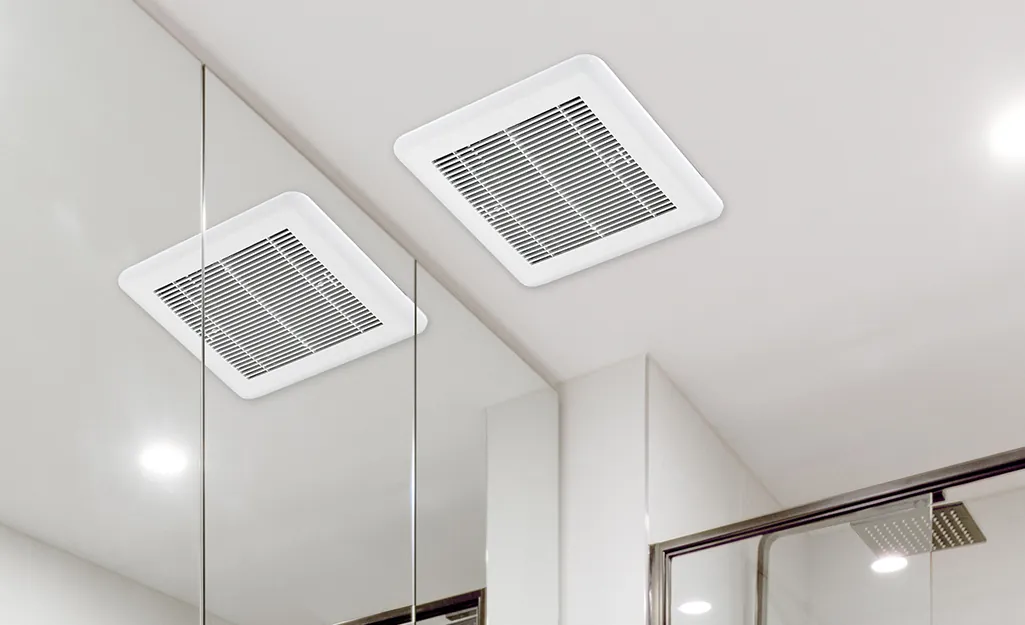
Humidity-sensing fans automatically turn on when they detect a rise in moisture levels and turn off when the room is dry. This feature is perfect for busy households where family members might forget to switch the fan on or leave it running for too long. These units take the guesswork out of ventilation, ensuring you never return to a damp, musty bathroom.
Most modern sensors operate on a relative humidity threshold, typically adjustable between 50% and 80%. If your bathroom mirrors fog up consistently even with the fan running, your sensor is likely set too high. Lower the threshold by ten percent increments until the fan triggers before condensation begins to bead on the glass.
These units require a constant hot wire connection, which differs from standard manual switches. If your current switch box lacks a neutral wire, you may need an electrician to add one before the sensor can function correctly. Many homeowners mistakenly attempt to wire these into a simple two-wire loop, which results in the fan flickering or failing to power the internal logic board entirely.
You must also account for the specific layout of your bathroom. If the sensor is placed directly above the showerhead, it will trigger prematurely due to the immediate steam plume. Ideally, mount the unit at least three feet away from the shower stall to ensure it measures the room’s ambient moisture rather than localized vapor.
If you live in a climate where the outdoor humidity frequently exceeds 70%, these sensors can struggle to find a “dry” state to trigger the shut-off command. In these regions, use a model with a built-in timer override. This allows the fan to run for a set duration, such as twenty minutes, regardless of the sensor reading.
Controlling moisture is the most important factor in preventing indoor mold growth, making these sensors a practical choice for high-humidity climates. By automating the ventilation cycle, you protect paint and drywall from long-term saturation. This simple upgrade prevents the structural degradation that occurs when moisture lingers in wall cavities, saving you from costly repairs down the line.
Wall-mounted bathroom fans
Wall-mounted fans are designed to vent directly through an exterior wall rather than through the attic or roof. They’re the best choice for bathrooms located on the ground floor or in rooms where roof access is difficult or impossible. These units are often easier to service because you can reach the motor from the outside or by removing the interior grille.
- Vents air horizontally for shorter, more efficient duct runs.
- Eliminates the need for roof caps or attic ducting work.
- Simple to install in bathrooms that share an exterior wall.
You must ensure the exterior wall is clear of electrical lines or plumbing pipes before cutting the required hole. If you have a thick wall, measure the distance from the interior drywall to the exterior siding to ensure the fan’s housing length is sufficient to reach both sides. If the unit is too short for your wall thickness, you’ll need a mounting sleeve to bridge the gap and keep the assembly stable.
Other ventilation solutions
Light-integrated fans combine an exhaust fan with an overhead light, which is useful if your bathroom has limited ceiling space for separate fixtures. They’re best for small powder rooms where you want to save space while keeping the area bright and well-ventilated.
If your room measures less than 40 square feet, this single-fixture approach prevents the cluttered look of multiple ceiling cutouts. However, avoid these if you rely on high-intensity task lighting for grooming, as the fan motor’s vibration can sometimes cause flickering in cheaper LED bulbs.
Dual-speed fans allow you to toggle between a low-power mode for constant, quiet air exchange and a high-power mode for clearing steam after a hot shower. These are ideal for homeowners who want to balance energy efficiency with heavy-duty performance.
If you notice persistent mold growth on your bathroom ceiling, keep the fan on the low-speed setting 24/7 to maintain a steady airflow. If the mirror stays fogged for more than five minutes after you exit the shower, you’re likely under-utilizing the high-speed setting.
Inline fans are installed in the attic space above the bathroom, which makes them nearly silent inside the room. They’re best for luxury renovations where you want the highest possible ventilation power without hearing the motor running directly above your head. Because the motor is remote, you can install a much larger fan than a standard housing would permit. This is the only reliable way to vent a bathroom that shares a wall with a bedroom or home office.
If you have a long, winding duct run to the exterior, choose an inline fan. Standard ceiling-mounted fans often lack the static pressure required to push air through more than ten feet of flexible ductwork. If you hear a rattling sound when your fan is running, you have likely installed a standard unit that’s struggling against too much backpressure. In this case, switching to an inline motor will resolve the noise while drastically improving the actual moisture removal rate.
Choosing your bathroom fan
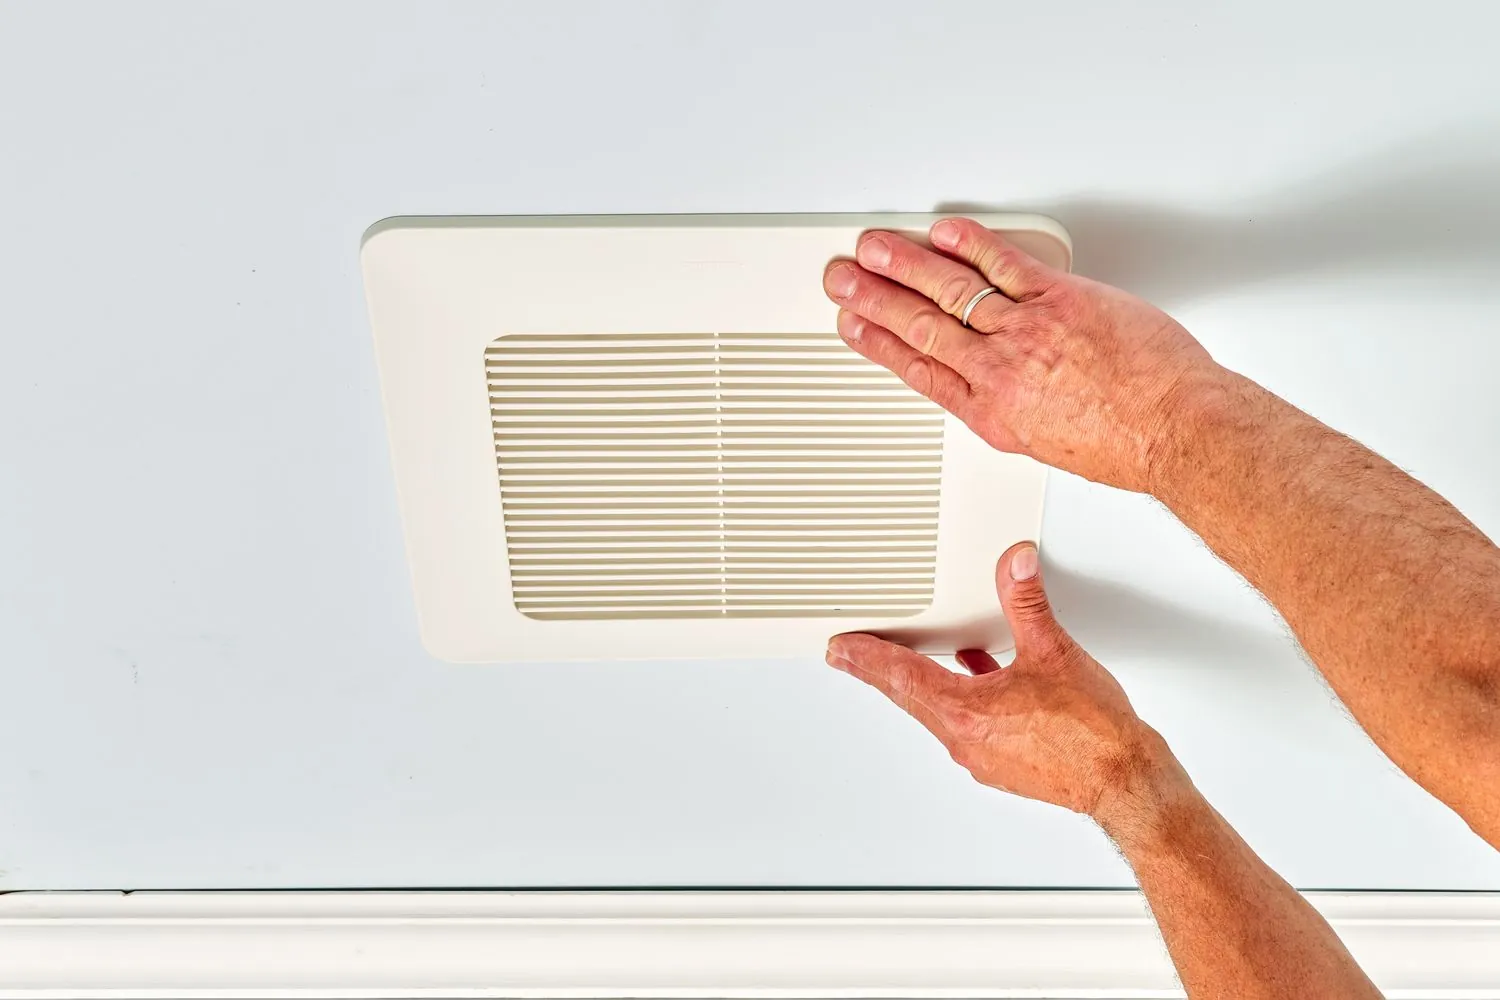
Selecting the right unit comes down to your bathroom size, your budget, and how much noise you can tolerate. First, measure your bathroom’s square footage; a general rule is to provide 1 CFM of air movement for every square foot of floor space.
If your bathroom is 80 square feet, look for a fan rated at at least 80 CFM. If you have high ceilings or a large garden tub, add 50 CFM to your total to account for the extra volume of air that needs moving.
Next, consider your installation constraints. If you have attic access, a standard ceiling fan is the easiest path. If you don’t have attic access, a wall-mounted fan is the only realistic option. Finally, think about your lifestyle. If you value silence, spend the extra money on an ultra-quiet model.
If you’re prone to forgetting to turn the fan on, a humidity-sensing model will save you from future mold issues. These options can’t be easily combined into one unit, so pick the feature that matters most to your daily routine, as upgrading later requires a full replacement of the housing and ductwork.
Frequently Asked Questions
How do I know if my bathroom fan is strong enough?
Your fan is strong enough if it clears all mirror fog within 10 minutes of finishing your shower. If the mirrors stay foggy longer than this, your fan is likely underpowered or the ducting is blocked.
Can I install a bathroom fan myself?
You can install a fan yourself if you’re comfortable with basic electrical work and attic access, but you should stop and call a licensed electrician if you can’t find a neutral wire or if the wiring in your ceiling appears damaged or frayed.
Why is my bathroom fan so loud?
Your fan is loud because the motor bearings are worn out or the ductwork is clogged with dust. Clean the grille first, and if the noise persists, replace the entire motor assembly or the fan unit itself.
How often should I clean my bathroom fan?
You should clean the fan grille and blades regularly to ensure maximum airflow, as the frequency depends on usage and the manufacturer’s owner’s manual. Dust buildup acts as a brake on the fan blades, which reduces the amount of air the unit can move.
What happens if I don’t use a bathroom fan?
Without a fan, moisture stays trapped in the room, which leads to peeling paint, warped wood trim, and the growth of mold on walls and ceilings.
Does it matter where I vent the air?
It matters a lot, as you must vent the air to the outside of your home. Venting into an attic space is a common mistake that causes wood rot and mold inside your roof structure.
Conclusion
Start by checking your current ceiling cutout size to see if it matches standard housing dimensions. A successful installation results in a quiet, steady pull of air that clears steam without significant vibration or rattling. If the fan makes a loud grinding noise or fails to move air after you have cleared the dust, it’s time to stop and contact a professional electrician to check for internal wiring faults or motor failure.