
Water pressure is the invisible force that keeps your home running smoothly, yet it’s often ignored until a pipe bursts or a shower turns into a miserable trickle. Finding the best water pressure gauges allows you to monitor your plumbing system’s health proactively, helping you avoid costly damage and ensure your appliances function at peak efficiency. Depending on the build quality, material, and specialized features, you can expect to spend between $10 and $45 for a reliable diagnostic tool that will last for years.
Key Takeaways
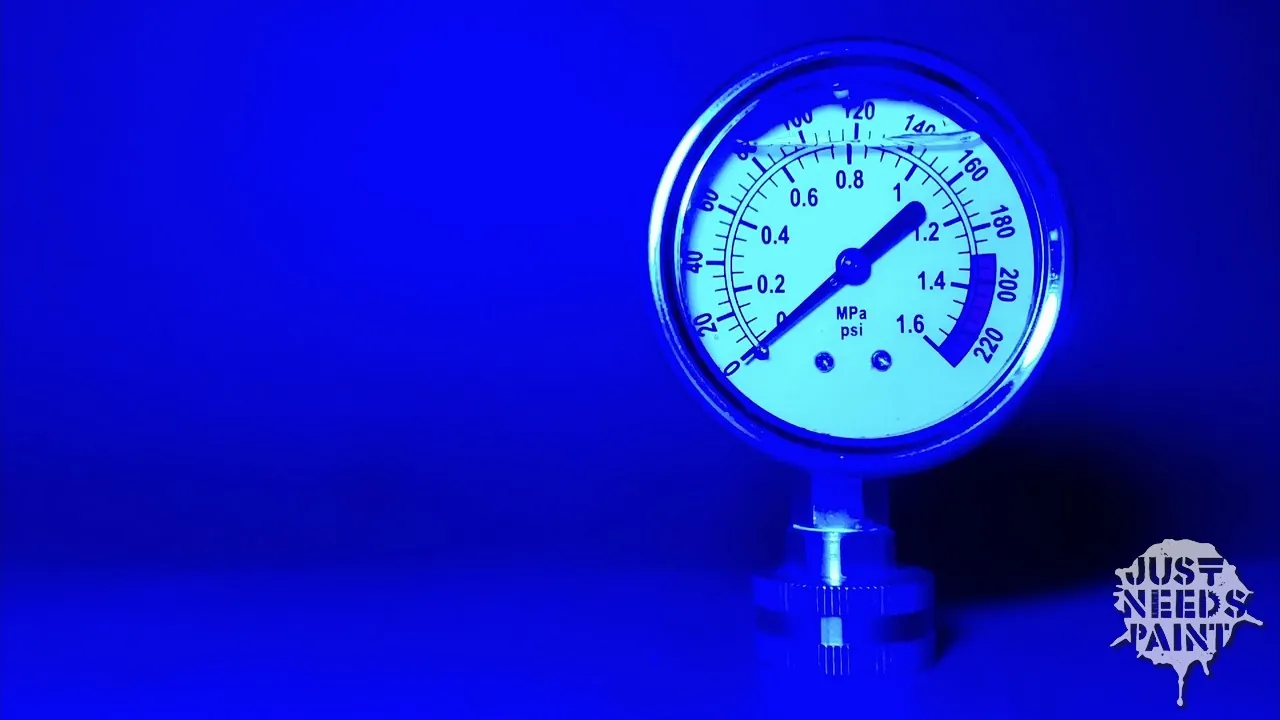
- Always verify that your gauge includes a standard hose thread connection to ensure it fits your outdoor spigot.
- Look for gauges with a maximum reading indicator that stays at the highest pressure point to identify silent water hammer issues.
- Check the dial face diameter; larger faces are significantly easier to read when kneeling in tight crawl spaces.
- Always perform your pressure test at the lowest point in the house to get the most accurate reading of your system’s baseline.
- Ensure the unit is rated for at least 200 PSI to prevent damage during pressure surges or testing.
Why Do You Need a Gauge?
Your home’s plumbing is a pressurized system designed to operate within specific ranges. Most residential systems are engineered for a baseline between 40 and 60 PSI. When pressure exceeds 80 PSI, you risk blowing out seals in your dishwasher, damaging your water heater, and significantly shortening the lifespan of your faucets. Using a gauge provides the baseline data required to decide if you need to install a pressure-reducing valve.
Beyond protecting appliances, a gauge is your first diagnostic tool when troubleshooting. If you notice a sudden drop in pressure, a gauge helps determine if the issue is a municipal supply problem or a localized clog within your home’s internal plumbing. By identifying these issues early, you can avoid the high cost of emergency plumber visits.
| Condition | Typical PSI Range | Recommended Action |
|---|---|---|
| Optimal Range | 40 – 60 PSI | No action required |
| High Pressure | 80 – 100+ PSI | Install pressure regulator |
| Low Pressure | 10 – 30 PSI | Check for leaks or clogs |
| Pressure Spikes | 100+ PSI | Inspect expansion tank |
Types of Water Pressure Gauges
Not all gauges are created equal, and the internal mechanism dictates how long the device will remain accurate. You’ll generally find two primary categories of construction: dry-filled and liquid-filled.
Dry-Filled Gauges
These are the most common and affordable options. They use a simple mechanical movement to push the needle. While they’re lightweight and easy to store, they can be prone to “needle bounce” if the water pressure fluctuates rapidly, making them slightly harder to read in unstable systems.
Liquid-Filled Gauges
These are the gold standard for durability. The internal housing is filled with glycerin or silicone oil, which dampens the movement of the needle. This prevents vibration and provides a much steadier reading. They’re also superior at preventing internal corrosion, as the fluid keeps the sensitive components sealed away from moisture and sediment.
Top Brands and Reliable Models
When selecting your tool, focus on manufacturers that specialize in industrial or residential flow control. Reliable brands often include heavy-duty brass fittings that resist stripping when you attach them to a spigot.
- Watts Water Technologies: Known for their industrial-grade precision and long-standing history in the plumbing sector.
- Orbit Irrigation: A solid choice for homeowners looking for an affordable, easy-to-use gauge for garden and irrigation testing.
- Rain Bird: Produces high-quality diagnostic tools that are built to withstand the rigors of irrigation system installation.
- Winters Instruments: Offers professional-grade gauges that are often used in commercial applications but remain accessible for homeowners.
How to Test Your Pressure
Performing a test is a straightforward process that requires no special tools other than the gauge itself. First, find an outdoor spigot that’s as close to the main water supply as possible. Ensure no other water-using appliances, such as dishwashers or washing machines, are running, as this will skew your results.
Step-by-Step Testing Procedure:
- Attach the gauge to the spigot, ensuring the rubber washer is seated correctly to prevent leaks.
- Open the spigot handle fully to allow the water to fill the gauge housing.
- Observe the needle as it climbs to the maximum pressure reading.
- If your gauge has a “lazy hand” or secondary marker, slide it to the current pressure reading to track any potential spikes over the next hour.
- Close the spigot and slowly bleed off the pressure before disconnecting the gauge.
Warning: Never attempt to tighten your gauge using pliers on the dial face or the housing itself; only use a wrench on the hexagonal brass nut to avoid cracking the lens or damaging the internal calibration.
What Are Common Pressure Problems?
Understanding the symptoms of pressure imbalances helps you interpret your gauge readings more effectively. If you see readings consistently above 80 PSI, your system is under constant stress. This is often caused by municipal water suppliers increasing the line pressure to accommodate high-density neighborhoods.
Conversely, if you see a reading that drops significantly when you open a second faucet, you likely have a restriction in your supply line. This could be caused by mineral buildup inside galvanized steel pipes or a partially closed main shut-off valve.
According to the Environmental Protection Agency, even a small, silent leak in your plumbing can waste thousands of gallons of water per year, highlighting the importance of using a gauge to verify that your system is tight and efficient.
Comparing Construction Materials
The durability of your gauge is largely determined by the materials used in the casing and the connection point. Always prioritize brass over plastic components.
| Feature | Brass Construction | Plastic Construction |
|---|---|---|
| Thread Durability | High (resists stripping) | Low (prone to cross-threading) |
| UV Resistance | Excellent | Poor (tends to brittle) |
| Impact Strength | High | Moderate to Low |
| Cost | $20 – $45 | $8 – $15 |
Pro Tip: If you live in a region with hard water, always rinse your gauge with distilled water after use to prevent calcium deposits from clogging the inlet port, which can lead to inaccurate readings over time.
Interpreting Your Gauge Readings
Reading a gauge is simple, but understanding the nuances of the numbers is where you become a true pro. A steady reading is ideal, but a needle that pulses or vibrates suggests that your water pressure regulator may be failing or that an expansion tank is improperly charged.
If you’re testing for a potential water hammer issue, watch the gauge needle while someone else turns a faucet off quickly. If the needle jumps significantly higher than your baseline pressure, you’re experiencing a water hammer. This surge can be many times higher than your standing pressure and is the leading cause of pipe joint failure.
Is Your Gauge Calibrated Correctly?
Over time, mechanical gauges can lose their calibration. If you suspect your gauge is giving an incorrect reading, you can perform a simple check. Compare your gauge reading to that of a neighbor who has a known-accurate gauge, or test it against a high-quality digital pressure gauge.
If you find that your gauge is consistently off by 5 PSI or more, it’s time to replace it. A gauge that’s out of calibration is worse than having no gauge at all, as it provides a false sense of security regarding the safety of your home’s infrastructure.
Maintenance and Long-Term Storage
To keep your gauge in top working order, you must store it properly. Avoid throwing it into a toolbox where the lens can be scratched or the dial face cracked. A dedicated padded pouch or the original box is the best storage solution.
- Clean the threads: Wipe away dirt or grit before attaching to prevent damage to your spigot threads.
- Lubricate seals: A tiny dab of silicone grease on the rubber washer keeps it pliable and ensures a watertight seal every time.
- Keep it dry: If you have a dry-filled gauge, ensure no moisture remains inside the mechanism after use to prevent interior rusting.
Addressing Pressure Fluctuations
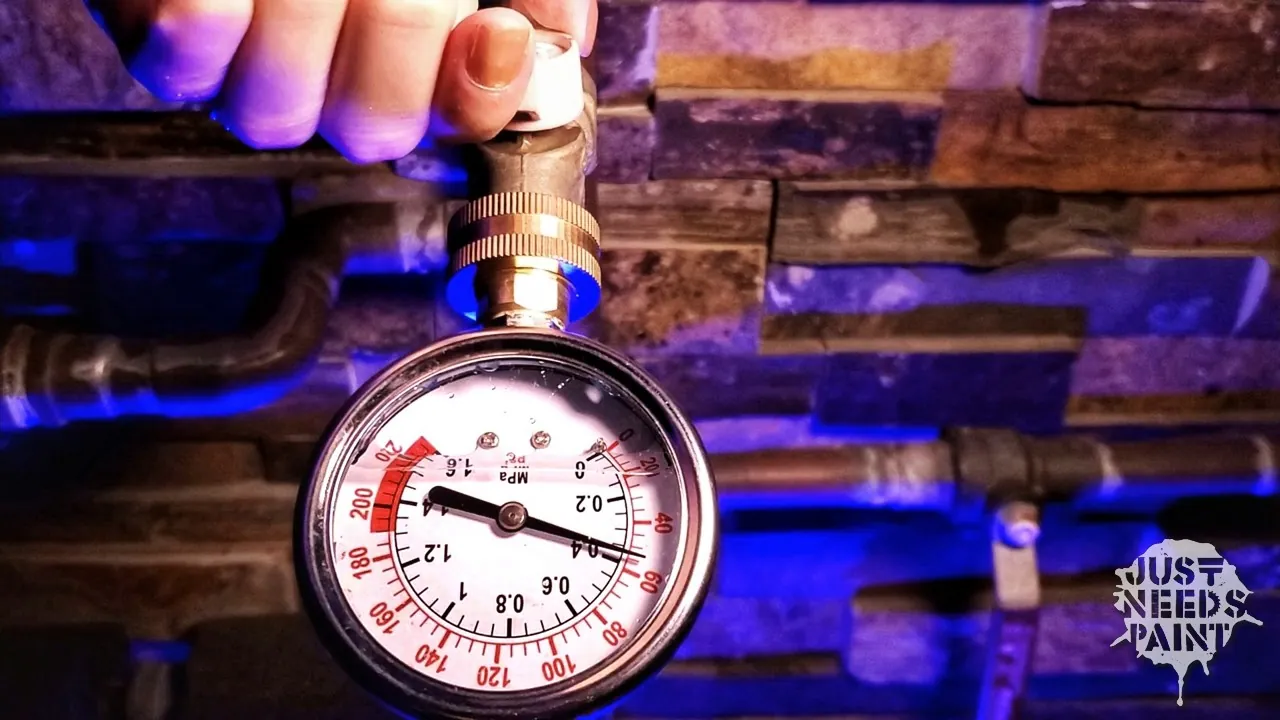
Fluctuations are often more dangerous than consistently high pressure. If your gauge shows a wide variance throughout the day, you may have a failing municipal regulator or an issue with your home’s pressure-reducing valve.
If your pressure is low, check your main water shut-off valve. Sometimes, these valves aren’t fully opened, or the internal gate may be partially detached, creating an artificial restriction. By systematically using your gauge at different points in the house, you can isolate whether the problem is the main line or an internal fixture.
Frequently Asked Questions
Can I leave the gauge on the spigot permanently?
No, it isn’t recommended to leave a pressure gauge attached to an outdoor spigot permanently. Most residential gauges aren’t designed to withstand constant exposure to UV rays, freezing temperatures, or the continuous stress of the water main pressure. Leaving them on can lead to seal degradation, lens fogging, and eventual failure of the internal spring mechanism. Always remove and store the gauge after your test is complete.
Does a gauge tell me about water volume?
No, a pressure gauge only measures the force of the water against the pipe walls, not the volume or flow rate. You can have high pressure but very low volume if your pipes are clogged with sediment or scale. If you have high pressure but a poor flow at your faucets, the problem is likely a restriction in your plumbing, not the municipal water pressure.
What should I do if my pressure is too high?
If your gauge consistently reads over 80 PSI, you should install or replace your pressure-reducing valve. This device is typically installed on the main water supply line where it enters your home. Reducing the pressure to a safe range of 50 to 60 PSI will protect your appliances, prevent pipe leaks, and reduce the strain on your plumbing joints, ultimately extending the life of your entire home water system.
Are digital gauges better than analog ones?
Digital gauges often provide higher precision and are easier to read at a glance, as they display the exact number on an LCD screen. However, they rely on batteries and electronic sensors that can be more sensitive to temperature extremes and moisture. For most homeowners, a high-quality, liquid-filled analog gauge is the preferred choice because of its ruggedness, reliability, and lack of dependence on battery power.
Can I use a gauge for irrigation systems?
Yes, a water pressure gauge is an essential tool for irrigation systems. Sprinkler heads are designed to operate within a specific pressure range; if the pressure is too low, the spray pattern will be uneven, and if it’s too high, the water will mist and evaporate before reaching the plants. Using a gauge allows you to fine-tune your valves to ensure every sprinkler head performs as intended.
Conclusion
To ensure your home plumbing remains in peak condition, perform a pressure test at your main outdoor spigot once every six months. If your results show a reading consistently above 70 PSI, start researching local plumbing professionals who can install a pressure-reducing valve to protect your pipes and appliances from unnecessary stress and potential long-term damage.