
The most reliable choice for a home is a digital hygrometer-thermometer with a wireless remote sensor, as your need for real-time indoor monitoring versus simple dial-gauge simplicity determines the best outdoor thermometer for home use. For accuracy within one degree, digital models are superior to traditional liquid-filled or bimetallic spring sensors.
Choosing between a high-tech wireless unit and a classic analog gauge depends on your home layout and your need for data. If you have a sheltered porch, a simple analog dial works fine, but for clear readings from across a room, a digital display is the only practical option.
Choosing the best outdoor thermometer for your home
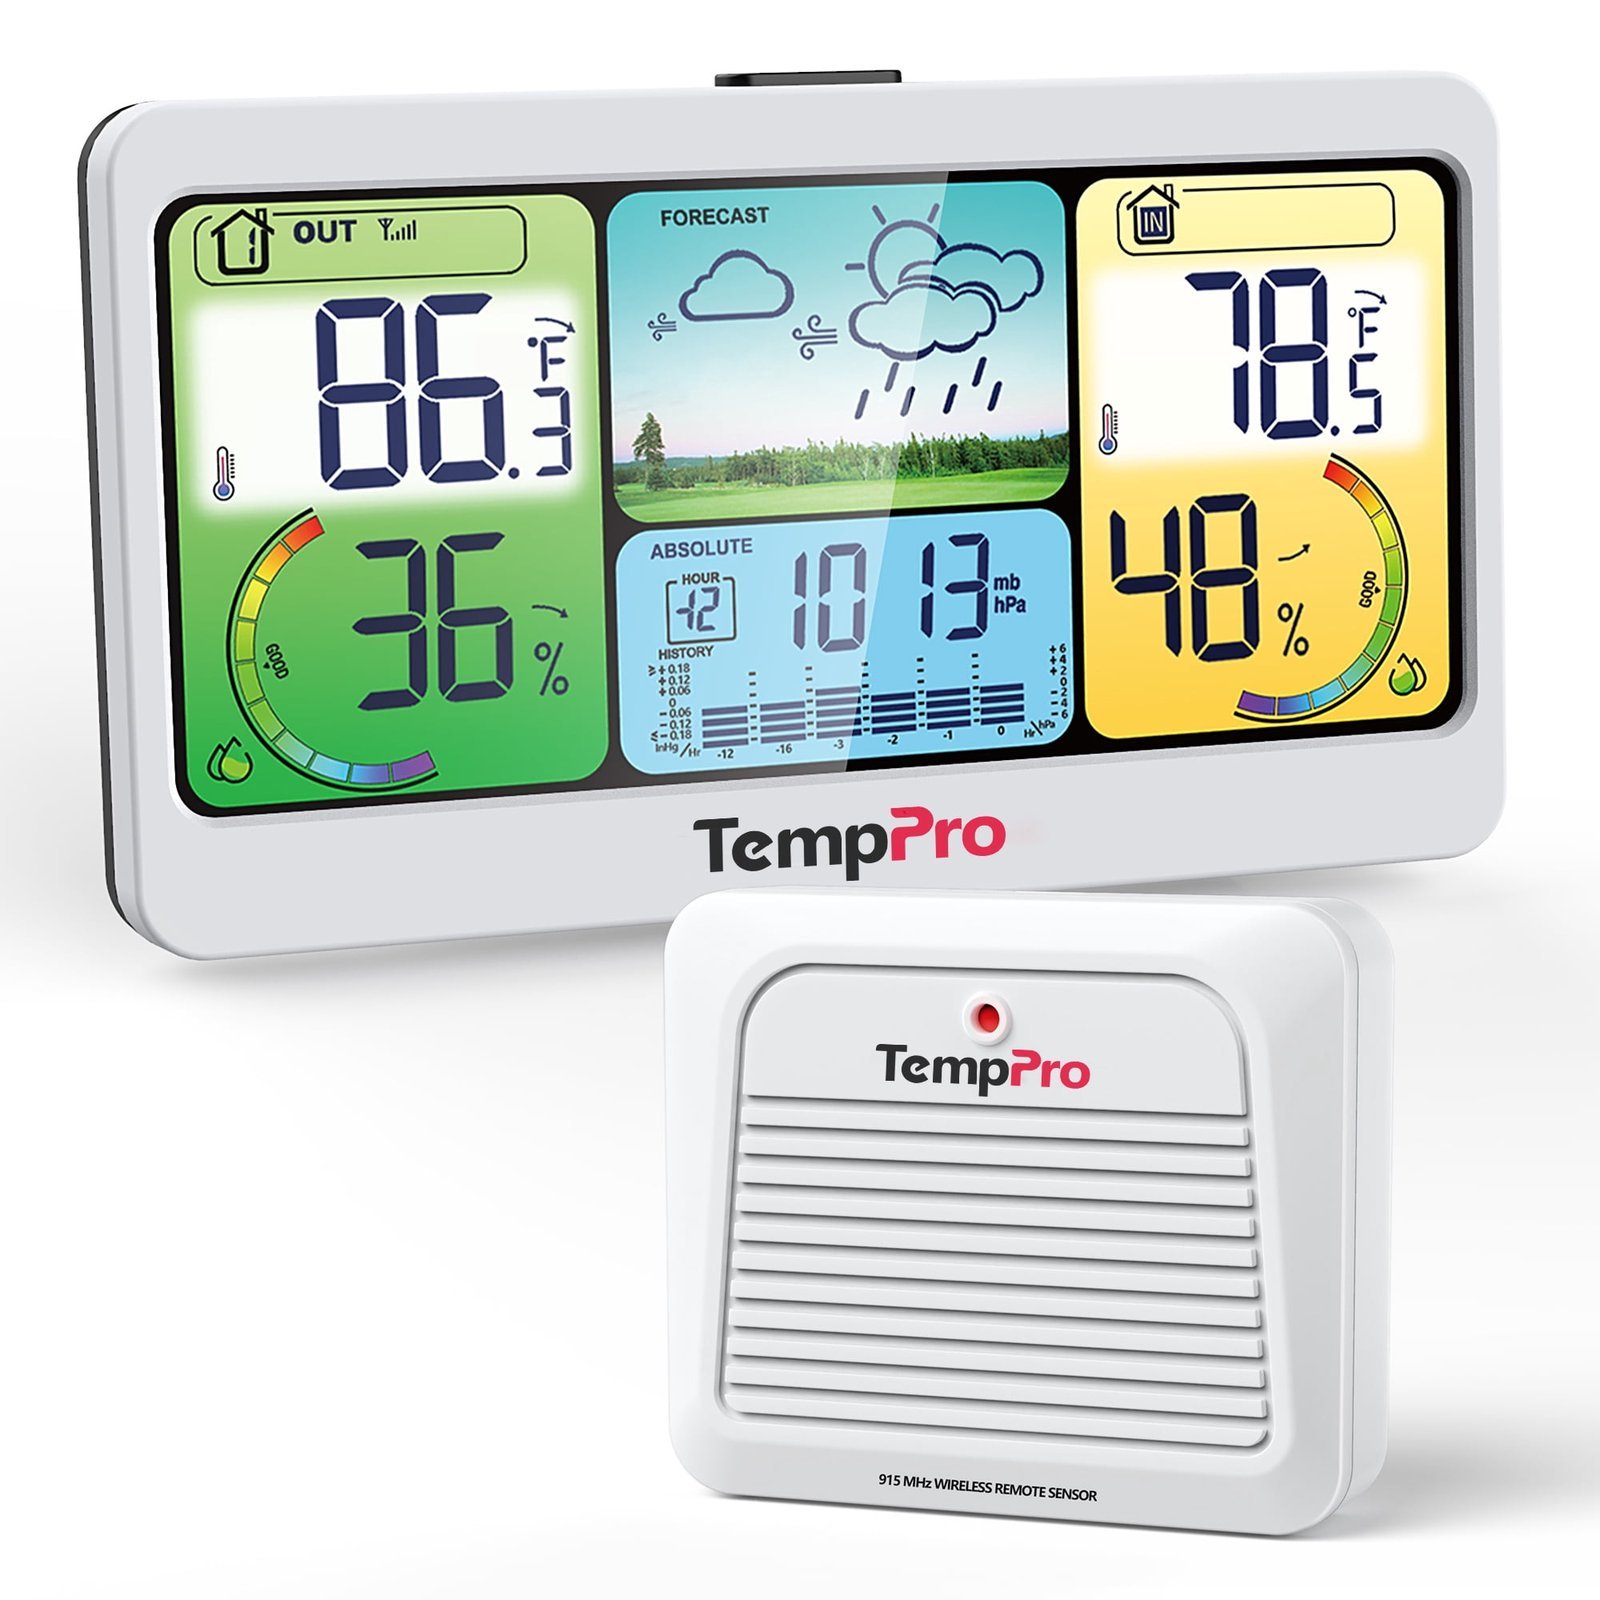
Homeowners choose their outdoor tools based on how much effort they want to spend on maintenance and placement. A person living in a climate with extreme temperature swings needs a device with a wide operating range, whereas someone in a mild area can prioritize aesthetics over rugged durability.
The most common reader for this content is a homeowner looking for a simple, readable display to track daily weather patterns. These individuals usually have a specific spot in mind, like a shaded wall or a porch railing. Another type of reader is the hobbyist gardener who requires precise data to manage plant health, often needing multiple sensors to track microclimates in different corners of their yard. This article serves the casual homeowner best, as it focuses on ease of use and long-term reliability. We assume that you want a device that remains accurate for at least two years without constant calibration. If you need a professional-grade weather station with data logging and internet connectivity, you should look for advanced meteorological equipment rather than a standard home thermometer.
Factors that influence your reading accuracy
The placement of your sensor is the most significant factor in getting a true air temperature reading. If you place a thermometer in direct sunlight, the casing will absorb heat, causing the device to report a temperature significantly higher than the actual ambient air. Always mount your sensor in a shaded, well-ventilated area about five feet above the ground to avoid heat radiating from the soil.
Battery chemistry also changes how your device performs in extreme cold. Standard alkaline batteries often lose voltage when temperatures drop below freezing, which can cause wireless displays to lose connection or show blank screens.
Obstructions between your sensor and the display unit will degrade signal strength. Even if a manufacturer claims a range of three hundred feet, that figure assumes an open line of sight with no walls, trees, or metal siding in the way. If you must mount the sensor through a brick wall or around a corner, expect your effective range to drop by at least half.
The type of sensor material matters for longevity. Plastic housings that aren’t UV-stabilized will become brittle and crack after two summers of sun exposure. When you shop, look for labels that mention UV-resistant casing, as this is the primary difference between a device that lasts one season and one that survives for five years.
Setting up your system correctly
- Install fresh, high-quality lithium batteries in the outdoor sensor, as they perform better in cold than standard alkaline cells.
- Place the sensor in a shaded spot at least five feet above the ground to avoid ground-level heat reflection.
- Keep the sensor at least ten feet away from any windows or vents that might leak indoor air.
- Sync the sensor with the indoor display unit before mounting it permanently to ensure the wireless connection is stable.
- Use a mounting bracket or a small screw to secure the sensor to a non-metallic surface to prevent thermal conduction.
- Verify the reading against a local weather report after twenty minutes of settling time to ensure the baseline is correct.
- Check the display for a low-battery icon regularly to prevent signal loss during extreme weather.
The most important judgement call is ensuring the sensor remains in the shade throughout the entire day. If you see the temperature spike during the afternoon while the sky is clear, your sensor is catching direct sun and needs to be moved.
Comparing different thermometer types
The following table highlights the common options available for home use, helping you decide which style fits your specific environment and monitoring needs.
| Type | Best For | Effort | Watch For |
|---|---|---|---|
| Analog Dial | Simple porches | Low | Rusting gears |
| Digital Wireless | Indoor viewing | Medium | Battery drain |
| Liquid Tube | Garden areas | Low | Glass breakage |
| Bluetooth Smart | Data tracking | High | Signal range |
| Wi-Fi Connected | Smart homes | High | Internet outages |
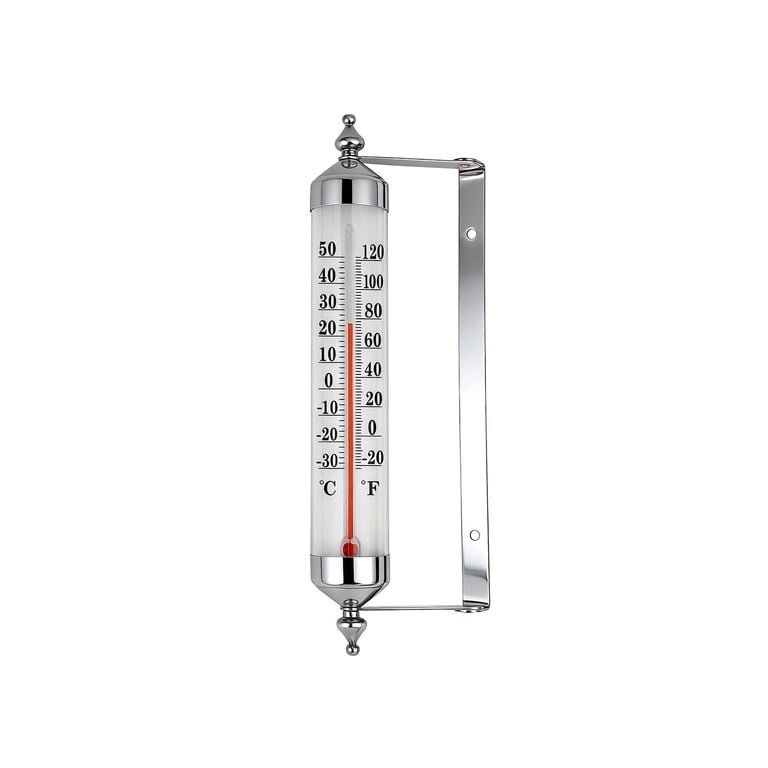
Choose an analog dial if you need a “set it and forget it” tool for a porch. These rely on bimetallic strips that rarely fail, but they often lose accuracy by 3 to 5 degrees after two years of exposure to humidity.
If you track trends, move to Bluetooth or Wi-Fi models. These sensors log data directly to your phone, which is essential for gardeners monitoring frost risks. However, if your sensor sits more than 30 feet from the base station, signal interference from thick exterior walls often causes “data gaps” that ruin your charts.
Avoid the common mistake of placing liquid tube thermometers in direct sunlight. Always mount these in a north-facing, shaded location to ensure the liquid reflects ambient air temperature rather than solar radiation.
Finally, check your battery chemistry before winter arrives. Standard alkaline batteries often fail when temperatures drop below freezing. If you live in a cold climate, switch to lithium (non-rechargeable) batteries to prevent the sudden power loss that renders digital displays blank during the coldest nights of the year.
Improving the accuracy of your readings
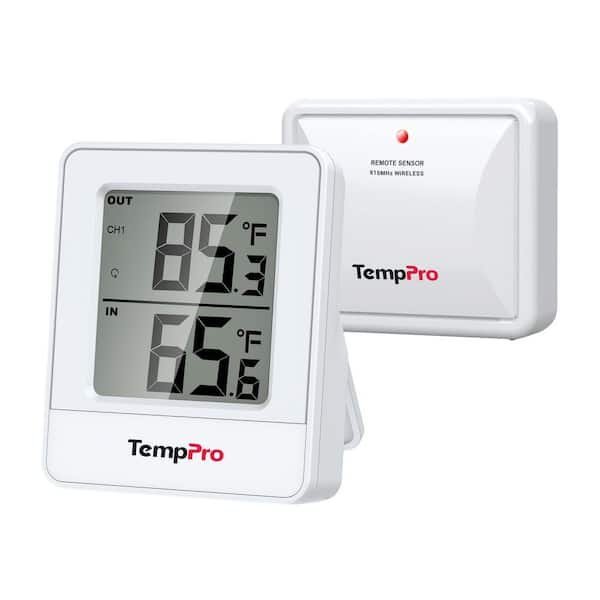
Proper sensor placement
Accuracy relies entirely on the environment surrounding your sensor. Experienced users know that heat reflected off a concrete patio or a brick wall will skew results by as much as ten degrees. Keep your sensor mounted on a wooden or plastic surface that doesn’t hold heat, and ensure it stays in the shade from sunrise to sunset. If you have no natural shade, you must build a small, ventilated cover to protect the sensor from direct sunlight while allowing air to flow freely.
Maintenance routines
Digital sensors often fail because of moisture buildup inside the casing. If you live in a humid climate, apply a small amount of silicone grease to the battery compartment seal to keep water out. Beginners often make the mistake of leaving old batteries in the unit during the off-season, which leads to acid leaks that destroy the circuit board. Always remove the batteries if you plan to store the unit for more than three months, and check the sensor housing for spider webs or debris that can block airflow and trap heat.
Troubleshooting common display issues
| What you notice | What it usually means | What to do first | How to stop it |
|---|---|---|---|
| Blank display | Dead batteries | Replace with lithium | Use lithium cells |
| Erratic jumps | Solar interference | Move to shade | Build a shield |
| Signal loss | Range exceeded | Move unit closer | Check for metal |
| High readings | Heat reflection | Relocate to wood | Avoid masonry |
| Foggy window | Humidity leak | Dry with silica | Seal the seam |
If your display remains blank after a battery swap, check the contact springs for corrosion. A white, powdery residue indicates an acid leak that prevents a clean circuit. Use a cotton swab dipped in white vinegar to neutralize the area before inserting fresh cells.
Erratic jumps often stem from direct sunlight hitting the sensor housing rather than the solar panel. If the unit spikes only between 1:00 PM and 3:00 PM, shade is your primary fix. A simple plastic baffle will solve this without blocking the light needed to charge the internal capacitors.
Signal loss is rarely a hardware failure. If you’re beyond 50 feet, check for large metal objects like HVAC ducts or steel siding. These act as Faraday cages that block radio frequencies. Move the receiver to a clear line of sight.
High readings occur when sensors are mounted on brick or concrete. These materials store heat long after sunset, skewing your data. If you can’t move the unit to a wooden post, mount it on a spacer to create a one-inch air gap.
Foggy windows indicate a failed gasket. If you see condensation, place the unit in a sealed bag with silica packets for 48 hours. Once dry, apply a bead of silicone sealant around the seam to prevent permanent sensor damage.
Understanding the measurement limits
Home thermometers are categorized by their intended use and environmental tolerances. The American National Standards Institute provides guidelines on how consumer-grade devices should be tested for basic accuracy, but these standards don’t apply to every low-cost plastic gauge found in big-box stores.
Always check the device packaging for a stated accuracy rating, usually expressed as plus or minus one or two degrees. If the device doesn’t list an accuracy rating, it’s intended for general reference rather than precise data collection.
A common mistake is assuming that digital displays imply higher precision. In reality, a digital readout can be accurate to within 0.5 degrees while the sensor itself suffers from a 3-degree calibration drift. If your sensor sits in direct sunlight, expect an error of up to 10 degrees regardless of the manufacturer’s rating.
To determine if your device is sufficient, apply this rule: if the data informs a high-stakes decision, such as greenhouse climate control or medical storage, you must use equipment that carries a certificate of calibration from an accredited laboratory. For casual home use, a device with a stated tolerance of +/- 2 degrees is adequate.
If you’re mounting a device on a structure that you don’t own, ensure you follow local building codes regarding the attachment of objects to shared exterior walls.
What your thermometer really costs
The initial price of a thermometer is just the entry fee, as the real cost includes batteries and the time spent on maintenance. A basic analog dial costs very little but may need replacement as the internal spring loses its tension.
Digital units have a higher upfront cost but offer more value if you need to monitor conditions without stepping outside. The hidden cost for wireless models is the frequency of battery changes; in cold climates, you’ll replace batteries twice as often as in temperate zones.
If your device uses lithium batteries, expect to pay three times more per replacement than alkaline versions, though they survive longer in freezing temperatures. If you see your screen fading or the digits flickering, replace the power source immediately to prevent internal corrosion from leaking acid.
Never buy a device based on a low price tag alone, as the cost of frustration when a unit fails during a storm is higher than the price of a more durable model. A common mistake is ignoring the moisture rating; if the device isn’t properly sealed, moisture will ruin the sensors within a single season.
Check the manufacturer’s website for the expected battery life of your specific model to calculate the long-term running expense. If a unit lacks a published battery life estimate, treat it as a disposable tool rather than a permanent fixture.
Protecting your device long-term
Once installed, your thermometer needs very little attention, but you should inspect it during the change of seasons. Look for signs of insect nests inside the sensor casing, as these can block the air vents and cause the internal thermometer to report incorrect temperatures. If you notice the display numbers becoming faint, change the batteries immediately to prevent them from leaking and ruining the battery contacts. If the unit uses an outdoor sensor with a small LCD screen, check that the seal is still tight; if you see condensation, place the sensor in a bowl of dry rice for twenty-four hours to pull the moisture out before resealing the battery door.
When to choose a different monitoring method
If you need to track soil temperature for planting, a standard air thermometer is the wrong tool. Soil has different thermal properties than air, and you’ll need a probe-style thermometer designed to be buried at specific depths. If you’re trying to measure precise indoor-outdoor temperature differentials for energy efficiency, a simple consumer thermometer won’t provide the logging features required to see patterns over time. In these cases, look for specialized agricultural sensors or professional data loggers that provide better resolution. If you have a high-value greenhouse or a delicate garden, don’t rely on a single wireless sensor; use a system that sends alerts to your phone if the temperature crosses a critical threshold, as a single failure could result in significant financial loss.
Is it safe to leave a digital thermometer outside in the rain?
Yes, most modern outdoor sensors are rated as weather-resistant, but they should be mounted in a sheltered location. Ensure the sensor isn’t in a position where water can pool around the battery compartment, and check that the seal is tight before mounting it in an exposed area.
How long do wireless outdoor sensors last?
With lithium batteries, a high-quality outdoor sensor lasts for a long period in moderate climates. Exposure to extreme heat or sub-zero cold will reduce this lifespan as it ages. Always check the manufacturer’s manual for the specific operating temperature range of your device.
Can I calibrate a home outdoor thermometer?
No, most consumer-grade digital thermometers are factory-calibrated and can’t be adjusted by the user. If your device is consistently off by more than two degrees, the sensor is likely failing or damaged and should be replaced rather than repaired.
Why does my outdoor thermometer show a higher temperature than the news?
It’s likely catching reflected heat from a nearby wall or direct sunlight. Move the sensor to a location that stays in the shade for the entire day and ensure it’s mounted on a non-metallic surface to get a more accurate ambient air reading.
Does the distance between the sensor and display matter?
Yes, the signal strength drops significantly when there are walls or large metal objects between the two units. If your display shows a connection error, try moving the indoor unit closer to the exterior wall where the sensor is mounted to improve the wireless signal.
What happens if I use alkaline batteries in cold weather?
The voltage will drop quickly, causing the sensor to lose connection or the display to show inaccurate readings. Use lithium batteries for any device that will be exposed to temperatures below freezing, as they maintain their voltage much better than standard alkaline options.
Start by choosing a location that stays in the shade throughout the entire day, as this is the only way to get a true reading. Mount your sensor securely on a wooden surface, wait for the display to sync, and check the reading against a local source to confirm it’s working. If the display shows an error, move the units closer together.