
For most homeowners, the best natural gas propane leak detectors are portable, battery-operated units designed to detect combustible gases at levels well below the lower explosive limit. These devices provide an early warning system that sounds an alarm when concentrations of methane or propane reach a dangerous threshold in your living space. This guide explains how to select, install, and maintain these safety tools to ensure your home remains protected against hidden gas leaks.
How natural gas and propane leak detectors work
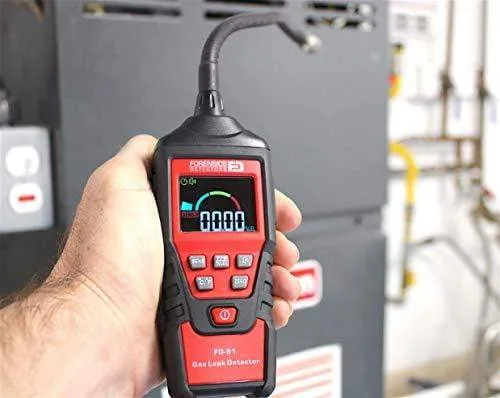
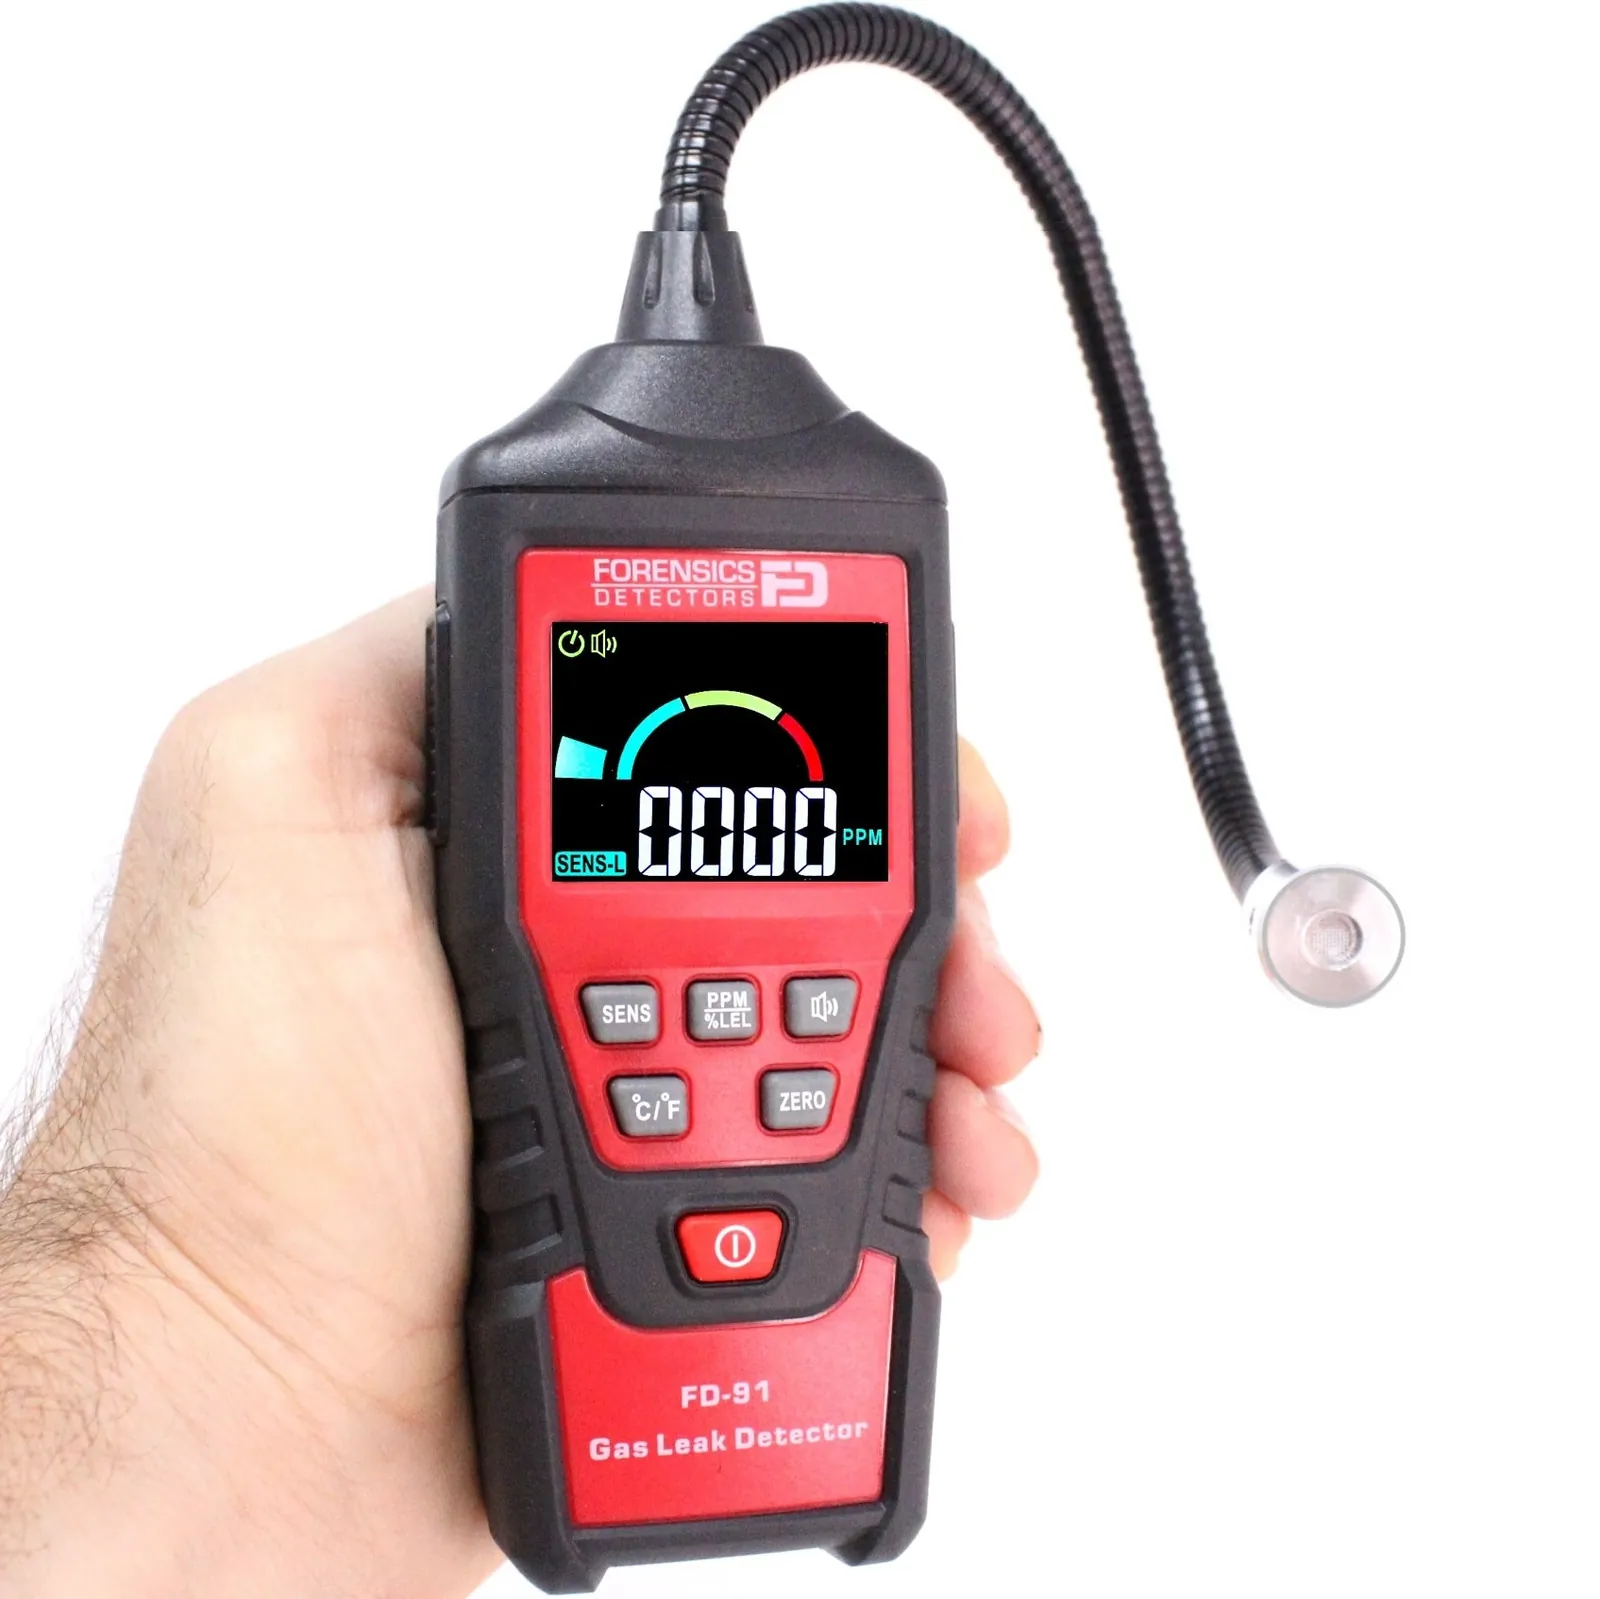
A gas detector is a safety device designed to sense the presence of gases like methane, which is found in natural gas, or propane in the air. These units use sensors that trigger an alarm when gas molecules interact with a heated element or a chemical sensor inside the device. While many people believe these tools can detect carbon monoxide, most units are specific to either combustible gases or carbon monoxide, but rarely both in one sensor.
These detectors are essential for anyone who uses gas appliances, such as stoves, furnaces, or fireplaces. If you have gas lines running through your walls, a leak can occur at any connection point due to shifting foundations or aging seals. It’s a mistake to treat these devices as a replacement for professional plumbing inspections, as they only identify leaks that are already present in the air.
The mechanism relies on the detection of gas parts per million (PPM) in the air. When the concentration rises, the sensor’s electrical resistance changes, causing the onboard processor to sound an audible alarm.
This happens within seconds of the gas reaching the sensor, provided there’s enough airflow in the room to carry the gas to the device. Always check the manufacturer’s manual to see if your specific model is calibrated for natural gas, propane, or both, as these gases have different densities.
Installing and Operating Your Device
Proper placement is the most important factor for accurate detection. Because natural gas is lighter than air, you should install these detectors near the ceiling, while propane is heavier than air and requires placement near the floor. Follow these steps to ensure your setup is effective:
- Determine your gas type: Identify if your home uses natural gas (methane) or liquid propane (LP).
- Choose the location: Place the unit 6 to 12 inches from the ceiling for natural gas, or 6 to 12 inches from the floor for propane.
- Keep away from drafts: Don’t install the unit directly over a stove or near a window where air movement will dilute the gas concentration.
- Plug in or mount: If the unit is plug-in, ensure the outlet isn’t controlled by a light switch.
- Test the sensor: Press the “test” button weekly to ensure the alarm sounds and the battery is functional.
- Replace batteries: If using a battery-operated model, swap the batteries based on usage and the manufacturer’s instructions, or whenever the low-battery chirp begins.
If you smell a strong “rotten egg” odor, don’t wait for the alarm to trigger. Leave the building immediately and call your utility company or emergency services from a safe distance outside. According to the Pipeline and Hazardous Materials Safety Administration, you should never operate light switches or electrical devices if you suspect a gas leak, as a small spark could ignite the gas.
Comparison of Detection Features
| Situation | What to use | How long | What to watch for |
|---|---|---|---|
| Natural gas stoves | Plug-in sensor | 5-7 years | Ceiling placement |
| Propane tanks/heaters | Floor-mount unit | 5-7 years | Floor placement |
| Large basement areas | Hardwired system | 10 years | Monthly test button |
| Temporary camping | Portable battery unit | 2-3 years | Battery life status |
Natural gas is lighter than air, so mount your plug-in sensor within 12 inches of the ceiling. If you place it near the floor, the gas will dissipate before the alarm triggers. Conversely, propane is heavier than air and sinks to the lowest point in a room. Always install propane detectors no more than 6 inches above the floor to catch a leak before it pools.
Hardwired systems for basements require a dedicated circuit to prevent accidental power loss. If your home experiences frequent power surges, install a battery backup module to maintain protection during outages. A common mistake is installing these units inside a utility closet, which muffles the alarm. Mount them in open, central areas where the sound can travel to sleeping quarters.
If you’re choosing between a sensor and a full system, look at your primary heat source. If you use a furnace, prioritize a hardwired unit with a digital readout. If you only use gas for cooking, a simple plug-in unit is sufficient.
Always check the manufacture date on the back of the device, not the purchase date. Sensors degrade from the moment they’re produced, so a unit sitting on a shelf for a long period has already lost a portion of its effective lifespan.
Achieving Consistent Performance
Experienced users know that sensor saturation is the primary cause of false readings. If you place a detector too close to a gas range, the small amount of gas released during ignition can trigger the alarm repeatedly, causing “alarm fatigue.” To avoid this, keep the detector at least 5 to 10 feet away from the gas appliance while maintaining the correct height relative to the floor or ceiling.
Regular cleaning is another detail that separates good results from bad ones. Dust or pet hair can clog the sensor intake, preventing gas from reaching the internal components. Once a month, use a vacuum attachment with a soft brush to gently clean the vents of the detector. If your unit has a digital display, check that it shows a “0” or “normal” status; if it shows a constant error code, the internal sensor has likely expired and requires replacement.
Avoid using aerosol sprays, cleaning agents, or harsh chemicals near the detector. Many of these products contain alcohols or volatile organic compounds that can trip the sensor, leading to a false alarm. If you’re painting or cleaning nearby, temporarily cover the detector with a plastic bag to prevent contamination. Always remove the cover as soon as the area is ventilated.
Troubleshooting Common Issues
| What you notice | What it usually means | What to do first |
|---|---|---|
| Alarm chirping | Low battery | Replace batteries |
| Constant low-level beep | Sensor expiry | Replace the unit |
| Alarm goes off near stove | Sensor saturation | Move unit further away |
| No power light | Outlet/power failure | Check breaker or outlet |
If your alarm chirps every 60 seconds, don’t simply swap the batteries and assume it’s fixed. Dust buildup inside the sensing chamber often mimics a low-battery signal. Use a vacuum hose or a can of compressed air to clear the vents before resetting the device.
When a unit reaches its ten-year lifespan, the internal chemical sensor degrades beyond calibration. Don’t attempt to clean or reset an expired unit. Check the manufacture date stamped on the back; if it’s older than a decade, the sensor will fail to detect gas accurately during a real emergency.
False alarms near the kitchen usually stem from high humidity or steam rather than actual smoke.
If your hardwired alarm remains silent after you flip the breaker, check for a loose wire nut in the ceiling junction box. A single disconnected neutral wire will prevent the entire interconnected system from receiving power. Always verify the connection with a non-contact voltage tester before touching any wiring. If the light stays off after you confirm power, the internal power supply has likely failed and the entire unit requires immediate replacement.
Regulatory Standards for Safety
Manufacturers of gas detectors must follow strict guidelines to ensure the safety of the public. In the United States, devices intended for residential use are typically evaluated against standards set by Underwriters Laboratories (UL). These standards, such as UL 1484 for residential gas detectors, define how quickly a device must react to various concentrations of methane or propane.
If your device doesn’t carry a certification mark from an organization like UL or Intertek, it may not meet the necessary sensitivity requirements for home safety. It’s a mistake to rely on non-certified, cheap imports, as these often lack the internal calibration needed to differentiate between dangerous gas leaks and harmless household vapors.
Such devices frequently trigger false alarms when exposed to common aerosols or cleaning supplies, leading users to disable them entirely. This oversight costs lives by leaving a home unprotected during a genuine emergency. Always verify the certification mark on the physical packaging before purchase.
For those living in rental properties, check your local building codes. Many municipalities require landlords to install gas detection systems in buildings that utilize central gas heating or gas-powered water heaters. If you’re unsure about the requirements in your area, contact your local fire marshal’s office. They can provide specific guidance on the number of detectors required for your home’s square footage and layout.
As a general rule, place one detector within ten feet of every gas-burning appliance and another in each bedroom. If your home has a multi-story layout, install at least one unit per level to account for gas buoyancy. Natural gas rises, while propane settles near the floor.
If you use propane, mount your sensors no higher than six inches from the baseboard to ensure they detect the gas before it reaches a combustible level. If you use natural gas, place them near the ceiling. Always follow the manufacturer’s specific mounting instructions to avoid sensor saturation.
Maintaining Your Equipment
To keep your detector working, you must treat it like a smoke alarm. Most sensors have a limited lifespan, eventually losing effectiveness as the chemical components inside degrade. Write the date of installation on the back of the unit with a permanent marker so you know exactly when it’s time to buy a replacement.
If you notice the sensor drifting or failing to reset after a test, check the manufacturing date printed on the internal label. If the unit is aged, the electrochemical reaction has likely weakened to the point of unreliability. At this stage, don’t attempt to recalibrate the sensor yourself.
If the unit is a plug-in model, ensure the outlet is dedicated to the detector. If you use an extension cord, you increase the risk of the unit being accidentally unplugged or damaged. A common mistake is plugging these devices into outlets controlled by wall switches. If you do this, you risk disabling your protection every time you leave the room and flip the light switch.
For battery-operated units, use only the brand and type of battery recommended by the manufacturer. Using the wrong voltage can cause the sensor to behave erratically, leading to either a failure to detect a real leak or unnecessary false alarms. If the unit chirps intermittently, replace the battery immediately rather than waiting for a complete power failure.
When moving or remodeling, take the opportunity to inspect the unit for physical damage. Cracks in the casing can allow air to bypass the sensor intake, making the device less effective. If the casing is damaged, don’t attempt to repair it with glue or tape, as this may block the vents.
Replace the unit entirely to ensure you have the full protection of a sealed, calibrated housing. If you detect a lingering chemical odor near the unit, replace it regardless of the age, as this indicates a compromised internal seal.
When to Use Other Methods
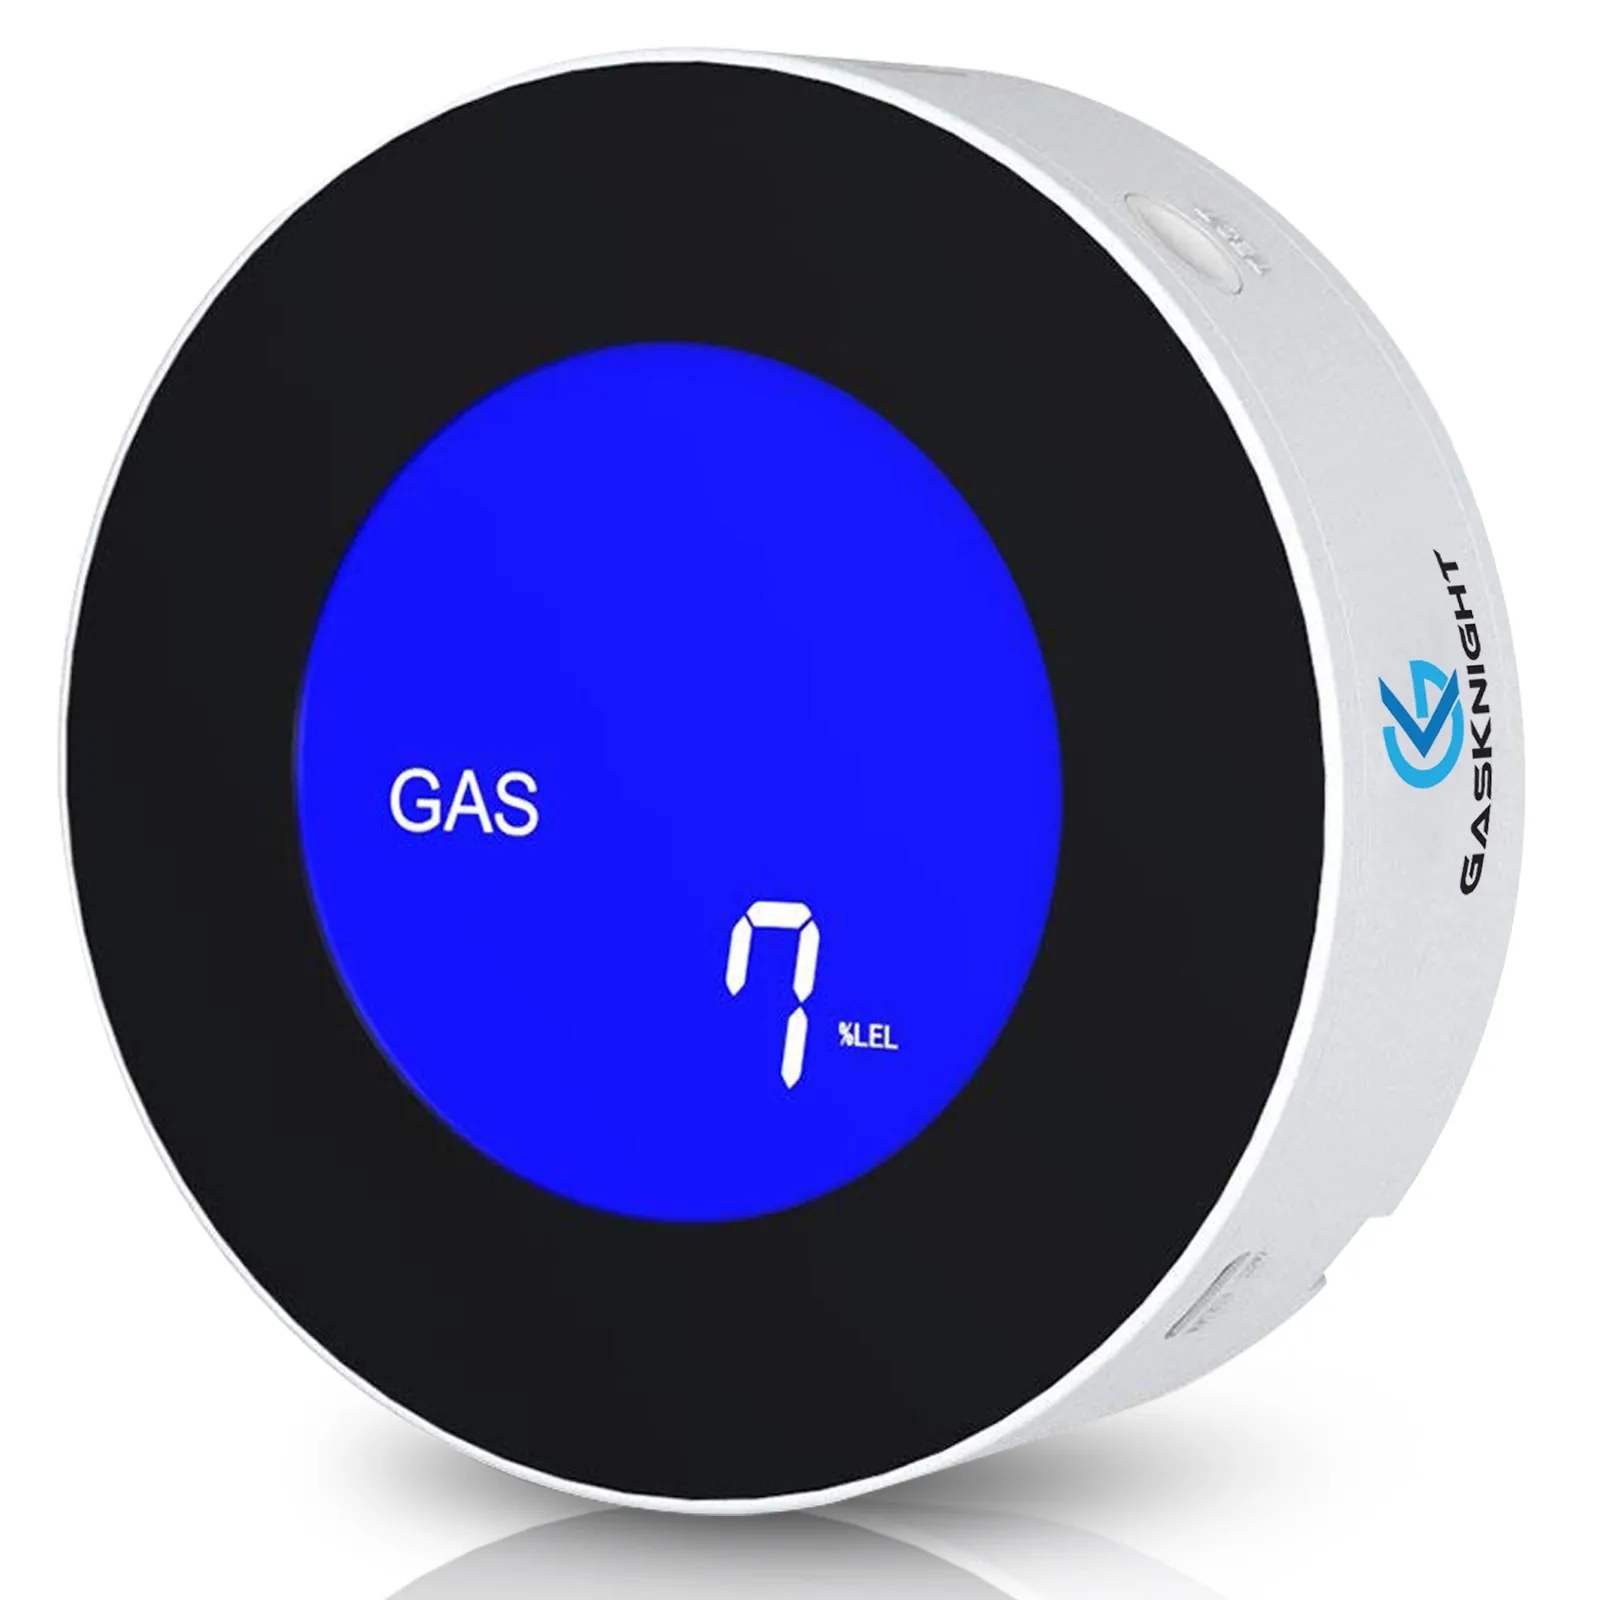
This approach of using electronic detectors is the correct choice for most homes, but it isn’t the only way to identify leaks. If you live in an area prone to power outages, a battery-powered digital detector is superior to a plug-in version. However, if you’re working on a gas line repair, electronic detectors aren’t sufficient for finding the exact pinhole leak.
For pinpointing a leak during a repair, professionals use a soap-and-water solution. You apply this mixture to the pipe joints; if bubbles form, you have found the leak. Never use a flame or lighter to check for leaks, as this will lead to an immediate explosion. If you aren’t comfortable working with gas lines, contact a licensed plumber or your local gas utility provider to perform the work safely.
Some homes are equipped with excess flow valves on the gas line. These mechanical devices automatically shut off the gas supply if the flow rate exceeds a certain limit, such as in the event of a severed pipe. These are highly effective, but they don’t detect small, slow leaks that a sensor would catch. Ideally, use a combination of these sensors and regular safety inspections to provide the best protection.
If you smell a persistent, sulfur-like odor despite a negative electronic reading, prioritize your sense of smell over the hardware. Sensors often fail to calibrate correctly in high-humidity basements or near chemical cleaners. In these cases, move to a manual soap test immediately.
Distinguish between a line break and a slow seep by checking your utility meter. If the dial moves while all appliances are off, you have a leak that requires professional intervention.
Don’t attempt to tighten fittings yourself if you lack a torque wrench, as over-tightening often cracks the brass threads. This mistake turns a minor repair into a full-scale pipe replacement. If you see visible corrosion or white oxidation on the joints, call a plumber before applying any soap or sensors.
Related guides
Frequently asked questions
Can I use a smoke detector to find a gas leak?
No, a smoke detector can’t find a gas leak because it’s designed to sense smoke particles, not combustible gas molecules. You must use a dedicated gas detector that’s specifically rated for methane or propane to ensure your home is protected.
How long do gas detectors last?
Most residential gas detectors have a finite lifespan, though you should check the label on your specific device for the manufacturer’s official lifespan. After this time, the sensor sensitivity decreases, and the unit must be replaced to maintain safety.
Is it safe to leave a gas detector plugged in 24/7?
Yes, it’s safe and recommended to leave the device plugged in at all times to ensure continuous monitoring of your home. Ensure the outlet isn’t controlled by a wall switch that could accidentally turn off the device.
What happens if the detector goes off while I am away?
If the detector alarm sounds, it means gas concentrations have reached a dangerous level, and you must treat it as a true emergency. If you return home and hear an alarm, don’t enter the building, don’t touch any electrical switches, and call for emergency assistance immediately from outside.
How much do these detectors cost?
You can expect to pay between $30 and $80 for a reliable residential gas detector, depending on whether it’s a plug-in model or a battery-operated unit. Prices vary based on features like digital displays and the ability to detect multiple types of gases.
Do I need more than one detector?
Yes, you should install at least one detector on every floor of your home, especially near gas-fired appliances like water heaters and stoves. This ensures that a leak in one room is detected before it has a chance to spread throughout the entire house.
Conclusion
The effectiveness of your gas detection setup depends on regular testing and correct placement. By following the maintenance schedule and keeping the sensors clean and free from obstructions, you ensure the device remains a reliable guard for your home. Always prioritize safety by replacing units before they reach their expiration date and keeping emergency contact numbers easily accessible.