
A 3/4-inch bench chisel is the single most useful size to buy first, because it handles both paring and light chopping across most joinery. When deciding what size chisel to buy for a starter set, pick three: 1/4 inch, 1/2 inch, and 3/4 inch. That trio covers nearly every joint in basic woodworking without overlap or wasted money.
The right answer shifts depending on the wood species you cut, whether you’ll strike the handle with a mallet, and the specific joints you plan to make. Those three factors decide if your first purchase should be a narrow paring tool or a wider mortise chisel.
Who needs which chisel size
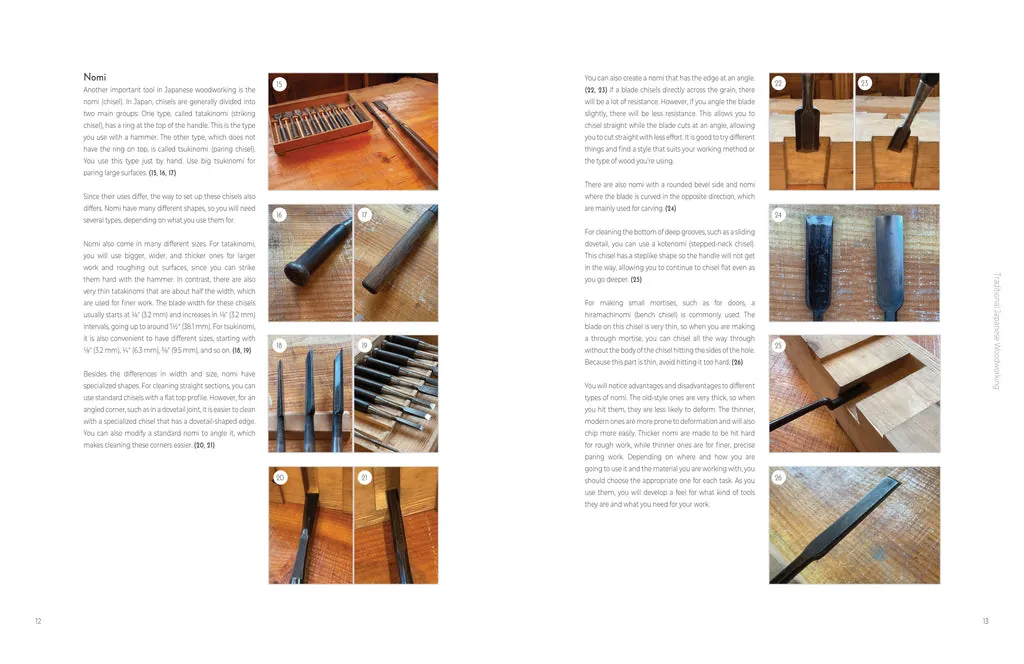
Three different people type this question into a search bar, and they each need something distinct. The first is someone building their initial toolkit from scratch. They don’t own any chisels yet, they work mostly with softwoods like pine, and they just want one or two tools that won’t sit unused. This page serves them best. It assumes you’re buying standard bevel-edge bench chisels for hand-tool joinery.
The second reader already owns a cheap boxed set of six or eight chisels. They’ve noticed half of them never leave the drawer, and they want to replace the few they actually use with better steel. They need advice on narrowing down, not expanding.
The third is tackling a specific project—cutting deep mortises for a door hinge or shaping turning blanks on a lathe. They aren’t shopping for general bench work. If that’s you, this page isn’t the right stop. Mortise work requires thick, dedicated mortise chisels sized exactly to your tenon stock, and turning demands long-handled gouges measured differently than bench tools. Look for guides specific to those tasks instead.
This article assumes you’re fitting joints by hand at a workbench using a wooden or urethane mallet. If your condition differs—if you’re only paring end grain without striking, for instance—you’ll lean toward longer, thinner blades rather than the stout profiles discussed here.
What changes the right size
Five things genuinely change which width belongs in your hand. Get the first one wrong and the rest won’t matter.
The joint you’re cutting. A chisel must fit inside the waste area without bruising the walls. For a dado or groove, match the chisel width exactly to the cut—use a 1/4-inch chisel for a 1/4-inch slot. For dovetails, pick a blade slightly narrower than the space between your pins so you can angle it without levering against the edges. Check your project plans for the smallest gap; that dictates your minimum required width.
Mallet strikes versus hand pressure. If you hit the handle with a mallet, the blade needs enough mass behind the edge to absorb shock without bending. Chisels under 1/4 inch are fragile when struck hard. Use narrow sizes only for paring—pushing with your hands alone. If your work involves chopping out deep waste, stay at 1/2 inch or wider.
The wood’s hardness. Cutting white oak or maple demands more force than cutting poplar. Harder woods push back against the edge, making very wide chisels (like 1-1/2 inches) difficult to drive straight by hand. In dense timber, a 3/4-inch tool is often the practical maximum for chopping.
Handle clearance. Bevel-edge chisels taper at the sides so they can slide into tight dovetail sockets. If you buy a firmer chisel with flat, square sides, it won’t fit into acute angles even if the width is technically correct. The shape matters as much as the number stamped on the blade.
Buying singles versus sets. Boxed sets usually run from 1/8 inch up to 1 inch or 1-1/4 inches. The mistake people make is buying an eight-piece set because the per-tool price looks low, then finding that four sizes are too small or too large for their actual projects. That costs them money and leaves them with tools that rust in a drawer. Buy individual sizes based on your next three projects.
How to choose your chisel widths
Follow these steps to pick the exact sizes you need before spending any money. These assume you’re buying standard bevel-edge bench chisels measured in imperial fractions.
- Measure your thinnest planned joint. Look at your project drawings or router bit sizes. If you’re cutting 1/4-inch dados, write down 1/4 inch as your smallest required width. Don’t guess; measure the mating piece.
- Select a middle size for general waste removal. Pick either 1/2 inch or 5/8 inch. This will be your daily driver for cleaning up machine cuts and chopping shallow recesses.
- Choose a wide size for paring flat surfaces. A 3/4-inch or 1-inch chisel bridges gaps better when leveling a joint face. Go with 3/4 inch if you work mostly hardwoods; choose 1 inch if you stick to softwoods where driving a wider blade is easier.
- Check the bevel angle. Most bench chisels come ground at 25 degrees. If you’ll chop hardwoods with a mallet, you’ll eventually hone a 30-degree micro-bevel on the edge. Make sure the steel type supports this—high-carbon steel takes a steeper angle better than some brittle alloys.
- Verify handle type. If you intend to use a mallet, ensure the handle has a hoop or is made from impact-resistant material like hornbeam or modern plastic. Unhooped rosewood handles split when struck repeatedly.
- Hold the tool before buying, if possible. Grip it as you would while working. Your fingers shouldn’t hang off the ferrule. A handle that’s too thin causes fatigue within twenty minutes of paring.
The judgement call separating a proper setup from a flawed one is resisting the urge to cover every fraction. You don’t need a 9/16-inch chisel just because it exists. If a joint measures 9/16, pare it with a 1/2-inch tool in two passes. Fewer sizes mean sharper tools, because you spend less time grinding and more time cutting.
If a task requires removing metal fasteners embedded in wood, stop. That risks ruining the edge instantly. Use a dedicated old chisel or a pry bar for demolition.
Situations and matching sizes
Different jobs demand specific widths, and using the wrong one slows you down or ruins the joint. Match your task to the correct dimension below.
| Your task | Best chisel width | Effort needed | Watch out for |
|---|---|---|---|
| Cleaning 1/4-inch dadoes | 1/4 inch | Low | Bending thin blade sideways |
| Paring dovetail sockets | 3/8 inch | Medium | Bruising adjacent pin walls |
| General bench cleanup | 1/2 inch | Low | Dulling edge on hidden nails |
| Hinge mortises on doors | 3/4 inch | Medium | Going past depth line |
| Leveling wide tenon cheeks | 1 inch | High | Blade twisting in hard grain |
| Shallow hardware recesses | 5/8 inch | Low | Corners tearing out |
| Fine inlay work | 1/8 inch | High | Snapping tip under pressure |
Each row assumes standard bevel-edge geometry. If you switch to Japanese-style chisels with hollow-ground backs, the effort drops slightly because they register flatter on the wood surface.
Details that keep edges sharp
Preparing the factory grind
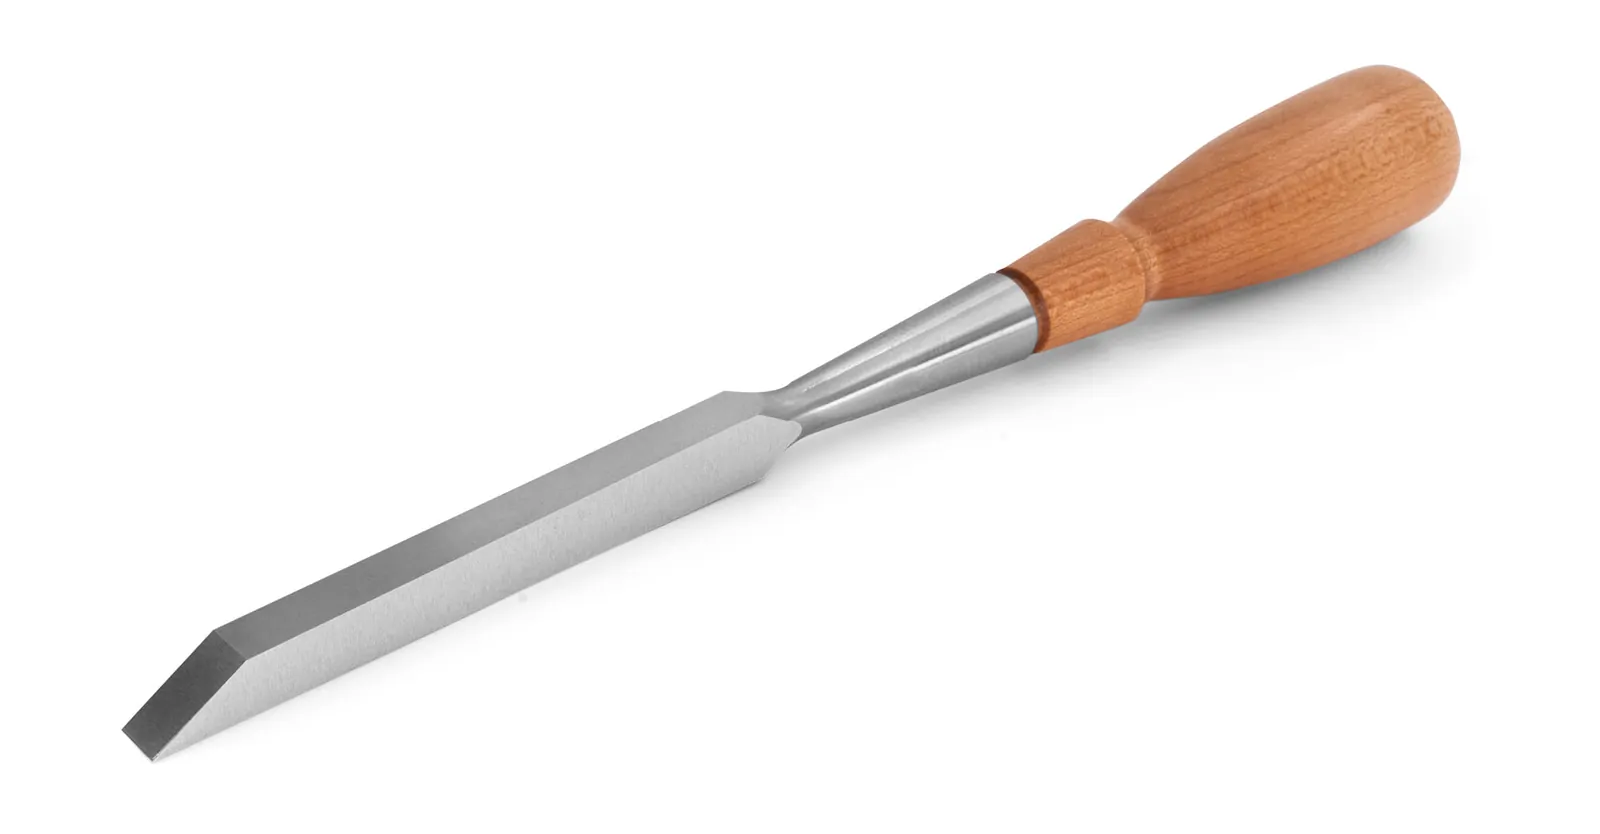
New chisels rarely arrive ready for fine work. The factory edge is usually ground at 25 degrees but left with coarse scratches that fold over quickly in use. Flatten the back first. Rub it on a 1000-grit water stone until the polished area reaches the very cutting edge across the entire width. Skip this step and the bevel you hone later won’t hold, because the back acts as one side of the wedge.
Once the back is flat, hone the bevel to 30 degrees if you plan to strike it with a mallet. Leave it at 25 degrees only for tools you’ll push by hand. The trade-off is clear: a lower angle slices easier but dulls faster when chopped into end grain.
Reading the shavings
Watch what comes off the wood while you work. Continuous, translucent ribbons mean the edge is biting cleanly. If the shavings turn dusty or crumble into short fragments, the edge has rolled or dulled. Stop immediately. Pushing harder against a dull edge forces you to apply uneven pressure, which rounds over the joint walls.
Leave the corners of your chisel sharp unless you’re specifically paring the bottom of a blind hole. Rounding the corners—a habit borrowed from plane iron prep—makes the tool useless for squaring up a routed groove, because it leaves a radius exactly where you need a crisp 90-degree intersection.
Fixing common chisel problems
When a joint goes wrong, the cause usually traces back to picking the wrong width or misreading the grain direction. Here is how to diagnose and correct the usual failures.
| What you notice | What it usually means | What to do first | How to stop it happening again |
|---|---|---|---|
| Blade bends sideways | Too narrow for mallet force | Switch to wider chisel | Never strike under 1/4 inch |
| Wood splits ahead | Chopping against grain direction | Reverse cutting direction | Score baseline with knife first |
| Edge rolls after cuts | Bevel angle too low | Re-hone to 30 degrees | Match angle to wood hardness |
| Tool jams in socket | Width too large for space | Pare sides with smaller tool | Measure socket before choosing |
| Handle cracks near top | Mallet hits too hard | Sand crack, add epoxy | Use lighter urethane mallet |
| Cut drifts off line | Back isn’t perfectly flat | Flatten back on stone | Check flatness before honing |
If the blade snaps entirely, don’t try to weld it back together. The heat treatment is ruined, and the steel will fail again under stress. Replace the tool.
Steel types and safety limits
The material stamped on the blade decides how often you sharpen and how hard you can strike it. High-carbon steel (often labeled O1 or W1) takes a keen edge easily and is the traditional choice for bench work. It rusts if left damp, so wipe it down after use. Chromium-vanadium steel resists wear longer but takes more effort to sharpen on basic stones.
For safety standards regarding hand tools, the American National Standards Institute publishes guidelines through the ANSI B107 series, which covers dimensional and performance requirements for striking and edged hand tools. Checking ANSI’s hand tool standards ensures the manufacturer meets baseline durability requirements, though specific chisel dimensions remain a matter of workshop tradition rather than legal mandate.
Never use a woodworking chisel as a cold chisel for metal, and never put one in a vise to bend it. Woodworking steel is hardened to hold a thin edge, making it brittle under lateral torque. If a chisel gets stuck deep in a knot, don’t twist the handle to lever it out.
Tap the back gently with a mallet to drive it through, or withdraw it straight along the cut path. Twisting snaps the tang inside the handle, which is a repair requiring specialized equipment most home shops don’t have. At that point, take it to a professional tool restorer or replace it.
What you actually spend
The cost depends entirely on whether you buy a boxed set or individual tools. Sets look cheaper per piece, but you pay for sizes you’ll never touch. A quality set of six bevel-edge chisels (ranging from 1/8 to 1 inch) from makers like Narex or Stanley Sweetheart is inexpensive relative to buying each tool separately, assuming standard hornbeam or impact-plastic handles.
Buying individually changes the math. A single premium 3/4-inch chisel from a maker like Lie-Nielsen or Veritas is inexpensive relative to purchasing an entire high-end set at once. If you only need three sizes—say 1/4, 1/2, and 3/4 inch—you’ll find that buying just those keeps the total cost low for top-tier steel. Budget options make each tool even more affordable.
The real currency here isn’t just money; it’s sharpening time. Cheaper steel loses its edge twice as fast, meaning you spend fifteen minutes at the stones instead of five. Over a year of weekend work, that adds hours of downtime. Prices shift with retailer sales and steel tariffs, so check current listings directly from the manufacturer’s catalog rather than relying on older forum posts. If you can’t find a price, look at the maker’s official site for today’s retail figure.
Keeping the edge between uses
Storage determines how long your freshly honed edge survives. Never toss bare chisels into a drawer where they knock against squares or drill bits. One impact against hardened steel rolls the edge you just spent twenty minutes perfecting.
Use a canvas tool roll or a wooden rack with individual slots. If you build a rack, line the slots with felt so the blades rest softly. After every session, wipe the steel with a rag lightly oiled with camellia oil or a dedicated rust preventative. Don’t use heavy motor oil; it contaminates the wood pores and interferes with glue adhesion later.
The sign that a chisel needs attention isn’t a calendar date—it’s the sound it makes. A sharp tool cuts quietly. A dull one crunches through fibers. When you hear that tearing noise, stop and hone. Don’t wait until the end of the project. Touching up a slightly dull edge takes thirty strokes on a finishing stone. Restoring a completely rounded bevel requires starting over on a coarse grit, wasting far more steel and time.
When a bench chisel fails
A standard bevel-edge chisel is the wrong tool for heavy timber framing. If you’re cutting mortises deeper than 2 inches in dense oak, a bench chisel will flex and wander. You need registered mortise chisels—thick, rigid bars designed to lever out heavy waste. Using a thin bench tool here risks snapping the blade, which sends sharp steel flying.
It’s also the wrong choice for scraping dried glue off a finished surface. The hard edge digs into the surrounding wood, leaving tracks you’ll have to sand out. Use a dedicated cabinet scraper or a card scraper for adhesive removal.
Finally, don’t use woodworking chisels on materials containing cement, plaster, or masonry. The abrasion dulls and chips the edge in seconds. If you’re installing hardware into concrete walls, switch to a masonry chisel rated for hammer drills. Any job involving powered rotary hammers or prying out structural nails carries risk of injury from flying debris. Leave that to contractors with the proper eye protection and heavy-duty demolition tools.
Frequently asked questions
Can I use one chisel size for everything?
No, a single width forces you to compromise on almost every joint. A 1/2-inch tool fits poorly in 1/4-inch grooves and spans too little area for flattening wide tenons. You need at least three sizes to work efficiently without damaging the wood or the tool.
Why does my chisel drift off the pencil line?
Drift happens when the back of the blade isn’t perfectly flat, causing the tool to ride a microscopic ramp instead of registering true. It also occurs if you chop too deeply in one strike. Take lighter bites and verify the back’s flatness on a fine stone.
How long does a factory edge last?
Softwoods extend that slightly. You must flatten the back and hone a fresh micro-bevel before starting any precise joinery.
Is it safe to hit a chisel with a metal hammer?
No, metal hammers mushroom wooden handles and shatter plastic ones, sending dangerous fragments toward your eyes. Always use a wooden mallet or a urethane dead-blow hammer. Reserve metal hammers exclusively for cold chisels designed for steelwork.
What happens if I buy a set instead of singles?
You’ll likely end up with four or five sizes you never use, while the two you need constantly get dull faster because you lack backups. Sets offer a lower per-unit cost but tie up money in redundant widths that gather dust.
Does the handle material matter for sizing?
Yes, handle length affects leverage and control. Longer handles suit wide blades meant for two-handed paring, while shorter handles keep narrow chopping tools nimble. A mismatched handle makes the tool feel unbalanced regardless of the blade’s width.
How often should I flatten the back?
Flatten the back once thoroughly when the tool is new, then check it every few months. If you see light reflecting off the very edge when held against a known-flat surface, it needs another pass on your finest stone.
Can I regrind a chisel to a different width?
Grinding the sides to narrow a chisel removes the factory bevels that let it fit into dovetail sockets. You can do it, but you lose the tool’s primary advantage. Buy the correct width instead of altering an existing one.
Starting your chisel kit
Buy a 1/2-inch bevel-edge chisel first and flatten its back on a 1000-grit stone before touching any wood. You’ll know it’s ready when it pares end grain silently, leaving a glassy surface without tearing the fibers. If the blade bends sideways under light mallet taps or the edge chips immediately, stop and verify the steel hasn’t been damaged by overheating during previous sharpening.