
The DJI Mini 4 Pro is the best choice for everyday travelers and casual flyers because it weighs under 249 grams, which frees you from strict registration rules in many countries. Looking at the dji mini 4 pro vs dji air 3 match-up, the Air 3 wins clearly when you must shoot in high winds or need a 3x telephoto camera to capture distant subjects. You give up tiny pocket size with the Air 3, but you gain double the wind resistance and a secondary lens.
Comparing DJI Mini 4 Pro vs DJI Air 3 specs
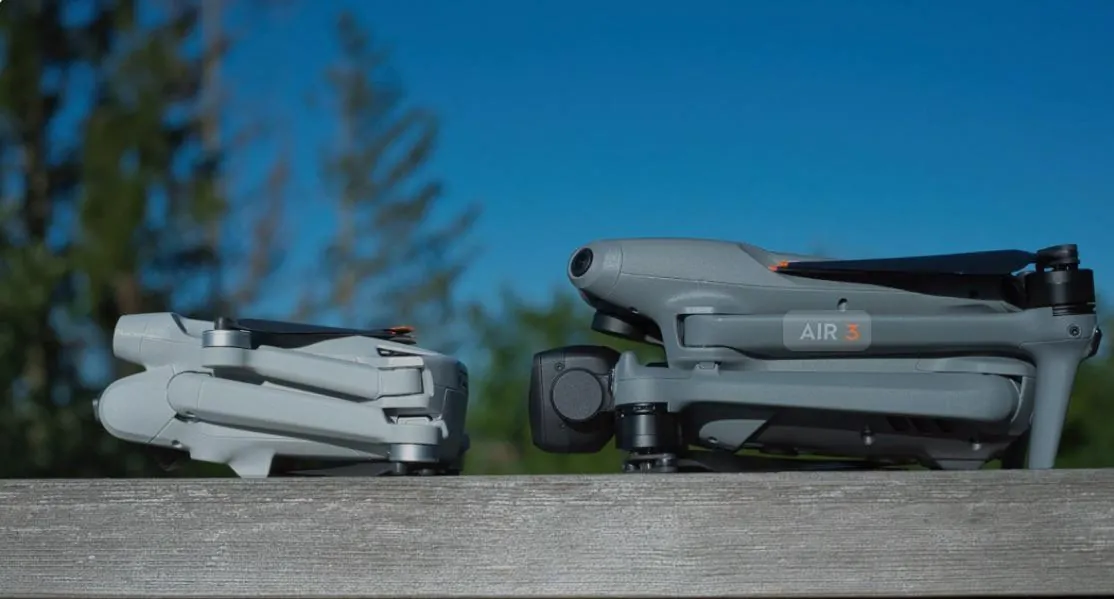
Both drones share similar software, omnidirectional obstacle sensors, and the O4 video transmission system. Yet, their size, motor power, and camera setups make them behave very differently in the field.
Picking the wrong model means either carrying unnecessary weight on hikes or watching your drone struggle against a coastal breeze. Here is how their main working setups stack up against each other.
| Method | How long | Effort | Cost | Best for |
|---|---|---|---|---|
| Mini 4 Pro (Standard battery) | Up to 34 mins flight | Low | Low | Travel and zero-registration flying |
| Mini 4 Pro (Plus battery) | Up to 45 mins flight | Low | Medium | Long flights where sub-249g rules don’t matter |
| Air 3 (Dual-camera setup) | Up to 46 mins flight | Medium | High | Windy landscapes and compressed telephoto shots |
Every setup above involves a real trade-off between portability and outdoor stability. The standard Mini setup is easiest to pack, while the Air 3 handles harsh weather that grounds smaller craft.
Using the ultralight sub-249g travel setup
Flying the Mini 4 Pro with its standard 2,490 mAh Intelligent Flight Battery keeps the total takeoff weight under 249 grams. This keeps paperwork minimal in many regions.
To use this lightweight configuration properly:
- Insert the standard 2,490 mAh battery into the rear compartment until the side clips click firmly into place.
- Check that no heavy aftermarket accessories, like propeller guards or landing gear extensions, are attached to the arms.
- Power on the drone and verify on the main screen that the craft registers the standard battery.
- Calibrate the compass if you traveled more than 50 miles from your previous takeoff spot.
This setup excels at casual neighborhood flying and spontaneous travel videos. It slips into a small jacket pocket, and you won’t need to register it for recreation in places following standard weight exemptions.
Its genuine weakness is wind stability. Because the body is light, strong ocean gusts force the motors to work at maximum capacity, which drains your battery much faster than the rated time.
If you see the “Propulsion Output Excessive” warning on your controller, land immediately. Ignoring this alert often leads to a sudden loss of altitude or a forced landing in water.
Choose the Plus battery only if you’re operating in wide-open, windless fields. If you’re flying near coastal cliffs or urban canyons, stick to the standard battery to ensure the drone maintains enough agility to fight unexpected turbulence.
Flying the extended battery configuration
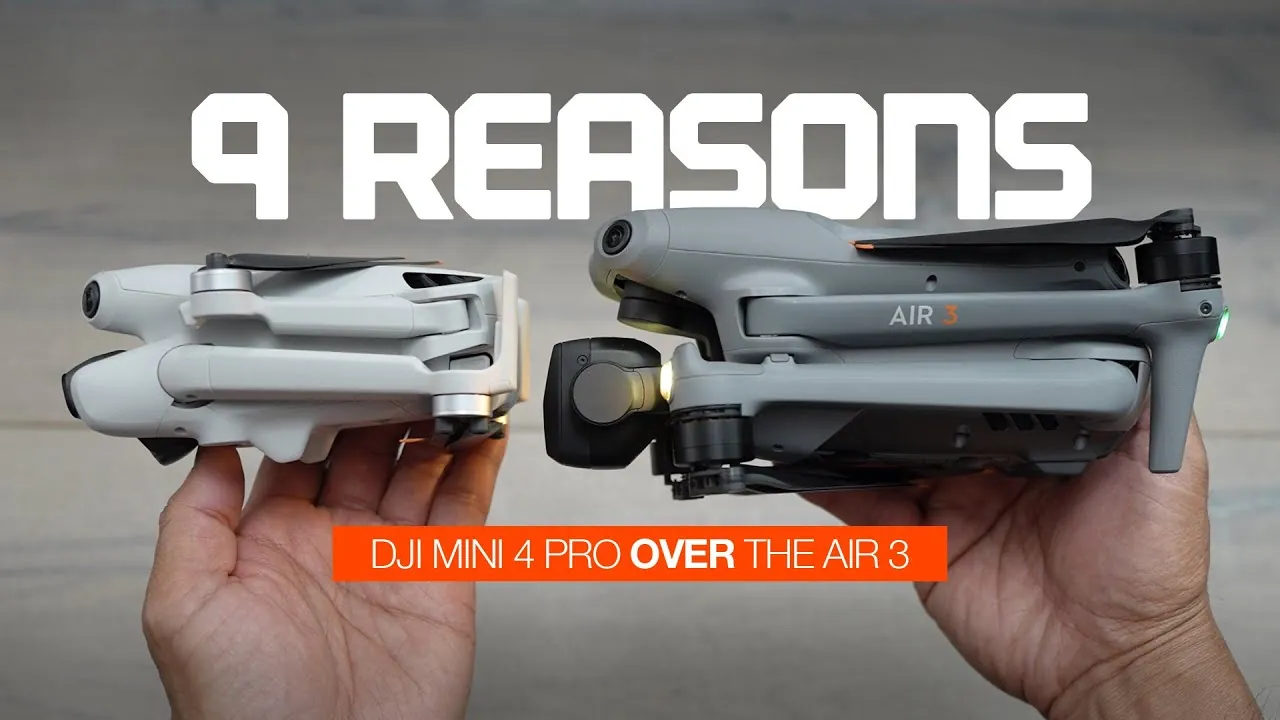
You can install the Intelligent Flight Battery Plus into the Mini 4 Pro to increase your flight time up to 45 minutes. This gives you extra time to line up photos without rushing home.
To use the extended battery setup:
- Slide the higher-capacity battery into the Mini 4 Pro bay until both latches lock.
- Confirm the takeoff weight warning on your controller screen, as this battery pushes total weight to roughly 290 grams.
- Check local airspace rules, since exceeding 249 grams removes the lightweight regulatory exemption.
- Launch smoothly and monitor battery temperature if you’re flying in hot summer weather.
This method gives you uninterrupted air time for tracking moving subjects or mapping larger private plots. You don’t have to land every fifteen minutes just to swap packs.
The honest downside is legal status. The moment you click this larger battery into the airframe, the drone legally becomes a heavier aircraft, which eliminates the primary legal benefit of buying a sub-249g drone.
Before you commit, check your local jurisdiction’s specific registration requirements. In many regions, the 250-gram threshold triggers mandatory pilot certification or site-specific permits that don’t apply to the standard battery. If you’re flying commercially, the extra weight may also change your insurance liability coverage. Always verify your local drone registry status before takeoff to avoid heavy fines.
Deploying the dual-camera mid-size system
The Air 3 uses a larger, 720-gram frame carrying two separate cameras: a 24mm wide lens and a 70mm 3x telephoto lens. Both use 1/1.3-inch sensors to match color profiles across clips.
To get the most from this system:
-
Mount the larger quick-release props by matching the marked and unmarked blades to their corresponding motor hubs. Failure to align these correctly causes excessive vibration, which triggers the flight controller to limit your top speed.
-
Power on the remote, set your base camera view to the 1x wide lens, and set your exposure manually. If you leave the ISO on auto, the 3x lens will frequently overexpose highlights due to its narrower field of view.
-
Tap the “3x” icon on the screen while in flight to jump straight to the 70mm telephoto lens for natural subject compression. Use this for architectural shots where you need to minimize perspective distortion.
-
Keep the drone pointed into the wind when hovering to let the aerodynamic nose reduce motor strain.
This dual-lens system captures detailed shots of wildlife or distant architecture without buzzing close to people. It also resists winds up to 12 meters per second without drifting.
Its major drawback is bulk. The drone and its accessories require a dedicated shoulder bag, making it far harder to pack on light backcountry trips. If you’re hiking over five miles, the added weight often leads to fatigue, causing pilots to rush their landing sequences.
Which drone setup should you pick?
If you’re in a hurry, pick the standard Mini 4 Pro setup. You can pull it out of a small pouch, unfold the arms, power on, and get your shot in under two minutes without worrying about local weight registrations. Because it stays under the 249-gram threshold, you avoid the FAA registration requirements that apply to heavier craft.
If you’re buying a drone for the first time, choose the Mini 4 Pro as well. Its lower weight makes it less intimidating to pilot, and the true omnidirectional vision sensors keep you from clipping tree branches while you learn basic stick movements. Beginners often make the mistake of buying a larger, faster drone first, which usually results in a costly crash during the first week of flight.
If you want the best image quality and subject isolation, choose the Air 3. The 70mm telephoto camera creates cinematic background compression that no wide-angle mini drone can replicate. The trade-off is clear: you carry three times the physical weight to get that secondary lens and heavy-wind reliability.
This decision rule keeps your purchase simple. If you hike more than three miles and value easy transport, buy the Mini 4 Pro. If you shoot commercial work, fly over breezy open water, or need to maintain a stable hover in winds exceeding 20 mph, buy the Air 3.
Drone safety rules and operating limits
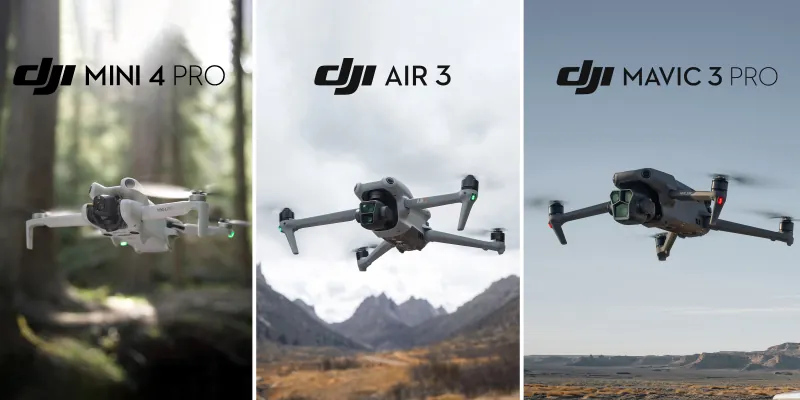
Regardless of which drone you pick, certain baseline rules apply to every flight. You must always maintain an unobstructed visual line of sight with your craft, meaning you watch the drone with your own eyes rather than relying solely on the remote screen.
Before launching, check your local aviation authority’s flight maps for temporary flight restrictions or restricted zones around airports. In the United States, you can review current airspace classifications on the FAA drone registration requirements page to ensure you follow civil aviation limits.
During the flight, monitor your battery levels carefully and begin flying home once the charge drops to 30%. Never run a pack down to zero, as sudden voltage drops can cause an emergency landing in an unsafe area.
When your flight ends, check the motor hubs for sand or stray hair, let the flight battery cool down to room temperature before charging it, and store the airframe away from direct sunlight. One hard limit to remember: maximum legal altitude is fixed at 400 feet above ground level in most countries, which you can read directly from your controller’s telemetry bar.
Frequently asked questions
Can the Mini 4 Pro shoot vertical video for social media?
Yes, the Mini 4 Pro has a physical rotating gimbal that turns the camera 90 degrees. This allows you to capture true, uncropped 4K vertical video for social media platforms. The Air 3 can’t rotate its physical camera; instead, it creates vertical video by cropping a 4K image from its horizontal sensor.
How long does the Air 3 battery actually last in normal flight?
About 35 to 40 minutes under realistic outdoor conditions. While the factory rating lists up to 46 minutes in zero-wind testing, real-world obstacles, recording in 4K, and returning home safely with 15% reserve will bring your actual working time down.
Is the Air 3 noticeably louder than the Mini 4 Pro?
Yes, the Air 3 produces a lower, louder hum due to its larger motors and heavier props. The Mini 4 Pro creates a higher-pitched sound, but because it pushes far less air, the noise fades from human hearing once the drone climbs roughly 100 feet high.
What happens if the wind exceeds the drone limit?
The drone triggers a high-wind warning on your screen and attempts to hold its position using GPS. If the wind speed exceeds the motor’s top speed, the craft will drift downwind, and the automatic return-to-home feature may fail to bring it back before the battery dies completely.
Do both drones use the same remote controllers?
Yes, both models run on the O4 video transmission system and support the DJI RC-N2 and the DJI RC 2 screens. A remote linked to an Air 3 can be paired with a Mini 4 Pro, but you can’t fly both drones at the same moment from one controller.
Can I fly the Mini 4 Pro in freezing winter temperatures?
Yes, you can operate it down to 14 degrees Fahrenheit, which is -10 degrees Celsius. However, cold air causes chemical reactions in lithium batteries to slow down, so you must keep packs warm in your coat before takeoff and expect your total flight duration to drop by several minutes.
Conclusion
A single bad landing into damp grass costs hundreds of dollars in repair bills, so take the time to inspect your landing zone before pressing the takeoff button. This comparison isn’t for enterprise pilots who inspect power lines or need thermal imaging sensors. Pick the Mini 4 Pro to travel light without registration hurdles, or choose the Air 3 to punch through ocean winds with a sharp telephoto lens.
Related guides