
The Avata 2 is the best choice for most users, as it provides a complete, integrated flight experience compared to a custom 360-degree setup. While the Avata 2 offers smooth, cinematic FPV out of the box, you should only consider 360-degree integration if you’re an advanced pilot requiring spherical footage for post-production.
Comparing flight platforms and camera systems
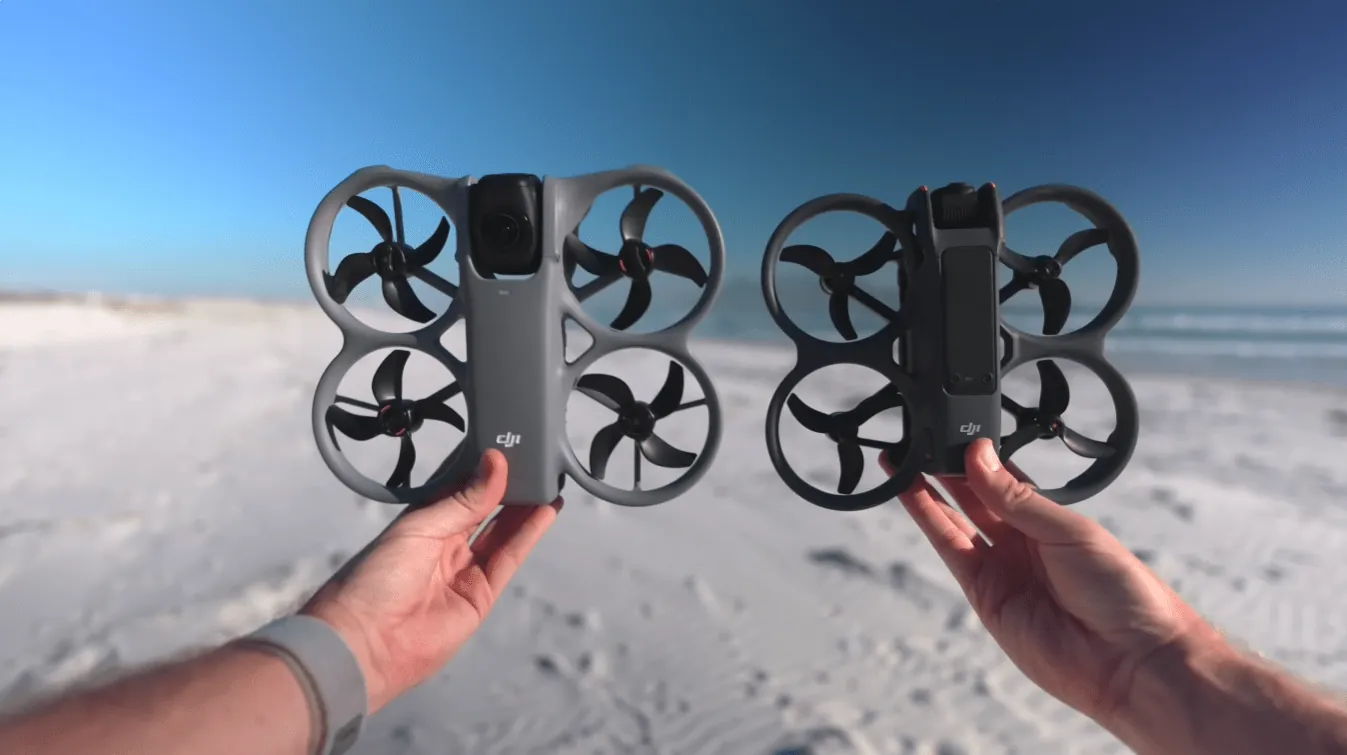
When you look at these two options, it’s important to understand that the Avata 2 is a cohesive unit, whereas the 360 setup is a custom modification. You’ll find that the built-in camera of the Avata 2 is designed specifically for stability and FPV responsiveness, while adding a 360 camera adds weight that changes how the drone handles in the air.
| Method | How long | Effort | Cost | Best for |
|---|---|---|---|---|
| Avata 2 Stock | Immediate | Low | Medium | Everyday FPV |
| 360 Camera Mod | Hours | High | High | Creative Reframing |
| Standard Drone | Immediate | Low | Low | Basic Video |
The Avata 2 is optimized for a weight distribution that supports its internal flight controller, ensuring the DJI Avata 2 technical specifications remain within safe operating limits. If you add a heavy 360 camera, you must recalibrate your expectations for battery life and agility.
The primary mistake pilots make is mounting the camera without accounting for the center of gravity. A top-mounted 360 camera shifts the drone’s pivot point, which forces the flight controller to overcompensate during sharp turns. This shifts the center of gravity, which forces the flight controller to overcompensate, leading to flight instability and reduced battery efficiency.
Use this decision rule: if your goal is cinematic tracking of moving subjects, use the stock Avata 2 for its predictable flight characteristics. If you need to capture a scene where the camera direction is unknown until post-production, accept the extra weight and reduced agility of the 360 mod.
Using the Avata 2 as a stock platform
The Avata 2 is designed to be flown as it comes out of the box. You don’t need to assemble anything or worry about mounting hardware, which makes it the most reliable choice for a pilot who wants to start flying immediately.
- Power on the Goggles 3 and the Motion 3 controller.
- Ensure the drone is on a flat surface before you initiate the motor spin-up.
- Use the motion controller to navigate; the Avata 2 handles the stabilization automatically using its internal sensor suite.
- Keep the drone within line-of-sight if you’re flying in an area with signal interference.
This method is excellent for beginners who want to master the basics of FPV without worrying about center-of-gravity issues. However, the limitation is that you’re locked into the field of view provided by the native lens. If you want to change your framing after the flight, you have to rely on the digital zoom or cropping, which can lower your final resolution.
Many beginners make the mistake of flying in “Normal” mode for every shot. If you need a cinematic, sweeping movement, switch to “Manual” mode once you’re comfortable. In Normal mode, the flight controller aggressively limits your bank angles, which prevents the drone from achieving the high-speed, fluid arcs required for professional-looking footage.
If you’re filming in low light, avoid the digital zoom entirely. Cropping into a 4K file at night introduces significant sensor noise that software can’t fix. If your subject is too far away, move the drone closer physically rather than relying on the internal digital crop.
Adding a 360 camera to the DJI Avata 2
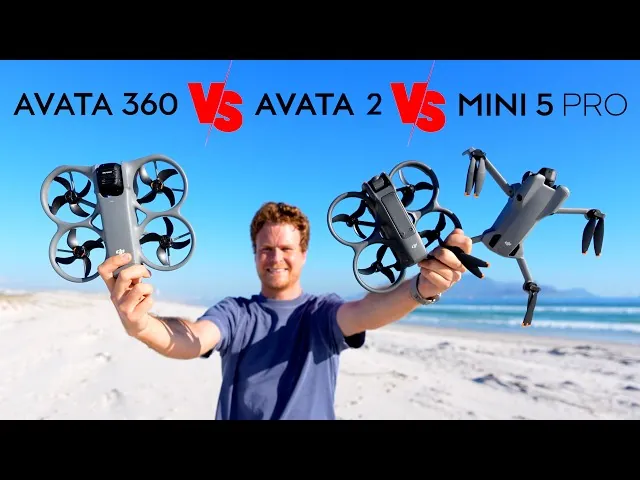
If you choose to mount a 360 camera to your drone, you’re moving away from the manufacturer’s intended design. This requires custom mounts and a deep understanding of how extra weight affects flight dynamics.
- Secure the 360 camera using a balanced mount that sits as close to the center of gravity as possible.
- Use a counterweight if necessary to ensure the drone doesn’t tilt unevenly during takeoff.
- Check that the camera doesn’t obstruct the drone’s obstacle-avoidance sensors.
- Perform a test hover to see if the extra weight causes the motors to work harder or the battery to drain faster than usual.
Most pilots make the mistake of mounting the camera too high, which creates a pendulum effect. This instability forces the flight controller to overcompensate, often leading to mid-air oscillations or “jello” in your footage.
If your flight time drops by more than 20 percent, your motors are likely running at high RPMs to compensate for the drag. In this case, land immediately and reduce your payload.
This setup is great for capturing “impossible” shots where you want to choose the camera angle later. The weakness is that it makes the drone significantly more fragile. A crash that might only scuff a stock drone could destroy your expensive 360 camera. If you aren’t comfortable modifying equipment, this isn’t the path for you.
Why the Avata 2 remains the standard
Choosing the right equipment depends entirely on your goals as a pilot. If you’re in a hurry to get into the air, the Avata 2 is ready in seconds, while a 360 setup requires meticulous calibration for every single flight. If you’re doing this for the first time, you’ll find that the stock Avata 2 offers a much smoother learning curve because the flight controller is perfectly tuned for the drone’s factory weight. Finally, if you want the best possible result, the Avata 2 is superior for sheer image quality in high-speed maneuvers because it lacks the heavy, wind-catching profile of a 360 camera.
The trade-off is clear: you either gain ease of use and reliability with the stock drone, or you gain creative flexibility at the cost of flight time and equipment safety. A mistake many pilots make is adding too much weight to the frame, which causes the drone to become sluggish and significantly reduces the flight time by up to 30 percent.
If your drone feels unresponsive during banking turns, you have likely exceeded the payload threshold. In this case, remove all non-essential accessories immediately.
Your specific flight time varies based on the total weight of your add-ons and the wind conditions. You can monitor your battery performance in the Goggles 3 menu during your first test flight. If you notice signs of motor strain or overheating, have a professional technician inspect your configuration.
Rules for safe flight regardless of gear
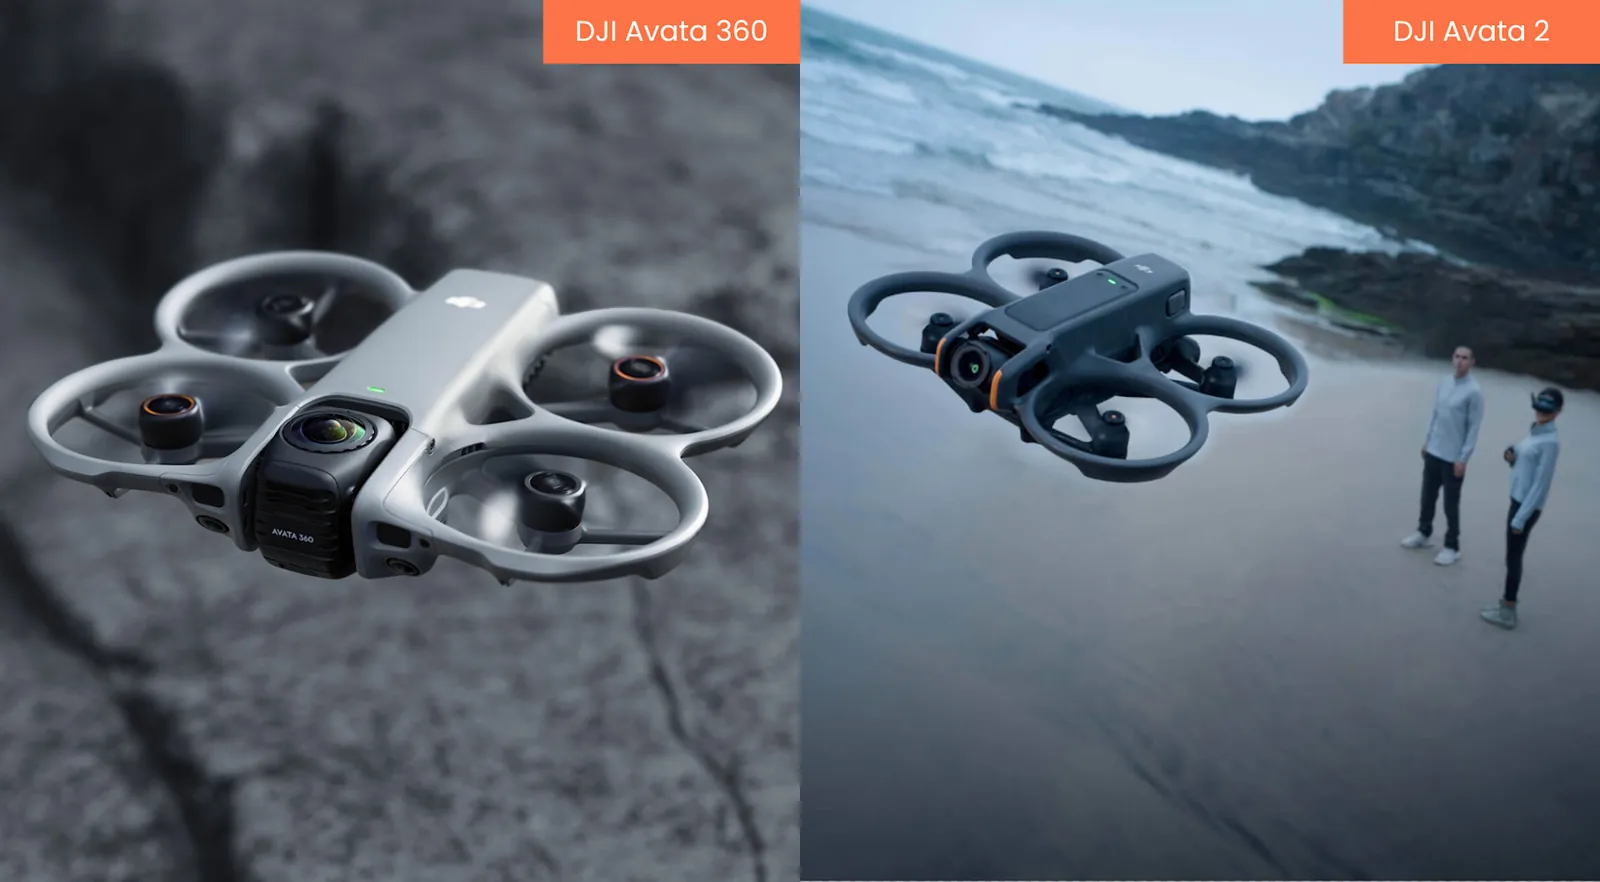
Regardless of which setup you choose, you must adhere to the local aviation laws in your area. You’re responsible for knowing the altitude limits and no-fly zones set by your national aviation authority, such as the Federal Aviation Administration in the United States.
Before you take off, always check your propellers for any cracks or nicks. Even a hairline fracture can cause a catastrophic mid-air failure. If you see a stress mark, replace the prop immediately; it’s a five-dollar insurance policy against a total loss.
Partway through your flight, monitor the battery voltage on your display. If you notice a sudden, rapid drop in voltage, land immediately. A sudden sag often indicates a failing cell that will lead to a total power loss within seconds.
At the end of your session, inspect the drone for debris sucked into the cooling vents. If you’re unsure about the mechanical integrity after a hard landing, stop flying. Attempting to repair internal flight components yourself can void your warranty and lead to a dangerous failure.
The decision rule is simple: if the drone sounds different or vibrates during a hover, don’t take it up again. A vibration is the primary indicator of a bent motor shaft or a damaged bearing. Ignoring these early warnings usually results in a crash during your next flight.
Frequently asked questions
Can I fly the Avata 2 with a 360 camera?
You can attach a 360 camera, but the manufacturer doesn’t recommend it because it alters the drone’s center of gravity. This modification reduces total flight time and makes the drone less responsive. Only attempt this if you’re an experienced pilot capable of compensating for the extra weight.
How long does the Avata 2 battery last?
The battery lasts approximately 18 minutes under standard, calm conditions without attachments. Mounting a heavy 360 camera reduces this time because the motors must work harder to maintain stability. Always land when your battery hits 15 percent to ensure a safe, controlled descent.
Is it safe to use custom mounts?
No, using custom mounts carries a risk of damaging your drone or causing a mid-air failure if the mount comes loose. If the mount shifts during flight, it can strike the propellers or block the sensors, leading to an immediate crash. Only use mounts that are specifically tested for your drone model and always perform a ground-level hover test before attempting a full flight to ensure the weight remains balanced.
What happens if I crash with a 360 camera?
Crashing with a 360 camera attached risks destroying both your drone and camera due to increased impact force. Consumer drones aren’t designed to handle the structural stress of this extra weight during high-speed collisions. If you’re concerned about equipment costs, stick to the stock Avata 2.
How do I balance the drone with extra weight?
Balance the drone by placing the 360 camera as close to the center of the frame as possible to distribute weight evenly. If the drone tilts upon takeoff, you haven’t achieved proper balance and must adjust the camera position. Don’t fly if the drone can’t hover steadily.
Conclusion
The best way to ensure you get the footage you want is to focus on your flying skills first, as a skilled pilot can capture great video even with a standard camera. Once you’re comfortable with the controls, you can evaluate whether your creative needs truly require the complexity of a 360-degree setup.
Related guides