
You can use an outdoor thermometer in extreme temperatures only if the device is specifically rated for those limits, as standard household models typically fail outside the range of -4°F to 122°F. Most digital sensors will show an error or stop updating when the ambient air falls below their internal battery or screen threshold, so you must check your device’s manual to confirm its operational window. You can use an outdoor thermometer in extreme temperatures provided you account for the specific thermal boundaries of your model.
The accuracy of these readings depends on the display technology and the sensor’s power source. If you live in a climate with severe winters, you need a model designed for cold-weather performance; if you live in a desert, you need a sensor with a high-heat tolerance.
Who needs outdoor thermometers for extreme temperatures
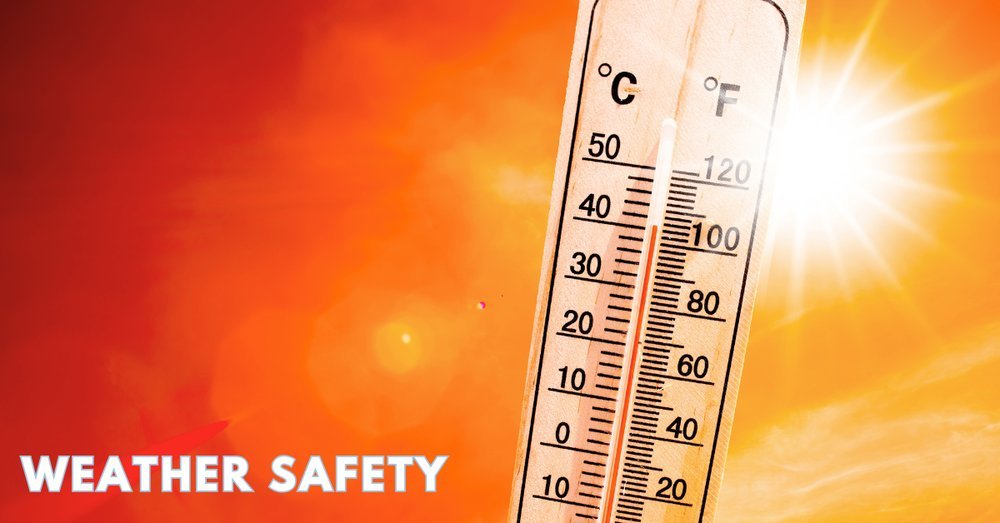
Homeowners living in areas with severe climate fluctuations often require specialized equipment to protect their property. A person living in a region where winter nights drop to -20°F and summer days hit 110°F needs a device capable of handling that full swing. Many standard indoor-outdoor thermometers are meant for temperate zones and will simply stop reporting data when the sensor hits its lower or upper limit. If you’re a gardener tracking soil heat or a homeowner monitoring pipe freeze risk, you need a sensor that remains active during these extremes.
This page serves readers who already own or intend to buy a thermometer for outdoor use. It assumes you’re looking for a reliable reading rather than just a general idea of the heat. If you’re using a basic plastic-cased analog thermometer, realize that these are often fragile and prone to cracking or leaking fluid in extreme cold. This article isn’t for those who need industrial-grade laboratory sensors for scientific research; those devices require professional calibration and specialized housing. If your primary goal is to ensure your home systems, like pipes or irrigation, are safe, focus on devices with a broad operating range rather than those marketed for aesthetic appeal.
Factors affecting sensor performance
The internal battery chemistry is the primary factor that decides whether a digital thermometer remains functional in extreme cold. Lithium-based batteries generally hold a charge better in sub-zero weather than standard alkaline batteries, which lose voltage rapidly as temperatures drop. If your thermometer uses a coin-cell battery, it will likely fail much sooner in a deep freeze than a unit powered by larger, insulated batteries.
Sensor housing and ventilation also change the accuracy of your readings. If the thermometer is placed in direct sunlight, the casing will absorb heat and provide a reading that’s much higher than the actual air temperature.
The type of display screen used on the unit matters for readability during extreme weather. Liquid Crystal Displays (LCDs) often become sluggish or turn completely black when the ambient temperature drops significantly. If you live in a cold climate, look for a unit with an E-ink display or a remote sensor that stays outdoors while the display remains inside your warm home.
Calibration drift occurs when a sensor is exposed to constant, repetitive temperature extremes over many months. The internal metal components or electronic resistors can lose their precision, leading to inaccurate readings even when the weather returns to a moderate range. You can test your device’s accuracy by placing the sensor in a mixture of ice and water for ten minutes; the reading should be 32°F.
Installation and maintenance steps
- Select a location at least five feet above the ground to avoid heat radiating from the soil or pavement.
- Mount the sensor on the north side of your building to keep it out of direct sunlight throughout the day.
- Use a radiation shield or a louvered box to protect the sensor from rain and snow while allowing airflow.
- Replace standard batteries with lithium versions if the temperature in your area drops below 0°F.
- Secure the sensor wire or wireless transmitter using weather-resistant clips to prevent movement during high winds.
- Check the display for a low-battery icon or an “LL”/”HH” error message every time the weather reaches a new seasonal extreme.
- Clean the sensor housing with a soft, dry cloth regularly to prevent dust from insulating the internal components.
The single judgement call that separates a reliable setup from a poor one is the choice of mounting location. A sensor placed on a brick wall will retain heat long after the sun goes down, causing the thermometer to report higher temperatures than the actual air. Mount your sensor on a wooden or plastic post away from large thermal masses to ensure the data you see is accurate.
Performance across different conditions
| Situation | Recommended Action | Typical Effort | What to watch for |
|---|---|---|---|
| Extreme Cold | Use lithium batteries | Medium | Screen sluggishness |
| High Humidity | Use vented housing | Low | Sensor corrosion |
| Constant Sun | Add shade shield | Medium | False high readings |
| Heavy Snow | Mount higher up | Low | Burial by drifts |
| Urban Heat | Place away from walls | High | Reflected heat bias |
Standard alkaline batteries lose nearly 60% of their capacity when temperatures drop below freezing. If your local forecast regularly hits sub-zero marks, lithium cells are the only way to avoid frequent site visits.
Humidity is the silent killer of internal electronics. If you notice a consistent 10% drift in your readings, check the sensor pins for blue-green oxidation. This indicates that your housing lacks the airflow necessary to prevent moisture buildup.
Urban heat bias occurs when sensors sit within three feet of brick or concrete. These materials absorb thermal energy all day and release it at night, artificially inflating your data. If your nighttime lows remain 5 degrees higher than nearby stations, move your sensor to an open, grassy clearing.
Finally, always mount your unit at least 24 inches above the maximum expected snow depth. Failing to account for drifts can result in total sensor failure once the unit is buried.
What separates good from poor results
Proper shielding and placement
Experienced users always prioritize the placement of the sensor over the quality of the display unit. A high-end sensor placed in the sun will give you a useless reading, while a budget-friendly sensor placed in a proper, ventilated, shaded area will provide consistent data. They ensure the sensor is mounted on a non-conductive surface, such as wood, to prevent heat transfer from the mounting structure. Beginners often mount sensors directly to metal siding or brick, which acts as a heat sink and ruins the accuracy of the reading during temperature changes.
Seasonal battery management
Reliable results depend on anticipating the limitations of your hardware before the weather turns. People who get it right swap their alkaline batteries for lithium cells in late autumn. Lithium batteries maintain their voltage output down to -40°F, whereas alkaline cells often stop providing enough power to run the sensor’s transmitter once they drop below -4°F. Checking the battery compartment for signs of leakage or corrosion every time you change the batteries is a sign of a well-maintained system.
Common failures and fixes

| What you notice | What it usually means | What to do first | How to prevent it |
|---|---|---|---|
| Blank screen | Battery failure | Replace with lithium | Use insulated housing |
| High reading | Direct sun exposure | Move to shade | Install radiation shield |
| “HH” on display | Sensor limit met | Move to cooler area | Check specs before buying |
| No signal | Obstruction or cold | Re-sync the unit | Use signal repeater |
| Slow updates | Screen freezing | Bring display inside | Use remote sensor |
Most users mistake a dead battery for a faulty sensor. If your unit goes blank, check the voltage with a multimeter before discarding the device. Lithium batteries are mandatory for outdoor use because alkaline cells lose power once temperatures drop below 32 degrees Fahrenheit.
High readings often stem from heat soak rather than sensor failure. If your temperature is consistently five degrees higher than local forecasts, check if the sensor sits near a brick wall or asphalt. These surfaces radiate heat long after sunset.
The “HH” error code indicates the sensor has exceeded its physical range. If you live in a desert climate, ensure your hardware is rated for temperatures above 120 degrees Fahrenheit. If you buy a standard indoor-outdoor model for an attic or greenhouse, you’ll trigger this error every summer. Always verify the maximum operating range on the packaging.
Regulatory and safety standards
When you’re selecting equipment for extreme environments, look for devices that state their operating range clearly on the packaging. The American National Standards Institute (ANSI) provides guidelines for the testing and certification of temperature-measuring devices, which manufacturers often cite in their technical documentation. If you’re using your thermometer for safety-critical tasks, such as monitoring a greenhouse or a storage unit, you should only use devices that comply with these established testing protocols.
If the device requires a power connection or involves complex wiring, always consult the National Electrical Code (NEC) or your local building authority for safety requirements regarding outdoor electrical installations. Never attempt to modify an indoor-rated thermometer for outdoor use by sealing it in plastic, as this can trap moisture and cause the internal electronics to short circuit. If you’re uncertain about the safety of your setup, contact the manufacturer’s technical support line to confirm the device’s IP (Ingress Protection) rating for weather resistance.
The true costs of monitoring
The cost of an outdoor thermometer isn’t just the initial price tag, but the ongoing effort required to maintain its accuracy. A cheap unit might be a cheap part but require constant battery replacements and frequent recalibration. A more expensive, ruggedized model might be often less than a new unit, but it often includes better weather sealing and more durable sensors that withstand temperature swings for three to five years.
The biggest hidden cost is the potential for false data. If your thermometer provides an inaccurate reading, you might fail to protect your pipes or plants when a real freeze happens. This is why you should compare the cost of a high-quality, weather-rated sensor against the cost of the property it’s meant to protect. If you find that your device is consistently off by more than two degrees, the cost of replacing it’s usually lower than the cost of the damage caused by relying on bad information. Always check the manufacturer’s warranty information, as some premium outdoor models provide multi-year coverage that includes replacement if the sensor fails due to environmental exposure.
Maintaining your equipment
To keep your outdoor thermometer working correctly, you should inspect the sensor housing every time you change the clocks for daylight savings. Look for spider webs, insect nests, or debris that might block the vents, as these can trap heat and humidity, causing the sensor to drift. If the device is wireless, verify the signal strength on the display unit; if the connection is weak, clear any new obstacles like growing tree branches or added garden structures.
When you notice the readings becoming erratic or the display fading, don’t assume the unit is broken. First, perform a hard reset by removing the batteries. If the unit still fails to provide a stable reading, check the battery terminals for white, powdery buildup, which indicates that the seal is no longer keeping moisture out. If you see this, the internal circuit board is likely corroded, and it’s time to replace the sensor to prevent further issues.
When this is the wrong choice
If you need to monitor temperatures for professional or life-safety reasons, a consumer-grade outdoor thermometer is the wrong choice. In these cases, you should look for professional-grade data loggers that meet NIST (National Institute of Standards and Technology) calibration requirements. These devices provide an immutable audit trail of temperature logs over time, which is necessary for legal or insurance compliance.
If your goal is to track the temperature of a specific object—like soil, a water tank, or a furnace vent—a general ambient air thermometer won’t work. You need a contact probe sensor designed for insertion into the material. Attempting to use an air thermometer for contact measurement results in slow, inaccurate readings that fail to reflect the object’s true state.
The common mistake is assuming that a sensor’s range covers your needs without considering its response time. If your application involves high-risk environments, such as chemical storage or specialized industrial processes, you must consult a professional engineer to ensure your equipment meets safety codes. Use the decision rule: if the data must hold up in court or prevent a catastrophic failure, skip consumer hardware entirely. If you’re merely tracking garden health, consumer gear is sufficient. Choosing the wrong tool here often costs the entire value of the batch or inventory being monitored.
Frequently asked questions
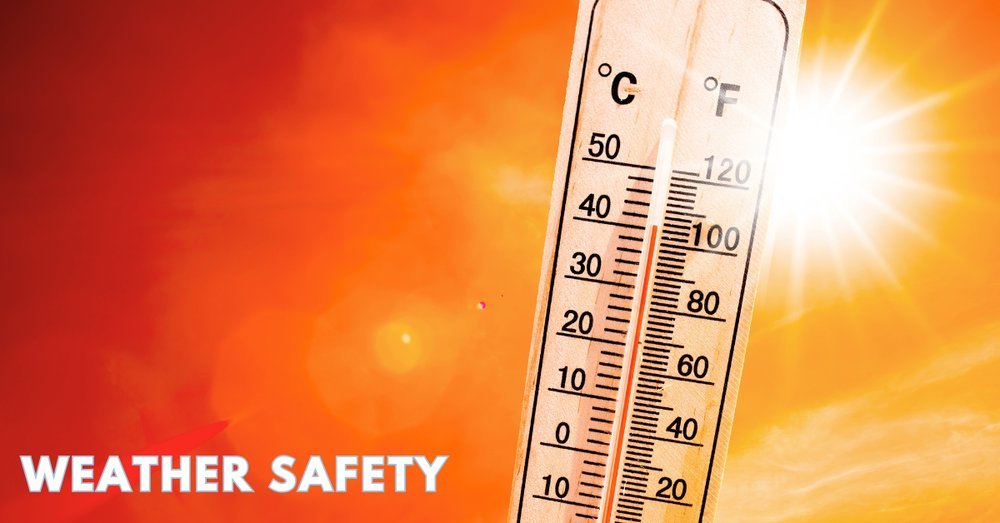
Can I use an indoor thermometer outside?
No, you shouldn’t use an indoor thermometer outside because the casing isn’t sealed against moisture, which will cause the internal electronics to corrode or short circuit within weeks. Indoor models also lack the temperature range required for outdoor swings, leading to frequent errors or permanent damage to the sensor.
How often should I calibrate my outdoor thermometer?
You should calibrate your outdoor thermometer whenever you notice it to ensure the sensor hasn’t drifted due to exposure to extreme weather. Perform a simple ice-bath test by placing the sensor in a mixture of 50% crushed ice and 50% water; it should read exactly 32°F after sitting for ten minutes.
Does the thermometer accuracy change in extreme cold?
Yes, the accuracy often drops because the internal battery voltage decreases, which can cause the sensor to provide erratic readings or stop transmitting data entirely. If you live in a cold climate, ensure your thermometer is rated for at least -20°F and use lithium batteries to maintain consistent power levels.
Is it safe to leave a digital thermometer in the rain?
No, it isn’t safe to leave a digital thermometer in the rain unless the device is specifically rated as waterproof with an IPX4 rating or higher. Most outdoor-rated units are only water-resistant, meaning they can handle light splashes but will fail if water enters the battery compartment or the display housing.
How long do outdoor thermometer batteries last?
Outdoor thermometer batteries typically last between six to twelve months, depending on the frequency of data transmission and the local temperature. You’ll get the longest life by using lithium-metal batteries, as these are specifically designed to resist the power-draining effects of extreme heat and freezing cold temperatures.
What happens if the thermometer goes below its minimum range?
The thermometer will usually display an “LL” error message or simply stop updating the screen because the internal logic board can’t process the signal from the sensor. Once the temperature returns to the device’s operating range, it should begin to function again, but repeated exposure can damage the internal components over time.
Does direct sunlight affect the thermometer reading?
Yes, direct sunlight will cause the thermometer to report a temperature significantly higher than the actual air temperature because the casing absorbs solar radiation. Always mount your outdoor sensor in a shaded, well-ventilated area, preferably on the north side of a structure, to avoid this common source of error.
Outdoor thermometer, in short
Start by checking the manufacturer’s manual for the official operating range of your specific model to see if it matches your local climate extremes. If it does not, you’ll need to upgrade to a unit rated for those conditions to get accurate data. If you notice the display showing an error code or inconsistent data, first replace the batteries and move the sensor to a shaded area before seeking a replacement.
Related guides