
A basic outdoor pizza oven costs between $200 and $500 for portable wood-pellet or gas models, while professional-grade masonry ovens can reach $5,000 or more. Because the market offers such a wide range, the final price depends on your fuel choice, the build material, and whether you want a permanent installation or a portable unit.
These figures assume standard entry-level portable units and high-end permanent structures. Prices change based on brand reputation, shipping weight, and included accessories like covers or pizza peels.
Finding the right oven for your needs
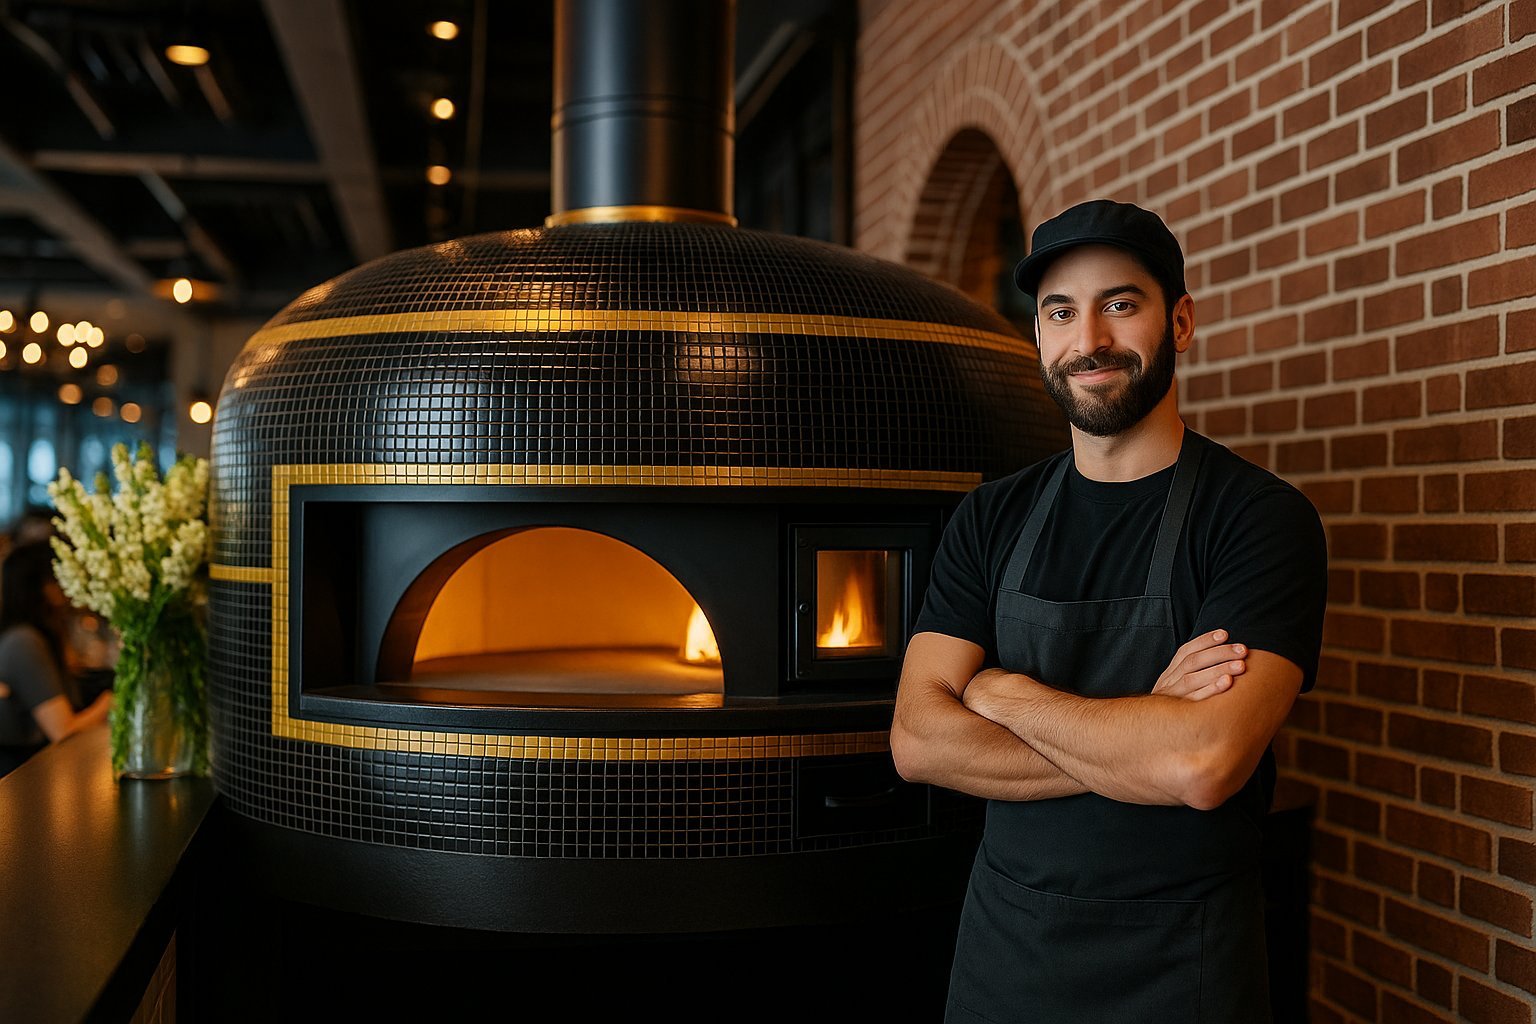
You likely fall into one of three groups when looking for a pizza oven. The first group includes backyard enthusiasts who want to try cooking pizza at home on weekends without spending a fortune. You need a portable model that heats up in 20 minutes and fits on a standard patio table. The second group consists of serious home cooks who want to replicate a pizzeria result. You need a model with better heat retention, which usually means heavier materials like ceramic or thick steel. The third group includes homeowners designing an outdoor kitchen. You need a permanent, heavy-duty masonry oven that serves as a centerpiece.
This page serves best if you’re in the first two groups. We assume you have a level surface for the oven and access to a safe outdoor space. If you’re looking for a commercial oven for a restaurant, you should consult industry-specific equipment suppliers rather than residential guides. We focus on residential equipment that provides high heat for crisp crusts. If you want a simple, low-cost experience, look for portable steel units. If you prioritize long-term durability and heat capacity, look for refractory stone or thick-walled ceramic options.
Factors that change the total price
The primary factor is the fuel source. Gas-powered ovens are generally more expensive than wood-only models because they include burners, valves, and gas lines.
Material quality is the second factor. A thin-walled stainless steel oven heats up fast but loses heat quickly, which makes cooking back-to-back pizzas difficult. Thicker, insulated ovens cost more because they use more material and require better engineering to prevent heat loss. If you plan to cook for more than four people at a time, you must invest in an insulated unit to keep the stone hot between pies.
Size matters for both price and utility. A smaller 12-inch oven is cheaper, but you’ll struggle to turn the pizza or fit anything larger than a personal pie. A 16-inch or larger oven offers more room to move the pizza away from the flame, which helps prevent burning.
Portability vs. installation is the third factor. A portable oven sits on a cart or table and requires no construction. A built-in oven requires a base, a chimney, and often a professional to assemble or install it. The cost of labor for a permanent build often exceeds the price of the oven itself.
Most people make the mistake of buying the smallest, cheapest model available. This often results in a unit that can’t maintain temperature after the first pizza, forcing them to wait 10 minutes between pies. This costs you time and frustration, often leading to a second, more expensive purchase within a year.
Installation and operational steps
- Choose a flat, non-flammable surface like concrete or stone. Never place the oven on a wooden deck without a heat-resistant mat.
- Unpack the unit and assemble the base or stand. Ensure the legs are locked or the bolts are tightened to the manufacturer’s torque specifications.
- Attach the chimney or flue if the model includes one. This ensures smoke exits away from your face while you cook.
- If using gas, connect the hose to your propane tank. Check for leaks by spraying soapy water on the connections; if bubbles form, tighten the fitting and re-test.
- Preheat the oven by lighting the fire or burner. For most units, you need to reach a stone temperature of 750°F to 850°F, which takes 20 to 40 minutes depending on the fuel type.
- Use an infrared thermometer to check the center of the baking stone. Don’t rely on the oven’s built-in gauge, as it measures air temperature, not the stone surface.
- Slide your prepared pizza onto the stone using a floured peel.
- Rotate the pizza every 60 seconds to ensure even browning. A pizza is typically done in 90 to 120 seconds when the crust is charred and the cheese is bubbling.
The critical decision is the preheat time. If you launch the pizza before the stone reaches 750°F, the bottom will be pale and doughy, even if the top looks cooked.
Comparing oven types
| Type | Best For | Cost Range | Key Watch-out |
|---|---|---|---|
| Portable Gas | Convenience | $300-$800 | Gas hose safety |
| Wood Pellet | Flavor | $250-$600 | Constant fuel feeding |
| Ceramic | Heat retention | $800-$2,500 | Heavy, delicate parts |
| Brick/Masonry | Large crowds | $2,000+ | Needs foundation |
| Countertop Electric | Indoor use | $500-$1,000 | Limited top heat |
Portable gas ovens reach cooking temperatures in under 15 minutes. They’re ideal if you want to cook a quick meal on a weeknight. However, always inspect the regulator hose for cracks before each use to prevent gas leaks.
Wood pellet models infuse food with genuine smoke, but they require active management. You must refill the hopper every 20 to 30 minutes to maintain a steady flame. If the fire dies, the internal temperature drops rapidly, ruining your crust.
Ceramic ovens excel at long-duration roasting because they hold heat for hours. They’re fragile, though; a sharp impact from a metal peel can crack the interior lining. These units are best left in one permanent spot.
Brick ovens require a concrete slab foundation to support their massive weight. If you plan to host parties for more than ten people, this is your best choice. The thermal mass allows for back-to-back baking without losing heat.
Countertop electric ovens are the only safe choice for apartment living. They lack the intense top-down radiant heat of flame-fired models, so you must rotate your pizza frequently to achieve an even char. If your crust stays pale, move the rack to the highest position.
Getting the best performance
Preparing the area
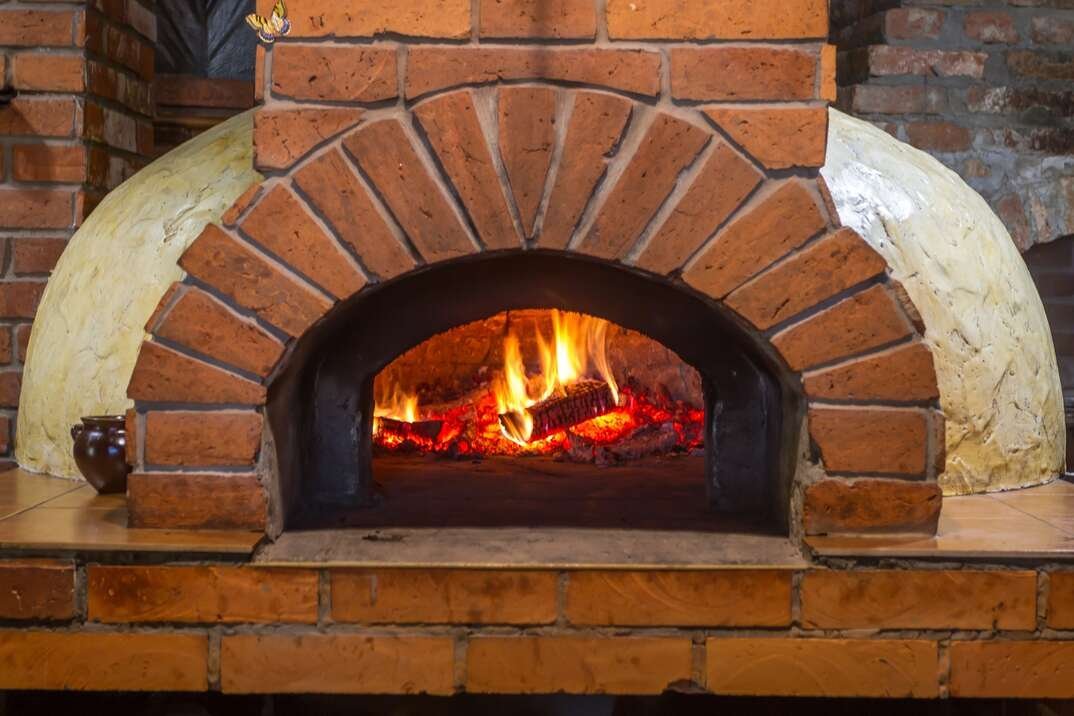
Experienced cooks always clear a three-foot radius around the oven. Because these units reach extreme temperatures, any nearby plastic, fabric, or dry plants pose a fire risk. Use a dedicated metal table that can support the weight of the oven, which can range from 30 to over 200 pounds depending on the build.
Managing the heat
The secret to a perfect crust is managing the flame. In a wood oven, you must move the coals to the back or side to create a “hot zone” and a “cooler zone.” In a gas oven, you should turn the dial to low once the stone is hot to prevent the top of the pizza from burning before the bottom is crisp. Beginners often leave the flame on high, which creates a charred top and a raw center.
Common problems and fixes
| What you notice | What it means | What to do first | How to stop it |
|---|---|---|---|
| Soggy bottom | Stone too cold | Check stone temp | Preheat 10 mins longer |
| Burnt crust | Flame too high | Lower the heat | Rotate pizza often |
| Smoke leaks | Loose chimney | Tighten all bolts | Check seal integrity |
| Uneven cook | Poor airflow | Clear ash/debris | Clean after every use |
| Cracked stone | Thermal shock | Replace the stone | Avoid cold water |
A soggy bottom usually indicates the stone hasn’t reached the 600°F threshold required for a crisp crust. If your infrared thermometer reads below 550°F, don’t launch the pizza yet. Adding ten minutes to your preheat cycle fixes this, but ensure the flame isn’t roaring at max capacity, or you’ll burn the toppings before the base sets.
Burnt crusts often stem from a flame that’s too aggressive for the dough’s hydration level. If you’re using a high-hydration Neapolitan dough, keep the flame at the lowest setting once the stone is saturated with heat. Rotate the pizza every 30 seconds to prevent localized scorching.
Smoke leaking from the chimney base suggests a compromised gasket or loose fasteners. If the bolts are tight and smoke still escapes, the gasket has likely hardened. A simple replacement prevents heat loss and maintains consistent internal temperatures.
Uneven cooking is rarely a mechanical failure; it’s almost always a buildup of ash blocking the primary air intake. Clear the vents before every session. Finally, never clean a hot stone with water. The resulting thermal shock causes micro-fractures that will eventually split the stone in two. If you must clean it, wait until the stone reaches room temperature, then scrape it dry.
Rules for safe operation
Safety standards for outdoor cooking equipment are governed by organizations like the American National Standards Institute (ANSI) or Underwriters Laboratories (UL). Every oven comes with a manual detailing the required clearance from combustible walls. Never ignore these distances, as the exterior skin of a metal oven can reach temperatures hot enough to melt siding or start a fire.
Most manufacturers mandate a minimum clearance of 36 inches from any combustible material. If you lack this space, install a non-combustible heat shield made of cement board or stainless steel. This simple barrier can reduce the required clearance by half, but only if it’s mounted with a one-inch air gap for ventilation.
If your oven uses propane, always store the tank in a shaded area away from the direct heat of the oven. Follow the manufacturer’s manual regarding propane tank placement, as some integrated carts are specifically designed for safe tank storage. Always follow the manufacturer’s guidelines for tank placement to ensure proper ventilation and distance from heat sources.
If you’re building a permanent masonry structure, check your local building codes. Many cities require a permit for outdoor hearths or large chimneys. Contact your local planning office before you start laying bricks to avoid fines or forced removal.
Understanding the total cost
The price of the oven is just the start. You must budget for accessories like a high-quality pizza peel, a turning peel, a heat-resistant glove, and an infrared thermometer. These items add $100 to $200 to your initial cost. If you choose a wood-fired model, factor in the recurring cost of kiln-dried hardwood or premium pellets.
The most significant “hidden” cost is fuel consumption. Gas ovens are efficient, but you’ll go through a 20-pound propane tank in about 10 to 15 hours of high-heat cooking. Wood-fired ovens require a constant supply of dry fuel. If you live in an area where hardwood is expensive, this increases your per-pizza cost significantly over time. Compare local fuel prices at your hardware store to estimate your monthly spend.
A common mistake is ignoring the cost of shipping and specialized installation. Heavy ovens often require lift-gate services or professional assembly, which can add $200 to $500 to the final invoice.
Use this decision rule: if you plan to cook more than twice a week, prioritize a propane-ready model to avoid the volatile pricing of premium kiln-dried wood. If you choose wood, ensure you have dry storage space. Damp wood creates excessive smoke and produces inconsistent heat, wasting your fuel investment. Always check if your local municipality requires a permit for outdoor wood-burning appliances.
Maintenance and long-term care
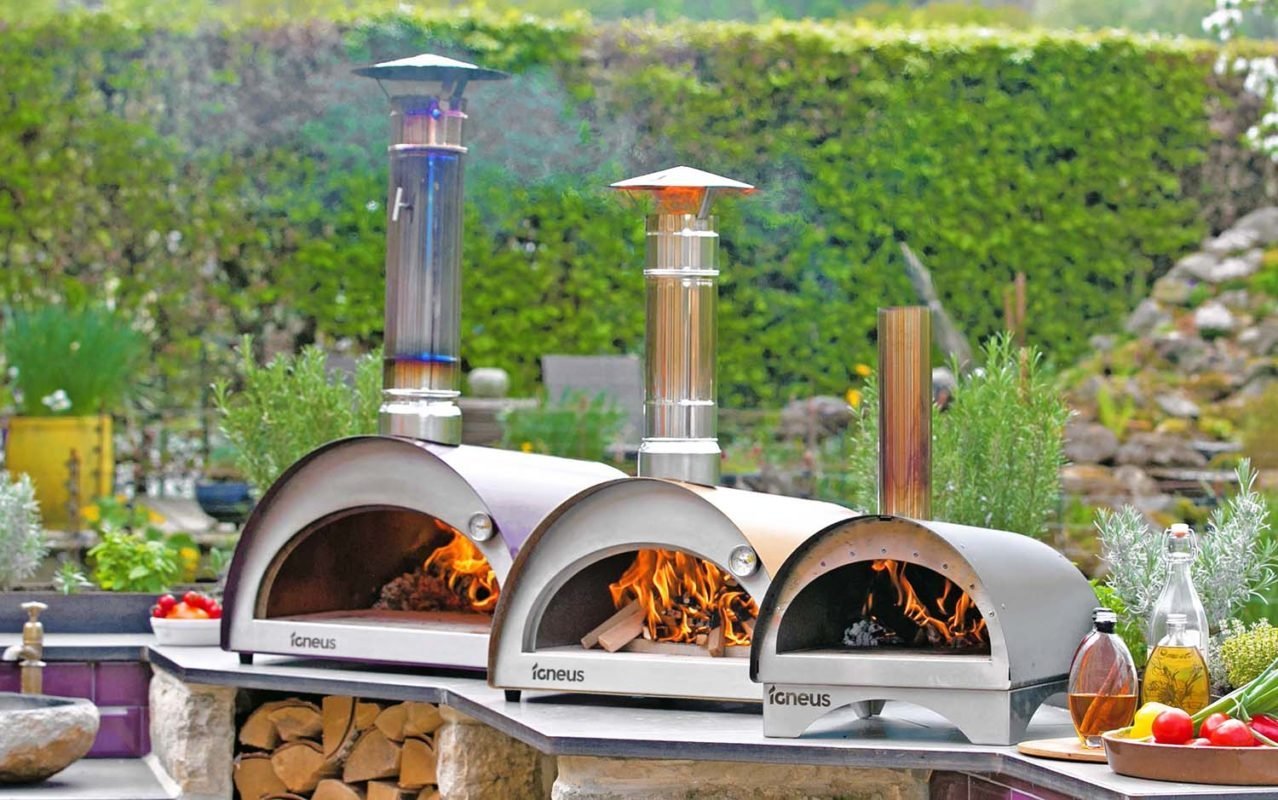
To keep your oven in working order, let it cool completely before cleaning. Once cool, use a wire brush to scrape off any charred flour or spilled cheese from the stone. Avoid using soap on a pizza stone, as it can be difficult to rinse out of the porous material, but water is generally safe for cleaning once the stone is cool.
If you own a metal oven, keep it covered with a waterproof tarp when not in use. Rust is the primary enemy of steel units, especially in humid climates. Check the legs and bolts every few months to ensure they haven’t loosened from the heat expansion. If the stone develops a small crack, it’s usually safe to continue using as long as the pieces remain stable. If the stone breaks into two or more pieces, replace it immediately to prevent food from falling into the burner or fire chamber.
When to avoid this project
If you live in a high-density apartment complex with a small balcony, a wood or gas oven is likely the wrong choice. The smoke output and heat radiation often violate local fire codes or building rules. In this case, look for a high-end electric countertop pizza oven designed for indoor use.
If you aren’t comfortable handling an open flame or managing a propane connection, don’t attempt to use a gas or wood oven. These units require active monitoring and a quick reaction if a grease fire starts. If you have no experience with outdoor cooking, start with a simple grill to learn heat management before moving to a dedicated pizza oven.
Is it safe to use a pizza oven indoors?
No, never use a wood or gas pizza oven indoors. These units produce carbon monoxide, which is odorless and deadly, and they reach external temperatures that can ignite household materials. Only use equipment specifically certified for indoor use, such as electric countertop models.
How long does a pizza oven take to heat up?
Most portable ovens take 20 to 40 minutes to reach a baking temperature of 750°F. This depends on the ambient temperature, the wind, and the fuel type. Always use an infrared thermometer to confirm the stone is hot enough before you launch your first pizza.
Does a cheap pizza oven work well?
Yes, a cheap oven can produce excellent results if you learn to manage its heat. The main difference between a cheap model and an expensive one is the ability to maintain temperature for multiple pizzas. If you only cook one or two pizzas, a budget model is usually sufficient.
What is the best fuel for a pizza oven?
Wood provides the best flavor, while gas offers the most convenience and temperature control. Pellets are a middle ground that provides good flavor but requires more active management to keep the fire burning consistently. Your choice depends on whether you value speed or the traditional wood-fired experience.
How often should I clean my pizza oven?
Clean the stone after every use once it has cooled down. Use a wire brush to remove food debris and ash. For the exterior, wipe down the body with a damp cloth if you notice grease buildup. This prevents rust and ensures the oven stays in good condition for years.
Can I leave my pizza oven outside all year?
Yes, but you must use a high-quality, waterproof cover to protect it from rain and snow. If you live in an area with harsh winters, it’s better to store the oven in a garage or shed to prevent moisture from causing rust or damaging the stone.
Place the oven on a stable, heat-safe surface and verify the stone temperature with an infrared thermometer before cooking. If you notice smoke coming from areas other than the chimney, turn off the fuel source immediately and check the seals once the unit cools. If you feel unsure about the gas connection or the fire stability, stop and consult a professional technician.