
Linear phase is a state where all frequencies in an audio signal are delayed by the same amount of time, which ensures that the original waveform shape remains intact without timing errors. This matters because it prevents phase distortion, which can blur the sharpness of transients like drum hits or cause problems when you combine multiple signals that share the same frequency range.
When you process audio, filters often change the timing of different frequencies. A non-linear phase filter might delay high frequencies more than low ones, or vice versa. This creates a “smearing” effect in the time domain. If you’re mixing a project with many tracks, keeping these relationships consistent helps maintain the punch and clarity of your instruments.
The mechanics of phase alignment
The main thing that decides if this process helps or hurts is the amount of latency your system can handle. If you use linear phase plugins during a live performance, the delay will be too high for the musician to play comfortably. For mixing or mastering, however, the extra delay doesn’t matter because you aren’t tracking in real-time.
A common mistake is using linear phase EQ on every single track in a session. This adds unnecessary latency across the whole project, which can force your buffer settings higher and make your computer struggle to keep up. Limit these processors to instances where you must preserve the phase relationship, such as when using multiple microphones on a single source like a drum kit.
If you’re working with a single source, like a DI guitar or a lead vocal, stick to minimum phase EQ. It provides the natural response of analog gear without the pre-ringing artifacts that linear phase processing introduces. If you hear a strange, hollow smear on your transients, you have likely overused linear phase tools. Switch back to minimum phase to tighten the sound.
Steps for using linear phase processing
- Identify the signals that share the same source, such as a multi-mic drum kit or a split-frequency bass signal.
- Insert a linear phase equalizer on the tracks that require frequency correction to ensure the phase relationships remain locked.
- Check the latency report in your digital audio workstation to ensure your computer can handle the delay compensation required for these plugins.
- Compare the sound of the linear phase filter against a standard minimum phase filter to see if the improvement in transients is audible.
- Disable linear phase plugins on any tracks that don’t require phase coherence to save processing power and reduce system delay.
Tip: If you notice a “pre-ringing” sound, your filter settings are likely too aggressive for the source material. Reduce the filter steepness to fix it.
Tip: Always check your project’s buffer settings if the audio starts to stutter, as linear phase processing is demanding on your hardware.
Time requirements for processing audio
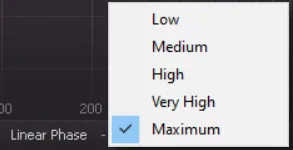
The time it takes to process your signal depends on the filter steepness and the sample rate of your session.
| Situation | How long | What changes it | What to watch for |
|---|---|---|---|
| Low latency mode | 5-10 ms | Filter steepness | Potential for pre-ringing |
| High quality mastering | 50-100 ms | FFT window size | CPU load spikes |
| Standard mixing | 20-40 ms | Plugin brand | Sync issues with video |
If your project is taking longer than these numbers suggest, check that your buffer size isn’t set to an extreme value like 2048 samples. High buffer settings prioritize playback stability over responsiveness, which introduces a perceptible delay between your input and the output.
Use 128 samples for tracking instruments to keep latency under 10 ms. If you’re mixing, move to 512 or 1024 samples to prevent audio crackling. If you notice the audio drifting against your video timeline, subtract the processing time from your track delay settings to realign the signal. Always verify your sample rate matches the project settings, as mismatched rates force the CPU to perform real-time resampling, which doubles your processing wait times.
Identifying when the process is complete
You can tell the job is done by looking for a stable, sharp transient response in your waveform. When you zoom in on a kick drum hit, the attack should look crisp and vertical rather than sloped or blurred. If the transients look identical to the source but the frequency balance is corrected, you have achieved the desired result.
Most engineers make the mistake of over-processing until the waveform looks perfectly symmetrical. This often introduces unnecessary ringing that softens the initial strike. If your kick drum loses its punch after processing, you have pushed the correction too far. Dial back your settings until the transient snap matches the raw audio file.
Phase distortion is often most noticeable in the low-frequency range where timing shifts alter the perceived impact of a sound. If your ears can’t tell the difference, the phase shift is likely not a problem for that specific track. Trust your ears over the visual display when the signal sounds natural and balanced.
Common errors in signal management
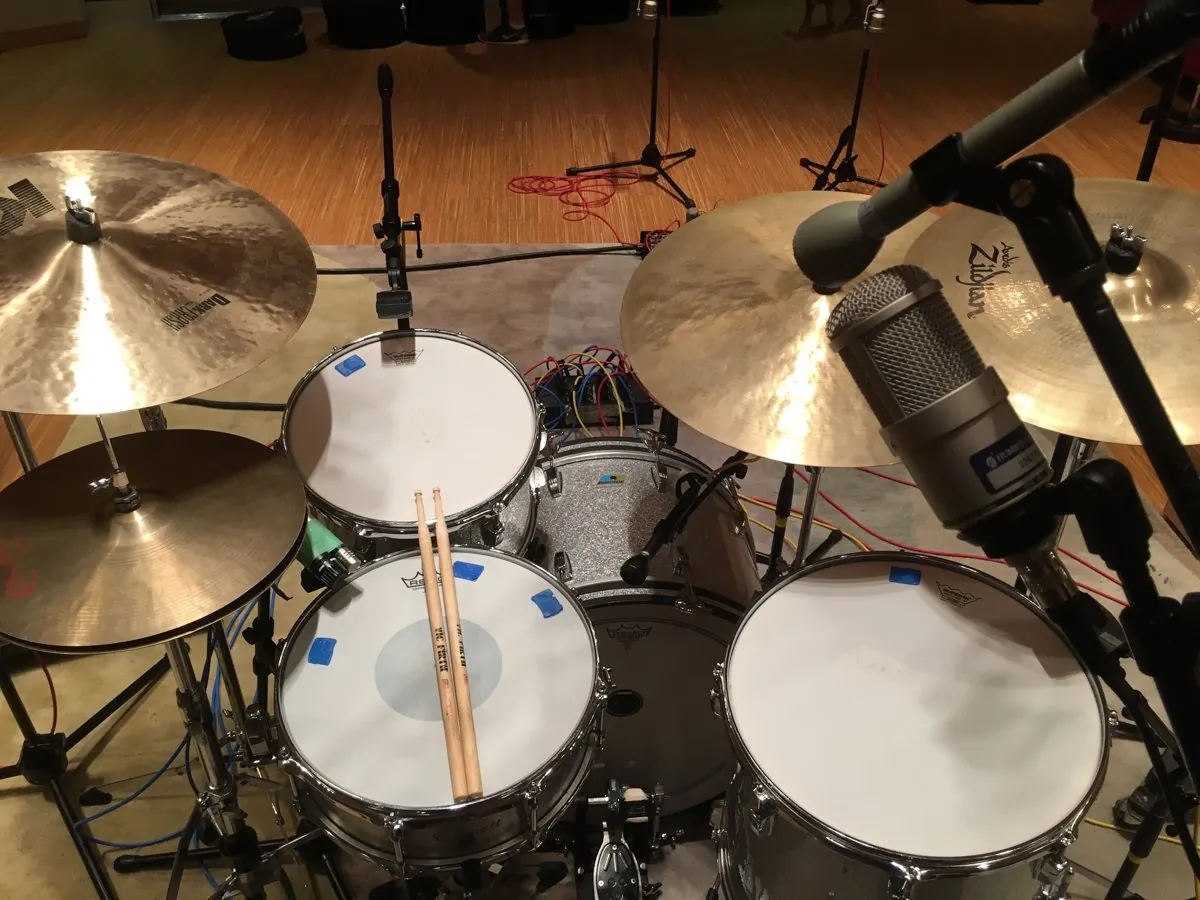
Applying linear phase EQ to every track creates massive latency and wastes CPU power. Reserve this tool exclusively for tracks where phase coherence is essential, such as drum overheads or multi-mic group buses. If you’re processing a single instrument, the phase shift of a standard minimum phase EQ is often imperceptible and musically preferable.
Steep filter slopes often trigger pre-ringing, where a faint, unnatural echo appears before the transient. If you hear a soft “smearing” on sharp attacks, switch to a gentler 12dB/octave slope or revert to a minimum phase filter.
Many engineers mistakenly reach for linear phase plugins to solve perceived phase issues that don’t exist. If you’re working on a solo vocal or a single synth line, use standard EQs. These provide a more natural harmonic response without the computational overhead. If the track sounds thin or lacks punch after processing, you have likely over-applied linear phase correction where it was never needed.
Frequently asked questions
Can I use linear phase EQ for live sound?
No, you should avoid it for live sound because the high latency makes it impossible for musicians to play in time. The delay caused by the complex math required for linear phase filters creates a gap between the input and output that’s too slow for real-time performance. Use standard minimum phase EQs for all live applications to keep the signal moving instantly.
Why does linear phase cause pre-ringing?
Pre-ringing happens because the filter looks into the future of the audio signal to align the phases perfectly. This mathematical anticipation creates a small wave of sound that occurs just before the actual transient. It’s most audible on sharp, percussive sounds like snares or acoustic guitars. If this becomes a problem, try a less steep filter setting or move to a minimum phase alternative.
How much latency does a linear phase plugin add?
The latency is usually between 20 and 100 milliseconds, depending on the plugin settings and your project’s sample rate. High-quality filters with steep slopes require larger buffers to calculate the phase shift accurately. Always check your DAW’s delay compensation settings to ensure that the timing remains locked across all your tracks while you’re working.
Is it safe to use on a master bus?
Yes, it’s often preferred on a master bus during the final polish because it doesn’t smear the phase of the entire mix. Since you aren’t recording live tracks at this stage, the extra latency isn’t a problem. It ensures that the frequency balance of your final track remains pure without shifting the timing of the low-end or high-end components.
What happens if I mix phase types?
You might experience phase cancellation or comb filtering if you mix linear phase and minimum phase signals on the same source. When you align microphones, they must all be treated with the same type of processing. If you use a linear phase filter on one mic and a standard one on another, their timing will drift apart and ruin your sound.
Conclusion
Choosing between linear and minimum phase isn’t about finding a single perfect setting, but rather deciding what your track needs most. Don’t be afraid to experiment with these tools on your next mix. You’ll soon hear how these subtle timing adjustments can bring a newfound clarity to your sound.
