
What are the best brands of camping ovens? The most reliable options for outdoor cooking are Coleman, Camp Chef, and Primus, depending on whether you prioritize portability, heat control, or large-capacity cooking. These manufacturers lead the market because they build units that withstand rough transport and provide consistent heat output in outdoor environments.
Your choice should match your power source and group size. If you use small propane canisters, you need a brand that supports portable regulators; if you cook for large groups, you need a unit with a larger internal volume.
Top camping oven brands to consider
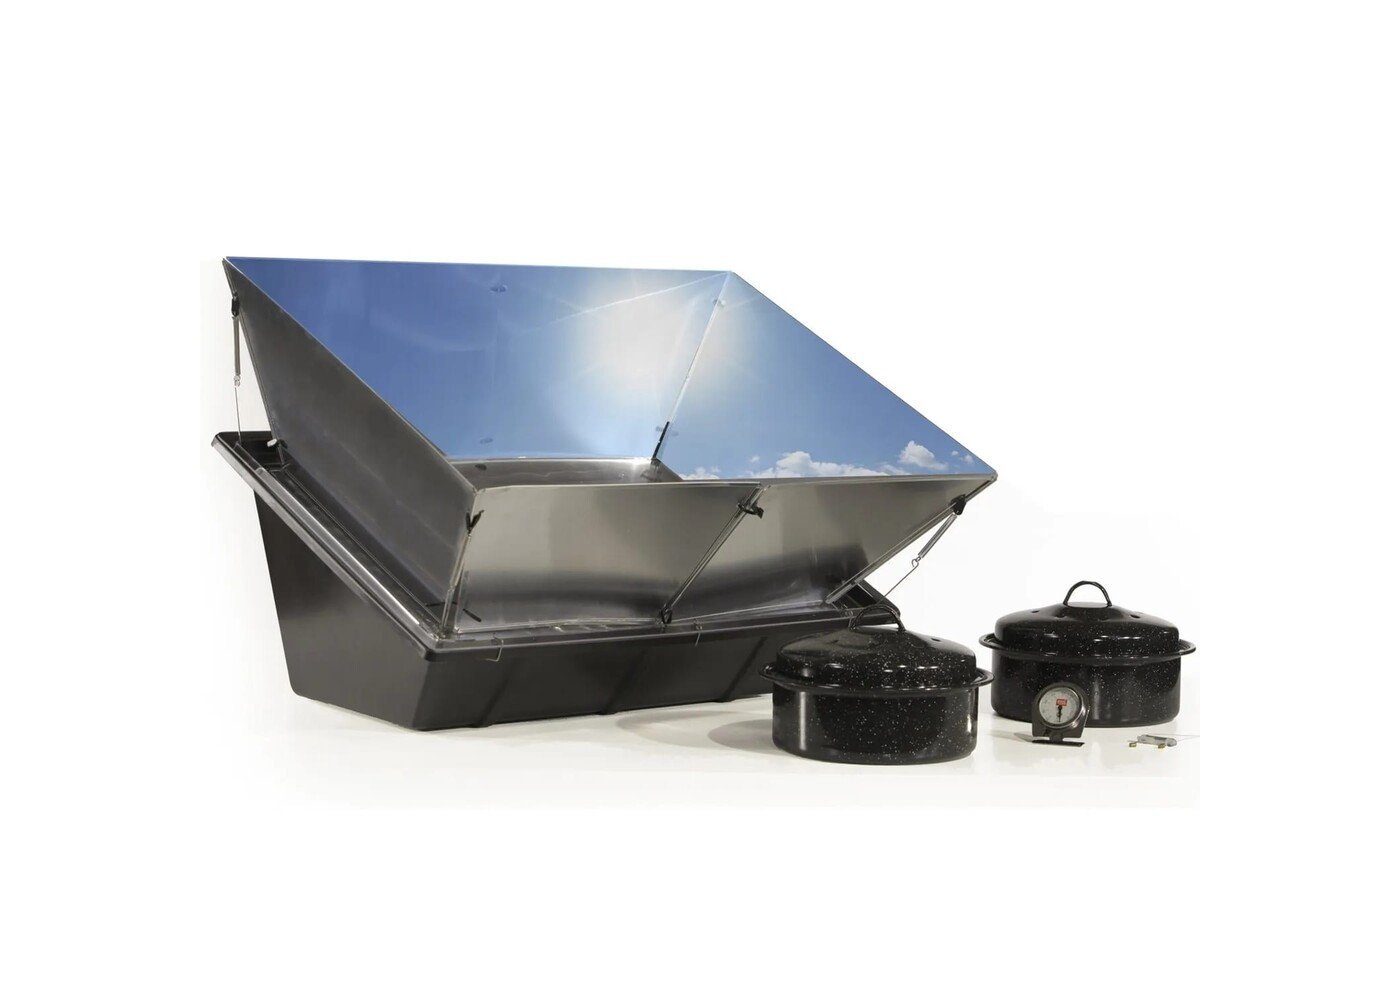
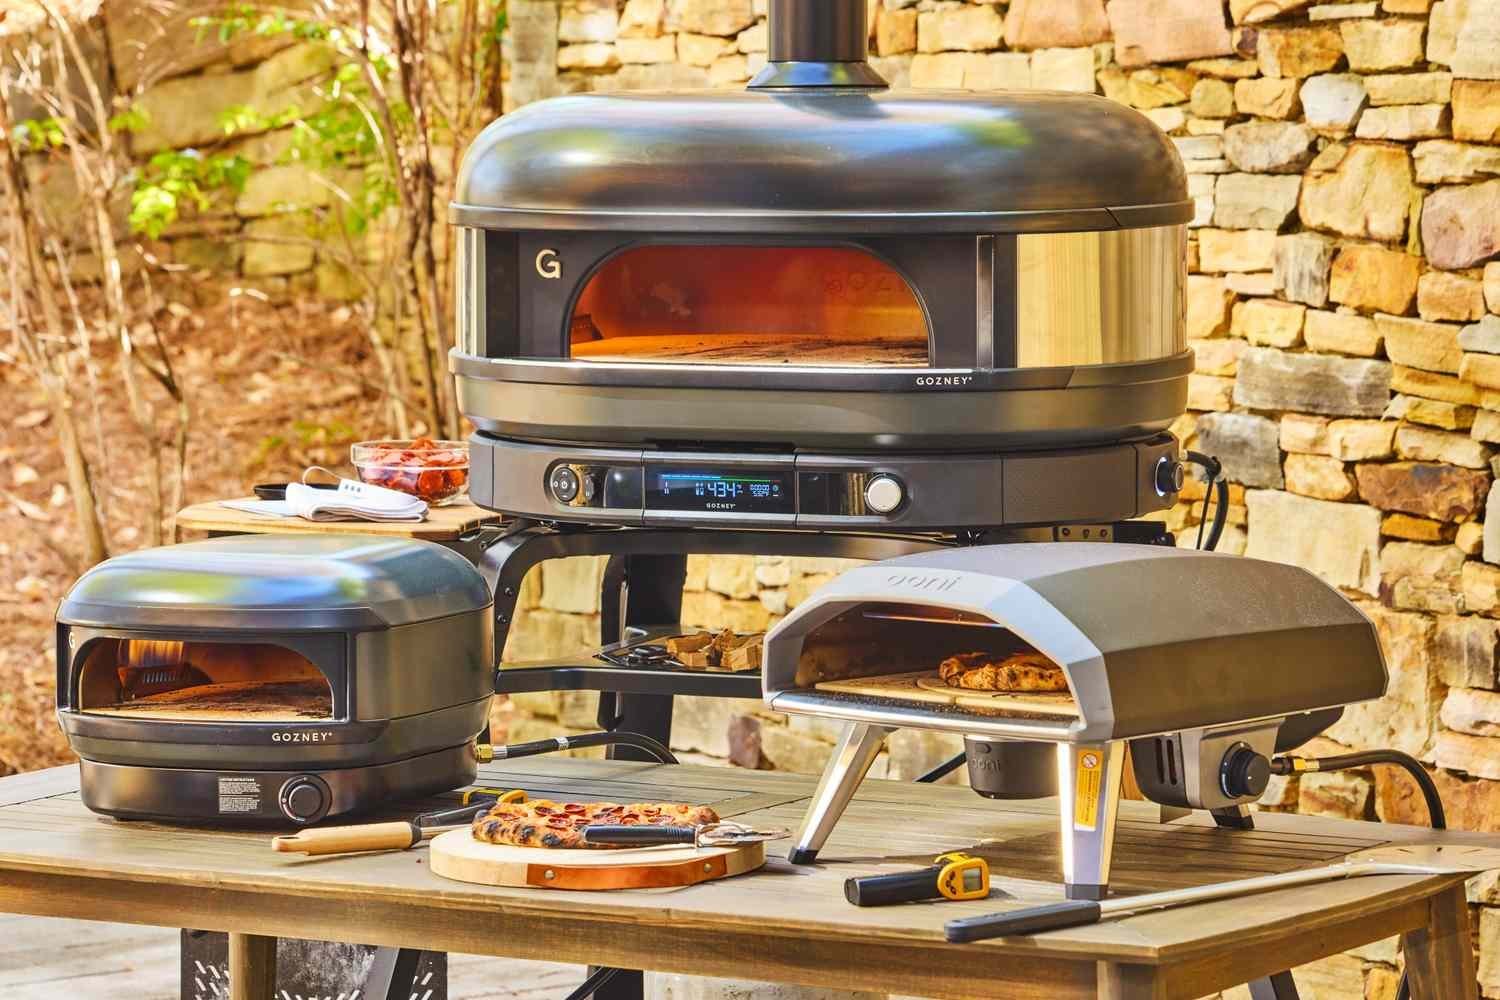
You’re likely looking for a way to bake bread, roast vegetables, or reheat meals while away from a kitchen. Some readers need a lightweight, foldable unit for backpacking, while others want a heavy-duty steel box for a permanent campsite. This article serves those who want to understand the build quality and heat management of common camping ovens. If you need a professional-grade commercial kitchen setup, you should look for industrial catering equipment instead, as camping models lack the heavy insulation required for high-volume commercial use.
We assume you have access to standard fuel sources like propane or butane. Most campers choose between a dedicated oven-stove combo or a collapsible oven that sits on top of a separate burner. The former is better for complex meals, while the latter saves space.
Factors affecting your choice
The burner output is the most critical factor for consistent baking. A stove with at least 5,000 BTUs per burner is necessary to keep the oven hot when the outside temperature drops. You can check the BTU rating on the manufacturer’s specification label or the bottom of the unit.
Material thickness determines how well the oven holds heat. Thinner metal walls, often found in collapsible models, lose heat quickly when the wind blows. If you cook in cold climates, look for double-walled steel construction; this traps heat better than single-walled aluminum.
Fuel compatibility varies by model. Some units use integrated propane regulators, while others require an external hose and tank. Always verify if your oven includes the hose or if it’s a separate purchase, as this changes your initial setup cost.
Portability versus stability is a common trade-off. A heavy, cast-iron or thick-steel oven is stable but hard to pack. A lightweight, foldable unit is easy to carry but might tip over on uneven ground. You should prioritize stability if you plan to cook on picnic tables or rocky surfaces.
The most common mistake people make is ignoring the internal heat distribution. Many ovens have a single burner at the bottom, which creates hot spots that burn the bottom of your food. Using a heat diffuser or a pizza stone can fix this, but it adds weight to your gear.
Operation and heat management
- Set your oven on a flat, non-flammable surface like a metal table or a cleared dirt patch.
- Connect your propane tank to the regulator, ensuring the hose is tight and free of kinks.
- Open the fuel valve slowly to prevent the safety valve from tripping and cutting off the gas flow.
- Ignite the burner using a long-reach lighter, keeping your face away from the opening.
- Close the oven door and let it preheat for 10 minutes on a low setting to stabilize the internal temperature.
- Check the internal temperature using a built-in thermometer or a separate oven-safe gauge placed on the middle rack.
- Place your food inside, aiming for the center rack to avoid burning the bottom crust.
- Monitor the food every 15 minutes, as outdoor ovens often fluctuate due to wind.
- Turn the heat down if you notice the top of the food browning too quickly before the center is cooked.
- Turn off the fuel at the tank first, then close the oven valve to clear the line.
Proper heat management requires keeping the door closed as much as possible. Every time you open it, you lose a significant amount of heat. If you’re cooking meat, ensure you reach the safe minimum internal temperatures recommended by the USDA to prevent foodborne illness.
Comparison of popular oven types
| Oven Type | Best For | Weight | Typical Heat Control |
|---|---|---|---|
| Foldable unit | Occasional use | Light | Basic |
| Stove-oven combo | Frequent campers | Heavy | Precise |
| Dutch oven | Primitive cooking | Very Heavy | Manual |
| Portable gas box | Weekend trips | Medium | Good |
Foldable units weigh under five pounds, making them ideal for hikers prioritizing pack weight. However, they lack insulation. Expect temperature fluctuations of 50 degrees if a breeze hits the thin metal walls. Use these only for simple baking tasks like pre-made biscuits.
Stove-oven combos integrate burners and a baking chamber into one footprint. They’re the gold standard for backcountry chefs who demand consistency. Because they use the same fuel source as your stove, you can bake bread or roast vegetables with the same reliability as a kitchen range. If you’re camping for more than three days, the weight penalty is worth the control.
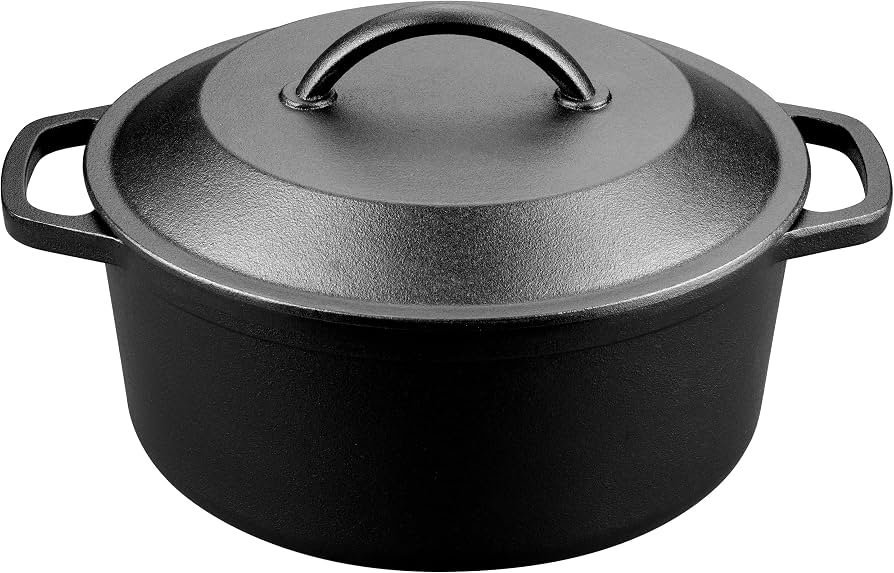
Dutch ovens require a specific decision rule: if you have time to manage charcoal, use cast iron. If you need to cook while setting up camp, use a gas box. A common mistake is adding too many coals to a Dutch oven, which scorches the bottom before the top rises. Always place twice as many coals on the lid as beneath the pot to ensure even heat distribution.
Portable gas boxes offer the best balance for weekend warriors. They feature built-in thermometers that take the guesswork out of roasting. If your internal gauge reads 350 degrees, trust it. You’ll save fuel by keeping the lid closed, as these units lose heat rapidly every time you check the food.
Performance and build quality
Heat retention and consistency
Experienced campers look for ovens with insulated door seals. An oven that leaks heat through the sides will consume fuel twice as fast as an insulated one. Check the door hinges; if they feel loose or wobbly, the unit will struggle to maintain a steady temperature during windy conditions. A solid latch system is also necessary to keep the heat inside.
Ease of cleaning
Grease buildup is the main enemy of a long-lasting camping oven. Look for models with a removable bottom tray that you can slide out and wash. If the base of the oven is fixed, you’ll struggle to remove charred crumbs and spills. A smooth, enameled finish is easier to wipe down than raw, porous steel or aluminum surfaces.
Troubleshooting common issues
| What you notice | What it usually means | What to do first | How to stop it |
|---|---|---|---|
| Yellow flame | Low oxygen or dirt | Clean the burner port | Use a wind screen |
| Uneven baking | Hot spots | Use a heat diffuser | Rotate pan often |
| Door won’t stay shut | Loose hinges | Tighten hinge screws | Pack carefully |
| Flame keeps going out | Wind interference | Move to a shelter | Use a wind shield |
| Gas smell | Leaking connection | Tighten all fittings | Check hose seals |
Regulatory standards and safety
Camping equipment must meet specific safety standards to be sold legally in the US. Look for the CSA or UL mark on the data plate of your oven. These marks indicate that the product passed rigorous testing for gas leaks, thermal stability, and fire safety. If your device lacks these stamps, it hasn’t been vetted for residential or recreational safety.
Never modify the gas regulator or the burner assembly. Doing so voids the safety certification and creates an immediate fire hazard. A common mistake is attempting to adapt a high-pressure regulator to a low-pressure burner to increase heat output. This imbalance often leads to incomplete combustion or a catastrophic flare-up. If you smell a faint scent of sulfur or rotten eggs while cooking, shut the valve immediately. This is the distinct odorant added to propane to signal a leak.
If you’re operating in a national park or a managed campground, check the site rules. Some areas restrict the use of open-flame ovens during high fire-risk periods, often defined by a “Red Flag Warning.” You can verify current status by checking the park’s official website or the entry kiosk board. If the fire danger level is “High” or “Extreme,” you must cease all outdoor cooking activities as per local fire regulations.
Always keep a fire extinguisher or a large jug of water nearby when operating any gas-powered cooking gear. If you’re using a portable fire extinguisher, ensure it’s rated for Class B fires, which specifically target flammable liquids and gases. A standard water-based extinguisher won’t suppress a pressurized gas fire. Keep your extinguisher within five feet of your cooking station. If you must reach across the stove to grab your safety gear, it’s positioned too far away.
The real cost of ownership
The initial price of a camping oven varies widely depending on the size and build quality. However, the true cost includes the ongoing expense of fuel and the weight impact on your vehicle.
Propane canisters add significant weight and cost over time compared to bulk tanks. If you plan to cook daily, investing in a refillable tank setup will save you money within one season. A standard one-pound canister is a recurring expense, while refilling a five-pound tank is a much smaller cost.
Consider the cost of accessories like heat diffusers, protective carrying bags, and extra hoses. A high-quality unit that lasts five years is often cheaper than buying a cheap model that breaks every season. Many budget ovens feature thin-gauge steel that warps under high heat, forcing a replacement after only a dozen trips.
Use this decision rule to determine your path: if you camp fewer than ten nights per year, the convenience of disposable canisters outweighs the initial investment of a bulk system.
A common mistake is ignoring the cost of specialized cookware. Many portable ovens perform better with heavy-bottomed pans to help distribute heat evenly. If you have to replace your heavy cast-iron collection to accommodate a lightweight stove, add a significant amount to your initial budget. Finally, factor in the “hassle tax.” Cheap hinges and latches often fail in sandy or dusty environments, costing you time and forcing an emergency purchase at a premium price at the campsite. Always prioritize stainless steel hardware if you plan to visit coastal or high-desert regions.
Maintaining your gear
After each trip, let the oven cool completely before cleaning. Use a damp cloth to wipe the interior, and avoid harsh chemicals that might strip the coating. If you have a foldable model, check the joints for debris and apply a small amount of high-temperature grease if they become stiff.
Store the oven in a dry, covered space to prevent rust, especially if you live in a humid climate. If you notice rust on the racks, sand it off and re-season the metal with a light coat of vegetable oil before your next use. A well-maintained oven should last for many seasons.
The most common mistake is storing the unit while it’s still damp from condensation or cleaning. If you see orange flakes, act immediately. If the rust is only on the surface, a fine-grit sandpaper will remove it. If the metal has pitted or turned black, the integrity of the rack is compromised and it must be replaced.
Use this decision rule for seasonal storage: if you live within ten miles of the coast, keep the oven inside a sealed plastic bin with a desiccant pack. If you live in an arid climate, a simple breathable canvas cover suffices. Never use WD-40 on the joints. It’s flammable and will taint the flavor of your food. Stick to food-grade silicone lubricant for any moving parts.
When to avoid this method
Don’t use a portable camping oven in an enclosed space like a tent or a small camper van. Gas ovens produce carbon monoxide, which is odorless and deadly in confined areas. If you lack proper ventilation, you must cook outdoors only.
Carbon monoxide buildup happens faster than most realize. In a space under 50 square feet, dangerous levels can accumulate in less than twenty minutes. If you feel a sudden headache or lightheadedness while cooking, extinguish the flame immediately and move into fresh air. Never rely on a tent’s mesh windows for ventilation, as they don’t provide the cross-breeze required to clear combustion gases.
If your cooking needs involve high-heat searing or complex temperature control, a simple camping oven won’t suffice. These units are designed for slow, consistent baking rather than rapid heat transfer. You’ll struggle to achieve a proper crust on a steak or a quick boil for pasta.
In these cases, a portable gas grill or a cast-iron skillet over a campfire is a more effective and reliable choice. Attempting to force high heat in a camping oven often results in a warped metal housing or a damaged burner assembly. You save yourself the cost of a ruined meal and a broken appliance by choosing the right tool for the specific thermal demand. Always verify your heat source matches your culinary goal before you ignite the fuel.
Frequently asked questions
How long does a camping oven take to preheat?
Most camping ovens take about 10 to 15 minutes to reach 350 degrees Fahrenheit. The exact time depends on the ambient temperature and the wind speed. Always check the internal thermometer after 10 minutes to see if you need to adjust the flame higher.
Is it safe to cook inside a tent?
No, it’s never safe to use a gas oven inside a tent or any enclosed space. Gas-powered appliances produce carbon monoxide, which can build up to lethal levels within minutes. Always use your oven in a well-ventilated, outdoor area away from flammable materials.
What happens if the burner flame is yellow?
A yellow flame usually means the burner isn’t getting enough oxygen or the ports are clogged with debris. You should turn off the fuel immediately and clean the burner ports with a soft brush. Never continue to use an oven that shows a yellow flame or produces soot.
Does it matter if I use a heat diffuser?
Yes, a heat diffuser helps prevent burning by spreading the heat evenly across the bottom of the pan. It’s especially important for thin-walled ovens that have a single burner. Without one, you may find the bottom of your food burns while the center remains raw.
How often should I clean the oven interior?
You should wipe out the interior after every trip to prevent grease buildup and odors. Burnt food residues can attract pests to your campsite and may cause smoke during your next use. Use a mild soap and a damp cloth, then dry it thoroughly to prevent rust.
Can I use a camping oven in the rain?
You should avoid using your oven in the rain unless you have a sturdy, waterproof shelter overhead. Moisture can interfere with the burner’s ignition and rust the metal components. If you must cook, ensure the oven is protected from direct water exposure and wind.
Brands camping, in short
Start by checking your specific model’s manual for the correct fuel pressure requirements. A steady, blue flame is the sign that your oven is working as designed and ready for your food. Stop immediately if you smell gas or notice a yellow, flickering flame, and contact the manufacturer’s customer support for a professional inspection.