
A manual pedal mechanism is the most reliable choice for long-term use, while a motion sensor trash can is better if you prefer a hands-free experience. Choosing between a step pedal vs motion sensor trash can usually comes down to your budget and how much you value convenience over mechanical simplicity. If you want a bin that lasts for years without needing batteries, choose the pedal version. If you need to keep your hands clean while cooking, the sensor model is the superior pick.
Comparing trash can technologies
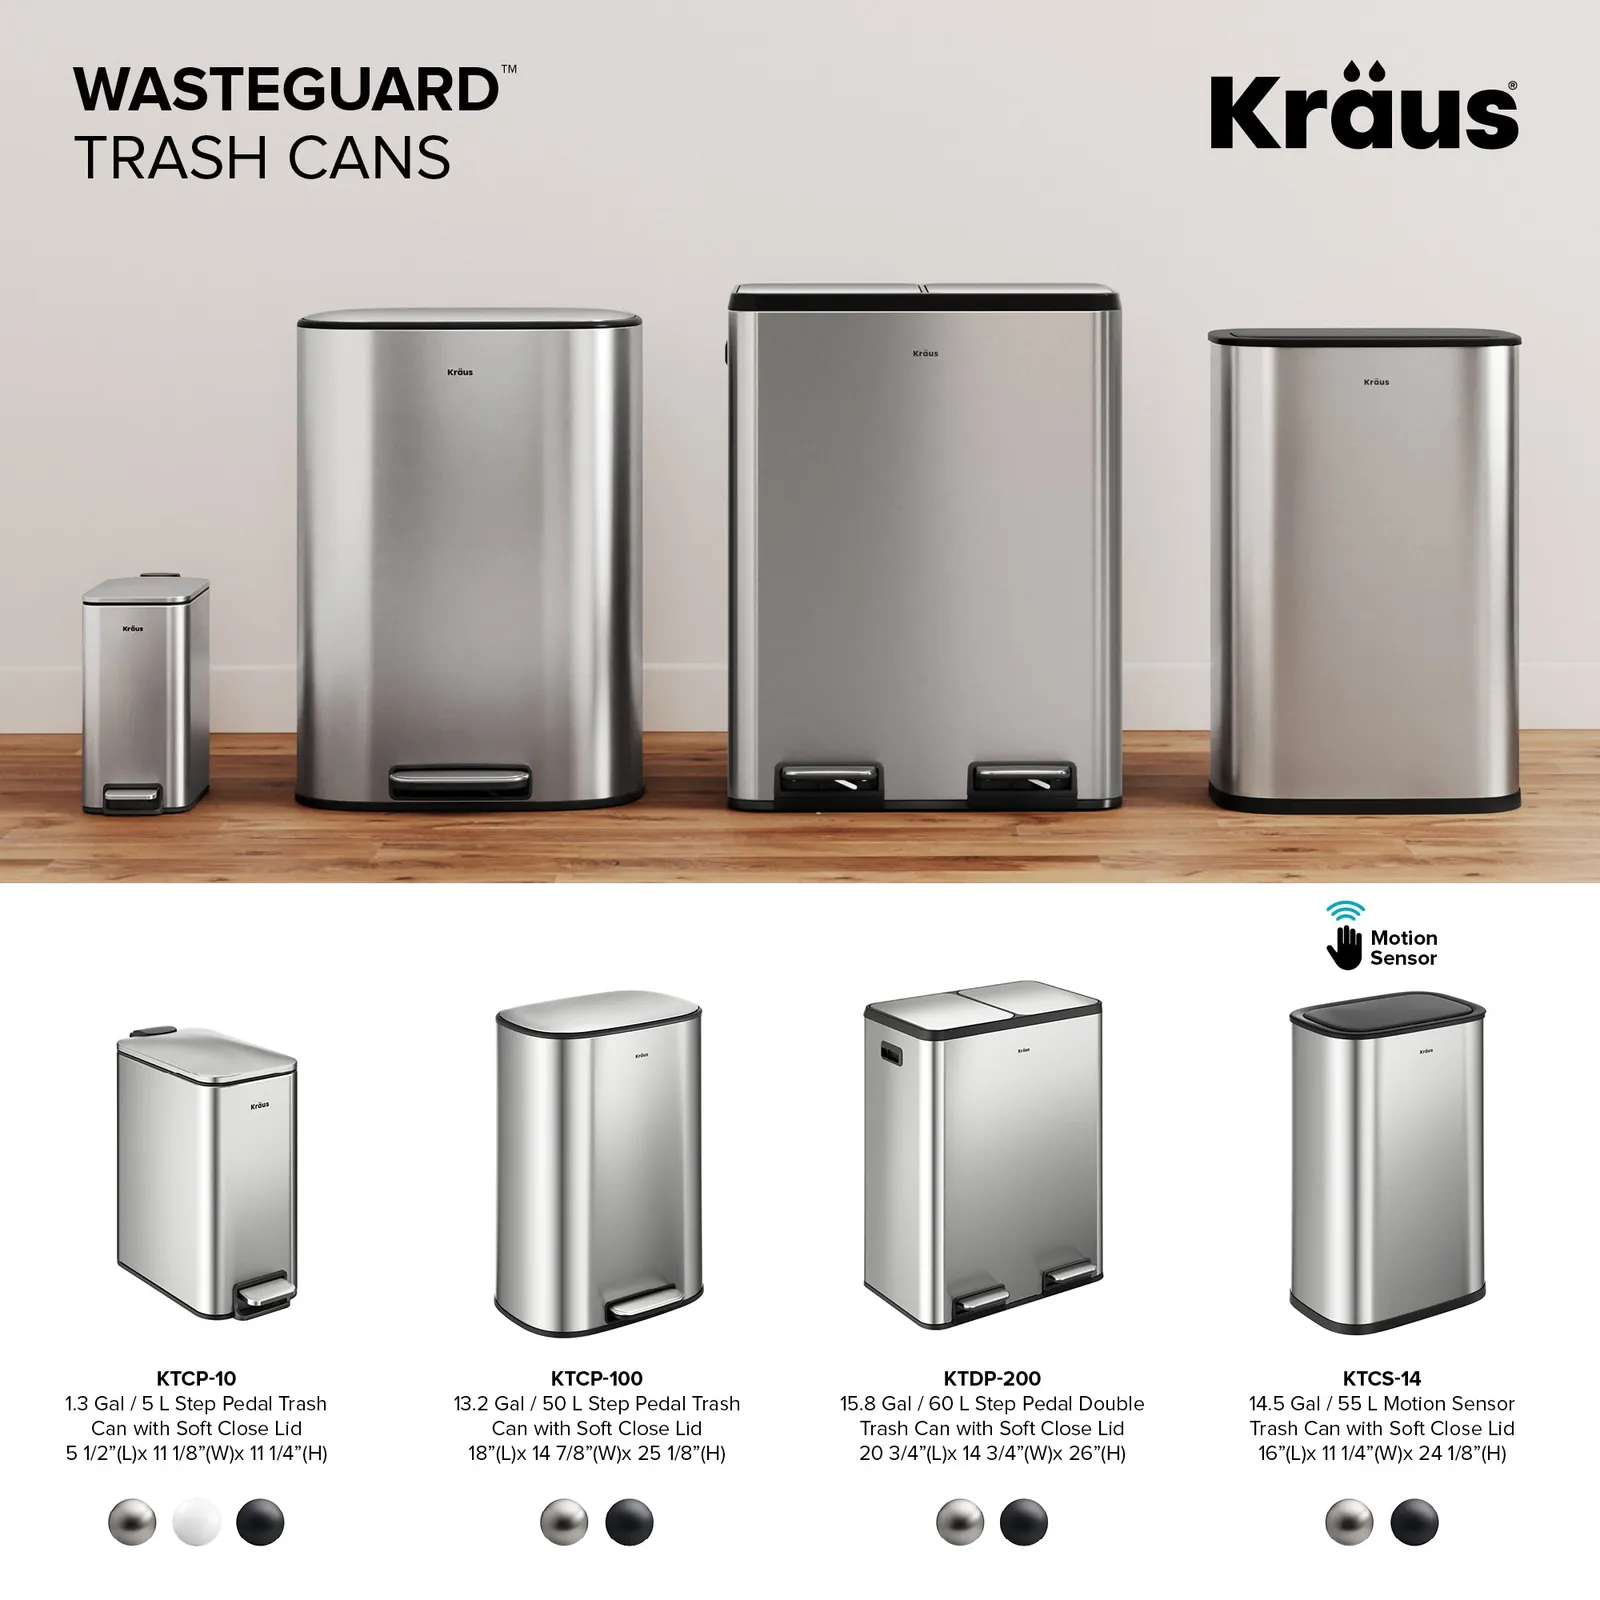
Choosing the right bin depends on your daily habits and where you plan to place it. While sensor bins offer a premium feel, they require more maintenance than manual designs.
| Method | How long | Effort | Cost | Best for |
|---|---|---|---|---|
| Step Pedal | 5-10 years | Low | Low | Kitchens |
| Motion Sensor | 2-4 years | Very Low | High | Hygiene |
| Swing Top | 5+ years | Medium | Very Low | Offices |
Manual pedal bins typically last longer because they rely on simple physical levers rather than electronic components. Motion sensors are excellent for high-traffic areas but may require frequent battery changes, which can become a hidden cost over time.
If you produce heavy waste, avoid swing-top lids. The spring mechanism often fails under the weight of glass or metal, and the lid itself collects grime that’s difficult to scrub away. Use these only for dry, light paper waste in a home office.
For kitchen environments, prioritize the pedal bin. If you find the lid slams shut too loudly, look for a model with a soft-close hydraulic damper. This small feature prevents the hinge from snapping under repeated daily use.
Sensor bins are superior only if you frequently handle raw meat or messy ingredients. If you choose one, check the battery compartment location. If it sits underneath the unit, you’ll have to tip a full, heavy bin over whenever the batteries need replacing. Always favor models with top-mounted battery access.
Using a manual step pedal bin
A pedal-operated bin uses a simple mechanical linkage to lift the lid when you press the lever. This design is robust and rarely fails unless the internal spring or hinge breaks.
Place the bin on a flat, level surface to ensure the lid closes evenly. If the floor is uneven, the lid may sit crooked, allowing odors to escape.
Insert a trash bag that fits the bin’s volume, folding the edges over the rim. If the bag is too large, excess plastic will bunch up near the hinge, preventing the lid from sealing tightly.
Press the pedal firmly with your foot to open the lid fully. Release the pedal slowly to allow the lid to drop shut without slamming.
This method is ideal for busy households because it requires no power source. The main weakness is that the linkage can eventually wear out, making the lid loose or difficult to open.
If you notice the lid failing to open fully, check the hinge area for debris or bent metal. A common mistake is pushing the bin flush against a wall. Doing so restricts the pedal’s travel, forcing the internal rod to bend under pressure. Leave at least two inches of clearance between the bin and the wall to preserve the mechanism.
If the lid stays open, the internal tension spring has likely slipped. Inspect the underside of the pedal to see if the hook has detached. If the spring is intact but the lid remains sluggish, a light application of silicone lubricant to the pivot point will restore smooth operation.
Operating a motion sensor trash can
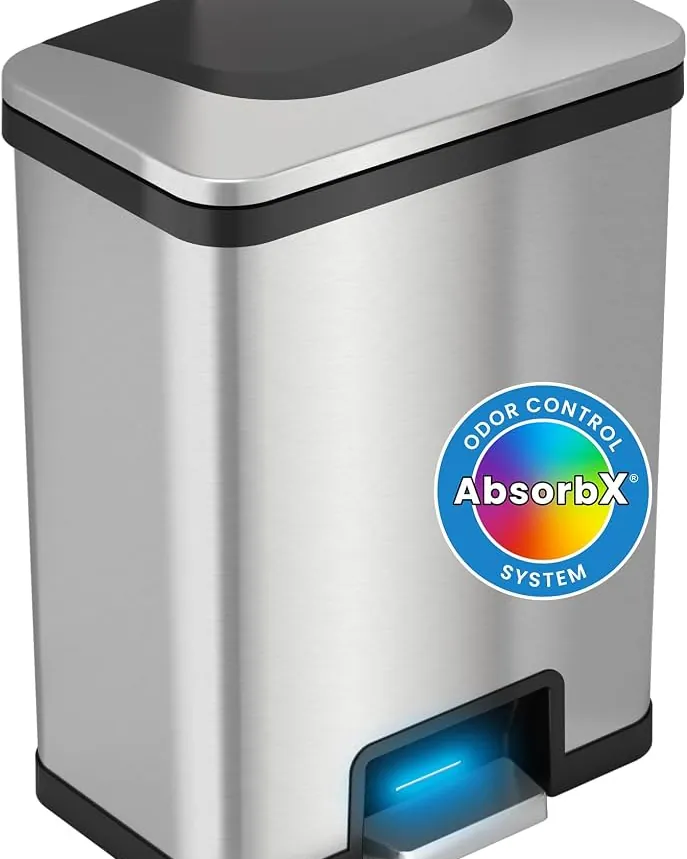
Sensor bins use an infrared field to detect movement, automatically opening the lid for you. This is helpful when your hands are full or dirty from food preparation.
Install the recommended number of fresh batteries, usually AA or D cells, into the battery compartment. If you use rechargeable batteries, ensure they provide the required voltage; lower-voltage alternatives often cause the lid to stall halfway open, in which case you should contact a technician.
Turn the power switch to the “on” position and wait for the indicator light to blink. Wave your hand or an object within 6 inches of the sensor window to trigger the lid. If the lid fails to open, check for a thin film of dust or grease on the sensor lens. A quick wipe with a dry microfiber cloth usually restores sensitivity.
Keep your hand near the sensor if you need the lid to stay open longer. Most models feature a timer that closes the lid after five seconds of inactivity. If you’re scraping a large cutting board, place the bin slightly offset from your main workspace to prevent accidental triggers while you move.
These bins are excellent for maintaining a germ-free kitchen environment. A major drawback is that electronic sensors can be sensitive to steam or high humidity. If your sensor stops responding, ensure your kitchen has proper ventilation to prevent moisture buildup that can interfere with sensitive electronics.
Avoid placing these bins in direct sunlight, as strong light can confuse the infrared sensor. If the bin opens randomly throughout the day, move it away from windows or reflective surfaces that bounce light directly into the sensor eye.
Choosing the right bin for your needs
When you’re in a hurry, a step pedal bin is the better choice because it’s always ready to use and never requires a battery change. If you’re doing this for the first time, a sensor bin might feel like a fun upgrade, but it requires more care to keep the electronic components clean and functional. When you want the best possible result regardless of the cost, a high-end sensor bin provides the most convenience in a modern kitchen.
The trade-off is clear: you either pay for the convenience of automation with batteries and electronics, or you save money and gain longevity with a mechanical pedal. If you have small children or pets, a pedal bin is often safer because it’s harder for them to open accidentally compared to a sensor model. Always measure your available floor space before buying, as sensor bins often have bulky battery housings that increase their total footprint.
A good rule of thumb is to allow two extra inches of clearance beyond the bin’s listed dimensions. This prevents the lid from scraping against your cabinetry or backsplash when it swings open. If your kitchen layout forces the bin into a high-traffic area, choose a pedal model with a reinforced steel hinge. Plastic hinges frequently snap under the pressure of daily use, forcing you to replace the entire unit within a year.
If you opt for a sensor bin, check the battery compartment location. Models with bottom-loading batteries are a mistake; you’ll have to tip the bin over and empty it every time the power dies. Instead, look for models where the battery housing sits under the lid. This simple design choice saves you time and frustration depending on your usage and the manufacturer’s guidelines.
Rules for maintaining your trash can
Regardless of the mechanism you choose, keeping your bin clean is the best way to extend its life. Empty your trash regularly to prevent odors from settling into the plastic or metal housing. If you use a bin with a removable inner bucket, wash it out with soap and water as needed based on your usage and the owner’s manual. This prevents sticky residue from clogging the hinges or triggering false readings on sensor models.
If you choose a sensor bin, you must keep the sensor lens wiped clean of dust and fingerprints. Use a dry microfiber cloth as needed based on your usage and the owner’s manual to prevent ghost-opening cycles. If the lid fails to close, check for debris caught in the gear train before assuming the motor has failed.
If you choose a pedal bin, check the pedal linkage occasionally for signs of rust or misalignment. A drop of silicone lubricant on the pivot point every six months prevents the metal from grinding down. If the lid slams shut, the soft-close damper has likely failed.
Avoid using harsh chemical cleaners on the exterior. These agents often strip the protective sealant from stainless steel, leading to permanent pitting. If you see brown spots forming on the surface, switch to a dedicated stainless steel polish immediately.
If a part breaks, consult the manufacturer’s user manual to see if replacement hinges or sensors are available. If the manufacturer no longer supports the unit, a universal soft-close hinge can often be retrofitted to restore functionality.
Related guides
Frequently asked questions
How long do batteries last in a sensor trash can?
Batteries usually last 3 to 6 months depending on the brand and how often the lid opens. If you use your bin more than 20 times per day, you’ll need to replace the batteries closer to the 3-month mark. Always use high-quality alkaline batteries to prevent leaking, as corroded battery terminals are the most common reason these devices stop working.
Is it safe to use a sensor bin in a humid bathroom?
It’s generally safe, but you should look for a model with a sealed battery compartment to prevent moisture damage. Humidity can sometimes cause the sensor to trigger randomly or fail to detect movement. If you notice the lid opening on its own, move the bin away from the shower area or use a manual bin instead.
Can I fix a broken pedal on a manual bin?
Yes, you can often fix a broken pedal by tightening the screws on the linkage or replacing the tension spring. If the metal hinge is bent, you can use pliers to reshape it, but the part may remain weak. If the pedal mechanism is completely broken, it’s usually more cost-effective to replace the entire bin.
What happens if the sensor stops working?
If the sensor stops working, first replace the batteries and wipe the sensor window with a dry cloth. If it still doesn’t respond, check the manufacturer’s website for a manual reset procedure or a troubleshooting guide. If the sensor is dead, you can often use the bin as a manual unit by lifting the lid by hand.
How much space should I leave behind a pedal bin?
You should leave at least 2 inches of space behind a pedal bin to allow the hinge and lid to move freely. If the bin is pushed flush against a wall, the lid may hit the wall, causing the plastic to crack over time. This extra space also ensures the pedal linkage has room to operate without friction.
Conclusion
Ultimately, the right choice depends on your daily routine and kitchen habits. Think about whether you’d rather replace batteries occasionally or enjoy a simple, sturdy design that doesn’t need power. Once you’ve decided which style fits your home best, you’ll be ready to upgrade your space and keep things tidy.