
You should repair a chamberlain garage door opener if the issue relates to a simple sensor alignment or a broken drive belt, but you should replace the entire system if the motor has failed or the unit is quite aged. A repair is usually the right path when the opener works intermittently or makes unusual noises due to loose parts. If the motor is smoking, burning out, or the logic board has suffered a power surge, starting fresh is almost always more cost-effective.
Repair or replace your Chamberlain opener
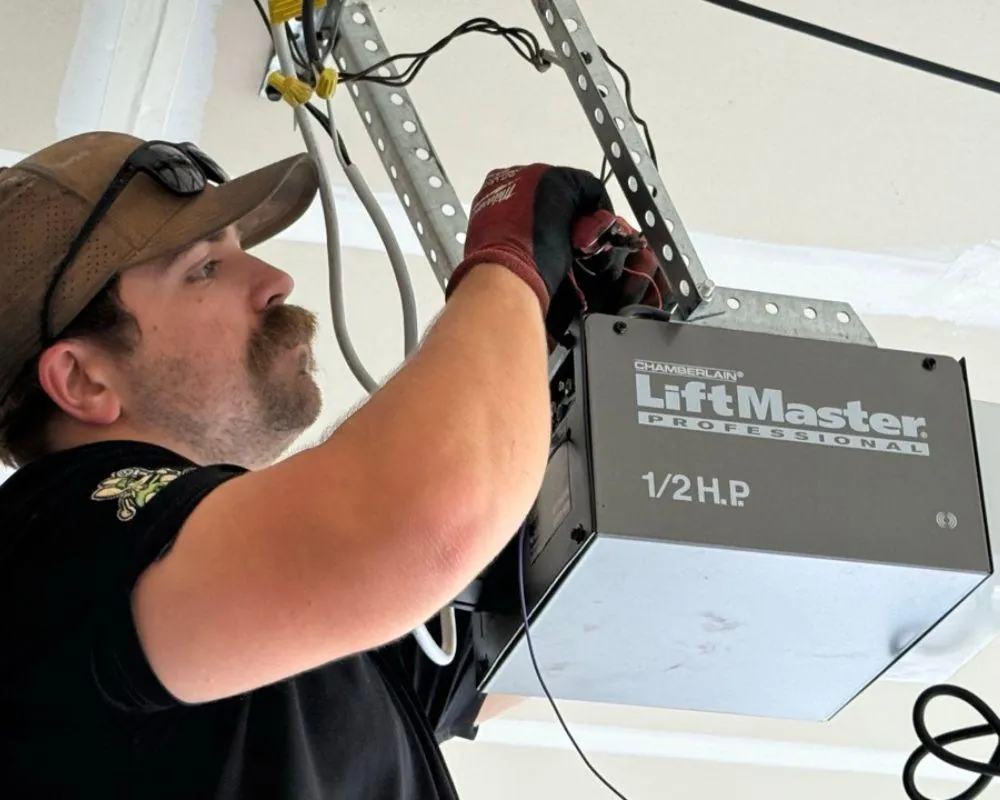
The choice depends on the age of your unit and the specific component that has stopped working. Use this guide to determine if you can save money with a quick fix or if you need a new unit.
| If this is true | Repair | Replace |
|---|---|---|
| Unit is over 15 years old | No | Yes, parts are scarce |
| Safety sensors are misaligned | Yes, easy adjustment | No |
| Motor makes burning smell | No | Yes, fire hazard |
| Drive belt or chain snapped | Yes, cheap part | No |
| Logic board failure | No | Yes, too costly |
| Wall button is unresponsive | Yes, simple wiring | No |
Apply the 50 percent rule: if the estimated repair cost exceeds half the price of a new model, replace the unit. Repairs on older machines often trigger a domino effect where one fix leads to another failure within months.
Check for a burning smell immediately. If you detect that acrid odor, cut the power at the breaker before investigating further. Never attempt to bypass a safety sensor by taping it or disabling the auto-reverse feature.
Doing so creates a dangerous trap that risks injury to family members. If the unit struggles to lift, check the springs first. A snapped spring is a common repair, but because these springs are under extreme tension, you must hire a professional to replace them.
When fixing is the right call
You can often save hundreds of dollars by fixing a unit that has minor mechanical or electrical issues. Many common problems stem from debris blocking the safety sensors or a chain that has lost its tension over time. If the opener is relatively new, it’s usually worth the time to troubleshoot the internal components.
Small parts like gear kits, drive belts, and remote transmitters are widely available and inexpensive. If you notice the door moves a few inches and then reverses, the travel limits likely need a simple adjustment. You can adjust these settings using the screws or buttons on the side of the motor housing. Always consult your owner’s manual for the specific turns required for your model, as forcing the mechanism can strip the plastic gears.
Sensor issues are another area where a repair is straightforward. If the LED lights on your sensors are blinking, they’re likely out of alignment. You can fix this by loosening the wingnut on the sensor bracket and rotating it until the light turns solid.
According to official Chamberlain safety guidance, the sensors must be installed no more than 6 inches above the floor to comply with safety standards. If the sensors are damaged or the wires have been chewed by rodents, replacing just the sensor kit costs far less than a new motor. If you feel comfortable using a ladder and basic hand tools, these fixes take under 30 minutes to complete.
When replacing is the right call
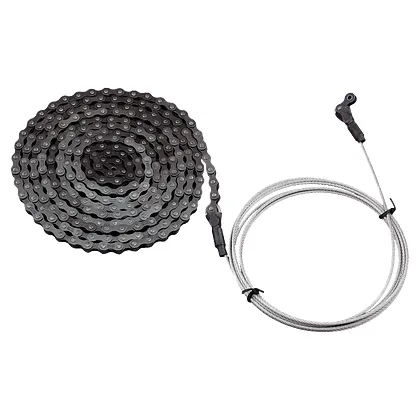
Replacing the system becomes the better financial decision when the internal motor assembly begins to fail. If the motor hums but the door doesn’t move, or if the unit frequently shuts off during operation to prevent overheating, the internal windings are likely worn out. These components are sealed at the factory and can’t be serviced by a homeowner.
A total replacement is also necessary if the opener lacks modern safety features. Older models built before the current UL 325 safety standards were strictly enforced often lack advanced obstruction detection. If your unit is missing the photo-eye sensors, it’s a significant safety risk to your family and pets. Attempting to retrofit these onto an ancient unit often costs as much as buying a new, modern opener with a built-in battery backup and Wi-Fi connectivity.
Furthermore, if your garage door opener has failed more than three times in the last two years, you’re trapped in a cycle of diminishing returns. Each repair visit or replacement part adds up, and you’re still left with an aging machine that may suffer another mechanical breakdown next month.
When the cost of parts and your own labor time exceeds 50% of the price of a new, reliable unit, it’s time to stop spending money on the old one. Investing in a new system provides the benefit of a fresh warranty and modern safety features.
The costs people forget
The diagnostic fee a professional charges just to arrive at your home and look at the machine often exceeds the cost of a minor part. Expect to pay a service fee that’s quite expensive compared to the cost of a simple replacement component.
Factor in the opportunity cost of an unusable garage. If you rely on the space for daily parking or storage, a three-day wait for a backordered gear assembly creates a logistical nightmare.
Old motors often suffer from cascading failures. Once you replace a stripped drive gear, the added tension frequently causes the aging capacitor or circuit board to fail within weeks. If the unit is quite aged, budget for the full replacement cost immediately.
Hauling away a hundred-pound steel assembly requires a truck and a trip to a scrap yard. If your local waste management service charges for bulk items, that expense is quite high relative to the cost of a new unit.
Questions to ask before repairing
Before you commit to a repair, ask these questions to ensure you aren’t wasting your money. If the person doing the work mentions that the main circuit board is fried, stop immediately. Replacing a logic board on an old unit is rarely worth the investment.
- Is the part you’re replacing a standard wear item, like a gear or belt? (It matters because these are designed to fail first.)
- Does the motor show any signs of electrical burning or blackened wires? (This indicates a terminal failure that can’t be fixed.)
- Is the cost of the repair more than 40% of the price of a new opener? (It matters because you should save that money for a new unit.)
- Are you able to test the safety reverse feature after the work is done? (If you cannot, you must hire a professional to ensure it’s safe.)
Repairing a garage door opener involves working with high-tension springs and electrical systems. If you have any doubt about your ability to perform these steps safely, contact a licensed garage door technician. Don’t attempt to adjust the springs or lift cables yourself, as these are under extreme tension and can cause serious injury.
Finding the right replacement
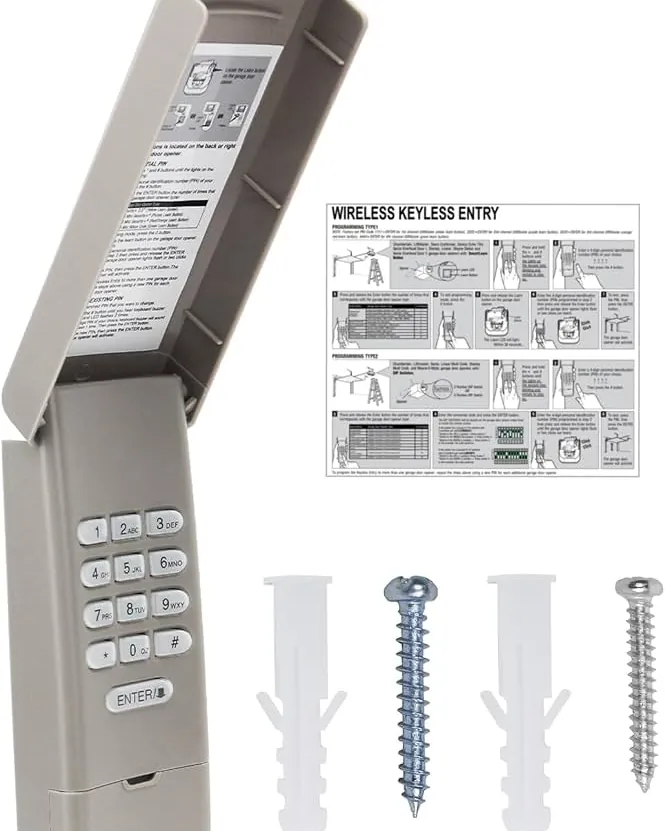
To prevent the same failure from happening again, prioritize a unit with a belt-drive system if you want quiet operation. Unlike chain drives, belt drives don’t require regular lubrication and are less prone to the stretching that causes mechanical noise. You can verify the drive type on the product packaging or the manufacturer’s specification page before you purchase.
If your garage is attached to a bedroom, the belt drive is mandatory. Chain drives create vibrations that travel through the wall framing, waking light sleepers. If your garage is detached, a chain drive remains a reliable, cost-effective choice.
Next, look for a model with integrated Wi-Fi and smart features. These allow you to receive alerts on your phone if the door is left open, which prevents unauthorized access. Check the manufacturer’s official website to confirm that the smart app is compatible with your current home network standards.
Many users mistake “smart” for “connected,” but you must verify the app’s rating in your phone’s store. If the app has a rating below three stars, the connection will likely drop frequently. Finally, prioritize a model that includes a battery backup. This ensures that you can still open your garage door during a power outage, which is a common failure point for older, basic models.
Related guides
Frequently asked questions
Can I fix a garage door opener that won’t close?
You can fix this by checking if the safety sensors are blocked or misaligned. The sensors must have a clear line of sight, and the LED lights on both units should be solid. If the lights are blinking, adjust the brackets until they face each other perfectly. If the sensors are fine, check the travel limit settings in your manual to ensure the door isn’t hitting the floor too early.
How long does a garage door opener last?
A garage door opener typically lasts for a set duration with regular maintenance. This lifespan assumes you lubricate the rail once a year and test the safety reverse system every six months. If your opener is quite aged, the internal plastic gears and electrical components are likely brittle and prone to failure, making a full replacement more practical than a repair.
Is it safe to repair the garage door opener myself?
It’s safe to repair sensors, belts, and wall buttons yourself if you follow the manual’s instructions. However, never attempt to touch the torsion springs or the cables attached to the bottom of the door. These parts are under extreme tension and can cause severe injury if they snap. If the problem involves the springs or the heavy lifting mechanism, you must hire a professional technician.
What happens if I ignore a noisy garage door opener?
Ignoring a noisy opener usually leads to a complete mechanical failure of the gear assembly. The noise is often a sign of metal-on-metal grinding or a loose chain hitting the rail. If you continue to use it, the gears will eventually strip or the chain will derail. This can leave your garage door stuck in an open or closed position, which is a significant security risk.
Does a newer model use more electricity?
A newer model uses significantly less electricity because modern openers feature energy-efficient motors and LED lighting. Most current Chamberlain models consume less than 1 watt of power in standby mode, which is much lower than older units with incandescent bulbs. You can verify the specific power rating for any model by looking at the energy specification label located on the motor housing or the manufacturer’s website.
How much does a professional repair cost?
A professional repair typically costs a significant amount, depending on the parts needed and the labor time involved. This range assumes a standard service call for a common issue like sensor alignment or gear replacement. If the technician finds that the motor or circuit board needs replacement, the cost will likely exceed the price of a new unit, making replacement the better choice.
Conclusion
If you’re still unsure whether to fix or replace your unit, don’t hesitate to reach out to a local professional for a quick inspection. They’ll help you weigh the costs so you don’t waste money on an old machine. It’s better to be safe and keep your home secure today.
