
You can sync a new remote to your garage door system by pressing the learn button on the motor housing and then the button on your remote within 30 seconds. This overhead door opener remote programming is a task you can finish in about five minutes without any special tools. It’s a straightforward process for homeowners who have a remote that’s compatible with their specific motor frequency and brand.
Gathering your remote and opener details
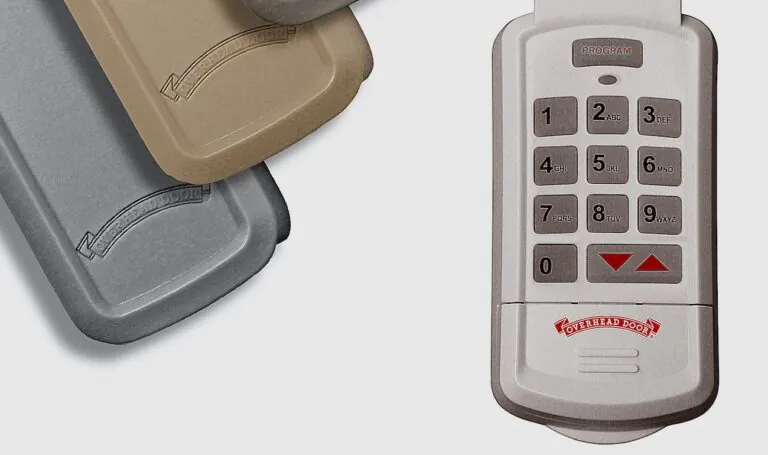
You need to gather a few items before you begin the setup process. Having these ready prevents unnecessary trips up and down the ladder while the motor is in its active pairing mode.
A step ladder that’s tall enough to reach the motor unit safely. Your new or replacement remote control. The owner’s manual for your specific garage door motor to identify the learn button location. A flashlight if your garage lighting is dim near the ceiling. A flat-head screwdriver if the learn button is hidden behind a plastic light cover.
If you have a wall-mounted control panel, ensure it’s powered on. You can usually find your specific model number on a label located on the side or back of the motor housing. If the remote isn’t the correct frequency for your receiver, it won’t pair regardless of the steps taken.
Check the frequency label on the back of your old remote before buying a replacement. If the new remote shows a different frequency, such as 315MHz versus 390MHz, it’s physically impossible to pair them. Most homeowners make the mistake of buying based on brand name alone, which costs them the price of a second remote when the first fails to sync.
If your motor has a purple learn button, it requires a Security+ 315MHz remote. If the button is red or orange, you must use a 390MHz version. When in doubt, look for the FCC ID printed on the back of your existing transmitter. Matching that specific ID ensures the signal will be recognized by your receiver.
Steps for Overhead Door Opener Remote Programming
Place your ladder securely on level ground directly under the garage door motor housing. Ensure the base is stable on concrete or firm flooring to prevent slipping during the reach.
Remove the light cover from the motor unit if it blocks access to the buttons. Some models require a gentle squeeze on the plastic tabs to release the housing without cracking the casing.
Locate the button labeled “Learn” or “Program” on the motor housing. It’s often colored yellow, red, or purple, depending on the frequency of your specific opener.
Press and release the learn button once; a small LED light will glow steadily or blink. You have a 30-second window to complete the pairing before the unit exits programming mode.
Press and hold the button on your remote control for three seconds. If your remote has multiple buttons, choose the one you intend to use daily to avoid confusion later.
Wait for the motor’s light to flash or for the unit to click, which indicates the code is saved. If the light flashes rapidly, the remote failed to sync; start the sequence again.
Test the remote by pressing the button again to see if the door moves. Never stand directly under the door while testing, as a malfunction could cause it to close unexpectedly.
If the motor doesn’t respond after three attempts, clear all old codes from the memory by holding the learn button for 10 seconds. This is essential if you bought a used home or lost a remote, as it prevents unauthorized access from older, forgotten transmitters. If the opener remains unresponsive, verify that the remote is compatible with your motor’s frequency and that the battery is functional.
Adjustments Based on Motor Type
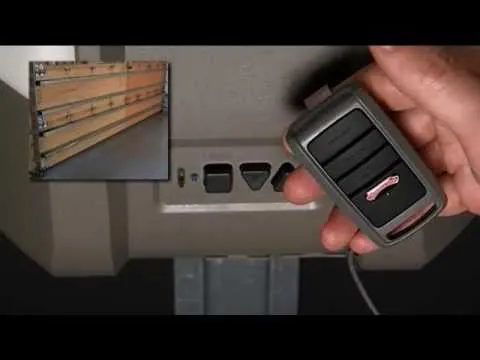
The time and effort required for this task vary depending on the age and technology of your garage door system. Modern units often use rolling codes to increase security, while older models may rely on manual dip switches.
| System Type | Setup Time | Difficulty | What to Watch |
|---|---|---|---|
| Rolling Code | 2 Minutes | Low | LED confirmation light |
| Fixed Dip Switch | 5 Minutes | Medium | Switch positions matching |
| External Receiver | 3 Minutes | Low | Wiring connections |
| Smart Hub Sync | 1 Minute | Low | Wi-Fi signal strength |
If your opener has a “Learn” button, you’re dealing with a rolling code system. These units require you to press the button and then the remote transmitter within thirty seconds. If the LED light doesn’t blink, you have exceeded the timeout window and must restart the sequence.
For dip switch models, you must match the pattern of the internal toggles exactly. If your remote has eight switches and the opener has nine, you’re likely looking at a frequency mismatch. You can’t force these to sync; you must purchase a universal bridge.
It’s safer to start with one remote to verify the connection before you attempt to sync multiple devices. Overloading the receiver with multiple attempts at once can lead to signal errors. If the system fails to respond after three tries, clear the memory by holding the “Learn” button for ten seconds. This wipes out ghost signals from old, lost remotes that might be causing interference.
Verifying a Successful Connection
A successful sync is confirmed when the garage door moves smoothly in response to a single remote press. If you press the button and the light on the motor flashes but the door doesn’t move, the remote is paired but the door is locked or blocked. Check the manual release cord to ensure it’s fully engaged; if it hangs loose, the motor will spin without moving the door.
A poor result often manifests as a remote that only works when you’re standing directly under the motor. This range issue usually happens because the antenna on the motor is bent or obstructed by metal objects. You can prevent this by ensuring the small wire antenna hangs down freely and isn’t touching any metal frame parts.
If the remote works intermittently, check the battery level first, as low voltage is the most common cause of weak signal strength. Replace the coin cell if the remote’s LED indicator dims during use.
If the signal remains weak after a battery swap, verify that no LED light bulbs are installed in the opener. These bulbs emit radio frequency interference that masks the remote’s signal. If you have an LED bulb installed, replace it with a dedicated garage door opener bulb to restore full range.
Safety Standards and Maintenance
The National Safety Council recommends monthly testing of your garage door’s reversal feature to ensure the system remains safe for your family. After you finish your remote programming, keep your manual in a safe place for future reference. If you move, clear all remotes from the unit’s memory to ensure the next owner can’t access your garage.
If you find that the door doesn’t reverse when it hits an object, you must stop using the opener immediately. Contact a professional technician to inspect the safety sensors and the force settings. Improperly adjusted doors can cause serious injury, so don’t attempt to force the door closed if the safety sensors are misaligned.
Using Universal Remotes
Universal remotes allow you to pair one device with multiple brands of openers. You must set the frequency switches on the remote to match your motor brand before pairing. This adds about two minutes to the process but is useful for homes with different door types.
Clearing Old Memory
If you lost a remote, you should clear the motor’s memory to prevent unauthorized access. Most modern units require you to hold the learn button for 10 to 15 seconds until the status light turns off. This deletes every previously paired remote, requiring you to re-sync the ones you still possess.
Using a Wall Console
Some wall-mounted consoles allow for “vacation mode,” which disables all remotes. If your remote fails to work despite a successful sync, check if this mode is active on your wall panel. You can usually toggle it off by pressing the lock button for three seconds until the light stops flashing.
Related guides
- LiftMaster vs Overhead Door Garage Door Openers: The Verdict
- Chamberlain Garage Door Opener Troubleshooting: Easy Fixes
- LiftMaster vs Chamberlain: Which Garage Door Opener Is Best
Frequently asked questions
How long does it take to program an overhead door remote?
It takes about five minutes to complete the process for a standard residential opener. This assumes you have a functional ladder and the correct remote for your motor’s frequency. If you’re using a universal remote, you may need an extra two minutes to set the brand-specific switches.
Can I program a remote without a ladder?
No, you can’t program most remotes without direct access to the motor housing. You must press the physical learn button located on the motor unit to enter the pairing mode. Attempting to use a long pole to reach the button is dangerous and likely to damage the delicate electronics.
Why is my garage door remote not working after programming?
The most common reason is that the remote frequency doesn’t match your specific garage door motor. Check the label on your motor to ensure your remote is compatible with the model’s year and security protocol. If the frequency is correct, replace the battery in the remote, as a weak signal often prevents the motor from accepting the new code.
Is it safe to program a garage door remote myself?
Yes, it’s safe to perform this task if you follow the manufacturer’s instructions and use a stable ladder. You should always ensure that children and pets are clear of the garage door area while you’re testing the movement. Never attempt to adjust the door’s high-tension springs or the motor’s internal wiring, as these components require professional service.
What happens if I press the learn button too long?
If you hold the learn button for more than 10 or 15 seconds, you’ll erase all previously saved remotes from the motor’s memory. This is a factory reset feature designed to enhance security when a remote is lost or stolen. You’ll need to re-sync every remote you own, as they will no longer communicate with the door until you pair them again.
Conclusion
Once your remote is working, it’s a good idea to test it from the end of your driveway to ensure the signal reaches the motor reliably. If it doesn’t respond, you might need to replace the batteries. You’ll find that keeping a spare remote in your car makes coming home much easier.
