
A replacement LiftMaster opener battery lifespan varies depending on how often you use the backup system during power outages. You can check the exact model your unit requires by looking at the sticker on the side of the motor housing or by checking the official LiftMaster support documentation for your specific operator series. If you notice the diagnostic LED on your opener flashing orange or beeping, it’s time to inspect the battery health.
Essential supplies for battery replacement
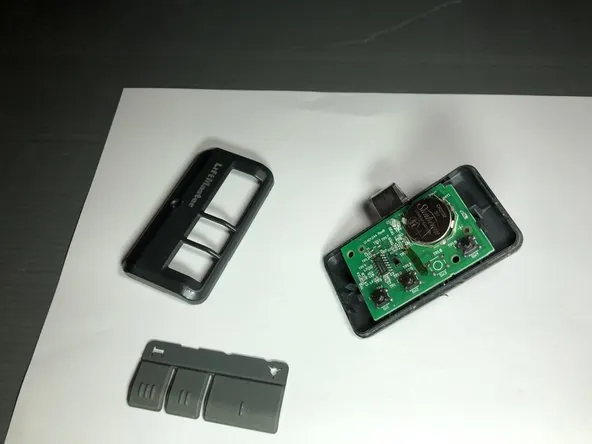
You must have the correct parts and tools ready before opening the motor housing. Using an incorrect battery type can damage the charging circuit or fail to provide enough power during an emergency.
| Item | How much | Why it’s needed | A substitute |
|---|---|---|---|
| Replacement battery | 1 unit | Powers the opener | None — don’t swap this |
| Phillips screwdriver | 1 tool | Removes the cover | None — don’t swap this |
| Safety glasses | 1 pair | Protects your eyes | None — don’t swap this |
| Soft cloth | 1 piece | Cleans the terminals | Clean dry rag |
| Work light | 1 unit | Improves visibility | Flashlight |
Verify the voltage rating on your old battery before purchasing a replacement. Most standard openers require a 12-volt sealed lead-acid battery, but some newer smart models use lithium-ion packs. Installing a battery with a lower amperage rating will cause the motor to stall during heavy lifting.
Check the expiration date stamped on the new battery casing.
Always keep a container nearby to hold the housing screws. Losing a single screw forces you to keep the cover loose, which allows dust to accumulate on the internal circuit board. This buildup eventually causes the opener to trigger randomly or fail to respond to your remote.
Preparing your garage door opener
Always unplug the garage door opener from the wall outlet before you remove the motor cover. The internal capacitors often hold a lethal electrical charge even when the unit is disconnected from the main power source.
Clear all items away from the area directly under the garage door to ensure you have enough room to move safely. If your ceiling is high, use a stable ladder that reaches the motor without you needing to stand on the top step. You should be able to reach the housing while keeping your belt buckle between the ladder rails.
Many homeowners mistakenly replace the entire opener when the issue is merely a tripped thermal overload switch or a loose logic board connection. Check your manual for the specific reset sequence before buying new parts. If the unit is still under warranty, contact the manufacturer first; opening the sealed motor housing yourself often voids your coverage immediately.
If you can’t identify the specific component failure after a visual inspection, don’t attempt a repair. Contact a professional technician to handle the installation.
Steps to replace your LiftMaster opener battery
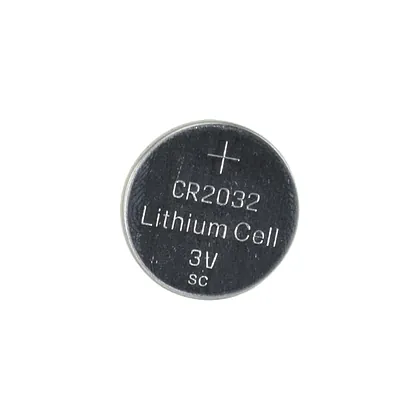
- Disconnect the power cord from the ceiling outlet to ensure the unit is completely powered down before you touch any internal components.
- Locate the battery compartment cover on the side or bottom of the motor unit, which is usually held in place by two small Phillips screws.
- Use your screwdriver to turn the screws counter-clockwise until they come free, then pull the plastic cover away from the main housing carefully.
- Slide the old battery out of the slot and disconnect the two wire terminals by pulling the plastic connectors straight off the metal tabs.
- Clean any dust from the wire ends with your cloth to ensure a good connection, but don’t use any liquid cleaners or solvents.
- Connect the new battery wires to the matching terminals, ensuring the red wire goes to the positive tab and the black wire to the negative.
- Slide the new battery into the housing, ensuring the wires don’t get pinched by the plastic cover when you push it back into place.
- Tighten the screws clockwise until firm, then plug the power cord back into the wall outlet and wait for the status LED to turn green.
Verifying the installation
After you plug the unit back in, the status LED on the opener should show a solid green light, which indicates the system is now charging the new battery. If the light remains orange or continues to flash, the battery might not be fully seated or the wire terminals may be loose. Ensure the connectors are pushed all the way onto the battery tabs.
If the light stays off, check that your power outlet is actually providing electricity by plugging in a lamp or a small appliance. If the power is on but the opener remains dark, the internal fuse may have tripped during the battery change.
For units that use a charging circuit, it can take up to 24 hours for the new battery to reach a full charge after the initial installation. If the battery still fails to hold a charge after a full day, you may have received a defective unit that needs to be returned.
Troubleshooting common battery issues
| What happened | Why | What to do |
|---|---|---|
| Light stays orange | Battery is charging | Wait 24 hours |
| No light appears | Power is disconnected | Check wall outlet |
| Beeping sound | Battery is low | Replace the unit |
| Door moves slowly | Low voltage | Check terminal wires |
| Battery feels hot | Incorrect installation | Disconnect power immediately |
If the orange light persists beyond the 24-hour mark, the internal charging circuit has likely failed. Don’t attempt to force a charge, as this creates a fire hazard.
When checking terminal wires, look for white, powdery corrosion. A loose connection often mimics a dead battery by failing to draw current under load.
If your unit beeps despite a fresh battery, the issue is usually a faulty sensor rather than a power drain.
Never mix old and new batteries in the same housing. The older unit will drain the capacity of the new one, causing the entire system to underperform within days. If the door still drags after terminal maintenance, the motor is likely failing and requires professional servicing.
Expected battery service life
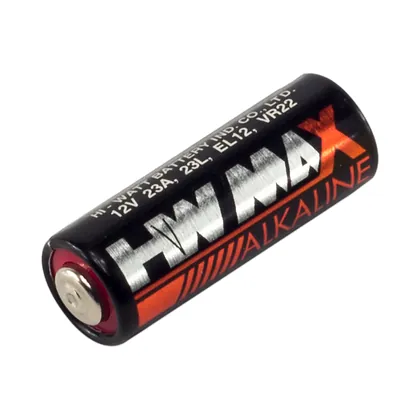
A standard lead-acid battery for these units provides service that varies based on two main factors: the local temperature in your garage and the number of times you use the backup feature. If your garage gets very hot during the summer, the battery will lose its capacity faster than one kept in a climate-controlled space.
If your garage frequently exceeds 90 degrees in the summer, the frequency of replacement depends on use and the owner’s manual is the authority.
You should perform a manual test of the battery backup periodically to ensure it’s still functional. To test it, unplug the opener from the wall and try to open or close the door using your remote. If the door moves at a normal speed, the battery is in good condition.
If the motor struggles or the unit beeps rapidly, the battery is nearing the end of its useful life. Replace the battery immediately if the unit fails to move the door at all, as a dead battery can cause the circuit board to draw excessive current, potentially damaging the motor.
Frequently asked questions
How long does a liftmaster opener battery last?
A replacement battery lasts for a duration that depends on use and the owner’s manual is the authority, assuming your garage temperature stays within a moderate range. If you live in an area with extreme heat, the chemical life of the battery often decreases. You can verify the health of your battery by performing a manual power-off test to see if the door still operates smoothly.
Is it safe to change the battery myself?
It’s safe for most homeowners to change the battery if they follow the manufacturer’s instructions and keep the unit unplugged during the entire process. You don’t need to handle any high-voltage internal components, as the battery is contained within a separate, accessible compartment. If you see any signs of corrosion on the wires or if the plastic housing is cracked, don’t attempt the repair yourself and call a professional.
What happens if I ignore a low battery warning?
If you ignore the warning, the battery will eventually stop providing power, meaning the garage door won’t open if the electricity goes out. You’ll lose the convenience of the backup system, but the main garage door opener will continue to function normally when plugged into an active wall outlet. Replacing the battery promptly ensures you’re prepared for unexpected power outages in your area.
Can I use a generic battery instead of the brand name?
You should only use the specific battery model recommended by the manufacturer to ensure the charging system functions correctly. Using a generic battery with different voltage or capacity ratings can cause the charging circuit to overheat or fail prematurely. Always check the model number on your existing battery and match it exactly to the replacement part listed in your owner’s manual or the company’s website.
Does the garage door opener need to be reset after a battery change?
You don’t need to reset the opener, as the system automatically recognizes the new battery once power is restored. The diagnostic LED should stop flashing or turn solid green shortly after plugging the unit in. If the unit doesn’t recognize the battery, ensure the red and black wires are securely attached to the correct terminals.
How do I know if the battery is fully charged?
The status LED on the front of your opener will show a solid green light when the battery is fully charged. If the light is flashing or orange, the battery is either still charging or has a connection issue that needs to be addressed. It typically takes about 24 hours for a new battery to reach a full charge after you install it and restore power to the opener.
Conclusion
Once you’ve installed the fresh power pack, keep an eye on your garage door’s performance during the next few months. If the warning lights don’t stop blinking, there might be a loose connection you’ll need to check. It’s a simple way to ensure your home stays secure whenever the power goes out.
