
You can prevent condensation in outdoor thermometers by applying a thin layer of silicone sealant around the seam where the lens meets the housing or by placing a silica gel desiccant packet inside the battery compartment if the design allows it. Proper sealing stops moist air from entering the unit and cooling against the internal display, which is the primary cause of fogging.
These methods depend on whether your device is a sealed analog model or a battery-operated digital version. Factors like ambient humidity levels, the quality of the original factory seal, and the specific temperature range of your region will dictate how effective these preventative measures remain over time.
Who needs to prevent outdoor thermometer condensation
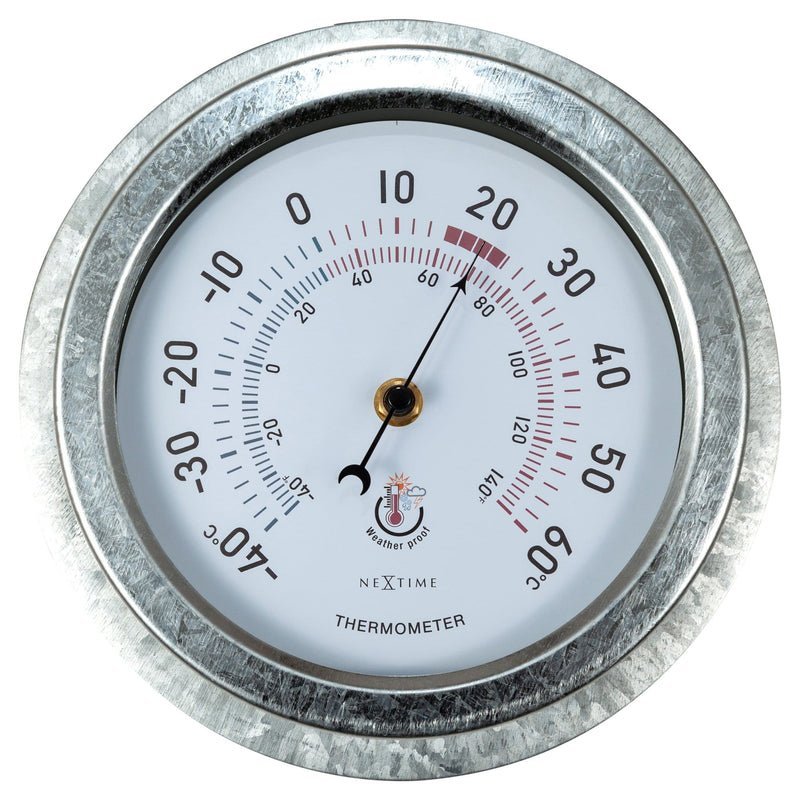
This guide serves homeowners and gardeners who rely on precise temperature tracking for outdoor planting, pool maintenance, or general weather monitoring. If you’re a hobbyist using a basic plastic-cased thermometer that frequently fogs up after rain, these steps will help extend the life of your device.
Conversely, if you own a professional-grade weather station or an expensive digital sensor array, this advice might not be enough. Those high-end units often require specific replacement gaskets from the manufacturer rather than DIY sealants. Using generic silicone on precision-calibrated sensors can actually trap heat or interfere with sensitive hygrometers.
The primary assumption here is that your device is currently functioning but suffers from aesthetic or performance issues due to moisture ingress. If your thermometer is already showing signs of water damage, such as corrosion on the battery terminals or a completely blank screen, the internal electronics are likely compromised beyond simple sealing. In that case, you’re better off replacing the unit.
We focus here on preventative measures for intact housings. If you’re unsure about the waterproofing rating of your device, check the IP rating standards provided by the International Electrotechnical Commission.
If you find yourself needing to seal a unit that’s already rated IP67 or higher, you’re likely misdiagnosing a failing internal seal rather than an external housing gap. In that specific scenario, stop the repair immediately to avoid voiding your warranty.
Factors influencing moisture buildup
The primary factor is the quality of the housing seal. Most mass-produced outdoor thermometers use simple plastic clips or thin rubber O-rings that degrade quickly under intense UV radiation. Once these seals dry out or shrink, they allow humid air to enter the casing. You can check the integrity of your seal by inspecting the edges for visible gaps or brittleness.
Temperature fluctuations also force condensation. If your thermometer is in a location that receives direct sunlight for four hours or more each day, the air inside the housing expands and contracts repeatedly. This “breathing” effect pulls outside moisture into the device every time the temperature drops at night. If you notice the fogging happens only in the early morning, this thermal cycle is the culprit.
The mounting location is also a primary concern. Placing a thermometer near a sprinkler head, a downspout, or a north-facing wall that stays damp will drastically increase the risk of moisture infiltration. People often make the mistake of mounting units too close to these water sources, which creates a micro-climate of high humidity. Moving the device just three feet away can often solve the problem without needing any internal modifications.
Finally, the internal material quality matters. Devices that use paper-based or cardboard backing for the temperature scale absorb moisture from the air. Once that backing is damp, it releases water vapor back into the housing whenever the sun hits the thermometer. If your thermometer has a paper scale, it’s much harder to prevent condensation compared to units with metal or plastic scales.
Protecting your device from moisture
- Remove the batteries from the device to prevent any risk of a short circuit while you work.
- Clean the exterior housing with a dry, lint-free cloth to remove dirt or debris near the seams.
- Inspect the seam where the clear plastic lens meets the outer frame for any visible cracks or gaps.
- Apply a thin, continuous bead of clear silicone sealant along the entire seam using a toothpick for precision.
- Smooth the sealant with your finger to ensure it’s pressed firmly into the gap, creating a water-tight seal.
- Allow the silicone to cure for 24 hours in a dry, indoor environment before exposing it to outdoor conditions.
- Check the battery compartment for a rubber gasket; if it’s missing or flat, apply a tiny amount of silicone grease to the seal.
- Insert fresh batteries and close the cover securely, ensuring the seal is compressed evenly.
The key judgment call is the amount of sealant used. If you use too much, it looks messy and can interfere with the way the lens sits; too little, and you’ll have gaps that allow air to pass through. Always err on the side of a thin, consistent line rather than a thick glob. If your model uses screws to hold the housing together, tighten them gently but firmly before applying the sealant to ensure the parts are already as close as possible. Note that if you have a digital model with a sensitive sensor probe, ensure you don’t get any silicone on the sensor itself, as this will insulate it and cause inaccurate temperature readings.
Comparative guide for thermometer maintenance
| Situation | Recommended Action | Effort Level | Watch For |
|---|---|---|---|
| Minor surface fog | Move to drier area | Low | Persistent water droplets |
| Cracked lens seam | Apply silicone sealant | Medium | Sealant discoloration |
| Battery cover gap | Apply silicone grease | Low | Loose battery fit |
| Paper-backed scale | Replace the unit | High | Mold growth inside |
| High humidity zone | Add desiccant packet | Medium | Saturated desiccant |
If you notice fog inside the lens, place the unit in a sealed bag with silica gel for 24 hours. If the fog remains, the internal seal is compromised, and the device will likely fail within a week.
When applying silicone sealant to a seam, use a toothpick to ensure the bead is thinner than a dime. Excess sealant often traps moisture, which accelerates internal corrosion.
For units with paper-backed scales, never attempt a deep clean. Even a trace of isopropyl alcohol will cause the paper to warp and jam the needle mechanism.
Use this decision rule: if the thermometer reads more than 5 degrees off after a simple battery swap, the internal calibration spring is likely fatigued. At that point, repair costs exceed the value of a new unit. Don’t waste time on recalibration attempts.
Getting the best results
Preparing the housing
Experienced users ensure the device is completely dry before sealing it. If you seal a thermometer while moisture is already trapped inside, you’ll effectively trap that water, and it will condense on the lens every time the temperature drops. Use a hair dryer on a low, cool setting for two minutes to blow air into the battery compartment to ensure the interior is bone-dry before you finalize the seal.
Managing the seal
The order of operations is vital for success. Always tighten the mechanical fasteners before you apply the sealant. If you tighten screws after the silicone has started to set, you’ll break the bond and create new micro-cracks. Beginners often skip the curing time, which costs them the entire project because the sealant needs time to bond to the plastic surfaces.
Common issues and fixes
| What you notice | What it means | What to do first | How to prevent |
|---|---|---|---|
| Large water droplets | Major seal failure | Check for cracks | Replace O-ring |
| Constant light fog | High local humidity | Move location | Use desiccant |
| Corroded terminals | Water reached board | Clean with vinegar | Check seal yearly |
| Inaccurate readings | Sensor is wet | Dry with air | Improve housing |
| Discolored display | UV damage | Replace unit | Add shade cover |
Large droplets usually indicate a breach larger than 0.5mm. If you see them, stop testing immediately to prevent a short circuit. If your device uses a screw-in port, check the torque. A loose housing often mimics a failed seal.
When cleaning terminals, use white vinegar on a cotton swab. Don’t use water or soap. If the green oxidation has reached the copper traces, the board is likely beyond repair.
For inaccurate readings, verify if the sensor is actually wet or just cold. If the internal temperature drops below the dew point, condensation forms naturally. In this case, move the unit to a warmer area.
Always check your O-rings for flat spots or debris before every season. A single grain of sand can compromise a seal that’s otherwise rated for full submersion.
Regulatory and maintenance rules
Outdoor equipment maintenance is governed by the manufacturer’s technical specifications. Most consumer-grade thermometers come with an IPX3 or IPX4 rating, meaning they’re protected against splashing water but not submersion. You can find the specific rating for your model on the back of the device or in the original manual. If your thermometer is labeled as “weatherproof,” it’s designed to withstand light rain, but it isn’t intended to be placed in direct paths of irrigation or extreme storm runoff.
If you’re modifying a device that’s still under warranty, be aware that applying silicone or opening the housing often voids the manufacturer’s guarantee. Always check the warranty card before you begin any permanent modifications. If you’re using your thermometer for commercial or professional purposes, such as agriculture or scientific data collection, you must follow the calibration standards outlined by the National Institute of Standards and Technology (NIST) to ensure your readings remain valid. Professional equipment requires specialized, factory-certified gaskets to maintain compliance; if your device requires this level of precision, don’t attempt DIY sealing. Contact the manufacturer directly for authorized repair parts and service protocols.
Real costs of maintenance
The cost of preventing condensation is mostly time and a small amount of household supplies. A tube of clear silicone sealant is a cheap part and will last for dozens of repairs. The real currency here is your time and the risk of damaging the device during the process. If you spend one hour carefully cleaning and sealing your thermometer, you’re essentially doubling its useful life compared to a unit that’s left to succumb to moisture damage.
The cost moves up if you have to replace the device entirely. A budget outdoor thermometer is often less than a new unit, but a high-accuracy digital unit can range from a modest amount to a significant investment. If you choose to ignore the initial fogging, the cost is the full replacement price. If you spend the small amount of effort to seal it early, the cost is negligible. Always compare the cost of a new unit against the value of your time spent on the repair. If the unit is an inexpensive model, the time spent might be better used elsewhere, but for more expensive weather stations, the effort is well-rewarded.
Maintaining the result
Once your thermometer is sealed, maintenance remains straightforward. Visually inspect the housing regularly, specifically after winter or heavy rain. Look for silicone peeling away from the plastic or hairline cracks in the lens. If you see the silicone lifting, clean the area and apply a small dab of fresh sealant to patch the spot.
If the device fogs, moisture is entering through secondary points like mounting screw holes or the battery door. Address these by applying a thin layer of petroleum jelly to the rubber seals. This creates a hydrophobic barrier that prevents water migration.
Monitor battery life closely. This is the definitive sign that the internal electronics are failing. The unit has reached its functional limit and must be replaced to prevent total failure.
The most common mistake is over-tightening the mounting screws, which warps the housing and creates new gaps for water. If the thermometer wiggles, use a wider washer rather than turning the screw further. If the unit remains stable but fogs, prioritize the battery seal over the lens, as circuit corrosion is the primary cause of permanent death.
When this is the wrong approach
If your thermometer is already showing heavy mineral deposits or rust inside the display, this is the wrong approach. Cleaning rust from delicate electronics is a specialized task that often results in permanent failure of the display. In this case, you should purchase a new, higher-quality unit that features a better factory-sealed housing.
Another situation where this approach is wrong is if you’re using a mercury or spirit-filled glass thermometer. These are fragile, and attempting to seal the glass housing can lead to breakage. If a glass thermometer breaks, you must handle the cleanup according to your local hazardous waste regulations, as mercury is toxic. If you’re unsure of the internal contents of your glass thermometer, don’t attempt to open or modify it. Instead, contact your local waste management authority for advice on how to dispose of it safely and replace it with a modern, digital, or bi-metal dial thermometer that doesn’t contain hazardous materials.
Is it safe to use silicone on all thermometer plastics?
Yes, most standard silicone sealants are safe for the ABS or polycarbonate plastics used in outdoor thermometers. Always test a tiny, hidden spot on the back of the device first to ensure the sealant doesn’t cloud or melt the plastic surface.
How long does a silicone seal last?
A properly applied silicone seal usually lasts for two to three years in standard outdoor conditions. Extreme heat and direct UV exposure will cause the silicone to become brittle faster, so you should inspect it annually to ensure the seal remains intact.
Can I use a hair dryer to remove condensation?
Yes, you can use a hair dryer on the lowest, coolest setting to help evaporate moisture trapped inside the casing. Don’t use high heat, as this can warp the plastic housing or damage the internal temperature sensor, leading to permanent reading errors.
Why does my thermometer only fog in the morning?
This happens because the temperature drops overnight, causing the air inside the thermometer to contract and pull in moisture. When the sun hits the device in the morning, the moisture inside turns to fog against the cooler lens before it has time to evaporate completely.
Does the thickness of the sealant matter?
Yes, a thinner, uniform bead is much more effective than a thick, uneven layer. Thick layers of silicone are prone to peeling and can create new gaps where water can pool, which eventually seeps into the unit through the edges of the sealant itself.
What if my thermometer isn’t waterproof at all?
If your thermometer isn’t rated for outdoor use, you should move it to a location that’s naturally protected from rain. A covered patio or a deep porch overhang can provide enough protection to prevent moisture ingress without needing to modify the housing of the device.
Start by moving your thermometer to a shaded, dry area to see if the condensation stops on its own. If the fogging continues, apply a thin bead of silicone to the lens seam and allow it to cure for 24 hours. If you notice rust or a failing display, stop the repair immediately and replace the unit to avoid further electrical or safety issues.
Related guides