
You can use an outdoor thermometer in winter if it’s rated for sub-zero temperatures, as most standard glass or digital models will function accurately down to their specified minimum limit. If you’re using a device meant only for indoor use, you should expect the internal components to fail or the reading to become erratic once the air drops below freezing. The specific design of your sensor determines whether it can handle the cold or if it will break.
Who should use an outdoor thermometer in winter
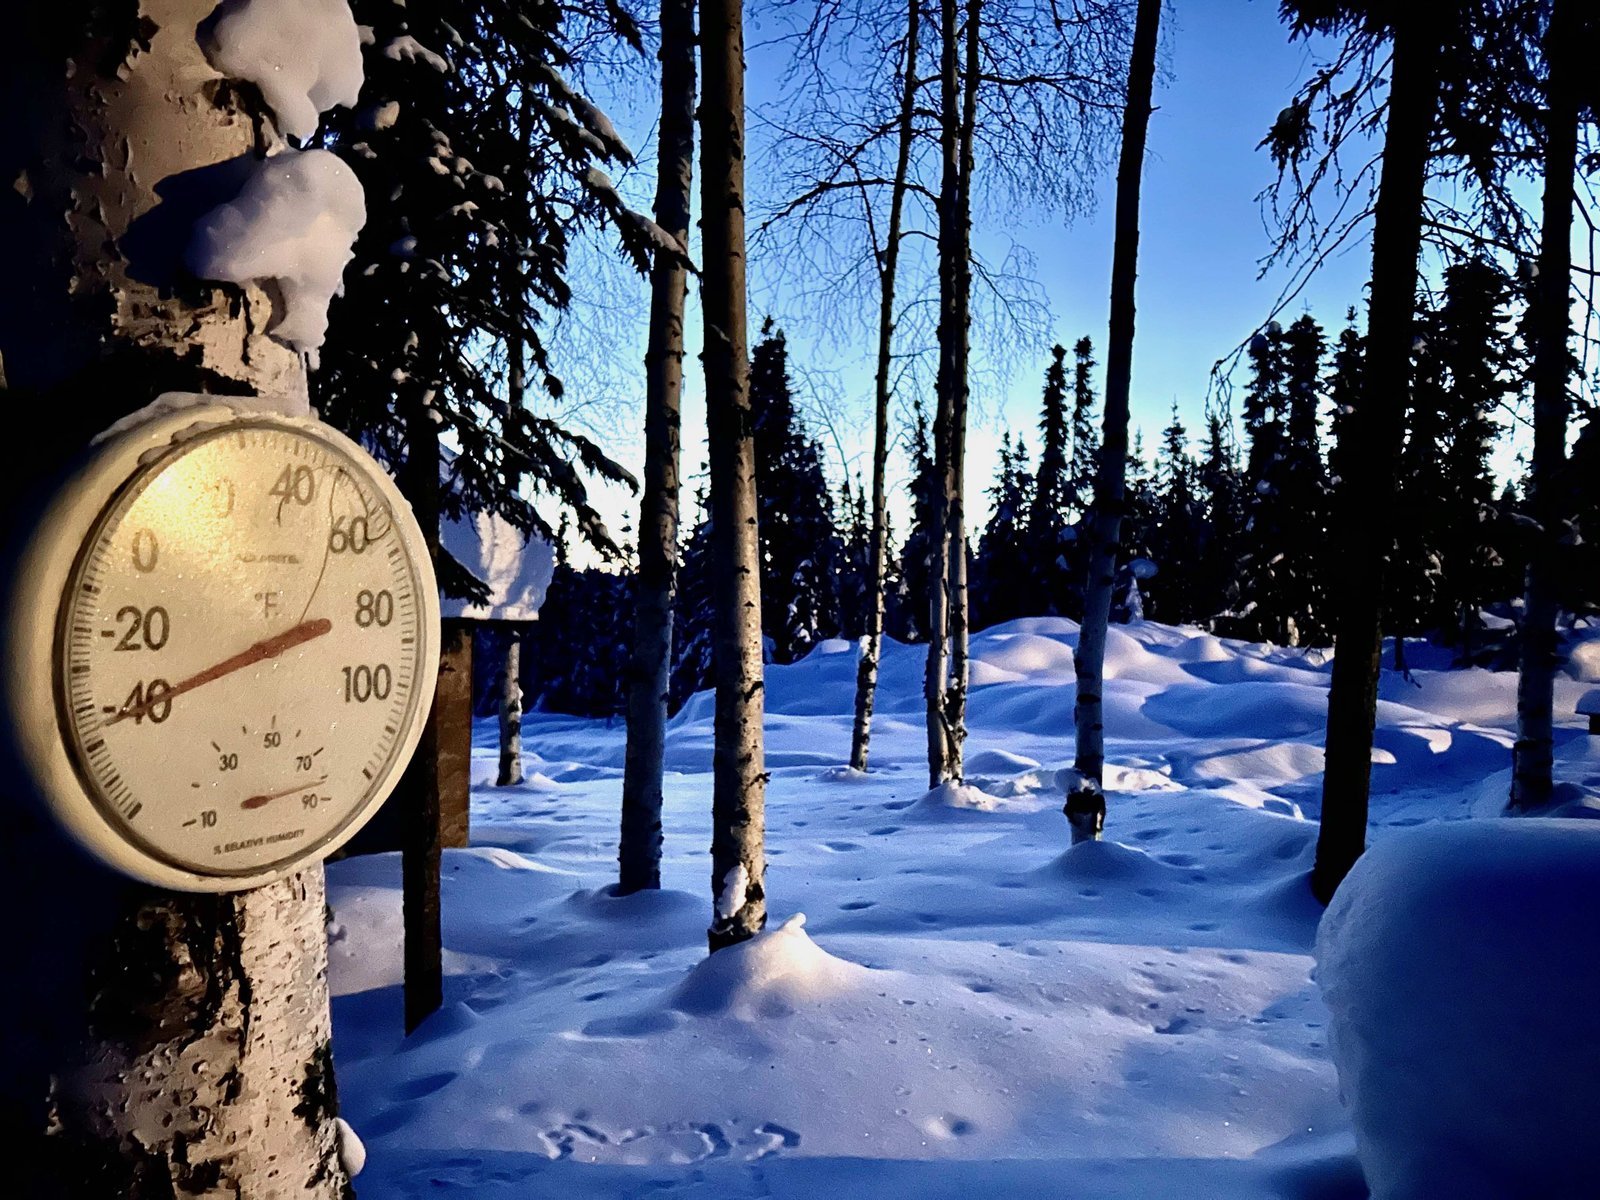
Home gardeners and weather enthusiasts often need precise data to protect plants or track climate shifts during the colder months. A gardener might need to know if the soil temperature is hitting freezing levels to cover delicate perennials, while a homeowner may want to monitor porch temperatures to prevent pipe damage. If you have a basic digital display intended for a kitchen or living room, it will likely provide false readings or stop updating completely when exposed to frost.
This page serves best for those who own or intend to purchase a dedicated wireless weather station or a wall-mounted analog thermometer. If you’re a professional meteorologist, you likely already use specialized equipment calibrated to National Weather Service standards. For everyone else, the assumption here is that you’re using consumer-grade equipment. If you’re looking for industrial-grade meteorological tools for scientific research, these instructions won’t provide the calibration steps you need. Stick to the manufacturer’s manual to ensure your device remains reliable throughout the year.
Factors affecting cold weather performance
The most important factor is the power source, as standard alkaline batteries lose voltage quickly in extreme cold. If your device uses AA or AAA batteries, expect them to drain significantly faster once the air temperature falls below 32 degrees Fahrenheit. Lithium batteries are a better choice for winter because they maintain a stable charge even when the thermometer is mounted in a shaded, freezing location.
Sensor placement is another critical variable that changes your reading accuracy. If you mount a thermometer in direct sunlight, the casing will absorb heat and show a higher temperature than the actual air. Conversely, placing it too close to a house wall can lead to false readings caused by heat leaking through your home insulation. The ideal spot is always in a shaded area, roughly five feet above the ground, to ensure airflow isn’t restricted.
Display screen technology also matters for digital models. Liquid crystal displays, or LCDs, often become sluggish or turn completely black when the ambient temperature drops well below freezing. If your display unit stays inside while the sensor is outside, the wireless signal strength becomes the primary concern. Thick exterior walls or metal siding can block the signal, forcing you to move the display closer to the window or add a signal repeater.
People often make the mistake of using a suction-cup thermometer on a window pane without checking the temperature rating on the packaging. This costs them money when the plastic turns brittle and snaps, or the internal fluid freezes and causes the glass tube to crack. Always check the label for a minimum temperature rating; if it isn’t listed, assume it isn’t built for outdoor winter use.
Steps to prepare your sensor
- Check the manufacturer’s label on the back of the sensor to find the “operational temperature range” minimum.
- Replace any existing alkaline batteries with lithium-ion batteries if the temperature will drop below 0 degrees Fahrenheit.
- Apply a thin layer of silicone grease to the battery compartment seal to prevent moisture from entering and freezing.
- Mount the sensor in a location that stays in the shade throughout the day to avoid direct sun interference.
- Use a mounting bracket rather than adhesive strips, as cold temperatures cause standard glues to lose their hold on exterior siding.
- Verify the signal connection between the outdoor sensor and the indoor display before the first heavy freeze arrives.
- Clear any ice or snow buildup from the sensor’s housing once a week to ensure air can circulate around the probe.
The single judgement call that separates a job done properly from one that looks finished is the placement of the sensor. If you place it in a location where snow piles up, the sensor will report the temperature of the snowbank rather than the actual air. Proper height and clearance ensure your data reflects the environment, not the local obstruction.
Comparison of thermometer types
The following table outlines how different types of thermometers handle winter conditions.
| Thermometer Type | Winter Reliability | Maintenance Needed | Watch For |
|---|---|---|---|
| Analog Liquid | High | Keep glass clean | Cracked glass tubes |
| Digital Wireless | Moderate | Change batteries | Signal connection loss |
| Smart Sensors | High | Update firmware | Battery drain |
| Suction Cup | Low | Clean window surface | Plastic becoming brittle |
| Metal Dial | Moderate | Check calibration | Needle sticking |
Analog liquid thermometers remain the gold standard for sub-zero climates because they require no power. If you live in an area where temperatures drop below -20°F, choose alcohol-filled tubes, as they’re the standard for modern consumer thermometers.
Digital wireless units offer convenience, but their internal batteries lose voltage rapidly in freezing air. If your sensor sits in an exposed location, use lithium batteries instead of standard alkaline cells. Lithium chemistry maintains a steady output even when the mercury plummets.
Smart sensors provide the most data but suffer from connectivity gaps. If your base station is more than 30 feet from the outdoor sensor, thick frost on exterior walls can block the signal. Move the sensor to a sheltered spot under an eave to prevent ice buildup on the antenna.
Avoid suction cup models for permanent outdoor use. The rubber cups harden and lose their suction in cold weather, causing the material to fail. If you must use one, apply a thin layer of silicone grease to the cup to maintain a seal against the glass.
What separates good results from poor ones
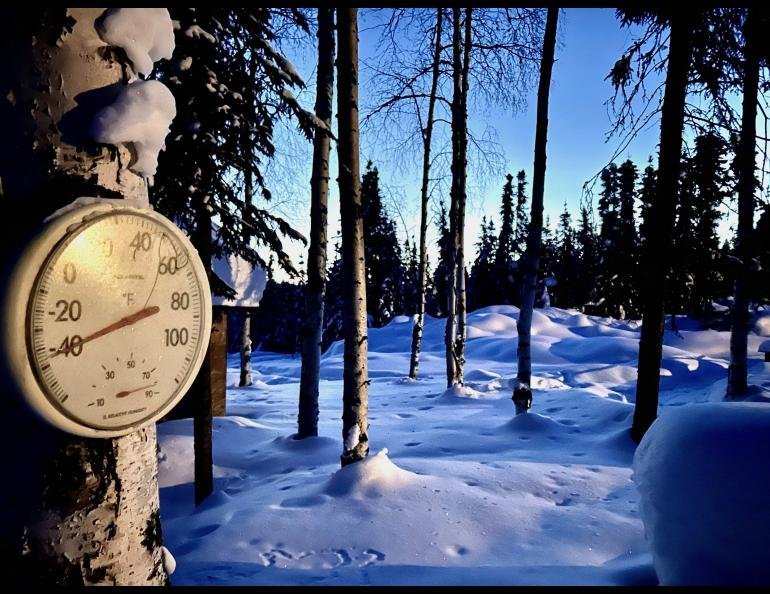
Proper calibration and placement
Experienced users always calibrate their device against a known standard before the cold sets in. You can do this by placing the sensor in a bowl of crushed ice and water; it should read exactly 32 degrees Fahrenheit. If it’s off by more than two degrees, the sensor is likely damaged or nearing the end of its life. Beginners often skip this step and assume the device is accurate, which leads to poor data collection.
Managing moisture and condensation
Moisture is the silent killer of outdoor electronics during winter. When the temperature fluctuates around the freezing point, condensation forms inside the sensor housing and eventually turns into ice. This ice can expand and break delicate internal circuits or disconnect the battery terminals. Professionals use weather-resistant shields or housing covers to deflect rain and snow away from the sensor intake. If you see fogging inside the display, it’s a sign that the seal is already compromised.
Common issues and fixes
| What you notice | What it means | What to do first | How to stop it |
|---|---|---|---|
| Blank screen | Battery failure | Replace with lithium | Use cold-rated cells |
| Erratic numbers | Signal interference | Relocate display unit | Add signal repeater |
| Stuck needle | Frozen mechanism | Move to warm area | Clean pivot points |
| Foggy display | Moisture ingress | Dry with silica | Seal the casing |
| Incorrect reading | Calibration drift | Perform ice test | Recalibrate yearly |
If your screen stays blank despite a fresh battery, check the contact springs for oxidation. A white, powdery film indicates corrosion that blocks power flow. Use a cotton swab dipped in white vinegar to clear the terminals before inserting a new cell.
Erratic numbers often stem from proximity to high-voltage lines or large metal structures. If the display fluctuates significantly while stationary, move the unit at least ten feet away from the interference source. If the issue persists, the internal antenna may be damaged.
A stuck needle usually occurs when condensation freezes inside the housing. Don’t force the mechanism, as this snaps the delicate internal hairspring. Instead, place the unit in a sealed bag with desiccant packets for twenty-four hours.
Calibration drift is common after extreme temperature shifts. To perform the ice test, submerge the sensor in a slurry of crushed ice and water. It must read exactly thirty-two degrees Fahrenheit. If it deviates by more than two degrees, the sensor is likely failing and requires a factory reset.
Rules for outdoor hardware
The primary rule for outdoor equipment is to follow the ingress protection (IP) rating provided by the manufacturer. An IP65 rating, for example, means the device is protected against dust and low-pressure water jets, which is generally sufficient for winter weather. You can find the specific IP rating for your model on the official product page or in the user manual.
If you’re operating equipment in extreme conditions, such as high-altitude regions or areas with constant blizzard conditions, consult the manufacturer’s technical specifications for “extreme weather” add-ons. A common mistake is assuming that a high IP rating covers submersion. If you see an IP67 or IP68 rating, the device is designed to survive temporary or continuous immersion.
Never attempt to disassemble a sealed sensor housing, as this voids the warranty and breaks the factory-set environmental seal. If the device requires a replacement part, contact the manufacturer’s customer support to ensure you use authorized components. If the unit shows signs of internal fogging, don’t wait for a failure; replace the gasket immediately to prevent permanent circuit board corrosion.
Cost considerations for winter monitoring
The real cost of using a thermometer in winter isn’t just the price of the device, but the expense of replacing batteries and the risk of inaccurate data. Cheap models often require monthly battery changes in freezing weather, while high-quality units with lithium batteries can last through an entire winter season.
If you rely on the data to make decisions about home heating or plant care, a ten-dollar error in temperature reading can lead to much higher costs in energy bills or lost vegetation. A standard indoor sensor often drifts by five degrees when exposed to sub-zero temperatures, rendering its data useless for frost protection.
You should compare the cost of a rugged, weather-rated sensor against the cost of replacing a standard unit every spring. If your monitoring area experiences sustained temperatures below 20 degrees Fahrenheit, invest in a sensor with an external probe. This allows you to keep the battery housing in a protected, warmer location while the sensor tracks the exterior cold.
A common mistake is assuming that “weather-resistant” is the same as “weather-rated.” A resistant unit will fail after one season of condensation, costing you double in replacement fees. Always check the current price on the manufacturer’s website, as these figures fluctuate based on the specific sensor technology and the included features like wireless connectivity or smart home integration.
Maintaining sensors for long-term use
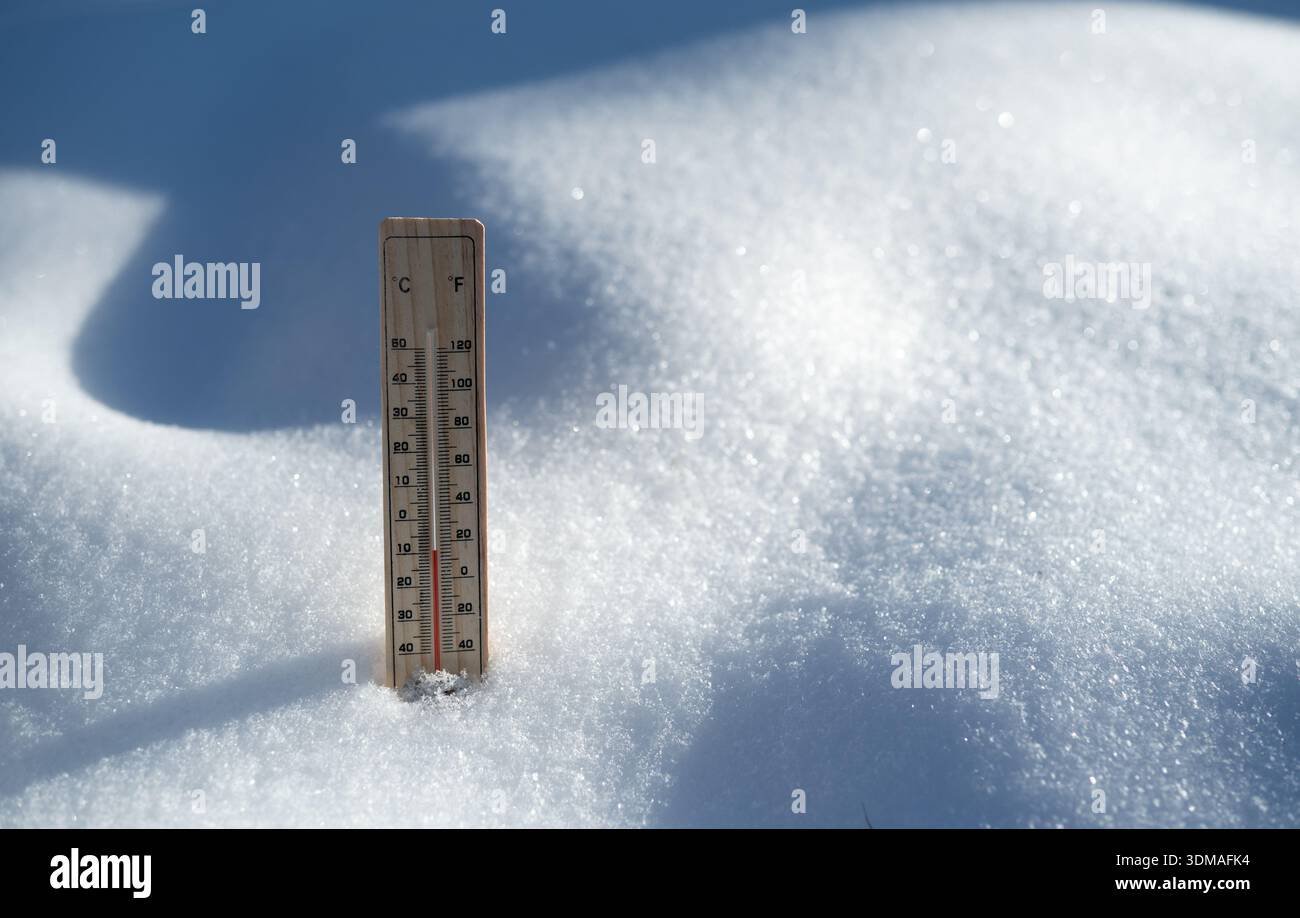
After the winter season passes, you should perform a full inspection of your outdoor equipment to ensure it’s ready for the next cycle. Remove the batteries immediately if you plan to store the unit, as leaking battery acid is the most common cause of permanent damage. Inspect the housing for any cracks or signs of UV damage, which can make the plastic fragile over time. If the device has a wired probe, check the wire for any signs of fraying or insulation cracks where water might have entered. If you notice a “low battery” icon, don’t wait for the screen to go blank; replace the cells at the first sign of a dim display. To put it right without starting over, simply clean the battery contacts with a dry cloth or a cotton swab dipped in isopropyl alcohol before inserting fresh batteries. If the sensor fails to reconnect after a power cycle, consult the manual for the “factory reset” procedure, which is usually a specific button combination on the back of the sensor housing.
When this is the wrong choice
If you live in an area with extreme sub-zero temperatures, such as consistent readings below minus 20 degrees Fahrenheit, a standard consumer-grade outdoor thermometer is the wrong choice. In these conditions, the internal electronics will fail, and the plastic casing will likely crack. You should instead use a professional-grade thermistor or a thermocouple designed for industrial cold-storage environments. These devices are built to withstand extreme thermal contraction and provide accurate readings in conditions that would destroy standard home equipment. If your goal is to monitor temperature for legal or insurance reasons, you must use a device that’s certified by a national standards body. Any other approach will result in data that can’t be used for official record-keeping. Always check the documentation for your specific model to see if it meets the necessary safety standards for your local climate and intended use.
Can I leave my digital thermometer outside all winter?
Yes, you can leave it outside if the manufacturer specifies that the operating temperature range includes your local winter minimums. Most digital outdoor sensors are designed to remain in place throughout the season, provided they’re shielded from direct precipitation and powered by lithium batteries to prevent rapid voltage loss.
Why is my outdoor thermometer reading way too high?
It’s likely catching direct sunlight or heat reflecting off a nearby wall. Outdoor thermometers must be mounted in a fully shaded, well-ventilated area to measure the ambient air temperature accurately; if the sensor is in the sun, it will measure the heat of the casing instead.
How long do batteries last in an outdoor thermometer in winter?
Batteries usually last about three to four months in winter, assuming you use high-quality lithium batteries. Standard alkaline batteries often fail in less than a month because the chemical reaction slows down in cold weather, causing the device to lose power or show incorrect data.
Is it safe to use a glass thermometer outside?
It’s safe only if the glass is specifically labeled for outdoor use and contains a non-toxic fluid like dyed alcohol. You must ensure the glass tube is securely mounted to prevent it from swinging in the wind, as the glass will shatter upon hitting a wall during a storm.
What happens if my outdoor thermometer gets covered in snow?
The reading will become inaccurate because the sensor will start measuring the temperature of the snow instead of the air. You should clear the sensor of snow accumulation at least once a week to ensure the probe can properly sample the ambient air temperature.
Does it matter if my thermometer is near a window?
It does matter, as heat escaping through your window glass can artificially raise the temperature reading. You should mount the sensor at least three feet away from any door or window to ensure the device is measuring the true outdoor air temperature rather than your home’s heat loss.
Start by checking your device manual for the official minimum operating temperature. If your current thermometer is rated for your local winter climate, mount it in a shaded, well-ventilated spot to ensure accurate readings. If the device begins to display erratic numbers or the screen goes blank, replace the batteries with lithium versions first, as this is the most common fix for cold-weather performance issues.