
For most household leaks, the best plumbing epoxy is a two-part putty that cures to a hard, water-resistant seal within one hour. This material works well on metal, PVC, and copper pipes, provided the surface is clean and completely dry before you apply it. This guide covers how to select the right compound for your specific pipe material, the steps for a lasting repair, and the safety limits you must respect to keep your home’s water system functioning.
How plumbing epoxy works for repairs
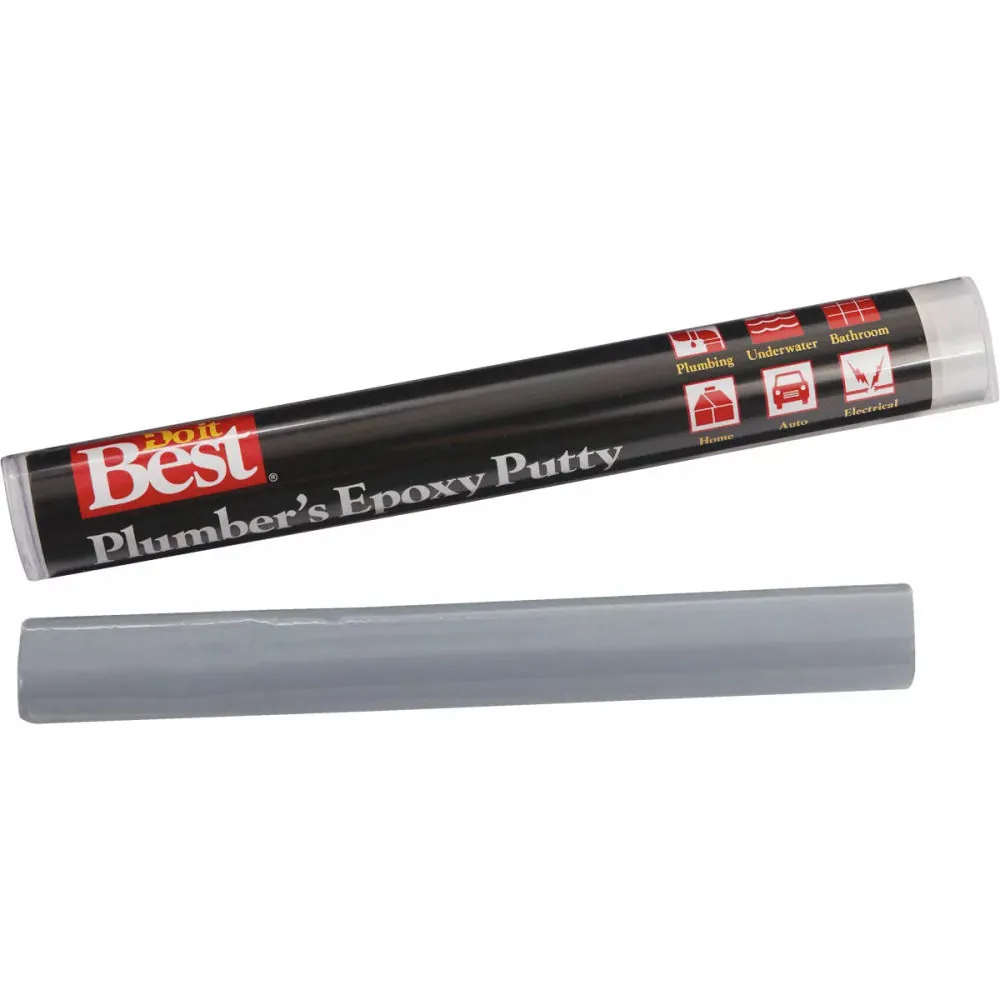
Plumbing epoxy is a specialized adhesive designed to patch cracks, holes, and small leaks in pressurized water lines. It consists of a resin and a hardener that you mix together manually until the color becomes uniform. Once applied, the chemical reaction turns the soft putty into a solid mass that resists high pressure and temperature changes. It’s intended for emergency or temporary repairs rather than replacing a section of damaged pipe.
Many people think this material will weld two broken pipes back together, but it’s actually a patch for surface damage. It works best on pinhole leaks or hairline cracks where the structural integrity of the pipe is still largely intact. If a pipe has a large split or is bowed from freezing, the epoxy won’t hold under the pressure of your home’s water supply.
This product is for anyone needing a quick, non-professional fix for a minor leak while waiting for a plumber or a permanent replacement part. It isn’t for anyone working on gas lines or high-pressure industrial steam pipes. If you’re unsure about the pressure rating of your specific plumbing, check the technical data sheet provided by the manufacturer. You can find the NSF International plumbing standards for materials that are safe for use with potable water systems.
How to seal a leaking pipe
- Turn off the main water supply to the area you’re working on to stop the flow of water entirely.
- Use a piece of 80-grit sandpaper to roughen the surface of the pipe around the leak for about 2 inches in every direction.
- Clean the area with a dry cloth to remove all dust, grease, and moisture; the putty won’t stick if the surface is damp.
- Cut the required amount of putty from the stick and knead it with your fingers until the color is consistent throughout.
- Press the mixture firmly over the hole or crack, smoothing the edges onto the surrounding pipe with your thumb.
- Let the patch sit undisturbed for the time recommended on the packaging, which is usually 60 minutes before turning the water back on.
- Check the patch for any signs of weeping or bubbles once you slowly restore the water pressure.
The most important judgement call is how much pressure you apply while smoothing the putty. If you don’t push hard enough, tiny air gaps remain between the pipe and the epoxy, which will cause the leak to return under pressure. If you’re worried about the pipe’s condition, hire a licensed professional instead of attempting a DIY repair.
Key numbers and settings at a glance
| Situation | What to use | How long | What to watch for |
|---|---|---|---|
| Metal pipes | Steel-reinforced epoxy | 60 minutes | Rust underneath |
| PVC plastic | Plastic-safe putty | 60 minutes | Cracks widening |
| Copper pipes | Copper-tone epoxy | 45 minutes | Surface oxidation |
| High heat lines | Heat-rated epoxy | 90 minutes | Brittleness over time |
| Small pinholes | Standard plumbing putty | 60 minutes | Seam adhesion |
Before applying any compound, you must strip the pipe surface to bare metal or plastic. If you leave behind even a thin layer of scale or paint, the epoxy will bond to the debris rather than the pipe. This leads to a failure within weeks as pressure pushes the patch off.
For metal lines, use a wire brush until you see a bright, metallic sheen. If you’re working with copper, avoid steel wool, as embedded iron particles can cause galvanic corrosion. Use a fine-grit sanding cloth instead.
When patching high-heat lines, don’t rely on the cure time listed on the package. These epoxies require a full 24 hours to reach maximum tensile strength before you restore full water pressure. If you turn the valve too early, the internal force will create a micro-fissure in the center of your patch.
If you’re unsure of your pipe material, test a small, inconspicuous area with a magnet. Steel and iron will pull the magnet firmly, while copper and PVC will not. If the magnet sticks, prioritize a steel-reinforced epoxy to handle the structural load.
Finally, never apply putty to a pipe that’s actively sweating from condensation. The moisture acts as a barrier that prevents the chemical bond from forming. Dry the area thoroughly with a heat gun or hair dryer before you begin. If the surface remains damp, the patch will likely slide during the curing process.
Achieving a lasting pipe seal
Successful repairs depend on how well you prepare the pipe surface before the epoxy touches it. Experienced people always ensure the pipe is completely dry; even a small bead of water will prevent the chemical bond from forming, leading to a patch that slides off the moment pressure returns. Use a hair dryer on a low setting for 30 seconds if you suspect the pipe is still slightly damp.
Surface preparation and curing
You must remove all paint, rust, and corrosion from the pipe before you start. If you leave loose material on the surface, the epoxy will stick to the rust instead of the pipe, and the leak will persist. Once you apply the putty, keep the area dry and cool for at least one hour. Don’t try to speed up the curing process with extreme heat, as this can cause the material to become brittle and crack.
Applying the final pressure
Apply the putty in a thick layer that extends at least one inch beyond the edges of the leak. A thin patch won’t have the strength to withstand your home’s water pressure. Once the patch is applied, hold it in place for three minutes with firm thumb pressure to ensure it has bonded to the pipe. Leave it alone until the full cure time has passed; touching it during the curing phase ruins the bond.
Common problems and quick fixes
| What you notice | What it usually means | What to do first |
|---|---|---|
| Putty feels loose | Poor surface cleaning | Scrape off and sand again |
| Water still weeping | Pressure was too high | Turn water off and re-patch |
| Epoxy won’t harden | Old or expired product | Buy a fresh stick |
| Patch is cracking | Pipe is still moving | Use a pipe clamp for support |
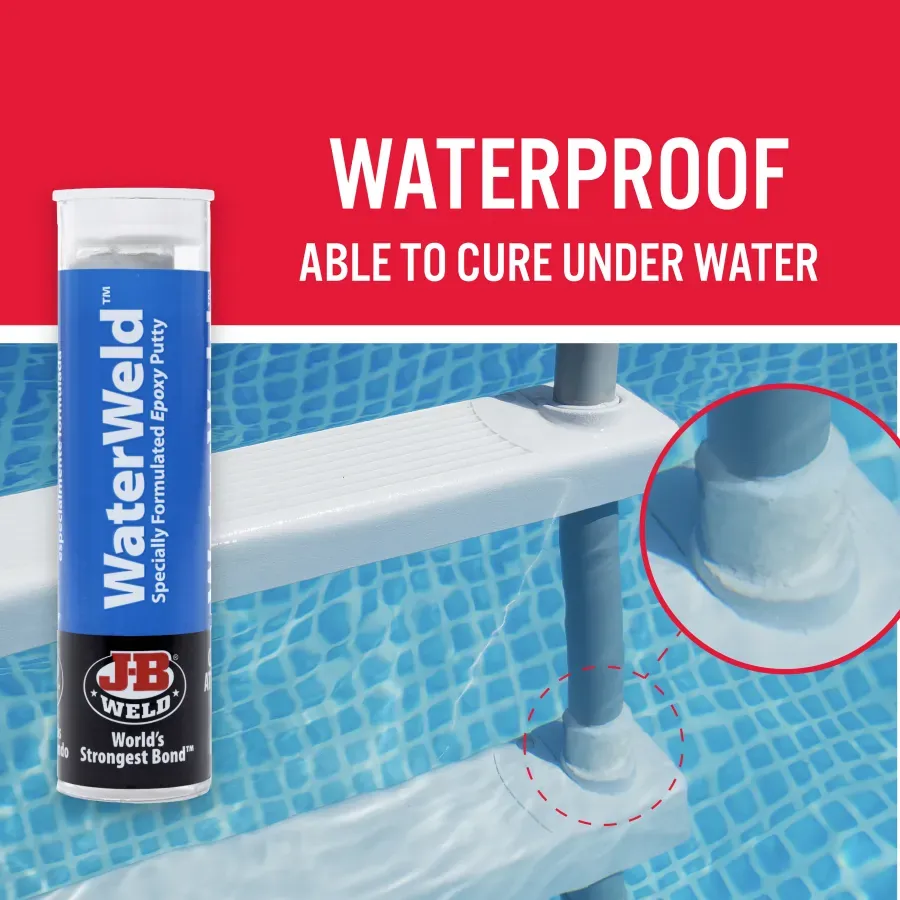
If the putty slides under your thumb, you likely missed a layer of oxidation. Use 80-grit sandpaper to reach shiny, raw metal before reapplying. If you leave a film of rust, the bond will be significantly weakened and likely fail under pressure.
When water continues to weep, you have likely ignored the pressure limit. Most epoxies require a dry, static pipe to cure properly. If you can’t stop the flow entirely, use a temporary rubber gasket to hold the patch in place until the chemical reaction sets.
If the epoxy remains gummy after two hours, check the batch code on the packaging. Epoxy resins lose their cross-linking ability after twelve months on the shelf. If the material feels brittle or crumbly before you even mix it, discard the entire stick. Don’t attempt to salvage it with heat.
Cracking is the most expensive mistake because it signals structural movement. If the pipe vibrates or expands due to temperature shifts, the patch will snap. Always install a metal pipe clamp over the repair if the section is near a pump or a high-pressure elbow.
If you’re working on a vertical pipe, gravity is your enemy. Apply the putty in thin, overlapping layers rather than one thick glob. This prevents the weight of the material from pulling it away from the surface before it can harden. If the patch sags, you have used too much material at once.
The regulations for safe water
All materials used on drinking water lines must meet safety standards to ensure no chemicals leach into your supply. In the United States, look for products that comply with NSF/ANSI 61, which is the standard for health effects of drinking water system components. You can verify this by checking the product packaging or the manufacturer’s stamp for the NSF mark. If a component lacks this certification, treat it as a potential source of chemical contamination.
If you’re repairing a pipe that carries water you drink, don’t use general-purpose industrial adhesives. These products often contain volatile organic compounds or solvents not cleared for human consumption. Using them can introduce chemical tastes or long-term health risks that remain hidden until testing reveals elevated levels in your tap water. Always select solvent cements specifically labeled for potable water systems.
If your pipe is made of lead, don’t attempt to repair it yourself. Lead pipes require specific handling and often need to be replaced entirely to meet modern municipal health codes. Attempting to sand or cut a lead pipe releases microscopic particles that linger in your plumbing system for months. Contact your local water authority to determine if your home has lead service lines and to get guidance on professional replacement options.
Distinguishing between lead and copper or galvanized steel is simple. Scratch the surface of the pipe with a coin. If the pipe is lead, the scratched area will appear shiny and silver. If the pipe is galvanized steel, the scratch will show a dull gray color and a magnet will stick to it.
Copper pipes will show a distinct orange-brown metallic hue. If you find lead, prioritize a full service line replacement over a patch, as patching often accelerates corrosion at the site of the repair.
Keeping your repair in good condition
Once the epoxy has cured, it doesn’t require special maintenance, but you should inspect it once a month for signs of degradation. Look for discoloration, softening of the material, or tiny beads of moisture forming around the edges of the patch. If the patch shows any of these signs, it’s starting to fail and needs to be replaced with a permanent pipe fitting.
Avoid using harsh chemical drain cleaners on pipes that have been patched with epoxy. These chemicals can react with the cured putty and weaken the seal. If you have a clog, use a mechanical snake or a plunger instead of liquid cleaners to protect the integrity of your repair.
The most common mistake is assuming the repair is as durable as the original pipe material. Epoxy is a stopgap, not a structural replacement. If you notice the patch feels tacky to the touch or has shifted even a fraction of an inch, the bond has been compromised by thermal expansion. You must replace the section immediately before the pipe bursts under pressure.
If your pipe carries hot water, check the patch every two weeks rather than monthly. Constant temperature fluctuations accelerate the breakdown of the resin. If the pipe remains cool to the touch, a monthly check is sufficient.
Keep a record of the date you applied the patch. If it lasts for more than two years, consider it a long-term solution that you should still monitor during your yearly plumbing check. If the patch is located in a crawlspace or behind a finished wall, install a moisture sensor nearby. This device will alert you to a leak long before the water causes structural damage to your flooring or framing.
Treat every epoxy repair as a temporary measure until you can schedule a professional plumber to install a permanent coupling.
When to use a different approach
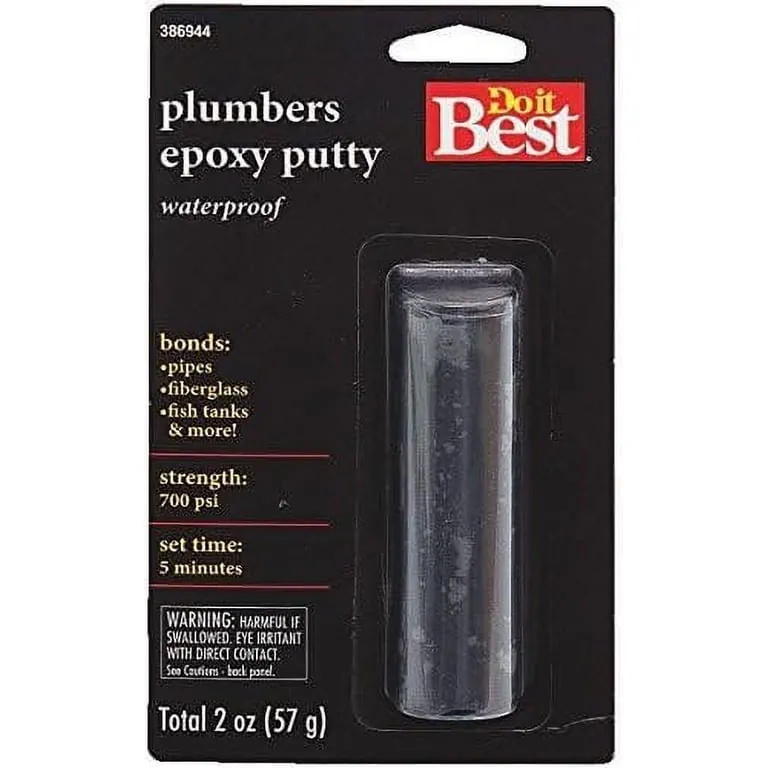
Plumbing epoxy is only a temporary fix for small, localized issues. If you notice a large crack, a split that runs the length of the pipe, or if the pipe is sagging, you shouldn’t use putty. In these cases, the pipe structure is compromised, and no amount of adhesive will provide a safe, permanent solution. You must replace the section of pipe using proper couplings or fittings.
If you’re dealing with a leak at a joint or a fitting, epoxy is rarely the right choice. These areas experience high stress from thermal expansion and contraction, which will cause the brittle putty to fail quickly. Use a rubber gasket or a new fitting to ensure the connection remains watertight under normal operating pressure.
Apply this simple test to determine if your repair will hold. If the damage is larger than a dime or if the leak is located on a threaded connection, skip the epoxy. A patch applied to a moving joint will likely fail prematurely due to mechanical stress.
Mistaking a high-pressure line for a low-pressure drain is a common error that costs homeowners thousands in water damage. If your pipe carries high-pressure supply water, epoxy is only suitable for minor pinhole leaks and should be replaced with a permanent fitting as soon as possible. Use mechanical fittings or solder for these lines.
If you see rust blooming around the leak, the pipe is failing from the inside out. Epoxy can’t bond to oxidized, flaking metal. In this scenario, the pipe wall has likely thinned to the point of collapse. Cut out the damaged segment entirely. If you can depress the pipe wall with your thumb, the metal is too soft to support a patch. Replace the entire section immediately to prevent a burst.
Related guides
- Pentair Jandy Pool Lights Not Changing Color: The Fix in 2026
- Hot Tub Jets Turn On by Themselves: Fix and Reset Steps in 2026
- Foosball Table Replacement Parts Rods: How to Fix Them in 2026
Frequently asked questions
Can I use plumbing epoxy on a hot water pipe?
Yes, but you must choose a product specifically rated for high temperatures. Standard putties often soften when exposed to water above 150 degrees Fahrenheit. Check the label for a heat resistance rating before you buy, and verify that the product is designed for pressurized hot water lines. If the label doesn’t specify a temperature limit, assume it’s only for cold water systems.
Is it safe to drink water after using plumbing epoxy?
Yes, provided the product is certified to the NSF/ANSI 61 standard for potable water. Look for this certification mark on the packaging to ensure the material won’t leach harmful chemicals into your tap water. If the product lacks this certification, it’s intended for non-potable uses only, such as irrigation or drainage lines.
How long does plumbing epoxy last on a pipe?
It can last for several years if the surface was prepared properly and the pipe isn’t subject to excessive vibration. However, it’s officially classified as a temporary repair. You should check the patch periodically for signs of wear, such as cracking or leaking, and consult your owner’s manual for maintenance guidance, while planning for a permanent replacement by a licensed plumber when possible.
What happens if I turn the water on too early?
The water pressure will push the uncured putty out of the hole, causing an immediate and potentially larger leak. You must allow the full cure time stated on the package, usually 60 minutes, before you restore water pressure. If you accidentally turn the water on early, you must remove all the soft putty, clean the pipe again, and start the process from the beginning.
How much epoxy should I use on a leak?
Use enough putty to cover the hole and extend at least one inch beyond the edges of the damaged area. A patch that’s too thin won’t have the structural strength to hold back the water pressure in your pipes. Aim for a thickness of at least 1/8 inch across the entire patch to ensure it remains stable and watertight.
Conclusion
Keep a spare tube in your toolbox so you’re ready when a surprise leak pops up. It’s a simple way to save yourself from a stressful, expensive emergency later on. If the damage looks too severe for a quick fix, don’t hesitate to call a professional before the problem gets worse.