
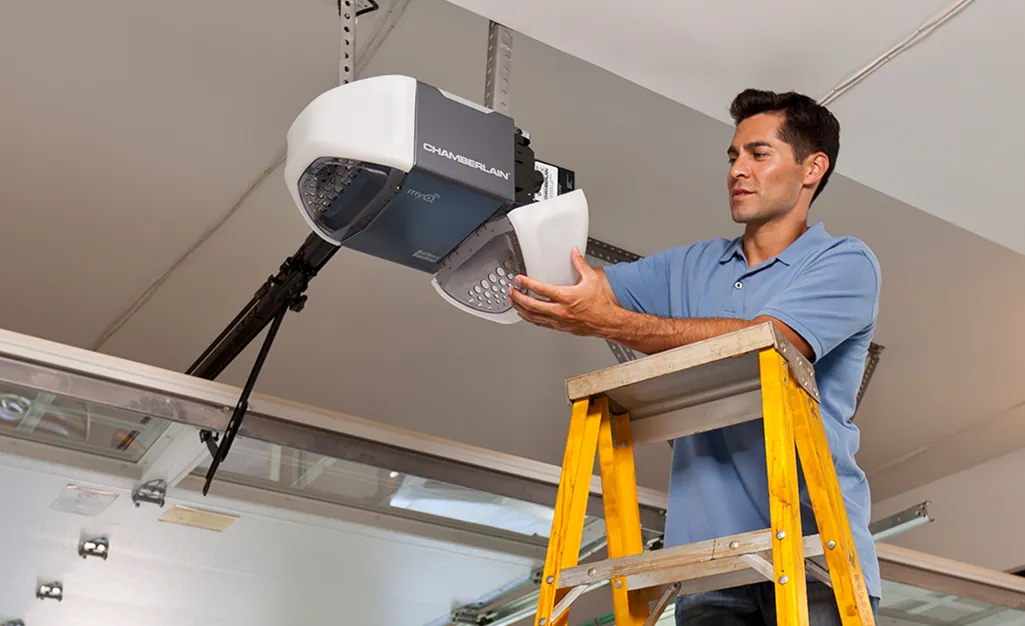
A blocked safety sensor is the reason a chamberlain garage door opener doesn’t work in most cases. You can quickly confirm this by looking at the small LED lights on the safety sensors near the floor. If the lights are blinking or off, the sensors aren’t aligned or are blocked by an object. You should clear any items from the path of the door and ensure the sensors are pointing directly at each other to restore the signal.
Why your Chamberlain garage door opener fails
| Cause | How common | How to confirm it | Fix it yourself? |
|---|---|---|---|
| Blocked safety sensors | Very common | Check sensor LEDs | Yes |
| Remote battery dead | Common | Test wall button | Yes |
| Power supply interrupted | Common | Check garage outlet | Yes |
| Misaligned travel limits | Occasional | Door reverses early | Yes with care |
| Broken torsion spring | Rare | Visible metal break | No |
| Circuit board failure | Rare | No lights on unit | No |
Safety sensors often fail because of simple debris or sunlight glare. If the LED flickers rather than glowing solid, clean the lens with a microfiber cloth. If that fails, realign them until the beam hits the receiver perfectly.
Check your remote battery if the wall button works but the handheld unit remains unresponsive. A weak battery often triggers the door only when you stand within five feet of the motor.
When the door reverses before hitting the floor, your travel limits have drifted. Adjust the down-travel screw in small quarter-turn increments. Don’t over-tighten, or the door will fail to seal properly against the floor.
Never attempt to replace a broken torsion spring yourself. These springs hold hundreds of pounds of tension. A slip can cause severe injury or property damage. If the spring is snapped, call a professional immediately.
Obstructions and sensor alignment issues
The safety sensors are the primary cause of operation failure because they prevent the door from closing if an object is detected. These two small units sit at the bottom of the door tracks, one on each side. If the infrared beam between them is broken by a box, a tool, or a misaligned bracket, the system prevents the motor from running.
To test this, walk to the sensors and look for the indicator lights. If the light on either sensor isn’t glowing steadily, the beam isn’t connecting. You must clear any debris from the floor path and check that the mounting brackets are secure.
If the brackets moved, gently push them back into place until the indicator lights on both sensors glow steadily. You should never force the door to close by holding the wall button down if the sensors are obstructed, as this bypasses a critical safety feature.
If the sensors remain dark after you clean the lenses, check the wiring for cuts or loose connections. A small amount of tension on the wire can cause a disconnect over time.
If you see damage, you must unplug the opener from the power source before touching any wires to prevent electrical shock. This process usually takes about 10 minutes. If the alignment is correct and the lights are solid, but the door still refuses to move, the issue likely lies within the motor unit electronics.
Power and remote control problems
If your door opener shows no signs of life, the issue is often a simple power interruption. Start by checking the GFCI outlet or the circuit breaker in your home’s main panel. If the opener is plugged into a ceiling outlet, ensure the plug hasn’t vibrated loose over time. You can confirm power by seeing if the light on the main motor unit turns on when you press the wall button.
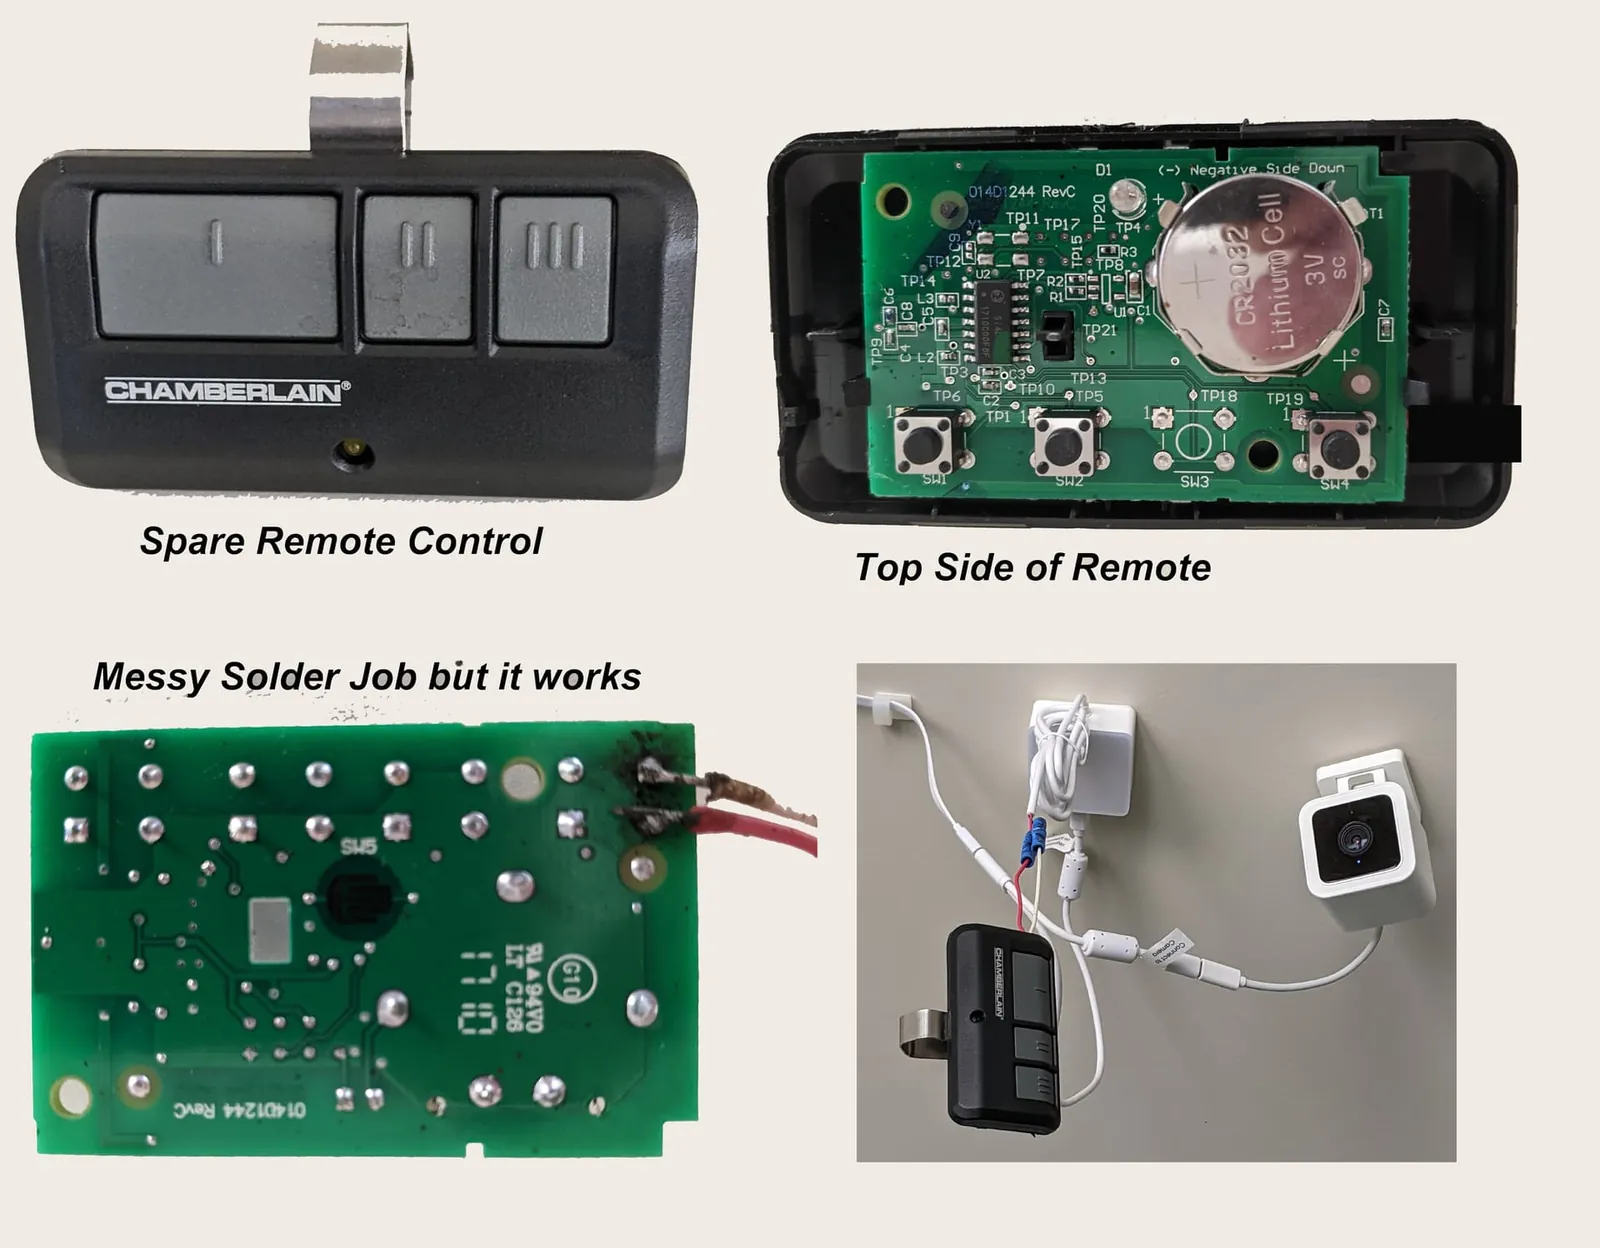
If the wall button works but the handheld remote does not, the remote battery is the likely culprit. Most remotes use a standard 3V coin-cell battery. You can test this by trying the wall-mounted console inside your garage.
If the wall console operates the door but your remote does not, replace the battery in the remote. If you have multiple remotes and none of them work, your unit may have lost its programming. You can find the specific remote control programming steps in the official manual provided by the manufacturer.
Replacing a battery takes about five minutes and requires only a small screwdriver to open the remote casing. If the opener remains unresponsive after a power check and a battery change, verify that the manual release cord hasn’t been pulled. If the red handle is hanging down, the trolley is disconnected from the drive chain. You must re-engage the trolley by moving the door manually until the mechanism clicks back into the drive chain.
Travel limit and force settings
The travel limits tell the motor exactly where the door should stop when it’s fully open or fully closed. If these settings shift due to temperature changes or wear, the door may hit the floor and immediately reverse, thinking it has hit an obstruction. You can identify this issue if the door moves a few inches and stops or reverses without touching anything.
Most modern units have adjustment screws or digital buttons on the side of the motor housing. You should increase the downward travel limit by a small amount, typically one-quarter turn at a time, until the door closes firmly but doesn’t press too hard against the floor.
Making these adjustments requires patience. If you turn the screw too far, the door may not close completely or it may put unnecessary stress on the motor assembly. If your garage door opener is an older model with analog screws, use a standard screwdriver to adjust the settings.
If the door continues to reverse even after you adjust the limits, the force sensitivity setting may need a slight increase. This compensates for the natural resistance of the door as it ages or as the weather changes.
Rare mechanical and electrical failures
- Broken torsion springs: If the door is extremely heavy or the cable is slack, the spring has likely snapped.
- Stripped drive gear: If you hear the motor running but the chain doesn’t move, the internal gear is worn out.
- Logic board malfunction: If the unit has power but doesn’t respond to any buttons, the internal computer has failed.
- Motor burnout: If you smell burning plastic or hear a loud hum without movement, the motor windings are damaged.
If you suspect a broken spring or motor failure, stop all attempts to move the door immediately. These components are under high tension and require a professional technician to replace them safely.
Requirements for a successful repair
Fixing a garage door opener depends on your comfort with basic tools and electrical safety. The most common repairs, such as cleaning sensors or replacing remote batteries, require only a ladder and a screwdriver. These tasks are similar in difficulty to changing a lightbulb or a thermostat battery. You don’t need professional training to perform these basic diagnostic steps, though you must always keep your fingers away from moving parts.
The cost of a repair depends entirely on the parts needed. If you only need a new battery or a wire connection, the cost is minimal, often just the price of a small battery. If the logic board or the motor requires replacement, the cost is significantly higher, often approaching the price of a new opener unit.
You can check the cost of specific replacement parts on the manufacturer’s website by entering your model number. Always consult the official documentation before you buy any parts to ensure they’re compatible with your specific motor.
Related guides
- Chamberlain Garage Door Opener Troubleshooting: Easy Fixes
- LiftMaster vs Chamberlain: Which Garage Door Opener Is Best
- LiftMaster vs Overhead Door Garage Door Openers: The Verdict
Frequently Asked Questions
How do I reset my garage door opener?
To reset the system, you usually hold the “learn” button on the motor unit for 6 to 10 seconds until the LED light turns off. This clears all existing remote codes from the memory. You must then re-program each remote by pressing the “learn” button again and then pressing the button on your remote. This is necessary if you lose a remote or if the system stops responding to commands.
Is it safe to fix the garage door myself?
It’s safe to perform basic maintenance like cleaning sensors, replacing batteries, or adjusting limit settings. You must never attempt to adjust or replace the torsion springs, cables, or bottom brackets, as these parts are under extreme tension. If the problem involves the metal springs or the heavy lift cables, you should contact a professional garage door technician to avoid the risk of serious injury.
How long should a garage door opener last?
A standard residential garage door opener typically functions for a long period with regular use. The lifespan depends on how often you open the door and whether you perform annual maintenance, such as lubricating the drive chain or belt. If your unit is quite old, it may be more cost-effective to replace the entire system rather than paying for frequent individual part repairs.
What happens if the door doesn’t close at all?
If the door refuses to close, the safety sensors are the most likely culprit. Ensure the sensors are aligned and the path is clear of obstructions. If the sensors are working, check if the “lock” feature on your wall console is activated, as this prevents remotes from operating the door. If the unit still fails, check for a flashing light on the motor, which often indicates a specific error code.
Does it matter if the garage is cold?
Temperature changes can affect the performance of your garage door opener, especially in extreme cold. Metal components may contract, and grease on the tracks can thicken, which forces the motor to work harder. If the door reverses because it detects too much resistance, you may need to slightly increase the force sensitivity setting on the motor. Always make these adjustments in small, incremental steps to avoid over-stressing the system.
Why does my garage door move on its own?
A garage door that moves by itself is a serious safety concern that requires immediate attention. First, check if a neighbor’s remote is accidentally interfering with your signal by clearing the memory with the learn button. If the behavior continues, the wall console wiring or the internal logic board may be shorting out. If you can’t stop this behavior, disconnect the power to the opener until a professional can inspect the wiring.
How do I know if my garage door spring is broken?
You can identify a broken spring by looking for a visible gap in the metal coils above the door. If the door feels heavy or the opener struggles, the spring has lost its tension. Avoid operating the opener if you suspect a break, as the motor can’t lift the door’s full weight.
Conclusion
If the problem persists after checking the sensors, don’t hesitate to reach out to a professional technician for help. They’ll be able to inspect the internal gears or electrical wiring to find the root cause. You shouldn’t have to struggle with a stubborn door when a quick expert visit can fix it.
