
The best way to use pizza stone in oven is to place the cold stone on the lowest rack and preheat it for at least 60 minutes at the highest temperature your oven allows. This long heating period ensures the stone absorbs enough thermal energy to crisp the base instantly when the dough hits the surface.
Different ovens and stone thicknesses will change your required preheat time. While 60 minutes is the standard for a half-inch thick stone, thinner stones may need less, and thicker ones require longer to saturate.
Pizza stone enthusiasts
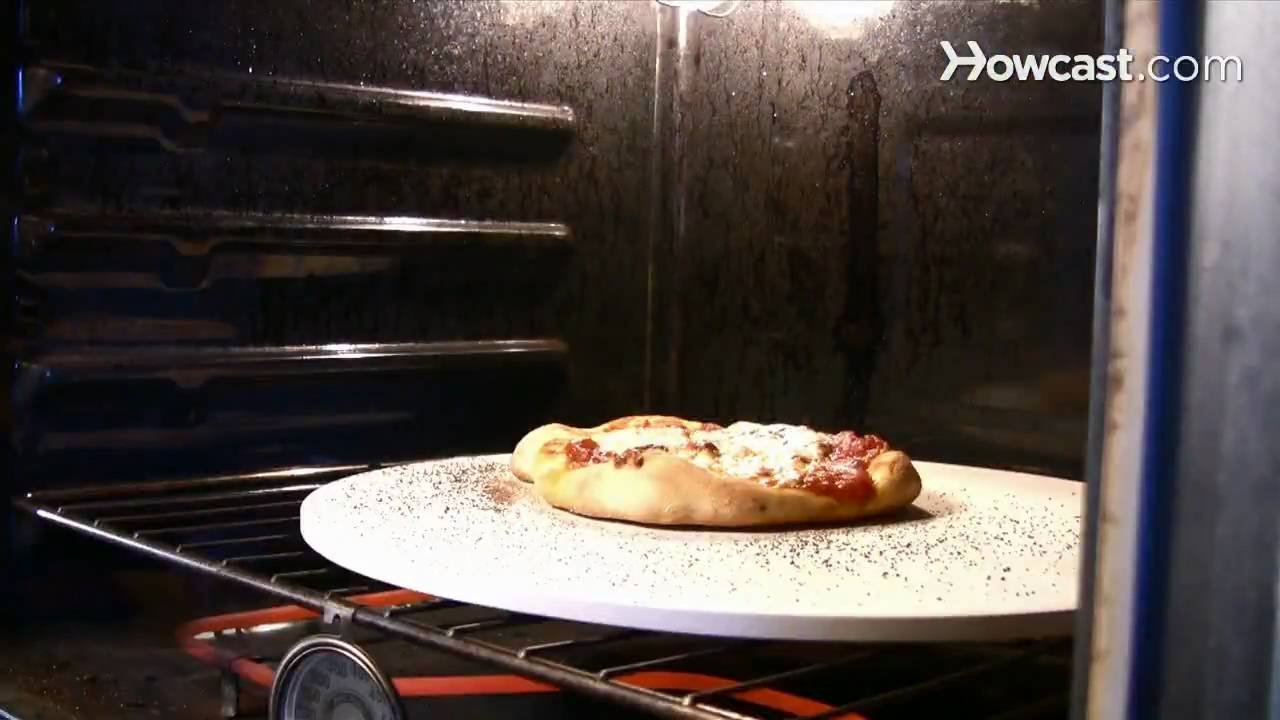
People who use these stones usually own a standard home oven and want to achieve a crispier, restaurant-style crust that a regular metal baking tray can’t provide. They already have a pizza stone, but they often struggle with a soggy bottom or uneven browning. This guide is for the home cook who wants to understand the physics of heat transfer to get a better result.
If you’re looking for a way to bake artisan-style bread or are trying to revive a store-bought frozen pizza, this method serves you well. However, this page isn’t for those using high-heat outdoor pizza ovens or gas-powered deck ovens, as those require different thermal management techniques. We assume you’re working with a ceramic or cordierite stone in a conventional electric or gas oven capable of reaching at least 500°F. If your oven is older or has a faulty thermostat, the results will vary, and you should check the safe minimum internal temperatures if you’re baking dough topped with raw meat or poultry.
Factors affecting your crust
The thickness of your stone is the primary factor that dictates how much energy it holds. A thicker stone, typically 0.75 inches or more, retains heat better between multiple bakes but takes significantly longer to reach its maximum potential temperature. You can check your stone’s thickness with a standard ruler; if it’s under 0.5 inches, reduce the preheat time by 15 minutes.
The placement of the stone within the oven determines the balance between bottom heat and top heat. If you place the stone too high, the bottom of the pizza won’t crisp before the toppings burn. Placing it on the lowest rack allows the stone to absorb the most direct heat from the bottom element.
Oven calibration is a common point of failure for many cooks. Most home ovens aren’t perfectly accurate, and the temperature displayed on the dial might differ from the actual surface temperature of the stone. Using an infrared thermometer is the only way to know if your stone has reached the desired 500°F range.
The moisture content of your dough also changes the outcome. A high-hydration dough contains more water, which requires a hotter stone and more time to evaporate. If you find your crust is still soft, it’s likely because your stone didn’t have enough time to recover its heat after you opened the door to slide the pizza in.
Baking your pizza
- Place your dry, room-temperature stone on the bottom rack of your cold oven.
- Set your oven to its maximum temperature, usually between 500°F and 550°F.
- Allow the oven and stone to preheat for at least 60 minutes, even after the oven indicates it has reached the target temperature.
- Prepare your pizza on a piece of parchment paper or a well-floured wooden peel while the oven finishes preheating.
- Open the oven door quickly to minimize heat loss and slide the pizza onto the center of the hot stone.
- Bake for 6 to 10 minutes depending on your oven’s power; start checking for a golden-brown crust at the 5-minute mark.
- Use a long metal peel or a pair of tongs to carefully remove the pizza from the oven once the edges are charred and the cheese is bubbling.
- Let the stone cool completely inside the oven for at least 2 hours before attempting to move or clean it.
The most critical judgment call is the timing of the transfer. If you hesitate while sliding the pizza onto the stone, the dough will start to stick or lose its shape, which often leads to a messy result.
Heat management table
| Situation | Action | Time or Effort | What to watch for |
|---|---|---|---|
| First pizza | Preheat stone fully | 60 minutes | Even browning |
| Second pizza | Wait for recovery | 10 minutes | Stone temperature |
| Frozen pizza | Use lower heat | 400°F setting | Soggy center |
| Thin crust | High heat | 550°F setting | Rapid charring |
| Thick crust | Moderate heat | 450°F setting | Raw middle |
The biggest mistake home cooks make is assuming the oven air temperature matches the stone. Even when the oven beeps, the stone often lags by 30 minutes. Use an infrared thermometer to verify the surface reaches 500°F before launching. If the stone reads below 450°F, your crust will turn out pale and gummy.
Recovery time is essential between pies. If you launch a second pizza immediately, the stone loses surface heat to the cold dough. This causes the bottom to stick. If you’re hosting a crowd, wait until the stone surface returns to your target temperature.
Distinguish your crust types by weight. A thin crust relies on a blast of extreme heat to puff before it dries out. If the edges blacken before the cheese melts, drop your oven rack one level lower.
Thick crusts require the opposite approach. Because the dough is dense, high heat burns the exterior while the center remains raw. If you see the edges darkening after only five minutes, tent the crust with foil. This traps ambient heat to finish the middle without scorching the bottom.
Quality control details
Managing the surface
Experienced bakers know that the stone must remain dry. Never use soap or soak the stone, as the porous material will absorb the detergent and release it into your food during the next bake. If you spill cheese or sauce, wait for the stone to cool completely, then use a stiff plastic scraper to remove the debris. Small dark stains are normal and don’t affect the performance of the stone; they’re simply polymerized fats from previous bakes.
Handling the heat
The biggest mistake people make is moving the stone while it’s still warm. Ceramic and cordierite stones are susceptible to thermal shock, which means they can crack if they experience a rapid temperature change. Always leave the stone in the oven until it’s cool to the touch. If you must move it, ensure you use thick, dry oven mitts, as the stone will retain dangerous levels of heat long after the oven has been turned off.
Common issues and fixes
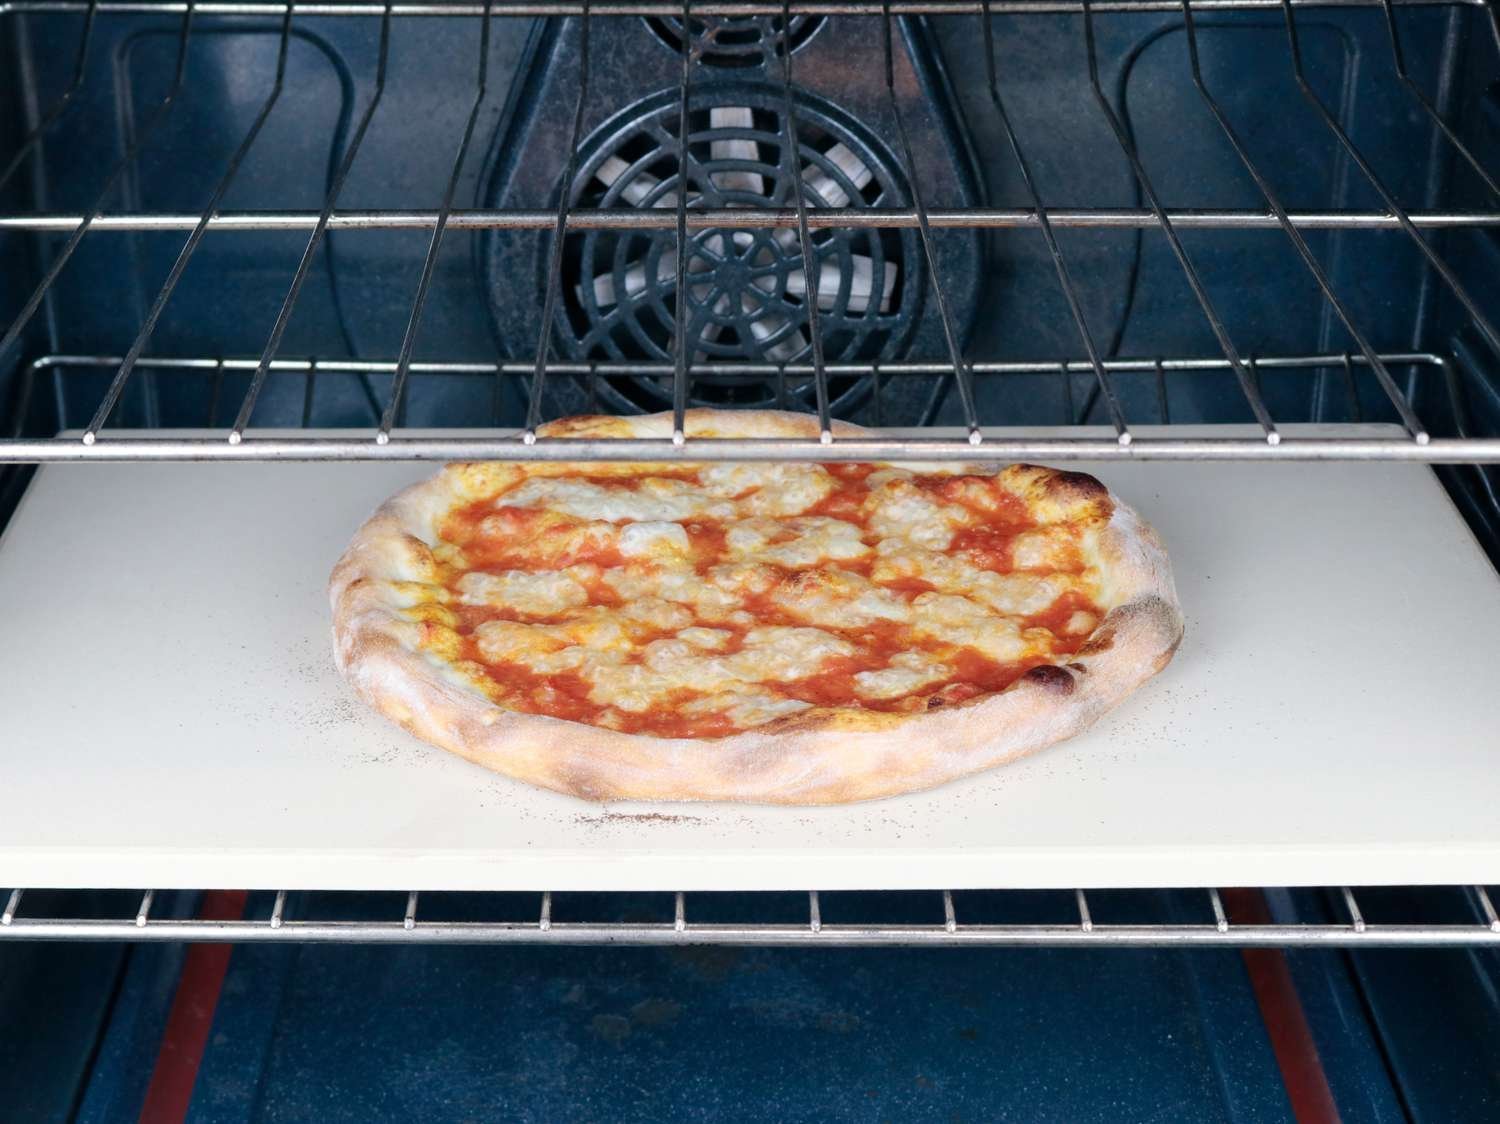
| What you notice | What it usually means | What to do first | How to stop it |
|---|---|---|---|
| Burnt bottom | Stone is too hot | Move rack up | Lower temperature |
| Soggy center | Stone is too cool | Preheat longer | Use less sauce |
| Sticking dough | Insufficient flour | Add more flour | Use parchment paper |
| Cracked stone | Thermal shock | Stop using it | Cool in oven |
| Uneven bake | Poor airflow | Center the stone | Rotate the pizza |
If the bottom burns within five minutes, your stone is likely saturated with heat. Move the rack to the top third of your oven for the final two minutes of the bake.
A soggy center often signals that the stone hasn’t reached thermal equilibrium. Most stones require a full 45-minute preheat at the highest setting. If you see water pooling on the crust, you’re likely overloading the dough with moisture-heavy toppings.
Sticking is almost always a result of hydration imbalances. If your dough feels tacky to the touch, dust your peel with a 50/50 mix of semolina and flour. This creates a ball-bearing effect that prevents tearing.
Cracked stones occur when you introduce cold food to a blistering surface. To prevent this, never move a hot stone to a cold countertop. Always leave the stone inside the oven to cool naturally for at least two hours.
Finally, if one side of the crust browns faster than the other, your oven has hot spots. Rotate the pizza 180 degrees halfway through the bake to ensure an even finish.
Rules for safe use
The primary safety concern with stone baking is the risk of thermal shock and burns. Most manufacturers explicitly state that you should never place a cold stone into a preheated oven, as the sudden expansion of the material can cause it to shatter. Always put the stone in the oven while it’s still cold and let them heat up together.
Additionally, be aware that your oven’s broiler can damage certain types of stones if they’re placed too close to the heating element. Check the manufacturer’s documentation for your specific model to see the minimum distance required between the stone and the broiler. If you’re baking in a rental property or using a commercial-grade appliance, consult the building’s fire safety guidelines regarding high-heat usage, as some residential ovens aren’t designed to be held at maximum temperature for extended periods. If you ever see a crack forming, stop using the stone immediately, as a broken piece can fall onto the heating element and create a fire hazard.
Real costs of stone baking
The cost of using a pizza stone is measured primarily in electricity and time rather than money. Running an oven at its maximum temperature for over an hour uses significantly more energy than standard baking. If you’re concerned about your utility bill, plan to bake multiple pizzas in a row rather than just one.
Most home ovens consume between 2.0 and 5.0 kilowatt-hours during a full preheat and bake cycle. If you bake only one pizza, your cost per pie skyrockets because the stone requires a 45-minute heat soak to reach thermal equilibrium. By baking three pizzas consecutively, you cut the energy cost per unit by nearly 60 percent.
The maintenance cost is effectively zero if you treat the stone correctly. However, if you use soap or try to scrub it with water, you’ll likely ruin the seasoning and potentially cause the stone to crack, forcing a replacement. A high-quality cordierite stone can last for many years if it’s never submerged in water.
Always compare the cost of a replacement stone against the price of your current oven. A stone that shatters inside a hot oven can damage the internal floor or heating elements. If you hear a loud popping sound while the oven is preheating, turn off the heat immediately. This indicates moisture trapped in the pores is expanding, and the stone is likely already compromised. Don’t attempt to salvage a cracked stone; the risk of debris damaging your oven’s convection fan outweighs the price of a new slab.
Maintaining your stone
After the stone has cooled, wipe it down with a dry cloth to remove any loose flour or crumbs. If you have stubborn, burnt-on food, use a dry scouring pad to gently buff the area. Ensure the stone is completely dry before heating; avoid soaking the stone.
Never use oil or sprays to “season” the stone. These products create smoke and leave a sticky, carbonized residue that ruins the texture of your crust. If you have applied oil, wipe the surface as best as possible; the oil will eventually carbonize during normal use.
Store the stone inside your oven on the lowest rack. This protects it from accidental drops or impacts, which are the most common ways these stones break. If you notice a faint smell while preheating, it’s likely just residual oils from a previous bake burning off. This is a sign that you need to perform a “burn-off” cycle by running the oven at its highest setting for 30 minutes while the kitchen is well-ventilated.
If the stone develops a dark, mottled patina over time, don’t attempt to scrub it back to its original color. This discoloration is normal and actually improves heat absorption. Only intervene if you see active mold or deep, structural cracks that threaten to split the stone.
When to avoid this method
Using a pizza stone isn’t the right choice if you’re in a rush. If you only have 30 minutes to prepare dinner, the preheating time required for a stone makes it impractical. A stone typically needs 45 to 60 minutes at its highest oven setting to reach thermal equilibrium. In this scenario, you’re better off using a preheated heavy-duty metal baking sheet, which conducts heat significantly faster.
Additionally, if you’re working with extremely delicate, thin-crust pizzas that require very low-temperature drying, the intense heat of a stone might cook the bottom too fast before the top is ready. In these cases, a metal screen or a standard pan is a more forgiving option that allows for better control. Use a screen if you want a crisp bottom without the risk of scorching the delicate dough.
If you have a stone that’s already cracked or has deep chips, don’t attempt to repair it with glue or sealant. These materials can release toxic fumes when heated. A simple hairline fracture is usually safe to use, but if the stone separates into two or more pieces, replace it immediately. Trying to salvage a shattered stone risks food contamination from ceramic shards or chemical adhesives. Always prioritize safety over the cost of a replacement.
Frequently asked questions
Can I put a cold stone in a hot oven?
No, you should never place a cold stone into a preheated oven because the rapid temperature change will likely cause the stone to crack or shatter. Always place your stone in the oven while it’s cold and allow the stone to heat up gradually alongside the oven.
How long does a pizza stone last?
A high-quality stone can last for many years if it’s kept dry and never subjected to thermal shock or physical impacts. You’ll know it’s time to replace it when you see deep cracks, structural failure, or if it begins to flake apart after regular use.
Why is my pizza sticking to the stone?
Your pizza is sticking because the stone didn’t have enough flour or cornmeal on the surface, or the dough had too much moisture. Always use a generous dusting of semolina flour on your peel and ensure the stone has reached its full temperature before you slide the pizza on.
Is it safe to clean a pizza stone with water?
No, you should avoid using water or soap on a pizza stone because it’s porous and will absorb the liquid. If you use soap, rinse the stone thoroughly and let it dry completely before the next use; the stone isn’t ruined.
What happens if I use soap on the stone?
Using soap on your stone will cause the material to absorb the chemicals, which will then release into your food the next time you bake.
Does the stone need to be seasoned?
No, a pizza stone doesn’t require seasoning like a cast-iron skillet, and you should never apply oil or fats to the surface. The stone will naturally darken over time, which improves its performance without the need for any added oils or coatings.
Way pizza, in short
Start by placing your clean, dry stone in the bottom of your oven before you turn it on. Once the oven has reached its highest setting and the stone has preheated for at least an hour, you can slide your pizza on and wait for the crust to turn golden brown. If the stone begins to smoke or crack, turn off the oven and let it cool completely before inspecting it for damage.