
The most reliable choice for a bathroom sink is a brass pop up drain assembly with a silicone seal, as it provides the best balance between long-term durability and leak prevention. These units are preferred because they resist corrosion better than plastic models, ensuring a tighter fit over many years of use. This guide focuses on identifying high-quality materials, correct installation techniques, and the common maintenance steps required to keep your plumbing system free of leaks and clogs.
Understanding Sink Drain Components
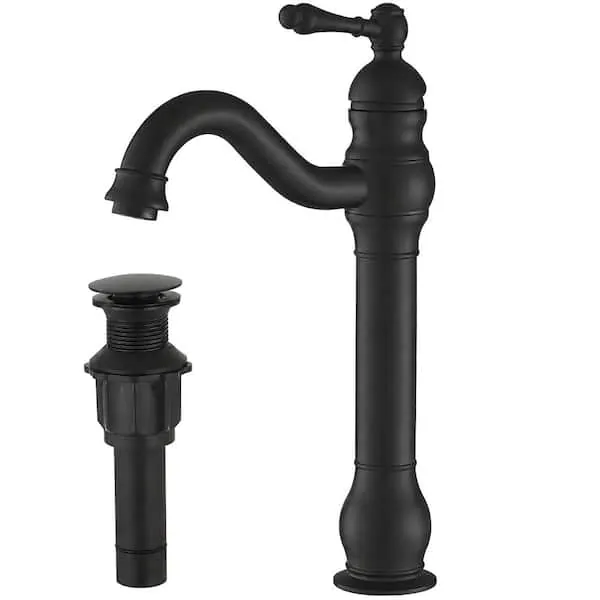
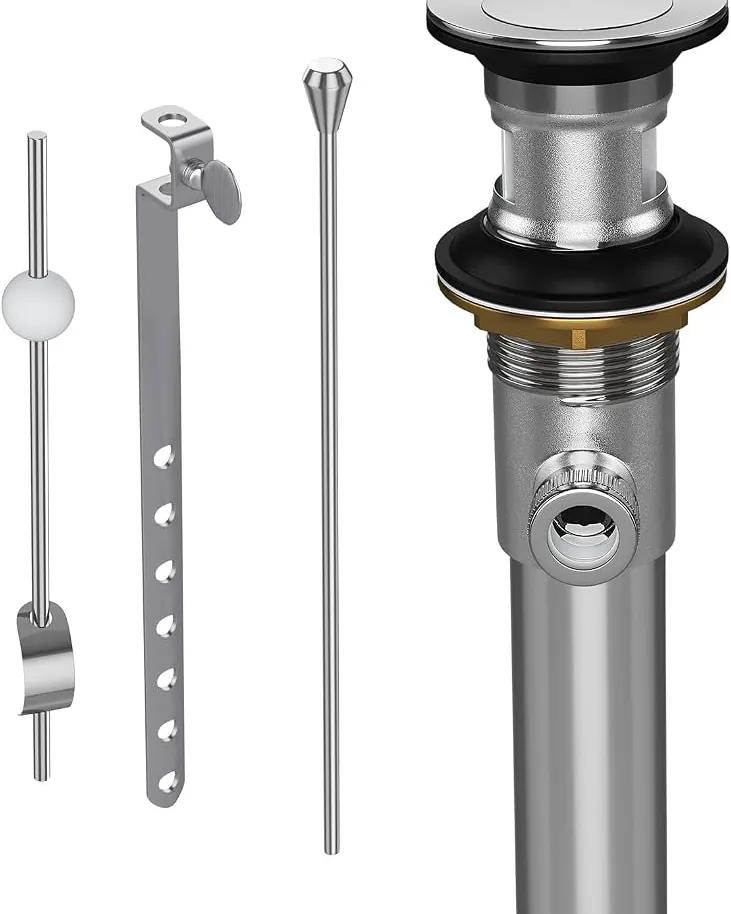
A pop up drain assembly is the mechanical device that allows you to open or close the sink basin to hold water. Most modern systems use a spring-loaded mechanism, which is much simpler than the older pull-rod designs that often required frequent adjustments. The main body of the drain sits inside the sink hole, while a threaded tailpiece connects to the P-trap underneath.
These assemblies are typically made from brass, stainless steel, or ABS plastic. If you have a high-traffic bathroom, you should choose a brass or stainless steel model because they withstand the weight of heavy water pressure and accidental knocks better than plastic.
A common mistake people make is buying a drain assembly that doesn’t match the overflow requirements of their specific sink basin. If your sink has a small hole near the top of the bowl, you must buy a version with an overflow port; otherwise, you’ll cause water to back up into the cabinet below.
The mechanism inside is fairly standard, but the finish and the quality of the internal spring vary by manufacturer. A high-quality assembly uses a thick rubber or silicone gasket to form a watertight seal against the porcelain or stone of your sink. You should check the plumbing material standards provided by the National Sanitation Foundation to ensure that the materials used in your drain are safe and durable for long-term water contact.
Installing Your New Drain
- Remove the old drain assembly by loosening the lock nut under the sink with a pair of channel-lock pliers.
- Clean the drain hole thoroughly with a mild cleaner to remove old putty or mineral buildup, ensuring the surface is smooth.
- Apply a thin, even bead of plumber’s putty or a silicone sealant to the underside of the drain flange before inserting it into the sink hole.
- From underneath the sink, slide the rubber gasket onto the threaded tailpiece followed by the friction washer and the mounting nut.
- Tighten the mounting nut by hand until it’s snug, then use pliers to turn it an additional quarter-turn to secure the seal.
- Attach the P-trap to the bottom of the tailpiece using the provided slip nuts and washers, ensuring the pipes align without tension.
- Fill the sink with water to check for leaks at the gasket and the P-trap connection, tightening only if you see moisture.
The most important part of this process is the tension on the mounting nut. If you over-tighten it, you risk cracking the porcelain of a ceramic sink. If you don’t tighten it enough, water will seep into your vanity cabinet. Always stop as soon as the drain feels firm and doesn’t rotate when you push it.
Best Bathroom Sink Pop Up Drain Specifications
| Sink Type | Drain Style | Material | Overflow Needed | Best Use |
|---|---|---|---|---|
| Undermount | Push-button | Brass | Yes | Daily family use |
| Vessel Sink | Tall body | Stainless | No | Above-counter basins |
| Drop-in | Standard | ABS Plastic | Yes | Low-budget updates |
| Pedestal | Slender | Brass | Yes | Small guest baths |
| Stone Basin | Extended | Solid Brass | Check sink | Heavy stone sinks |
When selecting your parts, remember that the finish—such as brushed nickel or oil-rubbed bronze—is purely aesthetic. The structural integrity depends entirely on the metal thickness and the quality of the rubber gaskets. If you have hard water, choose a model with a removable top cap, as this makes it much easier to clean mineral deposits that can jam the spring mechanism over time.
Achieving Professional Results
Experienced installers focus on the cleanliness of the mating surfaces before applying any sealant. If you leave old debris or dried putty on the sink basin, the new gasket can’t create a perfect seal. This oversight leads to slow drips that eventually rot your vanity wood from the inside out.
Always use a plastic or rubber-coated wrench when tightening metal nuts to avoid scratching the finish. Exposed metal can rust within weeks once the protective coating is compromised. If you lack a coated tool, wrap a thick rag around the nut before applying pressure to distribute the force evenly.
Check the orientation of the P-trap carefully. If the horizontal pipe leading into the wall is tilted upward or downward too steeply, the water won’t drain efficiently. Aim for a consistent downward slope of one-quarter inch per foot of pipe. This specific angle prevents standing water and keeps the trap clear of debris.
If you’re working with a stone or glass sink, use a clear silicone sealant instead of traditional plumber’s putty. The oils in standard putty can permanently stain porous materials like marble or granite. You can identify a porous surface by placing a single drop of water on an inconspicuous area; if the stone darkens within a minute, it will absorb putty oils.
When securing the drain flange, tighten the nut until you feel firm resistance, then stop. Overtightening is a common mistake that cracks ceramic basins or strips plastic threads. If the drain still leaks after a moderate turn, don’t force it further.
Instead, disassemble the unit, clean the threads, and reapply the gasket to ensure it sits perfectly flush. If you’re installing a vessel sink, verify that the drain assembly is rated for the thickness of your specific basin, as standard drains often fall short of the required depth.
Common Drain Issues
| What you notice | What it usually means | What to do first |
|---|---|---|
| Slow drainage | Hair or debris buildup | Clean the pop-up cap |
| Water leaking below | Loose mounting nut | Hand-tighten the nut |
| Sink doesn’t hold water | Worn internal gasket | Replace the rubber ring |
| Bad odor | P-trap dry or dirty | Flush with hot water |
If you notice that the sink is leaking only when it’s nearly full, the issue is likely the overflow gasket. This is a common point of failure because the connection is often hard to reach and easy to ignore during the initial setup. Always inspect this connection before you secure the sink vanity to the wall, as you’ll have very little room to work once the plumbing is enclosed.
Most homeowners mistake a slow drain for a deep pipe blockage when the culprit is actually the pivot rod inside the drain assembly. If you pull the pop-up stopper and see a clump of debris, you have caught the problem early. If the drain remains sluggish after clearing the stopper, the blockage has moved into the P-trap. You should place a bucket underneath the U-shaped pipe before loosening the slip nuts to catch the stagnant water trapped inside.
If you smell sewage, don’t assume the drain is clogged. A dry P-trap is the most frequent cause of odors in guest bathrooms that are rarely used. The water barrier in the trap evaporates over time, allowing sewer gas to bypass the seal. Running the faucet for thirty seconds once a week restores this barrier and stops the smell immediately.
Leaking at the mounting nut is often caused by overtightening. If you use channel-lock pliers to force the nut, you risk cracking the plastic threads or deforming the rubber washer. Always tighten by hand until firm, then add a quarter-turn with a tool only if the leak persists. If the leak continues, the washer is likely brittle from age and requires a full replacement rather than more torque.
Regulatory Standards and Compliance
Local building codes often dictate the type of materials allowed for hidden plumbing components. In many regions, you must use materials that meet the Uniform Plumbing Code (UPC) or the International Plumbing Code (IPC) standards. These codes ensure that your drain system can’t leach chemicals into the water and that it won’t fail under normal household pressure.
Verify the specific code edition adopted by your jurisdiction before purchasing materials. Most municipalities operate on a three-year update cycle, but many lag behind by one or two editions. Using materials compliant with the 2024 code in a city still enforcing the 2018 version can lead to failed inspections and costly rework. Check the inspector’s portal on your municipal building department website to confirm the active code year.
If your installation involves moving the drain line inside the wall, this isn’t a do-it-yourself task. You should hire a licensed plumber to ensure the venting and pipe sizing meet safety requirements, as incorrect venting can lead to sewer gas entering your home.
Calculate the distance from the fixture trap to the vent stack before you begin. If the horizontal run exceeds the maximum length allowed—typically five feet for a 1.5-inch pipe—you’re legally required to install a dedicated vent. Ignoring this rule creates a vacuum that siphons the water out of your P-trap.
Distinguish between minor repairs and structural modifications by looking at your permit requirements. If you’re simply replacing a visible sink trap, you rarely need a permit. However, if you’re cutting into studs or floor joists to reroute lines, you must submit a plan.
Failing to secure this permit often voids your homeowner’s insurance policy in the event of a future water leak or pipe burst. Always prioritize the code’s specific pipe-slope requirements, which usually mandate a minimum fall of one-quarter inch per foot of horizontal pipe.
Maintaining Your Drain Assembly
Regular maintenance prevents the buildup of soap scum and hair that eventually leads to a total blockage. You should remove the pop-up cap at least once every three months to clear out any trapped material. Most modern caps simply unscrew or pull straight up, allowing you to wipe the mechanism clean with a soft cloth and a gentle, non-abrasive cleaner.
If you find that the spring mechanism is sticking, don’t use harsh chemical drain cleaners. These chemicals can degrade the rubber seals and damage the finish of the drain assembly. Instead, use a mixture of white vinegar and baking soda to dissolve mineral deposits. If the mechanism still fails to pop up smoothly after a deep cleaning, it’s time to replace the spring cartridge, which is usually sold as a separate, inexpensive part by the manufacturer.
Check the pivot rod connection if the cap refuses to stay open or fails to lift entirely. You can usually access this by reaching behind the sink basin to tighten the nut holding the rod in place. If the rod feels loose or wobbly, the internal plastic bushing has likely worn down. Replacing this small component now saves you from a full drain assembly replacement later.
Distinguish between a simple clog and a mechanical failure by checking the water flow speed. If water drains slowly but the mechanism moves freely, the obstruction sits deeper in the P-trap. If the drain is clear but the cap remains stuck, the issue is strictly mechanical. Never force the cap with pliers, as this often cracks the decorative finish and exposes the brass or plastic underneath to corrosion.
Finally, inspect the rubber O-ring around the cap base whenever you remove it for cleaning. If the ring looks brittle or cracked, replace it immediately to prevent slow leaks into your vanity cabinet. A dry, stiff O-ring is inexpensive compared to the high cost of repairing water-damaged cabinetry.
When to Seek Alternatives
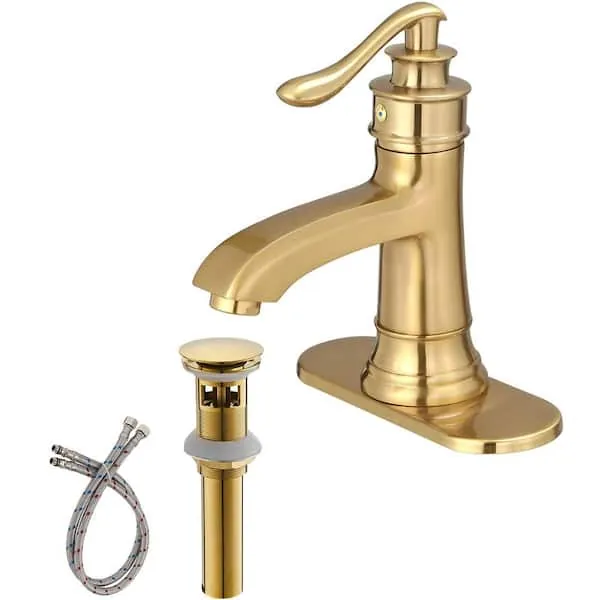
If you’re dealing with a historic sink that uses a non-standard drain opening, a modern pop-up assembly won’t fit. In this case, you should look for a traditional lift-rod assembly or a specialized drain designed for vintage fixtures. Attempting to force a modern part into an old, narrow drain hole will almost certainly crack the ceramic or leave you with a permanent leak that’s difficult to repair.
Measure the diameter of your sink’s drain hole before you buy any hardware. If the opening is less than 1.5 inches, standard residential pop-up kits will fail to seat properly. Use a digital caliper to ensure your choice matches the sink’s casting. If the measurement is off by even an eighth of an inch, the gasket won’t seal, leading to water damage in the vanity cabinet below.
Additionally, if you’re installing a sink in a commercial space, you must use a drain that complies with the Americans with Disabilities Act (ADA) requirements regarding pipe positioning. Commercial drains often require specific insulation or protective covers to prevent users from burning their legs on hot pipes. For these setups, avoid standard residential kits and look for commercial-grade assemblies that are specifically rated for public-use environments.
Check your local building codes to see if you’re required to install a P-trap cover or a specific offset drain configuration. Residential drains typically lack the thermal protection required by law in public restrooms.
If you install a residential kit in a commercial setting, a building inspector will force you to rip it out. You can distinguish commercial parts by looking for the “ADA compliant” stamp on the packaging. If the box lacks this certification, treat it as unsuitable for any space open to the public.
Frequently asked questions
Can I install a pop up drain without a professional?
Yes, you can install a pop up drain without professional help if you have basic tools like channel-lock pliers and a screwdriver. The process involves removing the old assembly, cleaning the drain hole, and securing the new unit with a waterproof sealant. If you feel uncomfortable working under the sink or if the pipes seem rusted and brittle, consult a licensed plumber to prevent accidental water damage to your home.
How long does a bathroom sink drain usually last?
A high-quality brass pop-up drain assembly typically lasts for a long period under normal household conditions. The actual lifespan depends heavily on your local water quality, as hard water accelerates mineral buildup that can jam the spring mechanism. If the drain becomes difficult to operate, regular cleaning with vinegar can often extend its life significantly.
Is it safe to use plumber’s putty on all sinks?
No, plumber’s putty isn’t safe for natural stone sinks because its oils can permanently stain the material. Use a clear, 100% silicone sealant for marble or granite instead. For standard porcelain or stainless steel sinks, traditional plumber’s putty remains a safe, effective, and easily removable choice.
Why is my new pop up drain leaking?
A new drain usually leaks because the mounting nut is loose or the gasket is misaligned. Ensure the rubber washer is centered on the tailpiece before tightening. If the leak continues, verify that you applied sufficient sealant between the drain flange and the sink basin to prevent water bypass.
How do I know if I need an overflow drain?
You need an overflow drain if your sink has a small hole near the rim that connects to the main drain pipe. This hole prevents the basin from overflowing if you leave the faucet running while the drain is closed. If your sink has this feature, you must purchase a pop up assembly that’s compatible with an overflow, or you’ll block the safety path and risk flooding your bathroom.
Conclusion
Upgrading your sink hardware doesn’t have to be a stressful chore. Once you’ve installed your new drain, you’ll enjoy a smooth, reliable flow every time you turn on the faucet. Keep an eye on the seal over the next few weeks, and you won’t have to worry about any unexpected drips.