
To sync a new remote to your system, you must press the learn button on the garage door opener motor, then hold the button on your remote until the light blinks. Completing overhead legacy garage door remote programming usually takes less than two minutes and requires no special tools beyond a stable ladder. This method is ideal for homeowners who have recently purchased a compatible replacement remote for an older Overhead Door legacy model that uses the 390 MHz frequency.
Getting your legacy garage door remote ready
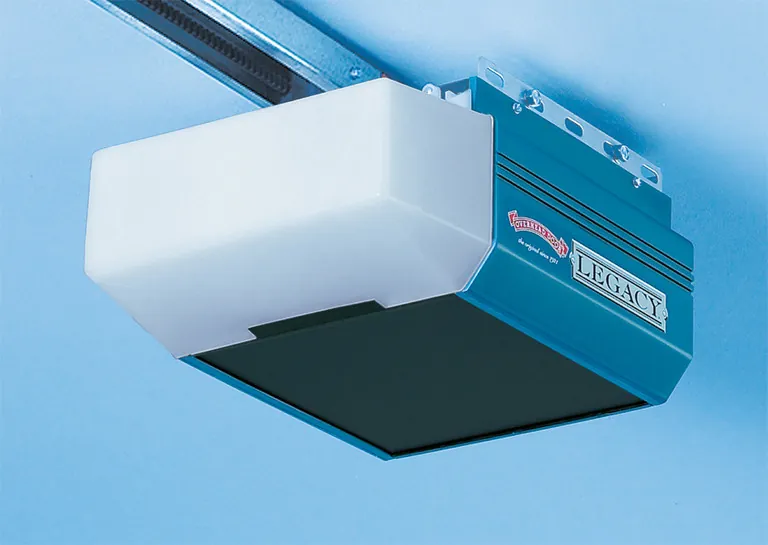
You’ll need a few simple items to ensure the process goes smoothly without risking a fall or damaging your equipment. Before you begin, check your garage door opener model number to confirm it’s compatible with the remote you bought.
A sturdy ladder that reaches your opener motor housing safely.
The new remote control compatible with the legacy series.
A fresh battery installed in the remote, as low voltage often causes sync failures.
A helper to press the remote button while you’re on the ladder.
The owner’s manual if you’re unsure where the learn button is located.
If you don’t have the original manual, you can find the specific official programming instructions from Overhead Door to identify the correct button layout for your unit. Using a remote that operates on a different frequency won’t work; always check the label on the back of your opener motor to verify it matches your remote’s specifications.
Using the wrong frequency is the most common mistake, and it will result in a complete failure to pair, wasting hours of troubleshooting.
Test your ladder placement on level ground before climbing. If the ladder wobbles or shifts on the concrete, move it to a more stable surface or use a stabilizer attachment. If you aren’t comfortable working at this height, hire a professional technician to perform the task.
A service call typically costs less than the medical bills associated with a ladder fall. If you can reach the motor housing while standing on your tiptoes, you’re too close to the ceiling; ensure you have at least three feet of clearance to maneuver your hands comfortably.
Steps for Syncing Your Remote
Follow these steps carefully to connect your device. If your opener has a wall-mounted console, ensure it isn’t locked, as the lock feature prevents remotes from pairing. If the wall console light is flashing, you’re in “Lock” mode; press the lock button once to disable it before proceeding.
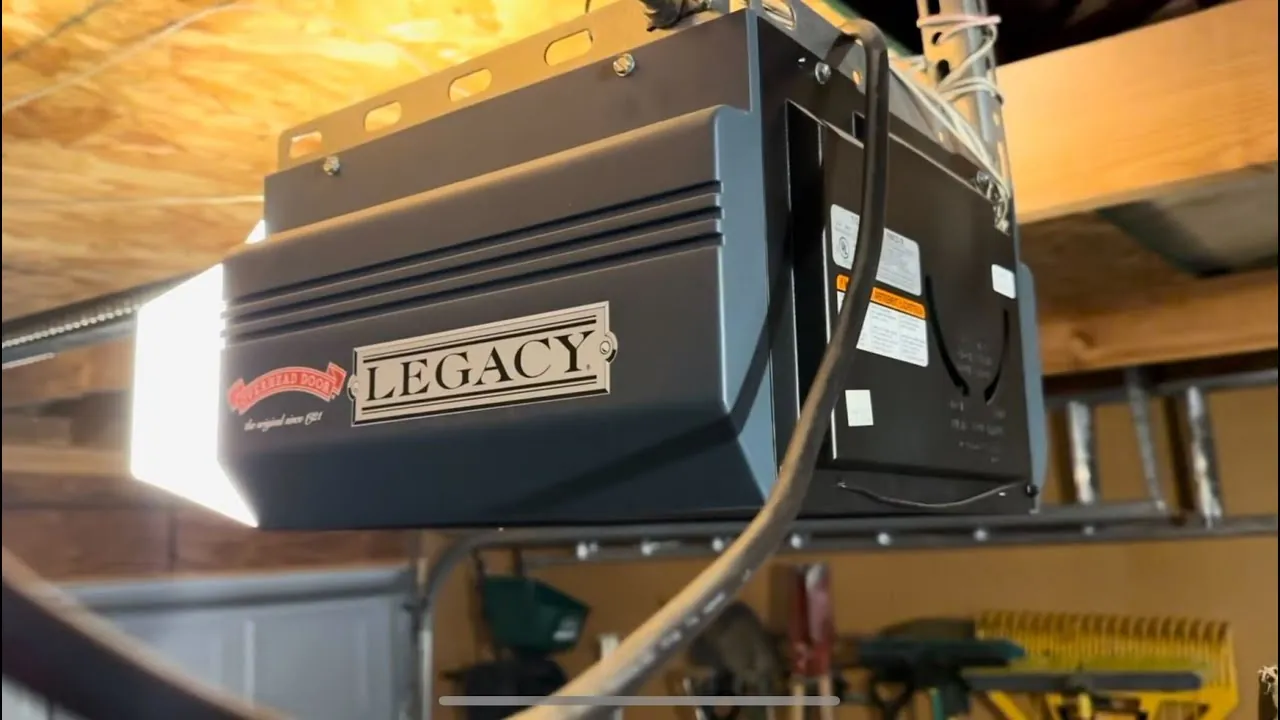
Place your ladder under the garage door opener motor housing. Locate the square “Learn” button on the side or back of the motor unit. Press and release the Learn button; the indicator light will glow steadily for about 30 seconds.
Stand near the motor and press the button on your remote control once. Wait for the indicator light on the motor to blink or turn off, which confirms it has accepted the signal. Test the remote by pressing the button again to see if the door moves.
Don’t hold the Learn button down for more than 3 seconds. Holding it longer triggers a factory reset, which clears the memory of every existing remote. If you accidentally trigger this, you must re-pair every remote and keypad you own.
If the light doesn’t blink after pressing your remote, check that your remote battery is seated correctly and the terminals are clean. If the remote still fails, check the frequency label on the motor housing. If your remote is a different frequency than the opener, the two devices will never communicate.
If you have a multi-button remote, ensure you’re pressing the specific button intended for that opener, as some remotes map buttons to different internal codes. If the opener light flashes but the door doesn’t move, check the safety sensors at the base of the door for obstructions.
Situations That Affect Setup
The time it takes to pair your remote often depends on the age of your opener and the environment inside your garage. Newer systems usually pair instantly, while older units may require a second attempt if the internal antenna is dusty or blocked.
| Situation | Time Required | Effort Level | What to Watch |
|---|---|---|---|
| Standard pairing | 2 minutes | Low | Motor light blink |
| Clearing memory | 5 minutes | Medium | All remotes lost |
| Signal interference | 10 minutes | High | Metal obstructions |
| Battery replacement | 3 minutes | Low | Remote light status |
If your remote fails to pair after three attempts, check for LED bulbs in your opener. These bulbs often emit radio frequency interference that mimics the signal of a faulty remote. Replacing them with incandescent bulbs or shielded “garage-door-rated” LEDs usually solves the problem instantly.
Always start with one remote to ensure the process works before syncing multiple devices. If you accidentally trigger the “Learn” mode for too long, you might wipe the system’s memory. This mistake forces you to re-pair every existing remote and keypad from scratch.
Distinguish between a signal issue and a hardware failure by moving the remote within two feet of the motor unit. If it works at this close range but fails from the driveway, you have an interference problem rather than a sync error.
In that case, check for new metal shelving or large tools placed near the opener’s antenna. If the remote fails even at close range, the internal logic board likely needs a hard reset by unplugging the unit for sixty seconds.
Verifying a Successful Connection
A successful sync is indicated by a quick flash of the courtesy light on the motor housing. If the door doesn’t move after the light blinks, the remote may be paired, but the safety sensors might be blocked or misaligned.
The most common issue is a weak signal caused by a dying battery or interference from large metal objects near the receiver. If the light on the motor doesn’t react at all, ensure you’re using a remote that matches the specific legacy frequency. Avoid placing your remote near high-frequency electronics during the sync process, as these can block the radio signal. If the problem persists, check the safety sensors near the floor for a solid green light.
If the sensor light is flickering or dark, the beam is broken. You must clear any obstructions within six inches of the floor to restore the connection. A common mistake is assuming the remote is broken when the fault lies in the sensor’s alignment. If you see a red light instead of green, physically adjust the sensor bracket until the beam hits the receiver perfectly.
If you have two remotes and only one connects, the issue is the remote’s internal logic, not the motor. Replace the battery if the LED on the remote itself is dim. If the LED remains bright but the motor ignores the signal, hold the remote within three feet of the antenna wire. If the door moves now, your receiver’s range is compromised by local radio interference.
Standards and Post-Setup Rules
The Underwriters Laboratories (UL) 325 standard requires that garage door openers have a functional safety reversal system to prevent injury. Once your remote is working, verify that the door reverses when it hits an object.
Keep your remotes in a secure location and never leave them in an unlocked vehicle parked in your driveway. If you notice the door opens or closes on its own, it may indicate a malfunctioning wall console or a short in the wiring, which requires a professional technician to inspect.
Using a Universal Remote
Universal remotes often have dip switches or multiple buttons for different brands. You must set the switches to match the code of your legacy opener exactly. This adds time but allows one remote to control multiple doors.
Pairing Multiple Remotes
If you have more than one remote, repeat the pairing steps for each unit immediately after the first one. You generally have a 30-second window to pair additional remotes before the motor exits the Learn mode.
Troubleshooting Signal Drops
If your remote works only when you’re very close to the garage, the external antenna wire on the motor may be damaged. Straighten the wire and ensure it hangs down freely, which usually increases your operating range significantly.
Frequently asked questions
Can I use a newer remote with an old legacy opener?
Yes, you can use a newer remote if it’s specifically labeled as compatible with your opener’s frequency and technology. Check the manufacturer’s compatibility chart to ensure the remote supports the older radio signal before purchasing.
How long does the learn mode stay active?
The learn mode typically stays active for 30 seconds after you press the button. If you don’t press your remote button within this time, the opener will exit the mode, and you must start over.
Is it safe to program a remote while the door is moving?
No, never attempt to program a remote while the garage door is in motion. Always ensure the door is fully closed or stationary to prevent accidents and to ensure the motor is ready to accept new commands.
What happens if I lose my remote?
If you lose a remote, you should clear the opener’s memory by holding the Learn button for 10 seconds. This ensures that the lost remote can no longer open your garage, keeping your home secure.
How often should I replace the remote battery?
Replace your battery every 12 to 24 months, depending on your usage frequency. If you must stand closer to the garage than usual for the door to operate, the battery is likely low.
Conclusion
Once you’ve successfully tested the connection, keep your extra remotes in a safe place for future use. If you’re still having trouble getting things to work, don’t hesitate to reach out to a local technician. They’ll be happy to help you get your garage back in working order quickly.
