
You can replace batteries in liftmaster garage door opener remotes by sliding open the back cover and swapping the old coin cells for fresh ones. Most remotes use a single 3-volt coin battery, though some larger wall-mounted panels require different sizes. These devices rely on lithium power to send signals to the motor unit. While the process is simple, it’s important to match the battery model exactly to the one you remove to ensure the signal remains strong.
Replace batteries in LiftMaster garage door remotes
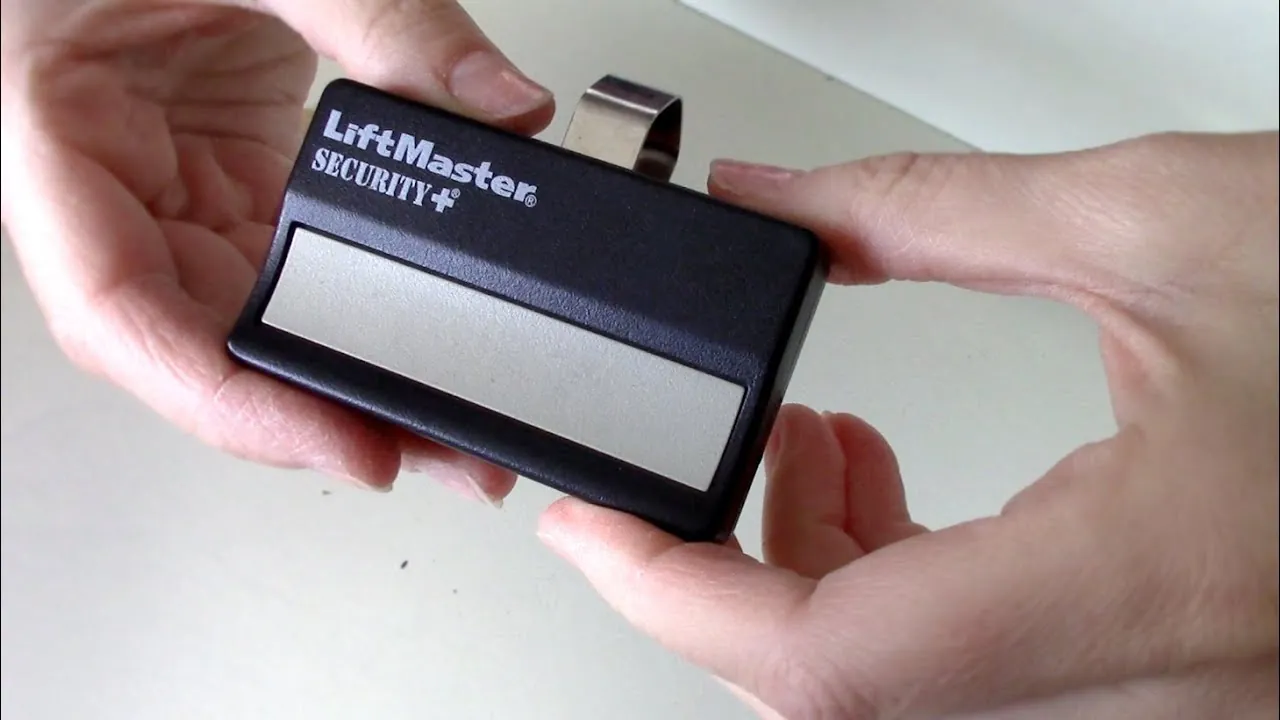
Every remote and keypad model has a specific power requirement for peak performance. The following table identifies the common battery types used in most LiftMaster accessories.
| Remote or Keypad Model | Best For | Battery Type |
|---|---|---|
| Keychain Remote | Daily entry | CR2032 |
| Standard Visor Remote | Multiple doors | CR2032 |
| Wireless Keypad | Outside access | 9-Volt |
| Premium Remote | Long-range use | CR2032 |
Most users mistakenly buy generic coin cells that lack the necessary voltage consistency for cold-weather operation. If your remote works while inside the car but fails when the temperature drops, switch to a lithium-based battery from a premium brand. These cells maintain a steady 3-volt output even in freezing conditions.
Carbon-zinc batteries leak corrosive chemicals when exposed to humidity, which permanently ruins the keypad’s internal circuitry. You can identify the correct chemistry by checking the label for the word alkaline.
Keychain and visor remotes
These compact remotes are the most common accessories and use a small coin-style battery to function. They suit users who need quick access to the garage from a car or by carrying a fob on a keyring.
- Provides reliable signal transmission for up to 100 feet in clear conditions.
- Uses a standard voltage to prevent interference with other radio frequencies.
- Lasts for a duration that varies based on how often you press the button.
To replace the power source, look for a small notch on the side of the remote casing. Use a coin or a small flat-head screwdriver to gently pry the two halves of the plastic shell apart. Once the cover is off, slide the old battery out of its metal clip.
If you notice corrosion or white powder on the contacts, wipe them clean with a dry cloth before inserting a new 3-volt lithium coin battery. Push the new battery into the slot with the positive side facing up, then snap the plastic casing back together until you hear a click.
Wireless keypads
Wireless keypads mount to the outside door frame and provide entry without a remote or key. These units are ideal for homeowners who want to grant temporary access to guests or service workers without handing out physical keys.
- Features a weather-resistant cover to protect the internal electronics from rain or snow.
- Uses a 9-volt battery to handle the higher power demand of the backlit buttons.
- Maintains memory storage for access codes even when the battery is completely dead.
To change the battery, slide the protective cover up to expose the screw at the top of the unit. Remove the screw with a Phillips head screwdriver, then pull the keypad away from the mounting bracket. You’ll find the 9-volt battery compartment on the back of the keypad housing. Pull the battery out, disconnect the snap-on terminal, and attach the new battery firmly. Slide the unit back onto the bracket and tighten the screw to secure it against the wall.
Wall-mounted control panels

These panels are installed inside the garage and provide advanced features like motion detection or timer-to-close functions. They’re best for households that want a central hub for all door operations, including light control and lock modes.
- Operates on the same power system as the main door opener motor.
- Includes a dedicated button to disable remote signals for added security at night.
- Requires a hardwired connection, meaning the battery acts only as a backup during power outages.
If your panel has a battery backup, you must access the compartment located behind the screen or the faceplate. Some models require you to press a small release tab at the top, while others involve removing the entire unit from the wall.
If you aren’t comfortable working with electrical components or the wiring appears frayed, stop and contact a professional technician. Never attempt to bypass the wiring or force the panel open if it feels stuck, as this can break the plastic clips.
Troubleshooting signal issues
If the door doesn’t move after you swap the batteries, the issue might lie in the signal pairing rather than the power source. Check if the LED light on the remote flashes when you press the button.
If the light is dim, the new battery might be low quality or installed upside down. A common mistake is using generic alkaline batteries, which often lack the voltage consistency required for radio frequency transmission. If you see no light at all, check the battery contact prongs inside the remote; if they’re flattened or corroded, they will fail to complete the circuit.
Sometimes, leaving the battery out for too long clears the remote’s memory. Large metal objects near the motor unit can block signals even with fresh batteries. If your motor is mounted behind a metal ceiling joist or near a heavy-duty appliance, the signal may reflect or dissipate before reaching the receiver.
If the remote still fails to trigger the motor, perform a reset. Press and hold the learn button on the motor unit for six seconds until the indicator light turns off. Press your remote button again to re-sync it. If the door remains unresponsive, the internal circuit board of the remote is likely damaged and requires a full replacement.
Other remote accessories
-
Mini remotes: These tiny fobs are designed for portability and use a CR2016 battery. They’re best for people who don’t want a bulky remote on their visor. Because of their small size, keep them in a dedicated pocket or attached to a keychain to avoid losing them in your car’s center console.
-
Universal remotes: These work with multiple brands and often require a specific programming sequence after a battery change. Use these if you have a mix of different opener models. If your remote fails to trigger the door after a fresh battery, check the dip switch settings against your opener’s receiver; a single misaligned switch is the most common reason for a total failure to connect.
-
Smart bridge remotes: These sync with smartphone apps to control the door remotely. They consume more energy and the frequency of battery changes depends on use; consult your owner’s manual for guidance.
Choosing the right battery
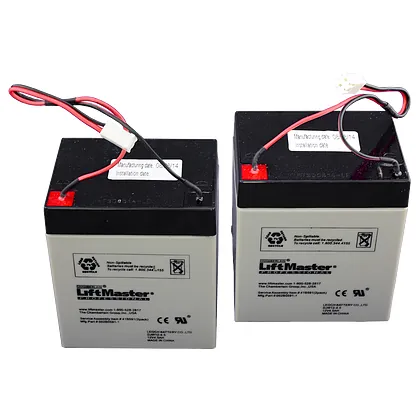
The best way to identify your battery is to look at the writing on the old one you removed. Most coin cells have the model number, such as CR2032, engraved directly on the flat surface. If the writing is worn off, check the inside of the remote battery compartment, as the manufacturer often stamps the required size into the plastic.
If you only replace one, the older battery will drain the power from the new one, leading to a very short lifespan. If you’re unsure about the model, take the old battery to a local hardware store to match it exactly. Picking the wrong size can damage the metal contact pins, which are often fragile and difficult to repair.
Related guides
- LiftMaster vs Chamberlain: Which Garage Door Opener Is Best
- LiftMaster vs Overhead Door Garage Door Openers: The Verdict
- LiftMaster vs Genie Garage Door Openers: The Best Drive Types
Frequently asked questions
Can I use a different battery brand than the one included?
Yes, you can use any brand of battery as long as the model number, such as CR2032 or the voltage rating, matches the original exactly. The brand doesn’t change how the signal travels, but high-quality lithium batteries typically provide a longer lifespan in cold weather. Always confirm the model number on the battery casing before you make a purchase to avoid compatibility issues.
How long should a garage door remote battery last?
A standard coin-style battery has a lifespan that varies with normal daily use. The duration depends on how many times you press the button and the temperature of the garage. If you notice that you have to stand very close to the door for the remote to work, it’s a sign that the battery voltage is dropping.
Is it safe to change the battery myself?
Yes, it’s perfectly safe to change the battery yourself as long as you don’t force the plastic casing open with excessive pressure. There are no high-voltage parts inside the remote or keypad that could cause injury. If you see signs of leakage or corrosion on the battery, wear gloves and clean the area with a dry cloth to avoid skin irritation.
What happens if I put the battery in backwards?
Nothing bad will happen, but the remote simply won’t work because the circuit can’t complete. If the remote doesn’t respond after you insert the battery, open it back up and check the orientation. The positive side, which is usually marked with a plus sign, must face the specific side indicated by the markings inside the remote tray.
Does the cold weather affect the battery life?
Yes, extreme cold can temporarily lower the voltage output of lithium batteries, which may cause your remote to feel like it’s failing. If the remote works fine in the summer but fails in the winter, the battery is likely weak. Moving the remote into the house or keeping it in a warm car can often restore its function until you get a replacement.
Can I use a rechargeable battery in my remote?
No, you should never use rechargeable batteries in a garage door remote because they have a different voltage profile than standard lithium coin cells. Most remotes are designed for a steady 3-volt output, and rechargeable options may cause the remote to transmit an erratic signal or fail to pair with the motor unit. Stick to the non-rechargeable battery type recommended by the manufacturer.
Conclusion
Start by prying the remote cover open with a small coin or screwdriver to see the battery type inside. Once you insert the fresh battery, the remote should immediately send a signal to the door motor without needing to be reprogrammed. If the door still refuses to open after the battery change, check that the lock mode on your wall console isn’t active, as this feature disables all remote signals for security.
