
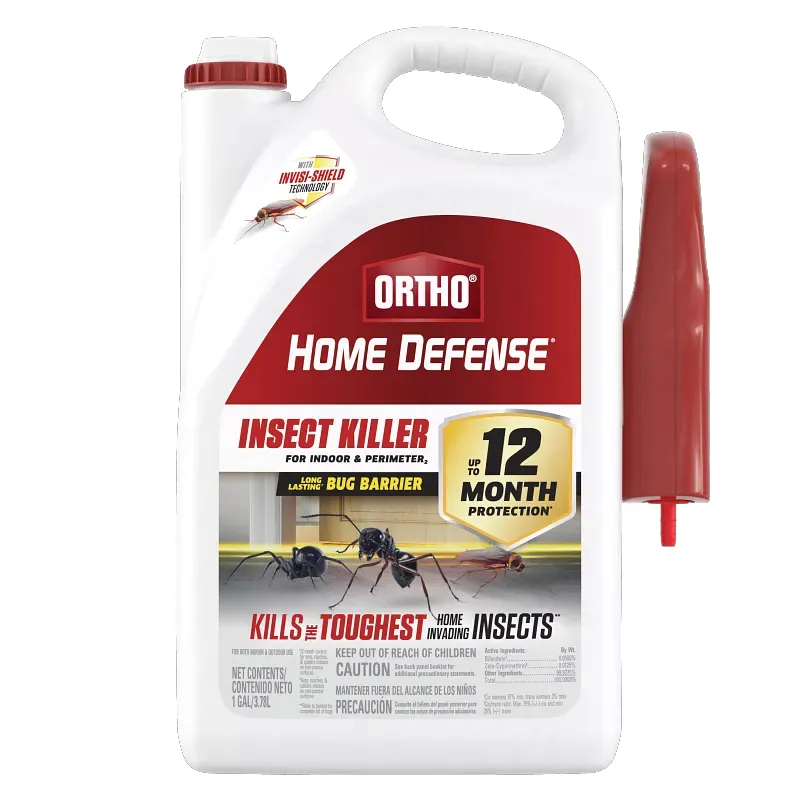
Dealing with pests is stressful enough without your equipment failing you in the middle of a job. If you find that your ortho home defense sprayer not working, you’re likely dealing with a simple mechanical issue rather than a broken device. Most of these battery-operated wands rely on a consistent electrical circuit and a clear fluid path to function correctly. By performing a few systematic checks, you can usually restore the pressure and flow within minutes, saving yourself the cost of purchasing a replacement unit, which typically ranges from $15.00 to $35.00 depending on the size and chemical concentration included.
Key Takeaways

- Check the battery orientation and voltage levels first, as power issues account for most failures.
- Clear the spray nozzle of mineral deposits or dried chemical residue using warm water.
- Ensure the pickup tube is fully submerged and free of kinks or air gaps.
- Prime the pump by holding the wand below the level of the liquid container.
- Verify the safety lock is fully disengaged before attempting to depress the trigger.
Why Your Ortho Home Defense Sprayer Isn’t Working
The most common reason for a sprayer to fail is an interruption in the suction process. These devices utilize a small internal pump that pulls liquid from the bottle through a plastic tube. If air enters this line, the pump can’t create the vacuum needed to pull the insecticide upward.
Additionally, the electrical connection between the battery compartment and the motor can become corroded or loose over time, especially if the unit was stored with the batteries left inside. Always start by checking the power source before moving on to mechanical troubleshooting.
Troubleshooting Power and Battery Issues
Before you assume the motor is dead, inspect the power supply. These wands often use standard AA or AAA batteries, which are prone to leaking if left in humid environments like a garage or shed.
- Remove the battery cover and check for white, powdery corrosion on the contacts.
- Use a clean cloth or a small piece of sandpaper to gently scrub away any buildup on the metal springs.
- Verify that the batteries are inserted in the correct polarity, as indicated by the symbols inside the tray.
- Test the unit with a fresh set of high-quality alkaline batteries to rule out a simple lack of charge.
Warning: Never mix old and new batteries in the same device, as this can cause the weaker cells to leak or overheat, potentially damaging the internal circuitry of the wand.
Clearing a Clogged Nozzle
Over time, the insecticide solution can dry inside the narrow orifice of the nozzle, creating a physical obstruction. Even if the pump is running perfectly, this blockage will prevent any liquid from exiting the wand. To fix this, unscrew the nozzle tip from the end of the wand.
You can soak the tip in warm, soapy water for ten minutes to soften the residue. Use a thin, non-metallic tool like a wooden toothpick to gently clear the opening. Avoid using metal needles, as these can scratch the plastic and permanently alter the spray pattern.
Prime the Pump for Flow
If you have replaced the batteries and confirmed the nozzle is clean but still have no liquid, the system likely needs priming. Pumps in these systems aren’t self-priming if they have been dry for a long period.
To assist the pump, hold the sprayer wand at a level lower than the base of the bottle. This uses gravity to help pull the liquid into the intake tube, allowing the pump to catch the fluid. Keep the trigger depressed for thirty to sixty seconds while the wand is in this lower position to allow the air to bleed out of the lines.
Checking the Intake Tube

The intake tube connects to the bottom of the sprayer mechanism and extends down into the bottle. If this tube has a crack, a loose connection, or a bend, the system will suck air instead of liquid. Carefully pull the tube out of the bottle and inspect it for brittleness or splits.
If the tube is kinked, straighten it out and ensure it’s long enough to reach the bottom of the container. If the plastic has become stiff, you can soften it by running it under warm water, which will help it regain a straight shape that allows for proper suction.
| Component | Common Issue | Quick Fix |
|---|---|---|
| Battery Contacts | Corrosion/Oxidation | Scrub with sandpaper |
| Spray Nozzle | Dried Residue | Soak in warm water |
| Intake Tube | Air Leak/Kink | Re-seat or straighten |
| Pump Motor | Air Lock | Prime below bottle level |
| Trigger Switch | Stuck Mechanism | Toggle safety lock repeatedly |
Safety Lock and Trigger Mechanics
Many users inadvertently leave the safety lock engaged, which physically prevents the trigger from being depressed. Check the small sliding tab on the side of the handle. It often moves into the “Locked” position during storage or transport.
If the trigger feels stiff or doesn’t move at all, cycle the safety lock back and forth several times to ensure it isn’t stuck in a partial position. Sometimes, debris can get lodged behind the trigger lever itself. Inspect the housing for any grit or dirt that might prevent the trigger from making full contact with the internal switch.
Inspecting for Internal Leaks
If you hear the motor running but nothing comes out, and the intake tube is fine, you may have an internal seal failure. When the O-rings inside the pump chamber dry out, they lose their ability to maintain pressure.
While these units are generally not designed for repair, you can sometimes identify if the leak is external by looking for wet spots on the plastic casing of the handle. If the unit is leaking internally, it will likely never build enough pressure to push the fluid through the wand. In this specific case, the device is usually considered at the end of its functional life.
Proper Storage for Longevity
To prevent future failures, store your sprayer in a climate-controlled environment. Extreme heat can cause the plastic components to warp, while cold can make the rubber O-rings brittle. After each use, it’s a good practice to run a small amount of clean water through the system. This flushes out the concentrated insecticide, which is the primary cause of nozzle clogging.
When to Replace the Unit
If you have performed all the steps above and the sprayer remains silent or fails to output liquid, the motor or the internal pump diaphragm has likely failed. While it’s frustrating to discard a piece of equipment, these consumer-grade sprayers are designed for limited duty cycles.
If the motor makes a grinding noise, it indicates an internal mechanical failure that can’t be fixed by cleaning or priming. At this stage, it’s safer to purchase a new wand or a replacement bottle-and-sprayer combo rather than attempting to open the sealed housing, which may contain sensitive electrical components.
Comparing Maintenance Methods
| Method | Effort Level | Success Rate | Best For |
|---|---|---|---|
| Battery Swap | Low | High | Motor not running |
| Nozzle Cleaning | Medium | High | Weak or uneven spray |
| Pump Priming | Low | Medium | Air in the line |
| Tube Check | Medium | Low | No liquid output |
Frequently Asked Questions
Why does the motor run but nothing sprays?
This usually indicates an air lock in the system or a blockage in the intake tube. The pump is spinning but can’t create the vacuum necessary to pull the liquid up. Try holding the sprayer wand lower than the bottle to prime the pump and ensure the intake tube is fully submerged in the insecticide.
Can I use a different nozzle on my sprayer?
It’s generally not recommended to swap nozzles between brands. Each sprayer is calibrated for a specific flow rate and pressure output. Using an incorrect nozzle may cause the pump to work too hard, leading to premature motor failure or poor application coverage. Always try to clean the original nozzle using warm water and a soft brush before considering a replacement.
Should I store the sprayer with the batteries inside?
No, you should remove the batteries if you don’t plan to use the sprayer for more than a few weeks. Battery leakage is the leading cause of terminal corrosion in these devices. Storing the batteries separately in a cool, dry place preserves both the battery life and the integrity of the sprayer’s internal electrical contacts.
What if my sprayer is leaking from the handle?
A leak from the handle suggests that an internal seal or hose has failed. Because these units are typically sealed at the factory, they aren’t designed to be opened for internal repairs. If you notice fluid dripping from the handle casing, it’s time to replace the unit, as attempting to repair internal seals can lead to exposure to concentrated chemicals.
How often should I flush the sprayer?
You should flush the system with clean water after every major use or whenever you plan to store the unit for more than a month. This prevents the active ingredients in the insecticide from crystallizing inside the nozzle and the internal pump. Regular flushing is the most effective way to extend the lifespan of your sprayer and ensure it works the next time you need it.
Conclusion
If your sprayer remains unresponsive after attempting these troubleshooting steps, the most efficient solution is to contact the manufacturer’s customer service line provided on the original packaging. They may offer a replacement wand under warranty if the unit is relatively new. Otherwise, purchasing a new sprayer will ensure you have a reliable tool for your ongoing pest management needs.
