
Laser milling uses high-energy pulses of light to remove material from a surface, creating precise shapes and patterns. By vaporizing metal or plastic without physical contact, the process acts like a microscopic, high-speed chisel. This method allows for extreme accuracy when manufacturing small, complex parts for various industrial uses.
Parts of the laser milling system

The equipment includes several critical components that must work in sync to achieve clean results. When one part fails, the entire cut becomes uneven or loses its depth control.
| Part or input | What it does | What you notice when it goes wrong |
|---|---|---|
| Laser source | Generates the light beam | Weak or inconsistent cutting depth |
| Focusing lens | Concentrates light on material | Blurry edges or oversized kerf |
| Galvanometer | Directs the beam path | Distorted shapes or wavy lines |
| CNC controller | Manages the movement speed | Incorrect dimensions or skipped paths |
| Cooling unit | Keeps the laser stable | Overheating and sudden power loss |
| Exhaust system | Removes dust and vapors | Smudged surface or fire risk |
The most common error is ignoring the lens cleanliness. If you see a hazy ring around the cut, stop immediately. A dirty lens absorbs heat, which can crack the glass within minutes of operation.
If your cut depth varies across the material, check the cooling unit fluid levels first. Use distilled water only; mineral deposits from tap water clog the internal pump filters.
If the system produces wavy lines on straight paths, tighten the galvanometer mirror mounts. A loose mount introduces vibrations that the controller can’t compensate for. If the error persists after tightening, the laser source itself may be misaligned.
Steps in how laser milling works for industrial applications
The process requires careful preparation to ensure the laser interacts with the material correctly. Each step takes a specific amount of time depending on the material hardness and the laser power output.
- Secure the workpiece onto the machine bed using clamps or a vacuum table to prevent any movement during the cutting process.
- Load the CAD file into the control software and define the tool paths, which usually takes 5 to 10 minutes for complex designs.
- Set the laser focal length by adjusting the height of the lens, ensuring the beam is sharpest at the surface of the material.
- Activate the cooling and exhaust systems to prevent heat buildup and clear away debris, which must run for the entire duration of the cycle.
- Initiate the milling sequence, where the laser pulses remove material in thin layers, often taking 2 to 20 minutes per part depending on depth.
- Inspect the finished part using a digital caliper or microscope to verify that the tolerances meet your specific design requirements after the laser cools.
How mechanical failure affects precision

The precision of this method depends entirely on the alignment of the optical path and the stability of the laser beam. If the focusing lens is dirty, the beam spreads out instead of staying tight, which results in a wider cut than intended.
This makes fine details impossible to achieve, as the laser burns too much material at once. A common mistake is ignoring the buildup of debris on the lens, which costs users significant time in rejected parts and wasted raw materials.
If the laser source itself begins to lose power, the depth of the cut will decrease even if the speed settings remain the same. You must adjust your feed rate downward if you notice the laser isn’t penetrating as deeply as it did when new. However, if the beam remains inconsistent despite a clean lens and proper cooling, the internal gas mixture or the diode array may be nearing the end of its functional life.
The choice of laser power also dictates the outcome. If you use too much power for a thin material, you’ll create a large, charred zone around the cut. If you use too little, the material won’t vaporize, leaving a rough or melted finish. Achieving a clean result requires balancing these settings based on the specific material thickness and density.
Factors you control and design limits
Things you control
- Laser pulse frequency and duration settings.
- Feed rate of the beam across the surface.
- Number of passes to reach target depth.
- Cleanliness of the optical lens and mirrors.
Fixed design limits
- Maximum power output of the laser source.
- Minimum beam spot size for detail work.
- Physical dimensions of the machine bed.
Operating these machines requires specialized safety training and adherence to local workplace regulations regarding high-intensity light sources. If you don’t have the proper certification or safety enclosures, you shouldn’t attempt to modify or operate the equipment yourself.
Habits for better milling performance
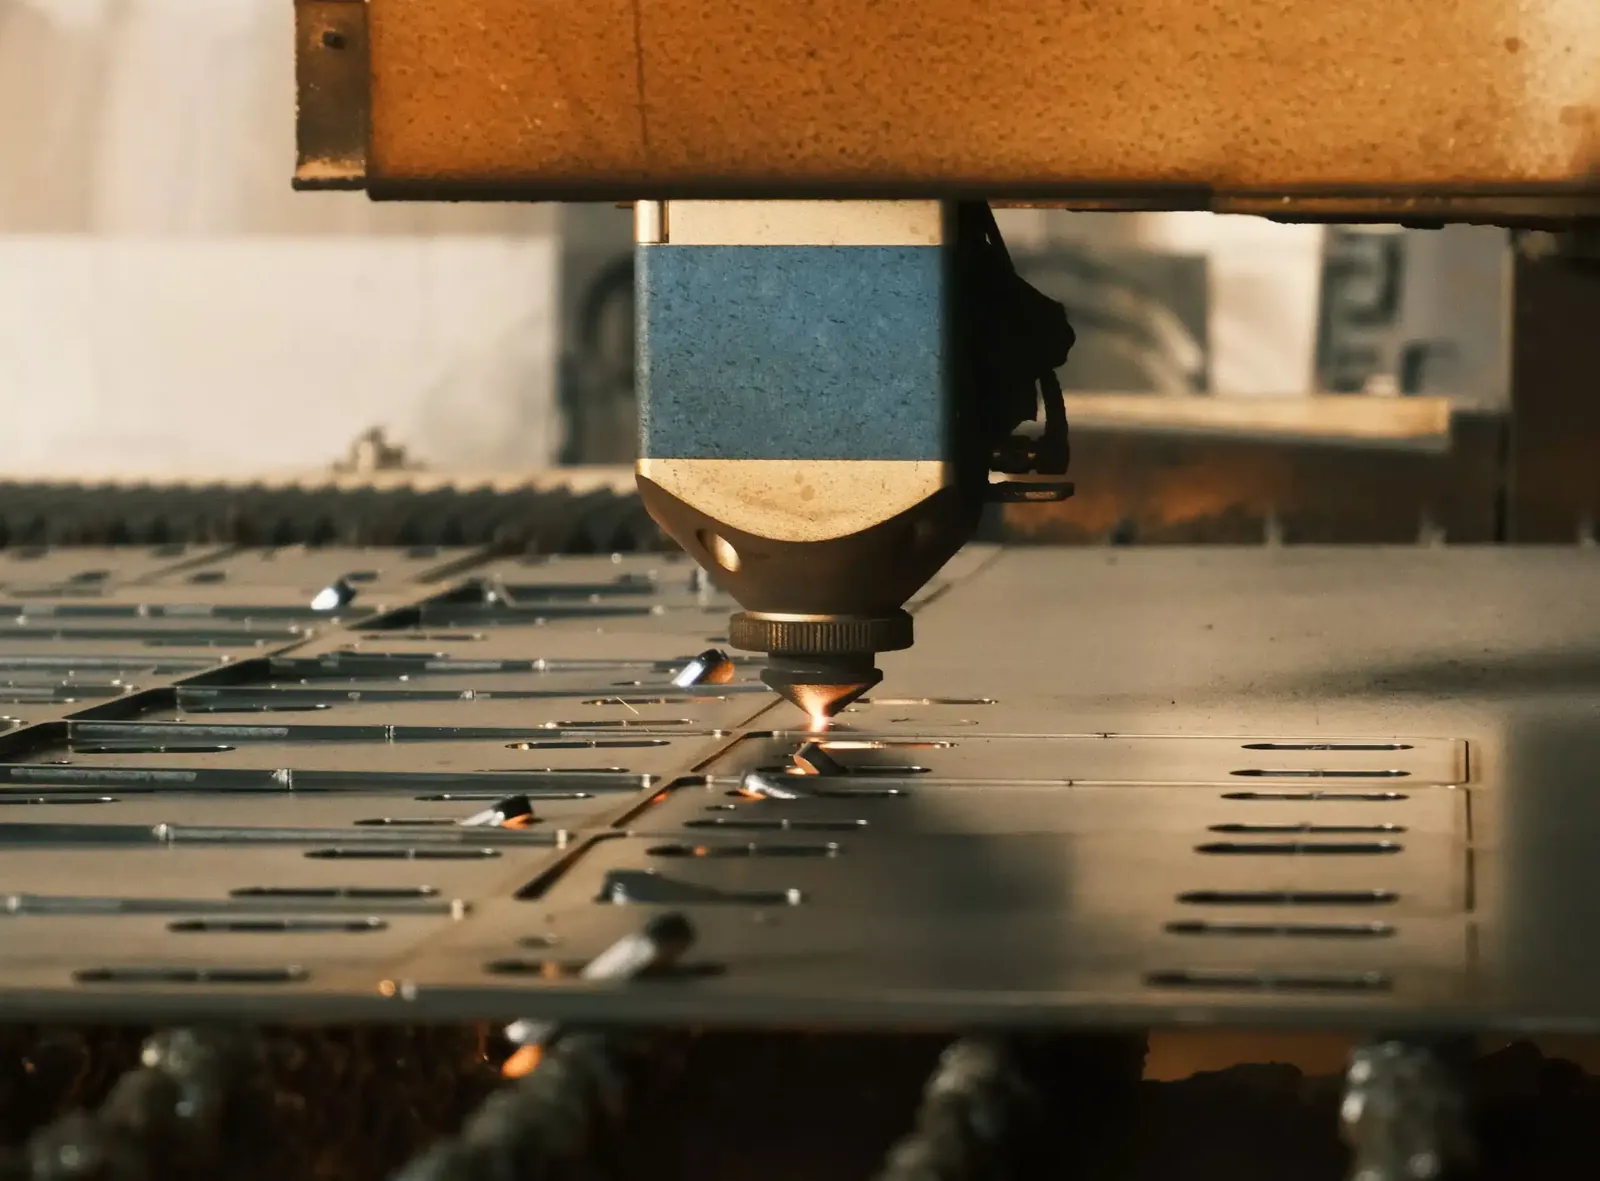
Maintaining the equipment ensures that you get consistent results every time you run a job. Start by inspecting the lens before every shift; even a small fingerprint can cause the glass to crack under the heat of the laser. Wipe it gently with approved optical cleaning supplies to avoid scratches that will ruin the focus.
If the fluid is low or dirty, the laser will lose stability, and your cuts will become uneven. Heat accelerates fluid degradation, which leads to permanent pump failure.
Ensure the exhaust airflow is strong enough to pull smoke away from the lens. Smoke residue will block the beam within minutes of starting. A simple way to test this is to hold a thin strip of paper near the intake; it should pull firmly against the grate.
Always verify your focal length with a test piece of scrap material before starting on expensive stock. If the test piece shows ragged edges, re-calibrate the focus height by 0.1 millimeters until the line is crisp and clean. Skipping this test costs the price of the material and the time lost on a failed run.
Frequently asked questions
How long does a typical laser milling job take?
Most jobs take between 2 and 20 minutes, depending on the material thickness and the total volume of material being removed. You can calculate the exact time for your specific design by checking the estimated runtime in your machine’s control software before you press start.
Is it safe to operate a laser milling machine?
It’s safe only when the machine is fully enclosed in a certified light-tight cabinet that prevents the beam from escaping. Never attempt to bypass safety interlocks, as the reflected light can cause permanent eye damage or skin burns even at low power settings.
What happens if the laser power is too high?
Excessive power causes the material to melt or burn rather than vaporize cleanly, leading to rough edges and a large heat-affected zone. You can fix this by reducing the power percentage in your software or increasing the speed of the beam across the material surface.
Can laser milling work on all materials?
It works on most materials, but the results vary based on how the material absorbs light. Metals and hard plastics usually perform well, while transparent materials like glass require specific laser wavelengths that aren’t available on standard industrial metal-cutting machines.
How often should I clean the focusing lens?
You should clean the lens before every major job or at least once every 8 hours of continuous operation. Visible dust or oil on the lens is a sign that you must clean it immediately to prevent permanent damage to the optic coating.
Does the material thickness change the settings?
The thickness of the material determines the number of passes and the focus depth you must use for a clean cut. You can find the correct power and speed settings for your specific material thickness in the manufacturer’s manual provided with your laser system.
Conclusion
The accuracy of this method makes it a standard choice for industries that require high-tolerance parts in small, compact sizes. By keeping your optics clean and your settings calibrated to the material, you ensure that every cut meets your project requirements with minimal waste.
