
To build and protect a roof slab, structural-grade concrete is poured over a steel rebar cage and covered with a waterproof membrane to prevent moisture from damaging the reinforcement. This method ensures long-term durability against the weather and is best suited for flat or low-slope residential and commercial roofs.
Building and protecting the roof slab

You must gather specific supplies to ensure the structural integrity of the roof and the effectiveness of the waterproofing layer. Using the correct materials prevents long-term leaks and structural decay.
- Structural concrete: Ready-mix with a minimum compressive strength of 3,000 psi for standard residential roof slabs.
- Deformed steel reinforcement bars: Grade 60 rebar, usually 10mm to 16mm in diameter, depending on the span.
- Formwork: Plywood sheets and timber supports capable of holding the wet concrete weight.
- Waterproofing membrane: A liquid-applied or sheet-based bitumen system designed for roof exposure.
- Vibrator tool: A mechanical concrete vibrator to remove air pockets from the wet mix.
- Curing compound: A sprayable agent to slow moisture evaporation during the drying phase.
If you substitute the concrete mix with a lower grade, the slab will crack under its own weight; never use non-structural mortar for a roof. Consult a licensed structural engineer to verify the specific rebar gauge required for your building’s load-bearing needs.
Steps for Structural Slab Construction
- Erect the formwork: Build a temporary timber frame to support the slab, ensuring it’s perfectly level to prevent water pooling later.
- Place the rebar cage: Lay the steel bars in a grid pattern, using plastic chairs to keep the steel 1.5 inches above the plywood base.
- Pour the concrete: Fill the formwork with concrete, starting from the lowest point or the furthest end of the formwork and working toward the center or the next placement point.
- Vibrate the wet mix: Use a mechanical vibrator for 10 to 15 seconds in each spot to eliminate voids, but don’t over-vibrate, as this causes the heavy aggregate to sink.
- Level the surface: Strike off the excess concrete with a straight-edged board to create a smooth, flat finish.
- Apply the curing agent: Spray the surface with a curing compound once the concrete loses its sheen to prevent premature surface cracks.
- Install the waterproofing: Apply the membrane only after the concrete has cured for the full duration specified by the manufacturer, typically 28 days for full strength.
Tip: Always verify the concrete level with a laser level before the pour begins. Careful: Don’t remove the timber supports until the concrete reaches at least 75% of its design strength.
Variations in Slab Requirements
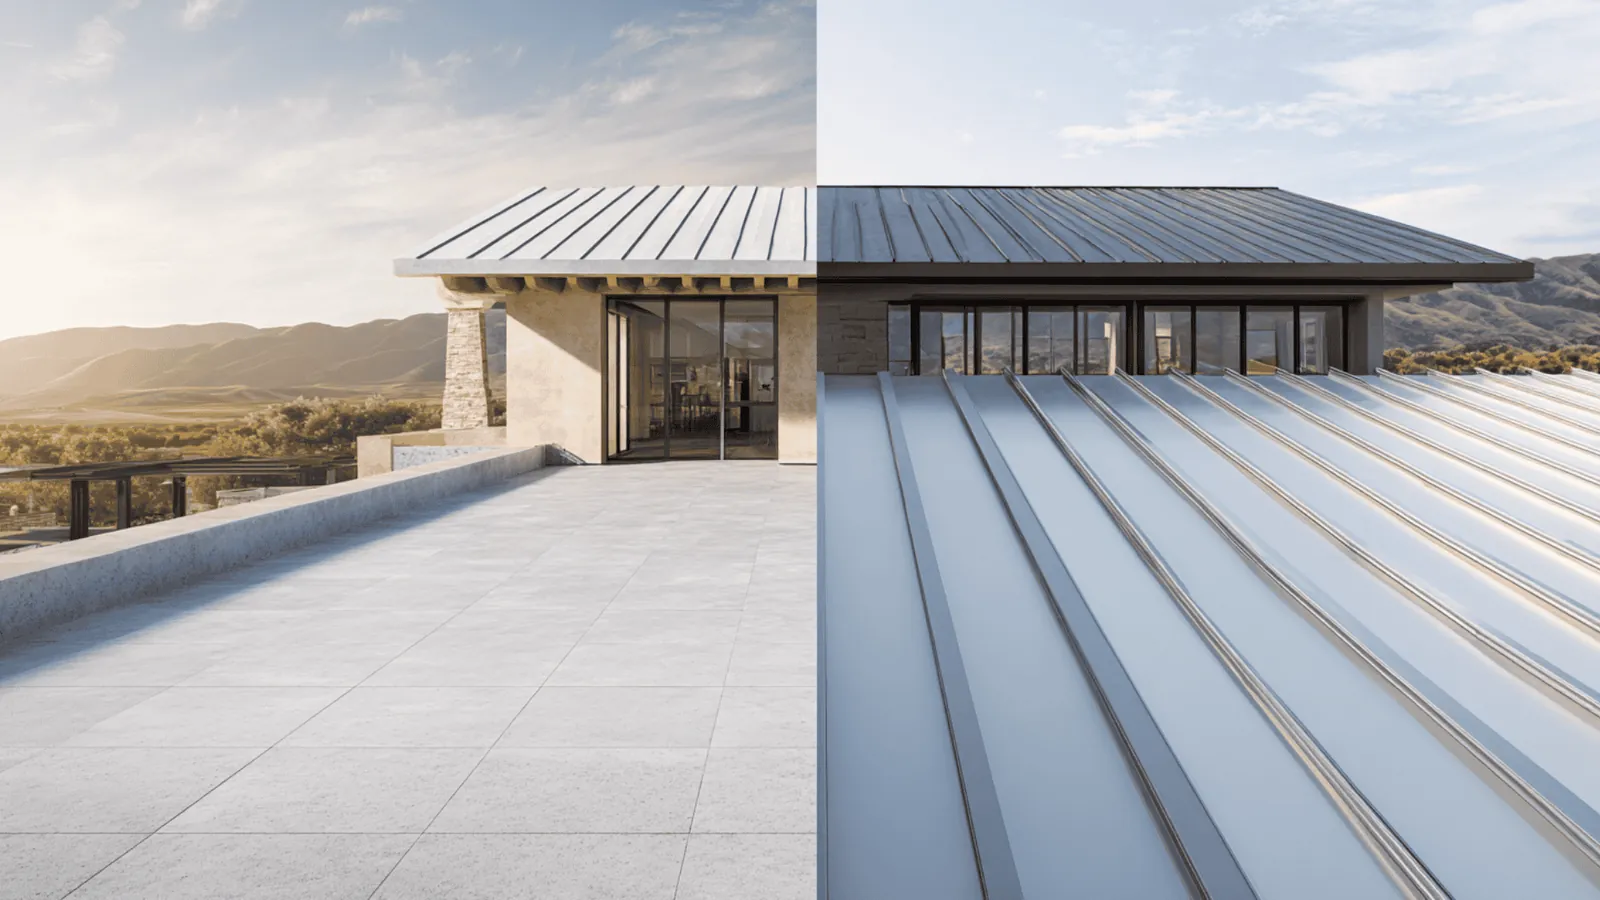
Building requirements change based on the local climate and the intended use of the roof space. You should adjust your approach based on these factors to avoid costly repairs.
| Situation | Time/Cost Impact | Key Difference | Watch Point |
|---|---|---|---|
| High rainfall area | Higher cost | Requires extra slope | Water drainage speed |
| Pedestrian roof deck | Higher cost | Thicker protective layer | Membrane puncture risk |
| Standard dry climate | Lower cost | Minimal slope needed | Thermal expansion cracks |
| Green roof (plants) | Highest cost | Root barrier needed | Moisture retention levels |
It’s much safer to start with a standard design and add reinforcement or waterproofing layers later if your needs change, rather than over-engineering the slab on the first try.
Judging the Slab Quality
A high-quality slab shows a uniform, smooth surface without exposed steel or deep cracks. A poor result features visible aggregate at the surface or large cracks that penetrate the slab depth, which often occur due to improper water-to-cement ratios or fast drying.
If you see hairline cracks appearing within the first 48 hours, you likely added too much water during the pour. This mistake weakens the internal matrix, potentially reducing the load-bearing capacity by up to 20 percent.
To distinguish between harmless shrinkage and structural failure, use a credit card as a gauge. If the card slides more than a quarter-inch into the crack, you’re dealing with a deep structural issue requiring professional injection. If the crack is thinner than the card, it’s likely cosmetic. Maintain consistent hydration for at least seven days to ensure the concrete continues to gain strength toward its 28-day design target.
Standards and Post-Construction Rules
Building codes, such as those published by the International Code Council, mandate that concrete roofs must be designed to support both dead loads and live loads like snow or maintenance equipment.
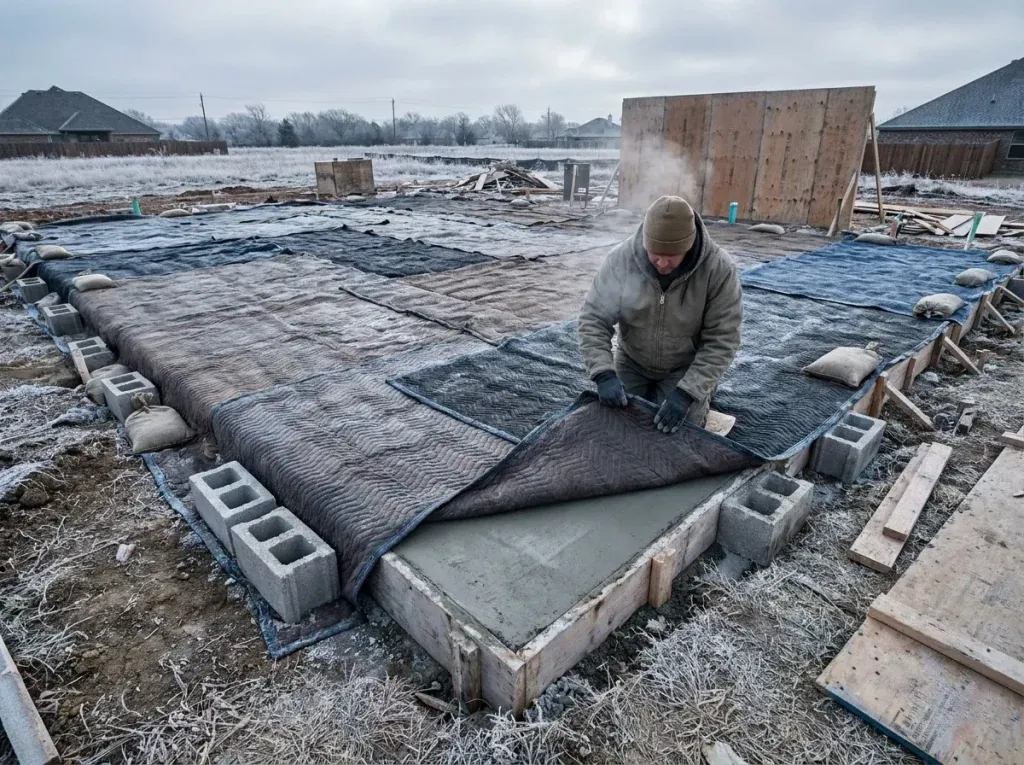
After the concrete sets, remove all timber formwork, clean the surface of debris, and record the date of the pour for your maintenance logs. If you spot efflorescence or white powdery deposits on the underside, address the moisture source immediately before it compromises the steel reinforcement.
The waterproofing membrane typically requires a professional inspection every 5 years to check for hairline tears. If you notice pooling water that persists for more than 48 hours after a storm, your drainage slope is likely insufficient and requires an immediate overlay.
If you lack experience with structural calculations, hire a licensed contractor to handle the rebar sizing. Errors here pose a direct risk to your building’s safety, often resulting in catastrophic structural fatigue within the first decade.
Alternative Construction Methods
Precast concrete panels
These are manufactured in a factory and lifted onto the building frame. This method is faster than pouring on-site but requires a crane and precise measurements. It reduces the time needed for on-site curing but increases the upfront cost for heavy machinery and transport.
Composite metal decking
This uses a corrugated steel deck as the permanent formwork for the concrete. It’s lighter than traditional wood-formed slabs and provides high structural strength. This is ideal for multi-story buildings, though it requires specific fireproofing treatments for the underside of the metal.
Post-tensioned concrete
This involves using high-strength steel cables that are tightened after the concrete cures. This allows for thinner slabs and longer spans between supports. It’s a highly technical method that requires specialized equipment and training, making it unsuitable for most DIY projects.
Related guides
- Best Tents for Long Term Camping in 2026
- 5 Best Commercial Foosball Tables for Durability in 2026
- 5 Best Foosball Accessories for Durability and Play in 2026
Frequently asked questions
How long does a roof slab take to dry?
The concrete reaches its initial set in 24 to 48 hours, but it requires 28 days to reach full structural design strength. You must keep the surface moist using water or a curing compound during this entire period to prevent surface cracking. Ensure the concrete moisture content meets the membrane manufacturer’s specifications before application, which may occur before 28 days.
Is it safe to build a roof slab myself?
No, it isn’t safe for a beginner because structural design involves complex load calculations that, if incorrect, lead to roof collapse. You must hire a licensed structural engineer to approve your plans and a certified contractor to manage the pour. Professional oversight ensures you meet local safety codes and insurance requirements.
How thick should a roof slab be?
A standard residential roof slab is typically 4 to 6 inches thick, depending on the span between support beams. The exact thickness depends on the total weight it must carry, including snow loads and rooftop equipment. Consult your local building department for the minimum thickness requirements specific to your region’s climate and building codes.
Why does the roof slab develop cracks?
Cracks usually happen because the concrete loses water too quickly during the curing process, causing it to shrink. This is often caused by high winds or direct sun exposure on a hot day. You can prevent this by covering the slab with plastic sheeting or using a high-quality curing compound immediately after finishing.
How often should I check the waterproofing?
Inspect your roof membrane for cracks or bubbles every five years or after major storms. Small tears are easily patched with compatible sealant, but large bubbles indicate a loss of bond. Regular inspections are essential to prevent water from reaching the steel rebar, which causes rust and structural failure.
Conclusion
Regular inspections are essential to keep your home safe and dry over the years. You’ll want to check for small cracks or pooling water after heavy storms to catch potential issues early. It’s a smart way to protect your investment, so don’t hesitate to call a professional if you spot anything unusual.
