
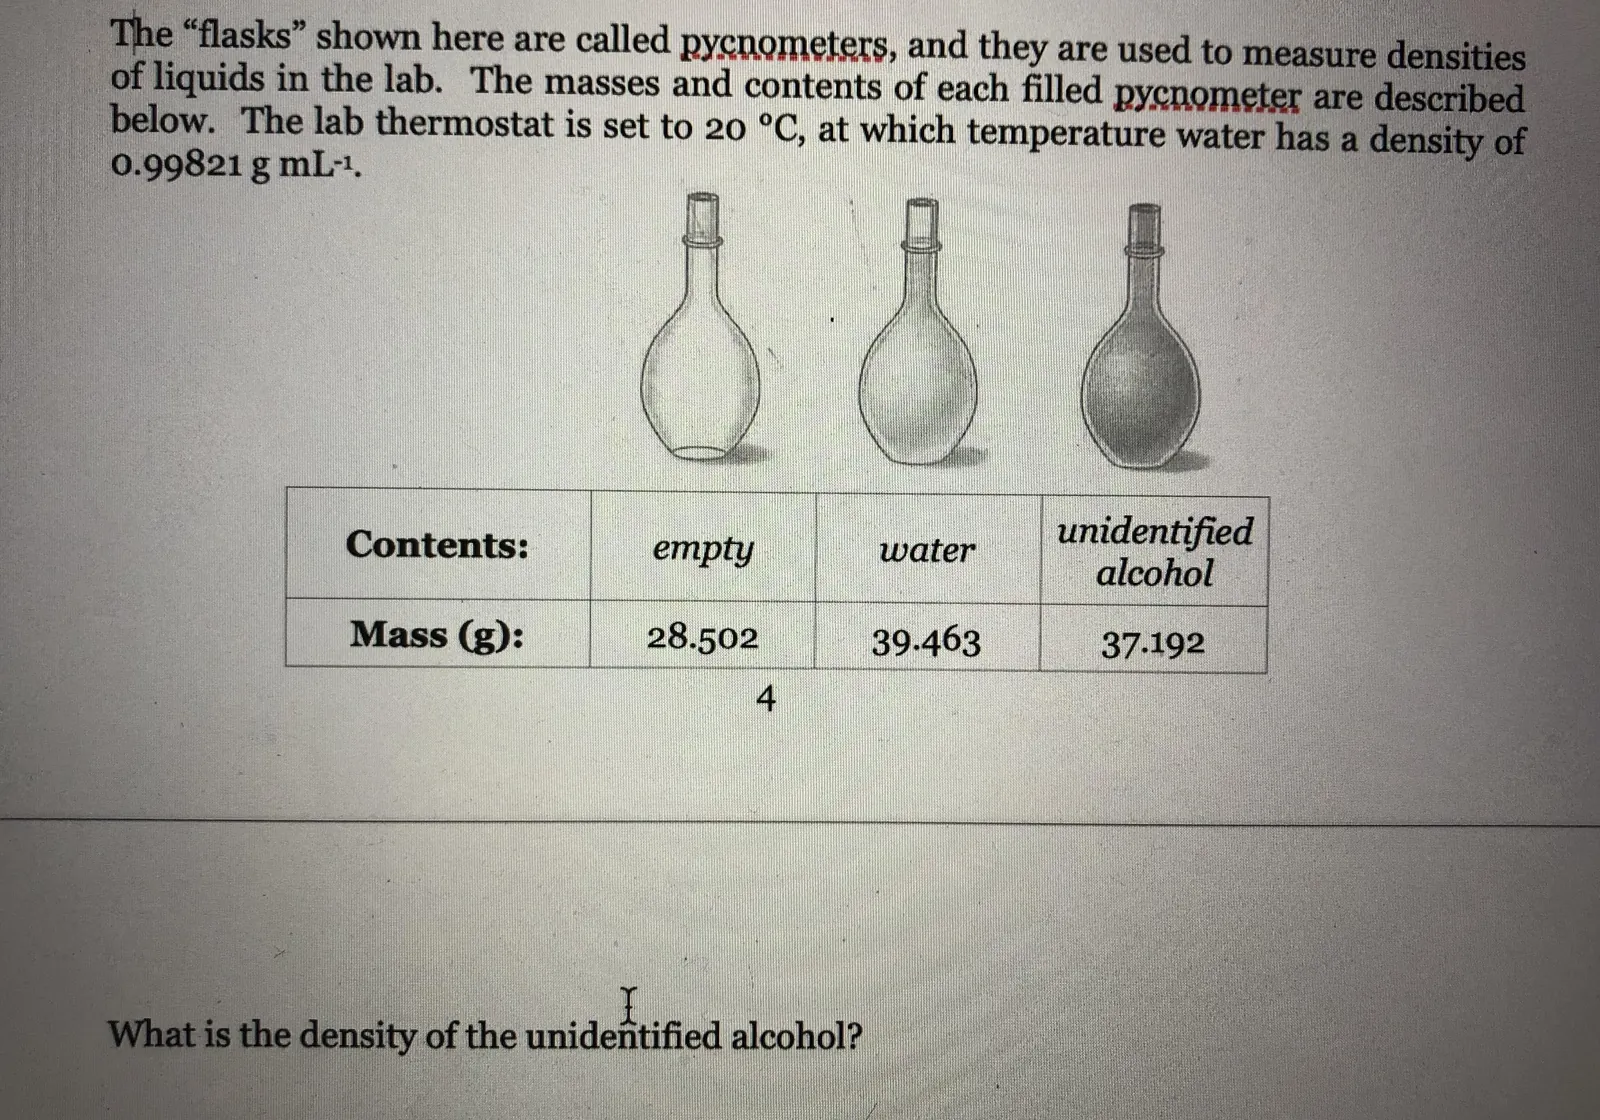
To find a liquid’s density, you weigh an empty pycnometer, fill it with your sample at 20°C, and weigh it again. The exact method for how to measure density using a pycnometer divides the net mass of the liquid by the flask’s known volume. This approach suits anyone who needs repeatable lab-grade numbers from small liquid samples.
What you need to measure density
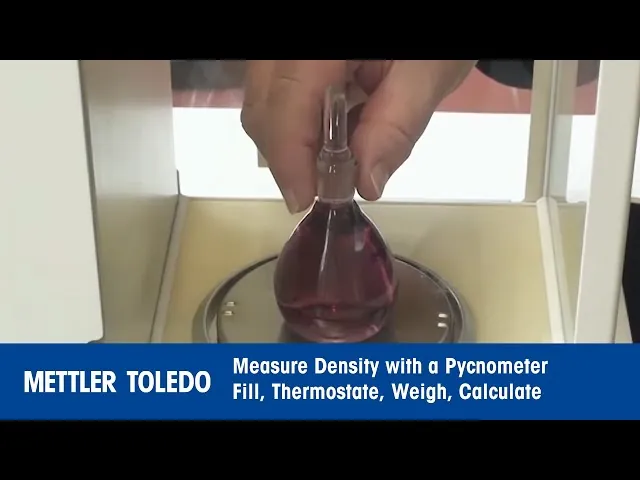
You’ll need a few specific items on the bench before you start. Gathering everything first keeps the temperature stable while you work.
- Glass pycnometer (usually 10 mL or 25 mL) with its ground-glass stopper and capillary vent. A beaker won’t work because it can’t hold a fixed volume.
- Analytical balance reading to 0.0001 g. You can check your institution’s equipment page or NIST handbook guidelines for calibration standards.
- Constant-temperature water bath set exactly to 20°C. If you’re testing oils, use 25°C instead.
- Distilled or deionized water to calibrate the flask’s true volume.
- Lint-free wipes for drying the outside glass without leaving fibers behind.
- Thermometer accurate to 0.1°C to verify the bath temperature.
A graduated cylinder isn’t a substitute for the pycnometer, as its tolerance ruins the math. Handling strong acids requires proper training and fume-hood access; leave those to a certified chemist.
Steps to find density with a pycnometer
Follow these steps in order. Rushing the temperature stage is where results fall apart.
- Clean the pycnometer and stopper with solvent, then dry them completely in an oven at 105°C for 30 minutes. Let the glass cool inside a desiccator until it reaches room temperature.
- Weigh the dry, empty pycnometer with its stopper on the analytical balance. Record this mass as m1 to four decimal places.
- Fill the flask entirely with distilled water. Insert the stopper slowly so excess water escapes through the capillary vent without trapping air bubbles.
- Place the filled flask in the water bath set to 20°C. Leave it submerged for 15 minutes so the glass and water reach thermal equilibrium.
- Remove the flask and wipe the outside dry immediately with lint-free tissue. Don’t touch the bulb with bare fingers, since body heat expands the glass. Weigh it and record the mass as m2.
- Empty the water and dry the pycnometer again using the same oven method from step one. Cooling must happen in the desiccator.
- Fill the flask with your test liquid. Repeat the 15-minute bath soak, wipe the exterior, and weigh it to get m3.
Tip: If a bubble hides under the stopper, your volume shrinks and the final number will be too high. Tap the neck gently before inserting the stopper.
Careful: Never force the glass stopper into the flask. Excessive pressure can crack the neck or capillary, ruining the vessel permanently.
Calculate the liquid’s density by dividing the mass of the liquid (m3 minus m1) by the mass of the water (m2 minus m1), then multiply by the density of water at 20°C (0.9982 g/mL). If your sample is highly volatile, this open-bench method loses mass to evaporation before you finish weighing. For toxic or pressurized fluids, consult a licensed laboratory technician.
How conditions change the result

The numbers shift depending on what you’re testing and the temperature you choose.
| Sample type | Equilibration time | Volume adjustment needed | Watch out for |
|---|---|---|---|
| Water-like liquids | 15 minutes at 20°C | None | Bubbles near the capillary |
| Viscous oils | 30 minutes at 25°C | None | Trapped air during filling |
| Volatile solvents | 10 minutes at 20°C | Evaporation loss | Mass dropping while weighing |
| Suspensions | 20 minutes at 20°C | Settling changes volume | Particles blocking the vent |
| Heavy syrups | 45 minutes at 25°C | None | Incomplete filling of the neck |
Starting with a smaller 10 mL flask saves expensive samples and reduces equilibration time. It’s always safer to run a small trial first and scale up than to waste material on a flawed attempt.
Checking your density measurement
A good result matches published reference values within 0.001 g/mL. A poor one drifts further away, usually showing random scatter across three repeated trials.
The most common flaw here is trapped air pushing the liquid level down. Air takes up space inside the fixed volume, making the flask lighter than it should be. That lowers your calculated density every single time.
Keep the glass spotless to prevent droplets from clinging to the walls. Always wait the full 15 minutes in the water bath so the liquid reaches thermal equilibrium and its volume stabilizes. Wipe the outside quickly but gently, using the same motion each time.
If repeated weighings of the same state differ by more than 0.002 g, dump the sample and start over. Chasing a bad number wastes more time than a fresh attempt. Consistency between repeats matters more than any single reading.
Safety rules and cleanup
ASTM D1217 sets the standard procedure for this measurement, though your local lab manual might add specific handling rules. Check their published guidance for exact compliance limits.
After weighing, pour the sample into the correct chemical waste container. Rinse the pycnometer three times with a compatible solvent, then wash it with distilled water. Dry it fully before putting it back in its padded case.
Record the temperature, all three masses, and your final calculation in your lab notebook immediately. Memory fails faster than ink does.
A clean, stored pycnometer remains stable for long periods unless scratched or heated unevenly, but periodic verification is still required. However, you should verify the water weight monthly if you run tests daily.
Never pour unknown chemicals down the sink. If you’re dealing with regulated hazardous waste, contact your facility’s environmental safety officer for disposal instructions.
Other ways to do it
Digital density meter
An oscillating U-tube meter gives results in seconds instead of half an hour. It needs only 1 mL of liquid and removes human error from the weighing step. The trade-off is the steep purchase price compared to simple glassware.
Hydrometer method
Drop a hydrometer into a tall cylinder of your liquid and read the scale at the surface. It’s fast and cheap for field checks. The downside is lower precision, usually limited to two decimal places.
Graduated cylinder and balance
Weigh an empty cylinder, pour in 50 mL of liquid, and weigh it again. Divide the mass by the volume. It works for rough estimates, but the wide meniscus and loose tolerances make it unsuitable for strict reporting.
Frequently asked questions
Why is my pycnometer density reading too low?
Trapped air inside the flask displaces the liquid, lowering the total mass. Check the capillary vent for bubbles after inserting the stopper. Tapping the neck gently before the water bath usually forces them out.
Can I use a pycnometer for solid powders?
Yes, but you need a liquid that wets the powder without dissolving it. You’ll weigh the solid, add the liquid, and calculate the displaced volume. It takes longer and introduces more variables than testing pure liquids.
How long does the water bath take to stabilize?
Allow 15 minutes for thin liquids like water or alcohol at 20°C. Thicker oils or syrups need 30 to 45 minutes because heat moves through them slowly. Rushing this step guarantees a wrong answer.
Is it safe to test flammable solvents?
Only if you work inside a ventilated fume hood away from sparks or flames. Volatile solvents evaporate quickly, changing the mass while you weigh it. Use a sealed system or switch to a digital meter for highly flammable materials.
What happens if the capillary gets blocked?
The stopper won’t seat properly, and excess liquid can’t escape. Your volume becomes larger than the calibrated mark, throwing off the math. Flush the capillary with solvent or use compressed air to clear it before trying again.
How often should I recalibrate the flask?
Check the water weight once a month if you use it weekly. Glass doesn’t shrink, but scratches or chemical etching change the internal volume slightly. If the water mass drifts beyond 0.002 g from your baseline, replace the flask.
Conclusion
Getting reliable numbers comes down to patience and clean glass. Take your time during the temperature soak, keep your hands off the bulb, and write down every weight right away. The math itself is simple division, but the care you put into the setup decides whether your result holds up.
