
A humidity sensor switch is the better choice for bathrooms to prevent mold because it runs only as long as moisture levels are high, whereas a timer switch vs humidity sensor switch comparison shows that timers are better for simple exhaust needs where you don’t need to track air quality. If you have a small, well-ventilated space, a simple timer works perfectly; if you have a large bathroom that stays damp for hours, a sensor is the only way to ensure the room dries out completely.
Comparing bathroom ventilation controls
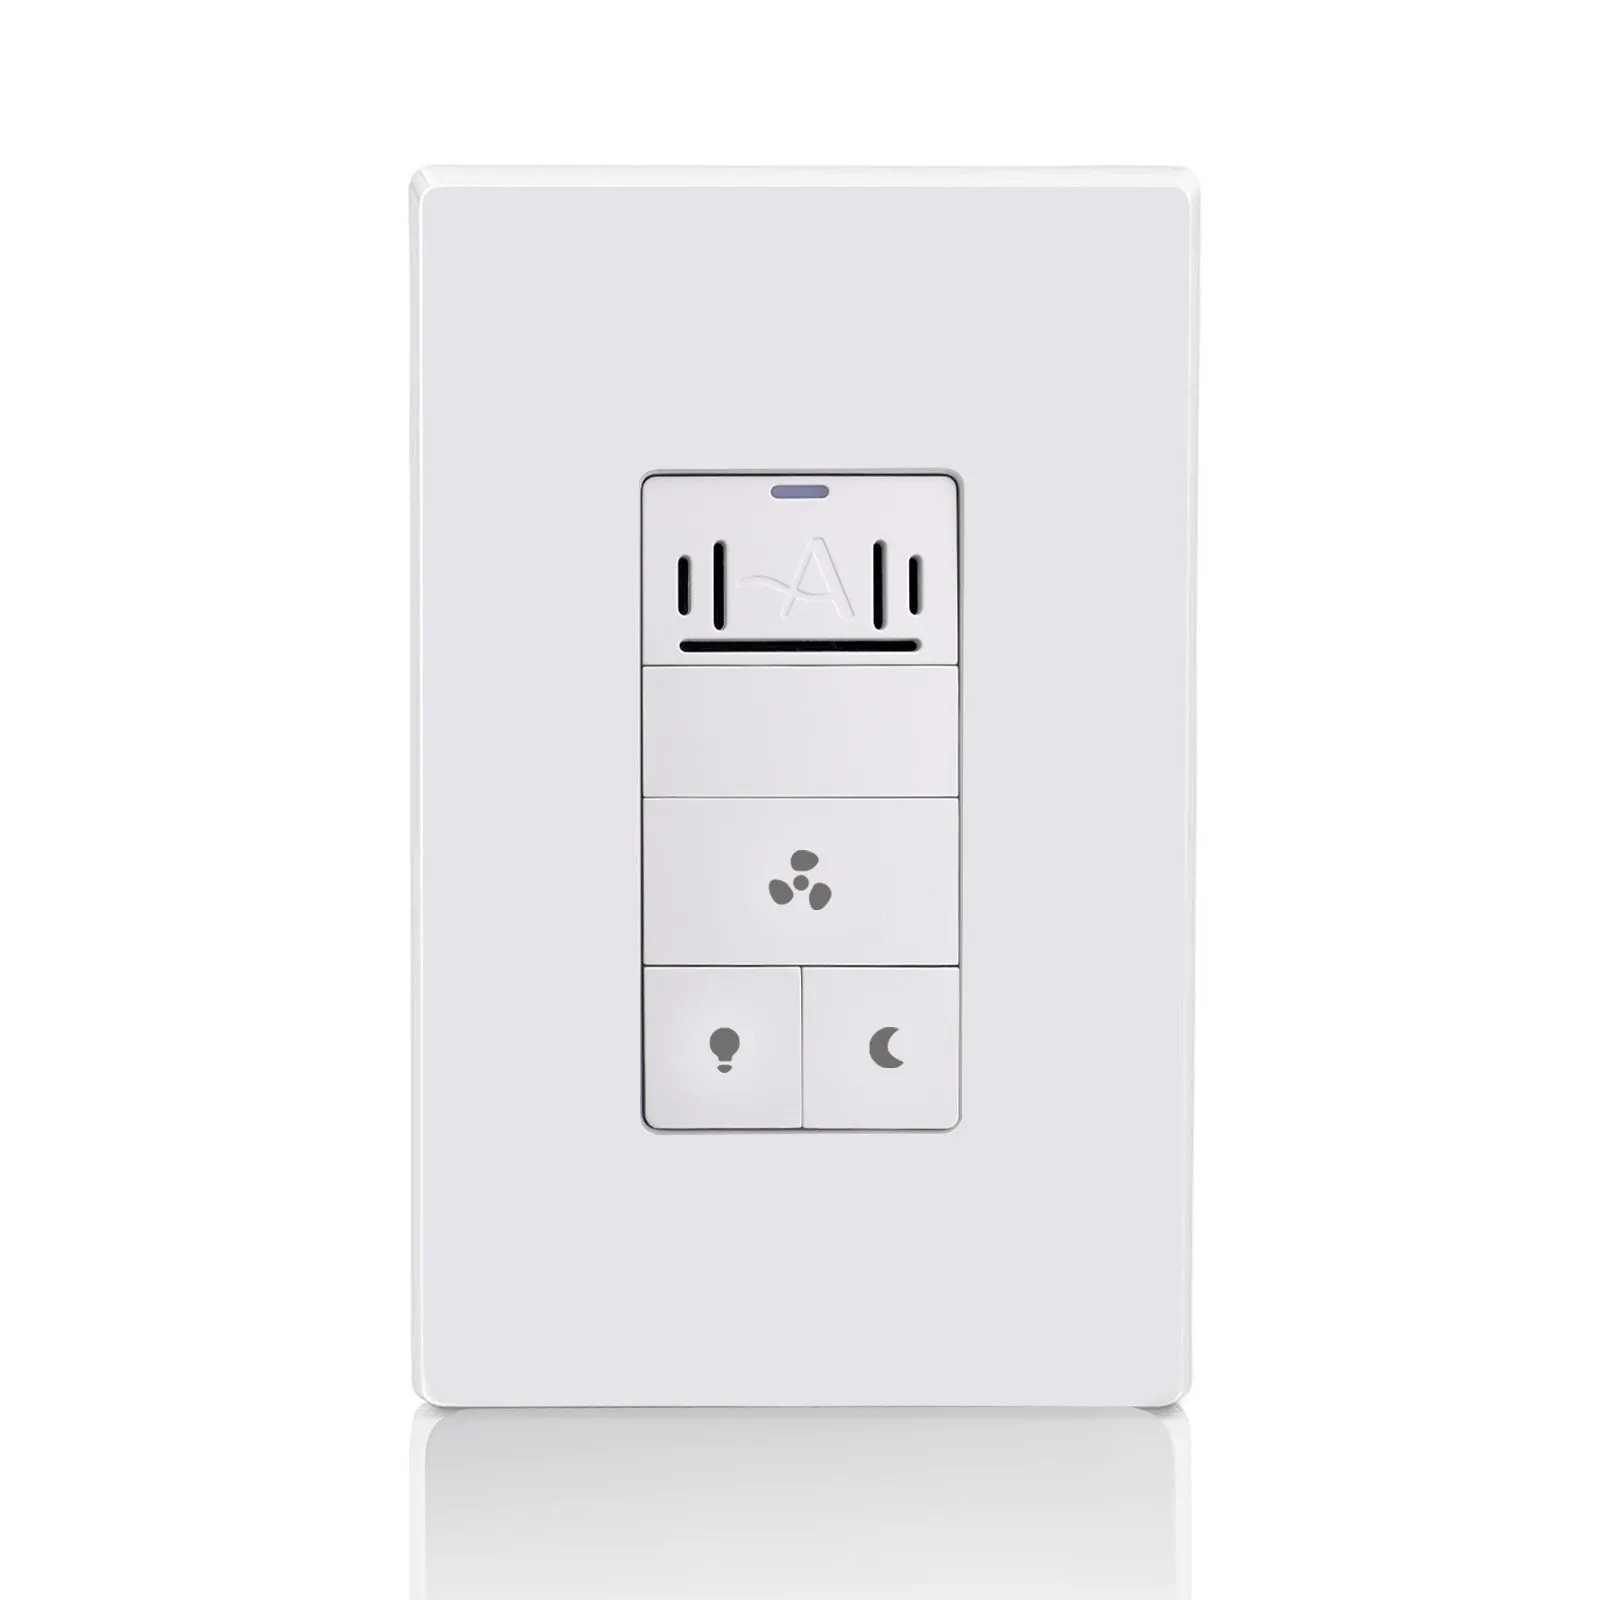
Choosing the right control depends on how much manual effort you want to spend versus the precision you need to prevent moisture damage. The following table breaks down the differences between these common methods for controlling your bathroom fan.
| Method | How long | Effort | Cost | Best for |
|---|---|---|---|---|
| Manual Switch | Until turned off | High | Low | Occasional use |
| Timer Switch | Set duration | Low | Medium | Standard bathrooms |
| Humidity Sensor | Until dry | None | High | Damp, large rooms |
If you’re often away from home or forget to turn the fan off, a sensor switch saves energy by stopping the fan automatically once the air is dry. However, if your budget is tight, a mechanical timer switch is a reliable, low-cost way to make sure the fan runs long enough to clear the steam after you leave the room.
Most people make the mistake of choosing a timer based on shower length rather than room volume. A standard 20-minute timer is insufficient for a large bathroom with a high ceiling, as it fails to clear residual moisture trapped in corners. If your bathroom exceeds 100 square feet, prioritize a humidity-sensing switch.
These sensors detect rapid changes in ambient moisture levels, which is vital for preventing mold in windowless bathrooms. If the fan runs constantly during summer months, your sensor is likely calibrated too sensitively. Adjust the dial to the “less sensitive” setting to avoid unnecessary wear on the fan motor. Use a manual switch only if you have a secondary exhaust vent or a window that stays open.
Using a mechanical timer switch
A mechanical timer switch uses a manual dial or button to keep the fan running for a set interval after you leave the bathroom. It’s a straightforward, low-tech solution for most households.
Turn the dial to your desired duration, typically ranging from 5 to 60 minutes. The fan runs for that exact period and then shuts off automatically. If you need more time, simply twist the dial again to add minutes.
This method is highly reliable because it lacks complex sensors that often fail in humid environments. However, these timers can’t detect actual moisture levels. If the mirror is still fogged or the walls remain damp after the timer stops, you must manually restart the cycle.
A common mistake is setting the timer for too short a duration, such as 10 minutes, which leaves residual moisture behind to feed mold growth. Aim for at least 20 minutes to ensure the room reaches equilibrium. If you frequently find yourself restarting the timer, your bathroom likely lacks proper passive ventilation, and you should consider a higher-CFM fan rather than just a longer timer setting.
When installing, ensure the switch box has a neutral wire available, as many mechanical timers require this constant power source to function. If your existing switch box lacks a neutral wire, you must choose a specific “no-neutral” model or hire an electrician to pull the necessary wiring. Always verify your local building codes, as some jurisdictions mandate specific timer types for new bathroom construction.
Using a humidity sensor switch
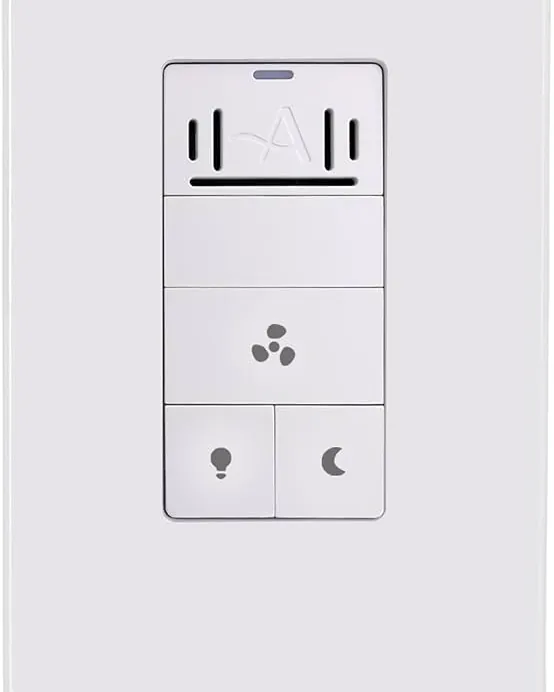
A humidity sensor switch monitors the air in real time and turns the fan on or off based on the moisture levels it detects in the room. This is the most hands-off approach to air quality management.
Set the sensitivity dial on the unit to your desired humidity threshold. If you live in a coastal area with naturally high ambient humidity, start at the 70% mark to prevent the fan from running indefinitely. In arid climates, a 50% setting is usually sufficient to pull moisture from a shower before it settles on the walls.
The switch will automatically trigger the fan when it detects a rise in moisture. Once the humidity drops back to your set level, the fan turns off.
Most users make the mistake of installing these sensors near a window or heat vent. A draft from a window can trick the sensor into reading a false humidity spike, causing the fan to cycle constantly. If your fan turns on without a clear source of moisture, move the sensor or shield it from direct airflow.
These sensors stop the fan from running longer than necessary, which saves electricity. However, they struggle with rapid temperature drops. If the air cools quickly, the relative humidity rises even if no new water is present. If you notice the fan running during cold snaps, calibrate the trigger point higher to avoid unnecessary operation. Always consult your manual to see if your specific model supports this adjustment.
Choosing the best ventilation method
When you’re in a hurry, a timer switch is the best choice because it gives you instant, predictable control without any setup or calibration. If you’re doing this for the first time, the timer is also easier to install because it usually acts as a simple replacement for a standard toggle switch.
If you want the best possible result, the humidity sensor wins because it protects your walls and ceiling from mold by ensuring the room is completely dry without you ever needing to touch a switch.
The trade-off here is between the low cost of a timer and the automated convenience of a sensor. If your bathroom lacks a window or experiences heavy condensation, the sensor is worth the modest additional investment. Without it, you risk long-term moisture damage behind your drywall that costs significant money to remediate.
If you only have a minor steam issue, a timer set to run for 20 minutes after your shower is more than enough to keep the air clear.
Always remember that the exact moisture level where a fan should trigger varies based on your local climate and the size of your bathroom. If you live in a humid coastal region, set your sensor threshold higher to prevent the fan from running indefinitely. In drier, inland climates, a lower threshold is usually sufficient to clear the air without wasting energy. Check your specific sensor’s documentation for the recommended range for your area.
Rules for safe fan installation
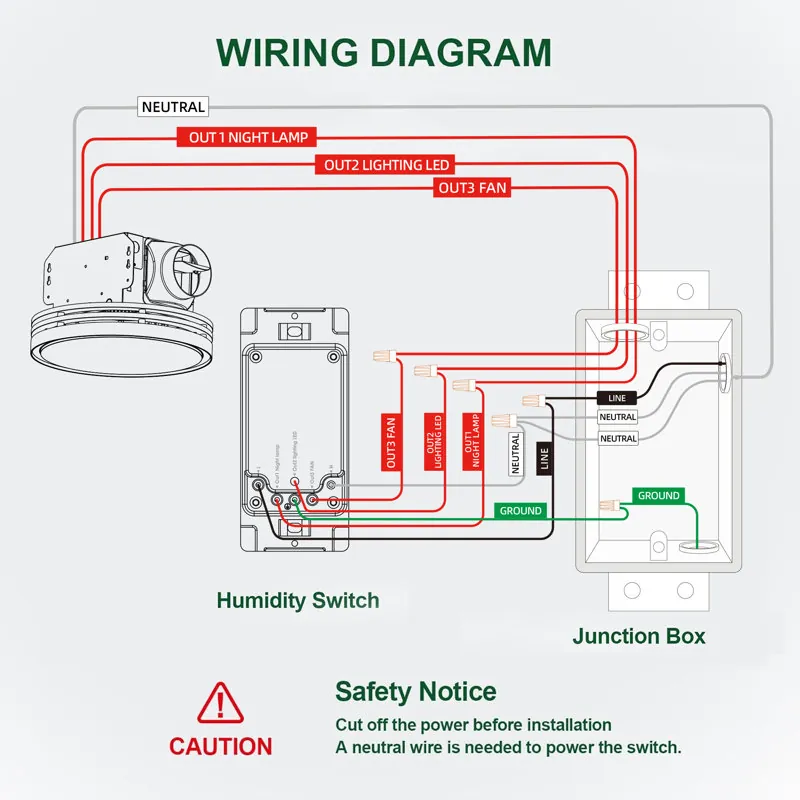
Regardless of the method you pick, you must ensure the fan is sized correctly for your room’s square footage. Installing a fan that’s too weak will lead to moisture buildup even if the switch is set to run for hours. Always check the fan’s CFM (cubic feet per minute) rating against the size of your space before you begin any wiring work.
A reliable rule of thumb is to provide one CFM for every square foot of floor space. Add 50 CFM for every additional shower or tub enclosure to account for the extra moisture source.
Before you start, turn off the power at the main breaker panel to avoid the risk of electric shock. Use a non-contact voltage tester on the switch wires before touching anything. If the tester glows or beeps, the circuit remains live.
If you’re unsure about how to identify the correct wires or how to make safe electrical connections, contact a licensed electrician to perform the work. Improper wiring can lead to fire hazards or damage to your home’s electrical system.
Many DIYers mistakenly reuse old, brittle wire nuts from the previous fan. Always use new, manufacturer-supplied connectors to ensure a tight, vibration-proof grip. After the installation, test the switch by creating steam in the bathroom and verifying that the fan responds within the expected time frame.
Frequently asked questions
Can I install a sensor switch myself?
Yes, you can install a sensor switch yourself if you have basic electrical knowledge and the proper tools. Always turn off the power at the circuit breaker before starting to ensure your safety. If you’re uncomfortable working with high-voltage wires or if your home’s wiring appears damaged, hire a professional to prevent fire or injury.
How long should the fan run after a shower?
The fan should typically run for at least 20 to 30 minutes after you finish your shower to clear the excess moisture. If you use a timer, this is a good starting point for most standard-sized bathrooms. If your bathroom is very large or lacks a window, you may need to increase this time to ensure the humidity levels return to normal and prevent potential mold growth on your walls.
Is it safe to leave a humidity sensor on all the time?
Yes, it’s safe to leave a humidity sensor switch on all the time because it’s designed to operate continuously while using very little electricity. These devices are built to monitor air quality 24/7 without overheating or failing under normal household conditions. The only time you might need to adjust it’s if the sensor becomes too sensitive due to seasonal changes in your local weather.
What happens if the sensor switch doesn’t turn off?
If the switch doesn’t turn off, it usually means the humidity in the room hasn’t dropped below the threshold you set on the device. Check the sensitivity dial on the sensor and turn it to a slightly higher setting to see if the fan stops. If the fan continues to run indefinitely, the sensor may be faulty or located too close to a heat source that’s tricking the device.
How do I know if I need a timer or a sensor?
You need a sensor if your bathroom is prone to mold or if you frequently forget to turn the fan off after showering. A timer is usually enough if you have a small bathroom with good natural ventilation or if you’re looking for the most affordable and simplest installation possible. Evaluate how much condensation remains on your mirrors and walls after 30 minutes to decide if you need the extra automation.
Can a timer switch work with any bathroom fan?
Yes, a standard timer switch works with almost any bathroom exhaust fan regardless of the brand or power rating. The timer simply acts as a gatekeeper for the electrical current flowing to the fan motor. Just ensure the timer you buy is rated for the total wattage of your fan motor, which you can find on the fan’s label or in the manufacturer’s installation guide.
Conclusion
Choosing the right control comes down to how your bathroom handles steam after a hot shower. If you’re still unsure, check your current fan’s power requirements before heading to the hardware store. You’ll find that upgrading to an automated system makes your daily routine much easier and keeps your home’s air feeling fresh.