
Most adults find that choosing a standard toilet vs comfort height toilet depends on their physical stature and personal comfort preferences. A standard model sits about 15 inches from the floor to the seat rim, while a comfort height version measures between 17 and 19 inches. If you’re tall or have mobility issues, the higher option is generally better; if you’re shorter than average or have small children in the home, the standard height is often the more practical choice.
Comparing standard vs comfort height toilets

Selecting the right height is about matching your body to the fixture. If you have limited space, be aware that some comfort height models carry a larger footprint, which may impact your bathroom layout.
| Method | How long | Effort | Cost | Best for |
|---|---|---|---|---|
| Standard height | 15 inches | Low | Low | Children and short adults |
| Comfort height | 17–19 inches | Low | Medium | Seniors and tall adults |
| Wall-hung unit | Adjustable | High | High | Small modern bathrooms |
Standard toilets are the classic choice for many homes. They provide a lower seating position that feels more natural for many people, especially those who find higher seats put their legs in an uncomfortable position.
Measure the distance from the floor to the top of the bowl, excluding the seat. If your knees sit higher than your hips while seated, you’re likely using a bowl that’s too low for your frame. This misalignment creates unnecessary strain on your joints during the transition from sitting to standing.
If you’re taller than six feet, prioritize a comfort height model to avoid excessive knee flexion. Conversely, if you share a bathroom with children, stick to the standard 15-inch height to ensure the fixture remains accessible for them.
Many homeowners mistakenly install a comfort height toilet in a small powder room without accounting for the door swing. Check that the added height doesn’t interfere with the clearance of your vanity drawers or the bathroom door. If you have less than 24 inches of space in front of the bowl, choose a round-front model rather than an elongated one to preserve floor space.
Choosing the standard height model
Measure your current rough-in distance from the wall to the floor bolts to ensure the new unit fits your plumbing. Standard toilets require a 12-inch gap, but older homes often feature 10-inch or 14-inch configurations. If you ignore this measurement, the tank will either hit the wall or leave an unsightly gap behind the bowl.
Turn off the water supply valve and flush the tank to drain all remaining water before disconnecting the supply line. Remove the old wax ring and clean the flange thoroughly to ensure the new seal sits perfectly flat. Any debris left on the flange will compromise the wax seal, leading to slow, hidden leaks that rot your subfloor.
Set the new toilet onto the flange, tighten the nuts by hand, and then use a wrench for a final quarter turn to avoid cracking the ceramic. These units are excellent for families with young children because the lower seat makes it easier for them to use the facilities independently.
However, if you have chronic knee or hip pain, the extra effort required to stand up from a lower position can be a significant daily struggle. If you find yourself pushing off your knees to rise, choose a comfort-height model instead.
These sit two inches higher, which aligns your hips with your knees to reduce joint strain. If you’re taller than six feet, the standard height will likely feel like squatting, making the comfort-height option the ergonomic standard for your household.
Selecting a comfort height option
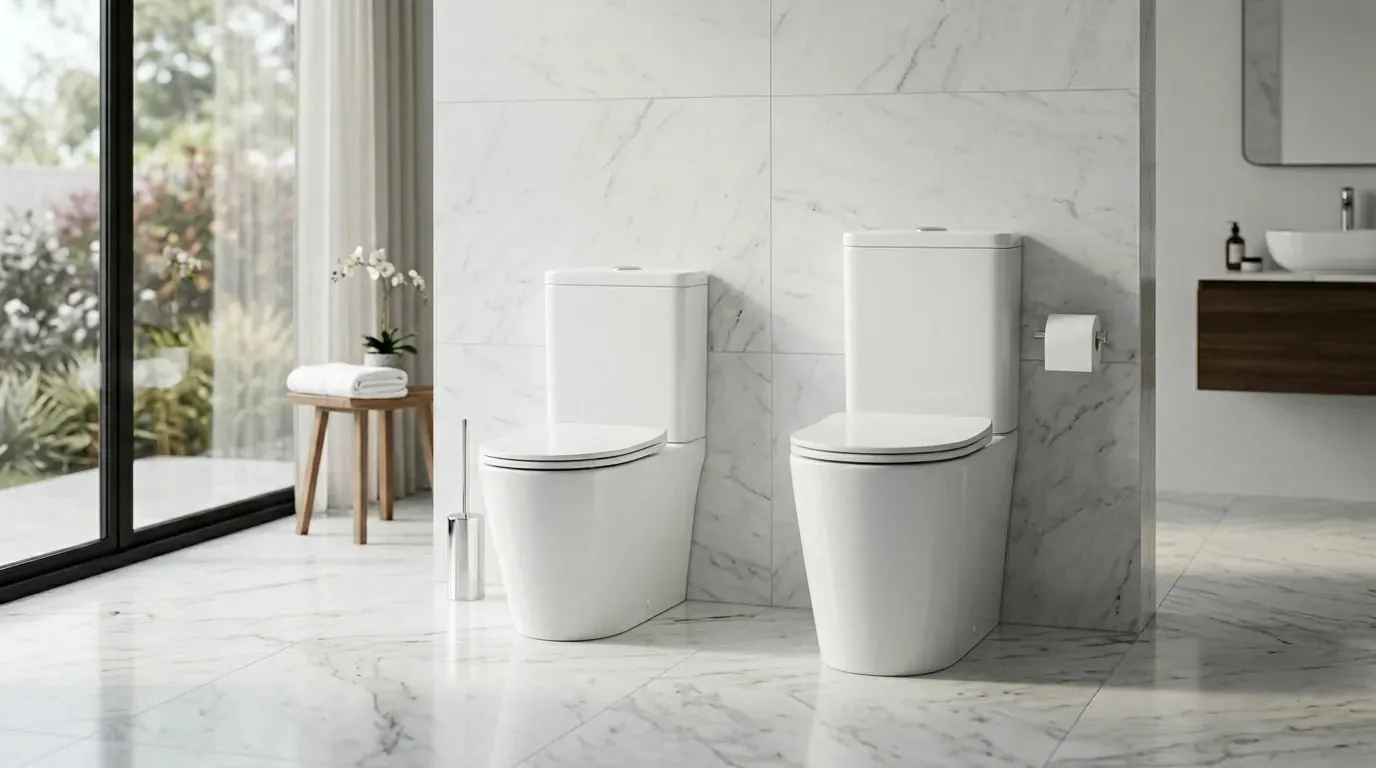
Confirm your available floor space, as these models often have a larger tank footprint than standard designs. Measure at least 30 inches of width to ensure you have room for the tank and comfortable clearance on both sides.
Place the new bowl over the floor flange and press down firmly to compress the new wax ring. Install the tank onto the bowl using the provided bolts and rubber gaskets, ensuring the seal is tight but not overtightened. Attach the seat and connect the water supply line, checking for leaks by running a dry paper towel around all joints after the first flush.
These toilets are designed to reduce the strain on your joints when sitting down and standing up. They’re particularly popular in aging-in-place renovations. If you’re under 5’4”, test the height by sitting on a chair of similar elevation. If your feet dangle or don’t rest flat on the floor, you’ll likely experience poor circulation or lower back strain. In such cases, a standard height model paired with a footstool is often the more ergonomic choice for your specific anatomy.
Installations and space requirements
Use a level to ensure the bowl is perfectly balanced before tightening the floor bolts completely. A minor tilt creates uneven pressure on the porcelain, which leads to hairline cracks over time.
Check the ADA Standards for Accessible Design to understand the requirements for bathroom fixtures in public or accessible spaces. If your bathroom serves guests with mobility issues, ensure there’s at least 18 inches of clearance from the centerline of the toilet to the nearest wall or vanity.
Apply a bead of silicone caulk around the base to prevent water from seeping underneath the porcelain. Don’t seal the back of the base; leaving a small gap allows you to spot a leaking wax ring immediately rather than discovering rot under the flooring months later.
Test the flush mechanism multiple times to ensure the chain or flapper operates without snagging. If the chain is too long, it will eventually catch under the flapper, causing a phantom flush that wastes hundreds of gallons each month.
If you’re tall, comfort height is the clear winner for ease of use. If you’re doing this for the first time, a standard toilet is often easier to install because it’s lighter and more compact. If you want the best possible result regardless of the labor, a wall-hung unit provides the most flexibility but requires professional plumbing experience. Always verify your rough-in distance—the measurement from the wall to the bolts—before purchasing, as a half-inch discrepancy will force a complete return.
The rules that apply to every installation
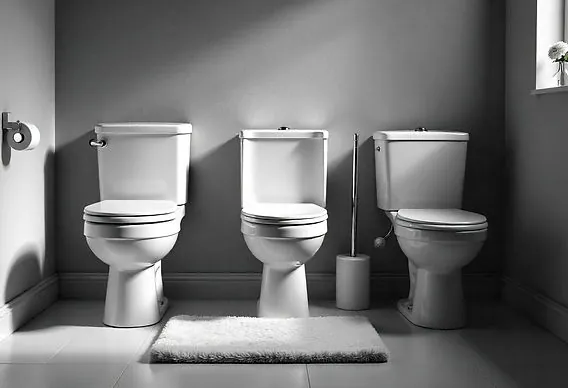
Regardless of the model you select, the plumbing connection must remain secure to prevent leaks that can damage your subfloor. Always inspect the flange for any signs of rot or instability before securing the new toilet. If the floor is uneven, don’t force the bolts down, as this will crack the base of the toilet; instead, use plastic shims to level the unit before caulking.
If you find the flange sits more than a quarter-inch below the finished floor level, you must install a flange extender. Failing to bridge this gap prevents the wax ring from creating a proper seal, eventually allowing wastewater to seep into your subfloor.
If you aren’t comfortable working with water supply lines or wax seals, hire a licensed plumber. Improper installation can lead to sewer gas leaks or water damage, which are much more expensive to fix than the cost of a professional service call.
Always check your local building codes, as some areas have specific requirements regarding the distance between the toilet and other bathroom fixtures like vanities or tubs. Ensure there’s a minimum of 15 inches from the center of the toilet to any side wall or obstruction to comply with standard building codes.
If you’re replacing a unit in a tight space, verify that the rough-in measurement—the distance from the wall to the center of the floor bolts—matches your new unit exactly. Standard rough-ins are 12 inches, but older homes often feature 10 or 14-inch configurations.
Frequently asked questions
Can I replace a standard toilet with a comfort height one?
You can easily replace a standard toilet with a comfort height model because the plumbing rough-in dimensions are almost always the same. Most manufacturers use a universal 12-inch distance from the wall to the center of the drain pipe. Ensure your flange is in good condition before installing the new unit.
How do I know which height is right for me?
You can determine the right height by sitting on a chair that matches the potential toilet’s seat height to see if your feet stay flat on the floor. A 15-inch height is usually best for those under 5 feet 4 inches, while comfort height models better suit taller individuals.
Is it safe to install a toilet by myself?
The primary risk is a leaking seal, which can cause slow water damage to your floorboards. If the base wobbles after tightening the bolts, use shims to prevent cracking.
How long does it take to install a new toilet?
It typically takes between 2 and 4 hours for a homeowner to remove an old toilet and install a new one. This estimate assumes the plumbing flange and water supply valve are in good condition. If you discover corroded bolts or a damaged subfloor, expect the project to take longer.
What happens if the toilet wobbles after installation?
If the toilet wobbles, you must stop using it and place plastic shims under the base until it’s completely stable. A wobbling toilet puts stress on the wax seal, which will eventually fail and lead to leaks. Never tighten the floor bolts further to stop the wobble, as this is the most common mistake and will cause the porcelain base to crack, which is irreversible damage.
Does a comfort height toilet use more water?
No, the height of the bowl has no impact on the water usage of the flushing mechanism. Water efficiency is determined by the internal design of the trapway and the tank’s flush valve system, not the physical height of the seat. You can find high-efficiency models in both standard and comfort heights, so look for the WaterSense label on the packaging if you want to ensure the unit saves water.
Conclusion
Before you make your final decision, visit a local showroom to test both styles for yourself. It’s worth sitting down on a few different models to see which one feels right for your body. You’ll be glad you took the extra time to ensure your bathroom is as comfortable as it can be.