
If you’re tired of unsightly mold growth, water leaks, or peeling strips around your tub or shower enclosure, you have likely started looking for the best bathroom shower caulks to restore your space. High-quality sealant is the primary line of defense against water damage, preventing moisture from seeping behind tiles or into wall cavities where it can cause structural rot and hidden mold colonies. Depending on the brand and the specialized additives included, you can expect to pay anywhere from $6.00 to $18.00 per tube for a professional-grade sealant.
Key Takeaways
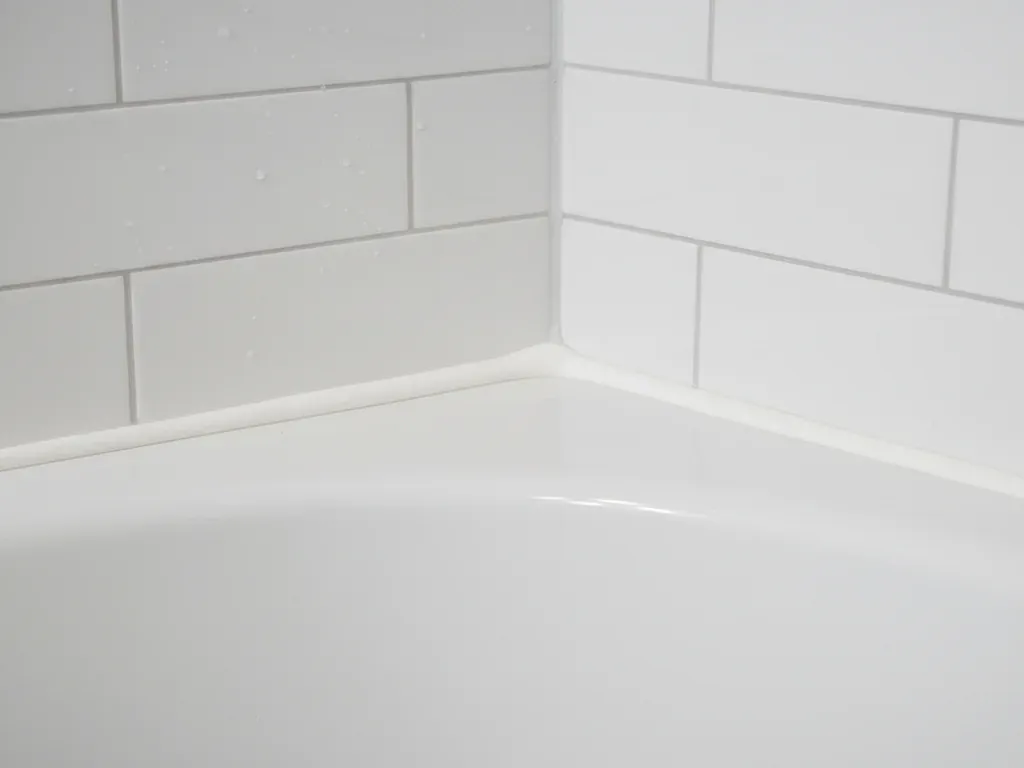
- Always choose 100% silicone for bathrooms, as acrylic or latex blends lack the necessary flexibility and mold resistance.
- Proper surface preparation, including the removal of all old residue and thorough drying, is more important than the brand of caulk.
- Look for products labeled as “mildew resistant” or containing EPA-registered biocides to keep the bead looking fresh longer.
- Use a caulk finishing tool to achieve a uniform, professional bead that sheds water effectively.
- Allow the sealant to cure for at least 24 hours before exposing it to direct water contact.
Understanding Silicone Versus Acrylic
When selecting a product, the chemistry of the material dictates its longevity and performance in a high-moisture environment. Many DIYers mistakenly purchase acrylic-latex caulk because it’s easier to clean up with water. However, acrylic is porous and prone to shrinking, which creates microscopic gaps where water enters.
- 100% Silicone: This is the gold standard for bathrooms. It’s permanently flexible, waterproof, and naturally resistant to temperature fluctuations. Because it’s chemically inert, it doesn’t support mold growth on its own, though surface debris can still accumulate.
- Acrylic-Latex: While paintable and easy to apply, these are better suited for interior trim or baseboards. They degrade quickly when subjected to standing water, making them a poor choice for shower seams.
- Hybrid Sealants: These combine the ease of application found in latex products with the durability of silicone. While effective, they’re generally not as long-lasting as pure silicone in a wet shower environment.
| Feature | 100% Silicone | Acrylic-Latex | Hybrid Sealant |
|---|---|---|---|
| Waterproofing | Excellent | Poor | Good |
| Flexibility | High | Low | Moderate |
| Cleanup | Mineral Spirits | Water | Varies |
| Lifespan | 10-20 years | 2-5 years | 5-10 years |
Best Brands for Bathroom Shower Caulks
Choosing a reputable manufacturer ensures that the chemical composition of the caulk is stable and consistent. When you shop for these, look for labels that explicitly state they’re designed for kitchen and bath applications.
- GE Silicone II Kitchen & Bath: This is widely considered the industry benchmark. It features a “SilShield” technology that offers strong adhesion to glass, ceramic, and metal surfaces.
- DAP Silicone Max: This brand offers excellent resistance to water and temperature extremes. It’s often favored by professionals for its quick-cure formula.
- Red Devil Kitchen & Bath Silicone: A reliable, cost-effective option that provides a strong, watertight seal for standard tub-to-wall seams.
- Gorilla Silicone Sealant: Known for its heavy-duty performance, this product is exceptionally durable and resists shrinking and cracking over time.
Pro Tip: Always check the manufacture date on the tube. Silicone has a shelf life, typically 12 to 18 months; if the product is expired, it may never fully cure and will remain tacky, attracting dirt and mold.
What Are the Essential Tools?
Applying caulk is 20% product and 80% preparation and technique. To get a professional result, you need more than just the tube of sealant.
- Caulk Gun: A high-ratio thrust gun makes it easier to control the flow of thick silicone.
- Utility Knife or Multi-Tool: Essential for cutting the nozzle at the correct angle.
- Razor Scraper: Used to remove every trace of old, brittle caulk.
- Denatured Alcohol: Use this to wipe the joint clean after removal; it removes soap scum and body oils that prevent adhesion.
- Caulk Finishing Tool: These plastic or rubber shapers ensure a consistent bead width and depth, which is vital for directing water away from the joint.
How to Prepare the Surface
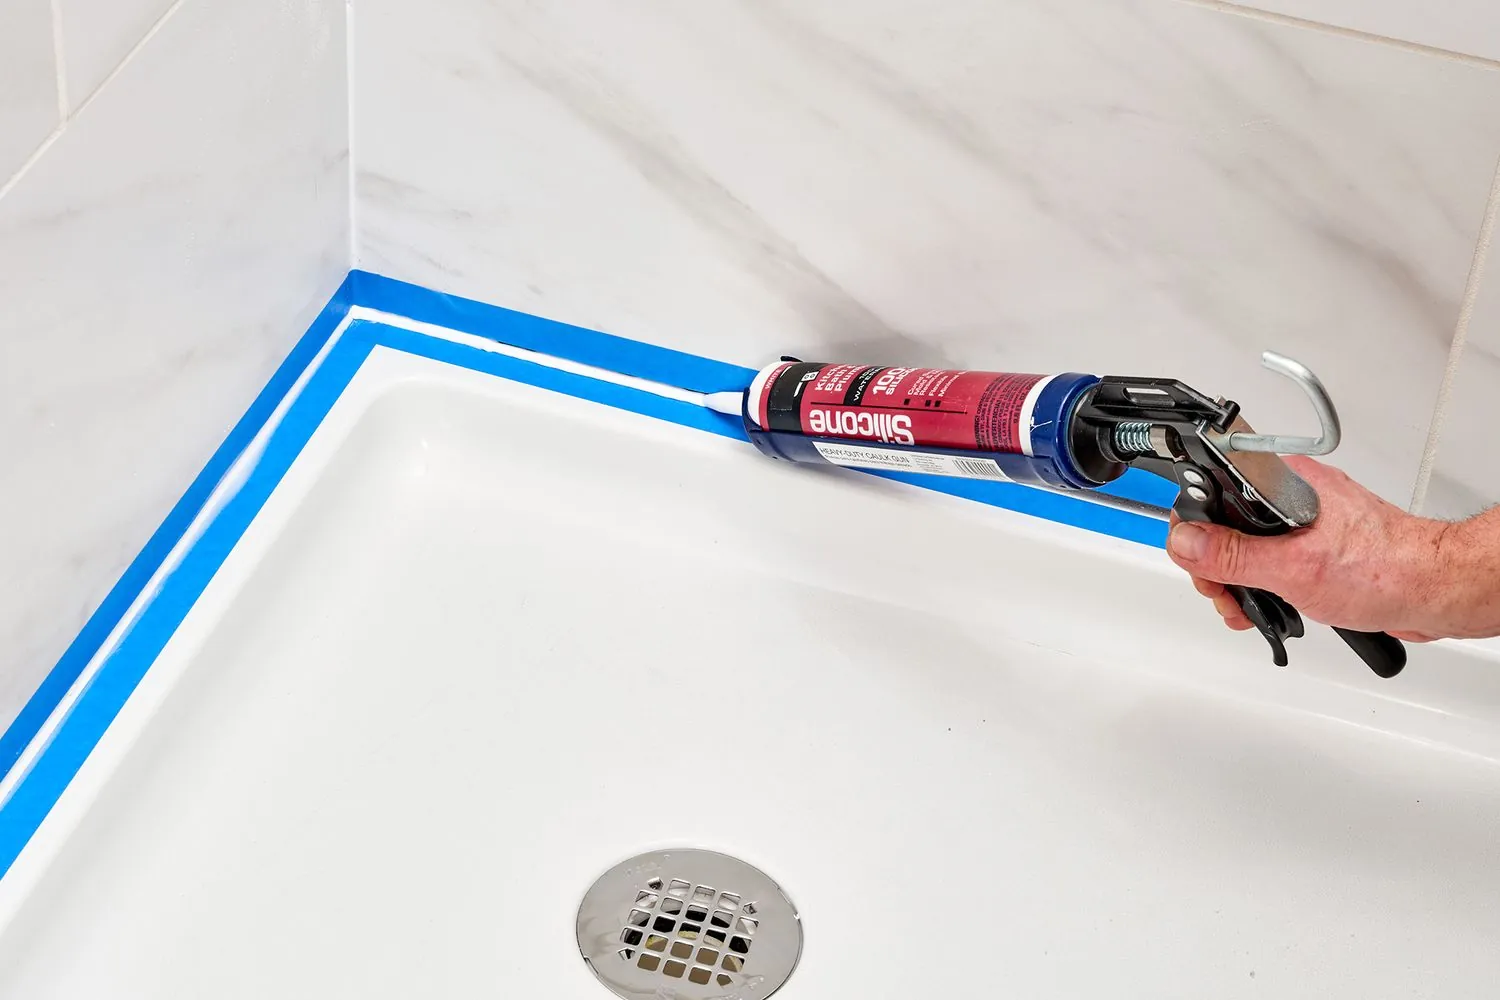
The most common cause of premature caulk failure is poor adhesion due to surface contamination. If you apply new sealant over old residue, soap scum, or damp surfaces, the new bead will eventually pull away from the wall.
- Removal: Use a razor scraper to clear the old caulk. Be gentle with acrylic or fiberglass surrounds to avoid scratching the surface.
- Cleaning: Scrub the area with a mild abrasive cleaner to remove all soap scum. Rinse thoroughly.
- Disinfection: Wipe the area with denatured alcohol or a 50/50 mix of water and white vinegar. This kills remaining mold spores and removes invisible oils.
- Drying: Let the area air dry for at least four hours. Using a hair dryer on a low, cool setting can help ensure there’s no trapped moisture in the gap.
How to Apply Caulk Correctly
Once the area is clean and dry, the application process requires a steady hand and consistent pressure.
- Cutting the Nozzle: Cut the tip at a 45-degree angle. The size of the hole should match the width of the gap you’re filling. A hole that’s too large creates a messy, oversized bead.
- Taping the Seams: Apply painter’s tape on both sides of the joint, leaving about 1/8 inch of space. This creates a crisp, clean edge and prevents the silicone from smearing onto the tile.
- The Bead: Keep the caulk gun at a 45-degree angle to the surface. Pull the gun toward you rather than pushing it, maintaining a steady speed to ensure the bead is consistent.
- Tooling: Immediately after laying the bead, run your finishing tool along the joint. This presses the silicone into the gap and smooths the surface.
Which Caulks Resist Mildew Best?
Mildew resistance is a function of the biocides added to the silicone. While all silicone is hydrophobic, the additives prevent mold from feeding on the microscopic particles of soap and skin cells that settle on the surface. According to the Environmental Protection Agency, controlling moisture is the most effective way to prevent mold, but using a high-quality sealant with built-in fungicides is a necessary secondary defense.
- Biocide-Infused Silicone: Look for “Mildew Resistant” on the label. These products contain agents that inhibit fungal growth.
- Clear vs. White: Clear silicone is often preferred for glass enclosures, while white is standard for tub-to-tile transitions. Clear silicone tends to show internal air bubbles more than white, so application technique is even more critical.
Should You Use Caulk Strips?
Caulk strips are pre-formed adhesive strips sold in rolls. They’re marketed as a “no-mess” solution for DIYers who struggle with traditional caulk guns.
- Pros: They’re very easy to install, require no drying time, and look uniform.
- Cons: They’re prone to peeling at the edges, and water can easily become trapped underneath them, leading to hidden mold growth that’s difficult to remediate.
- Recommendation: Use these only as a temporary fix. For long-term protection, a high-quality, gun-applied silicone is superior.
Troubleshooting Common Caulk Issues
Even with the best products, you may encounter problems during or after application.
- Stringy Caulk: This usually happens if the silicone is old or if you’re working in an environment that’s too hot.
- Peeling: This is almost always caused by inadequate cleaning. If you see peeling, remove the entire section, clean with alcohol, and reapply.
- Yellowing: Some cheaper silicones yellow over time due to exposure to UV light or harsh cleaning chemicals. Stick to premium brands that specify “non-yellowing” formulas.
- Bubbles: If you see bubbles in your bead, you’re moving the gun too fast or the nozzle is clogged. Stop, clean the nozzle, and slow down your application speed.
| Issue | Likely Cause | Solution |
|---|---|---|
| Bead is uneven | Improper tooling | Use a shaping tool |
| Caulk is peeling | Surface oil/soap | Clean with alcohol |
| Mold returns | Porous surface | Use 100% silicone |
| Bead is too thin | Nozzle cut too small | Recut nozzle at wider angle |
When to Replace Old Caulk
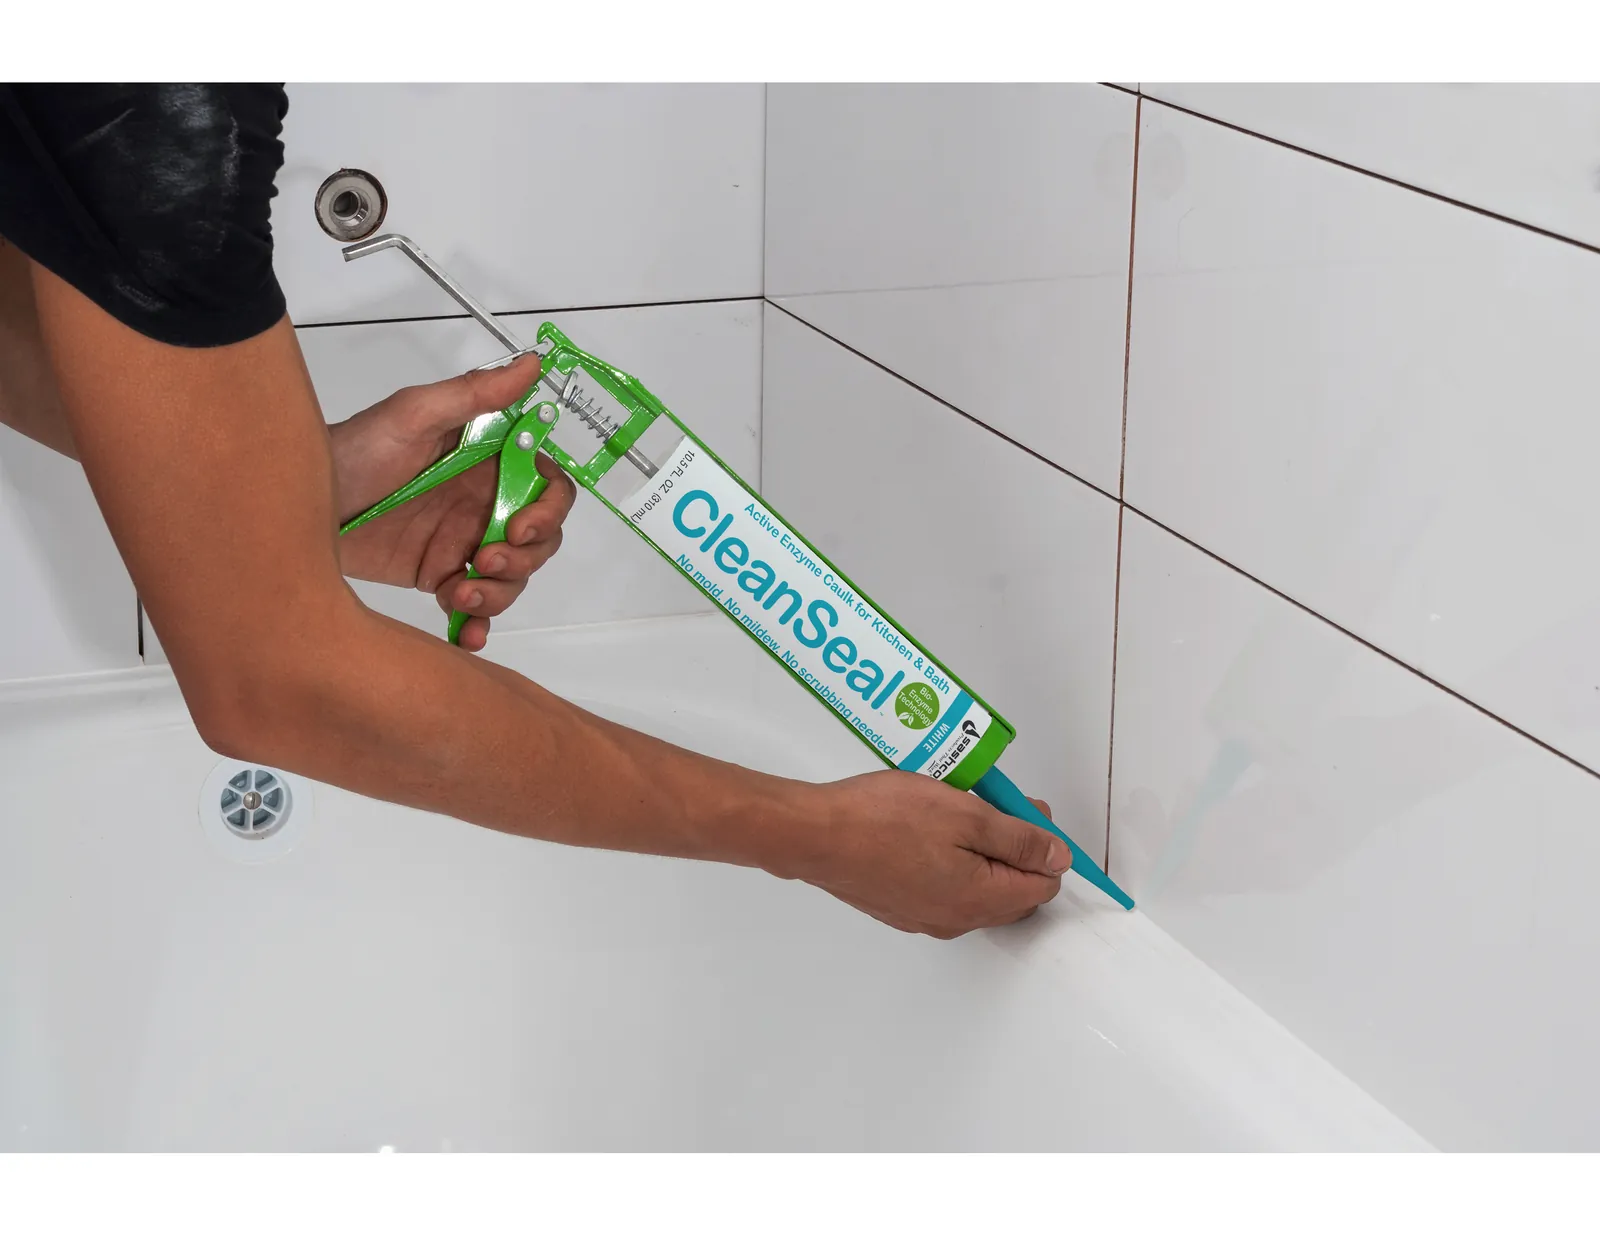
You don’t need to wait for a leak to replace your caulk. Visually inspecting your bathroom seams twice a year is a good habit.
- Visible Cracks: Any break in the seal allows water to penetrate the wall.
- Dark Spots: If you see black or grey spots under the surface of the caulk, the mold has already bypassed the barrier.
- Loss of Adhesion: If the caulk feels loose or you can lift it with a fingernail, it’s no longer providing a waterproof seal.
- Shrinkage: If the bead has pulled away from the wall, it’s time for a fresh application.
Warning: Never attempt to “patch” a bad section of caulk by applying new silicone over the old. This creates a weak bond and allows water to pool between the layers, creating a perfect environment for mold to thrive. Always strip the old material out completely before applying new product.
Related guides
- 8 Best Epoxy Grout for Shower Picks: Expert Reviews and Verdict in 2026
- How to Lower Chlorine in Hot Tub Naturally: The Fast Fix in 2026
Frequently Asked Questions
Can I apply new caulk over old caulk?
No. Applying new caulk over old material results in a poor bond that will fail quickly. Old caulk often harbors mold spores and soap residue that prevent the new sealant from adhering. You must remove the old caulk completely, clean the area with denatured alcohol, and ensure the gap is bone-dry before applying a fresh, continuous bead of new silicone.
How long does silicone caulk take to dry?
While silicone may feel dry to the touch within one to two hours, it requires at least 24 hours to fully cure. During this time, you should keep the shower completely dry. Exposing the sealant to water before it has fully cured can compromise the chemical bond, leading to premature peeling and water leaks behind your tiles.
Is clear or white caulk better?
Both work equally well if they are 100% silicone. White caulk is typically used to match white tubs or grout lines, creating a clean, finished look. Clear caulk is better for glass-to-tile or glass-to-glass joints, as it’s less conspicuous. Choose the color that best matches your bathroom aesthetics, as performance differences between the two are negligible when comparing the same product line.
Why does my caulk turn black?
Caulk turns black because mold spores are feeding on the organic material trapped in the sealant. Even high-quality silicone can develop surface mold if soap scum, body oils, and skin cells are allowed to accumulate. Regular cleaning with a mild, non-abrasive soap and ensuring the shower is well-ventilated after each use will significantly slow the growth of mold on your caulk lines.
Do I need a caulk gun for all types?
Most professional-grade silicone comes in cartridges that require a standard caulk gun for consistent application. While some brands offer “squeeze tubes,” these are generally intended for very small touch-ups or repairs. For a long, continuous bead around a bathtub or shower surround, a cartridge and a quality caulk gun are essential to maintain the steady pressure needed for a smooth, uniform, and waterproof seal.
Conclusion
Maintaining the integrity of your shower seals is one of the most effective ways to protect your home from water damage and keep your bathroom looking clean. By choosing a 100% silicone product and following the proper steps for removal and application, you ensure a durable, mold-resistant barrier.
Your next step is to clear your schedule for a full afternoon to ensure you have enough time to remove the old material, clean the surface, and allow the new sealant to cure undisturbed for 24 hours.