
Professional plumbers often rely on pipe wrenches, tubing cutters, and press tools as the best ridgid plumbing tools to ensure durable, leak-free connections on residential and commercial jobs. These items share a commitment to heavy-duty construction, though they differ in their specific applications and the mechanical force they apply to pipes. Whether you’re cutting copper or pressing stainless steel fittings, choosing the right tool depends on your pipe material and the scale of your project.
Standard Plumbing Tool Comparison
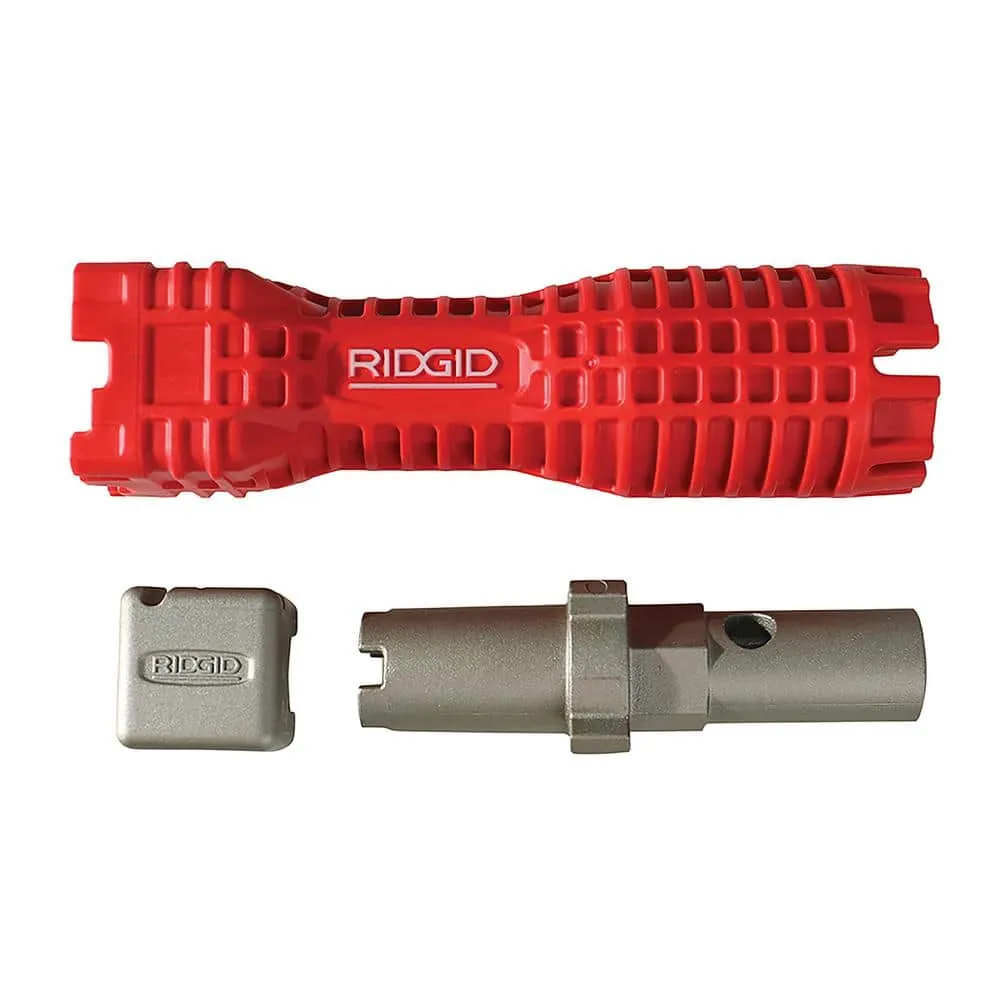
| Tool Name | Primary Use | Example |
|---|---|---|
| Heavy-Duty Pipe Wrench | Gripping and turning | 14-inch cast iron wrench |
| Tubing Cutter | Cutting copper pipes | Close-quarters cutter |
| Press Tool | Joining metal fittings | Battery-powered press gun |
| Basin Wrench | Reaching tight faucets | Telescoping basin wrench |
| Drain Auger | Clearing pipe clogs | Hand-cranked drain snake |
Choose your pipe wrench based on the diameter of the pipe, not the strength of your grip. A 14-inch tool is the standard for residential plumbing, but it will fail on pipes larger than two inches. If you’re working on gas lines, always use two wrenches: one to hold the pipe steady and one to turn the fitting. Failing to do this often results in cracked joints or twisted pipe threads.
Tubing cutters leave a sharp internal burr that restricts water flow. You must use the integrated reamer on the tool to smooth the edge immediately after the cut. If you skip this, the turbulence will eventually erode the copper, leading to a pinhole leak.
Press tools replace the need for an open flame. If you’re working in a wall cavity with wood framing, use the press tool to avoid a fire hazard. However, if the copper is wet, the press seal may fail. Dry the pipe thoroughly with a rag before seating the fitting.
Basin wrenches are for the nuts under the sink that no other tool can reach. If the nut is rusted solid, the telescoping neck will likely snap under pressure. In that case, use a penetrating oil and wait twenty minutes before applying force.
Drain augers are for soft blockages like hair. If you hit a hard obstruction, stop immediately. Forcing the cable through a root intrusion or a collapsed pipe will cause the snake to kink, leaving you with a permanent clog and a broken tool.
Heavy-Duty Pipe Wrench
A heavy-duty pipe wrench is the essential tool for gripping and rotating threaded pipe fittings and nuts. It suits professional contractors and serious homeowners who work with steel or iron piping systems where significant leverage is required. The serrated jaws bite into the metal to prevent slipping during high-torque applications.
- Provides high mechanical advantage for loosening seized threaded joints.
- Features a self-cleaning thread design that clears debris from the adjustment nut.
- Uses a floating hook jaw to distribute pressure evenly around the pipe.
If the pipe diameter is under 2 inches, use a 14-inch wrench; for pipes up to 3 inches, switch to an 18-inch or 24-inch model to maintain proper leverage. Match the tool length to the pipe size: a 10-inch wrench works for half-inch pipe, while a 48-inch wrench is required for pipes exceeding 6 inches.
A common mistake is using the wrench handle as a hammer to tap pipes into alignment. This practice stresses the cast iron housing and risks snapping the tool under load. If you need to strike a pipe, use a rubber mallet or a dedicated dead-blow hammer instead.
Distinguish your material before you begin. If you’re working with soft chrome-plated fixtures or decorative brass, avoid this tool entirely. The hardened steel teeth will permanently mar the finish and compromise the metal’s integrity. Use a strap wrench for these delicate surfaces to apply torque without surface damage.
For standard black iron gas lines, verify that the pipe is fully seated in the hook jaw before applying force. If the jaw grips only the outer edge of the pipe, the tool will slip and potentially crush the pipe wall. Always ensure the gap between the hook jaw and the pipe is wide enough to allow the teeth to bite deeply upon the initial pull.
Tubing Cutter
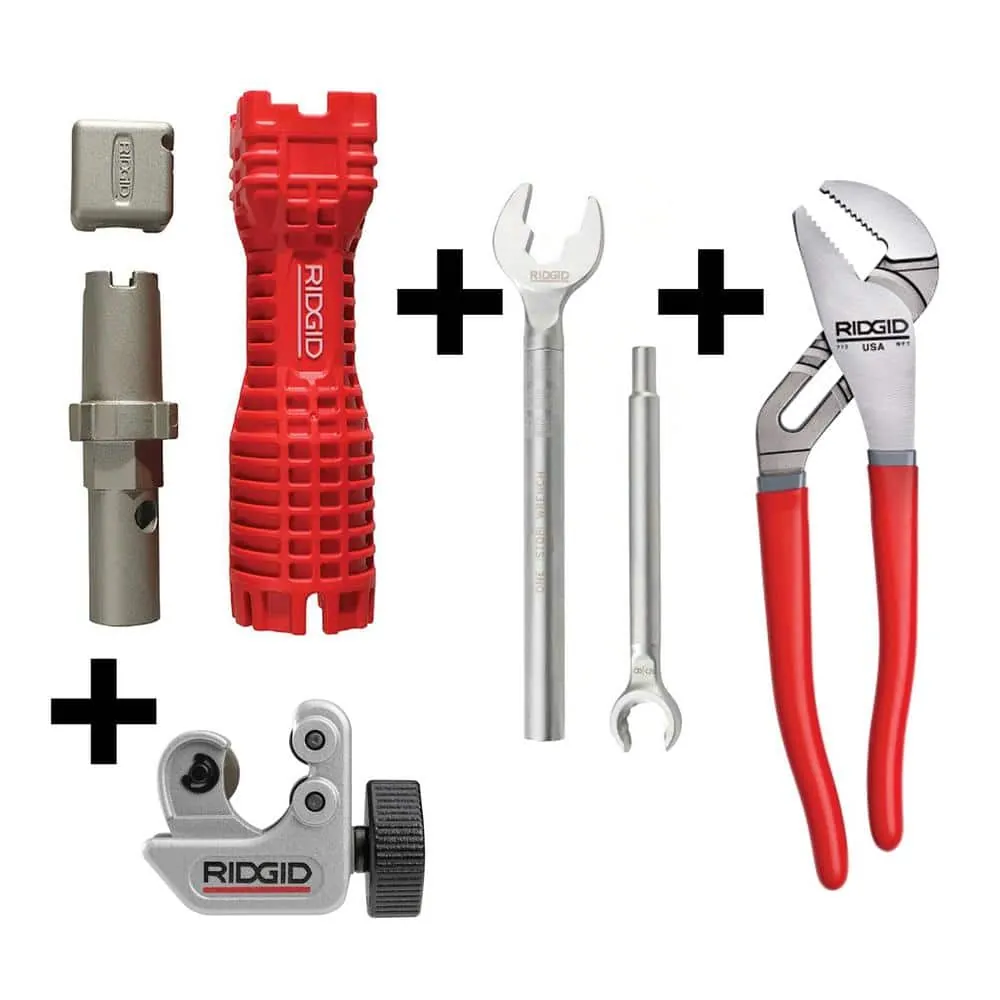
A tubing cutter is a precision instrument designed to create square, burr-free ends on copper and aluminum pipes. It suits installers who need clean pipe ends to ensure a tight seal for soldering or compression fittings. The circular blade rotates around the pipe while the depth increases with each turn.
Produces perfectly square cuts that simplify the soldering process. Encloses the cutting wheel to protect it from damage when stored in a bag. Adjusts smoothly to different pipe diameters using a lead screw mechanism.
If you’re cutting soft copper, tighten the knob only a quarter-turn per rotation to avoid crushing the pipe wall. A trade-off exists between speed and precision: faster cutting with too much pressure can deform the pipe, while slow cutting ensures structural integrity.
When you feel the pipe starting to oval, stop immediately and back the blade off. You have likely applied too much pressure, which causes the metal to flare outward rather than cutting cleanly. If the pipe wall is already deformed, you must cut off the damaged section entirely, as a crimped end will never seat properly in a fitting.
This tool isn’t for cutting steel or iron, as the hardened steel wheel will chip or dull instantly. If you encounter a pipe that resists the blade, check the material with a magnet. If it sticks, put the tubing cutter away and reach for a hacksaw or a reciprocating saw.
Use the official Ridgid tubing cutter manual to verify the maximum wall thickness your specific model can handle. For example, a close-quarters cutter is used to trim 1/2-inch copper water lines in a cramped space under a kitchen sink.
If you’re working in a trench or an open wall, use a full-sized cutter with a larger handle for better leverage. The extra torque allows you to cut through thicker, rigid copper lines without straining your wrist or slipping off the cut line.
Press Tool
A press tool uses hydraulic force to crimp metal fittings onto pipes, creating a permanent, watertight connection without the need for an open flame. It suits plumbers performing large-scale retrofits or new installations where fire safety is a concern. The tool compresses the fitting collar against the pipe, ensuring a consistent seal every time.
Eliminate torches, solder, and flux to save roughly 20 minutes of preparation time per joint. This speed advantage pays for the tool within the first fifty residential repipes.
Complete a secure connection in under 10 seconds for standard fittings. If the tool takes longer than 15 seconds to cycle, stop immediately; the battery may be low or the tool may be malfunctioning.
The tool provides audible or visual feedback when the press cycle is complete. If the light turns red during a press, the cycle didn’t finish. You must cut out the fitting and replace it entirely, as a partially pressed joint will fail under pressure.
Regular maintenance and inspection ensure the tool remains within the manufacturer’s specified range. Failing to calibrate leads to “over-pressing,” which weakens the pipe wall, or “under-pressing,” which creates slow, invisible leaks behind finished walls.
A fully charged 18V battery typically lasts for 100 to 150 cycles, depending on pipe diameter and material hardness. Stainless steel requires significantly more force than copper, reducing your total cycle count by nearly 30 percent per charge. Always carry two spare batteries when working in commercial boiler rooms to avoid mid-job downtime.
Improper fitting alignment is the most common mistake. If the pipe isn’t seated fully against the fitting shoulder, the internal O-ring will pinch, leading to a catastrophic leak once the system is pressurized. Always mark the insertion depth on the pipe with a permanent marker before pressing.
If you’re working in tight crawlspaces, use a compact, right-angle press head. Use the standard, heavy-duty pistol grip for open-wall installations where you need maximum leverage. If the fitting rotates on the pipe after the press is complete, the connection is faulty; discard the fitting and start over with the proper tooling.
Basin Wrench
A basin wrench is a specialized tool with a spring-loaded, swiveling jaw designed to reach the mounting nuts located behind deep kitchen or bathroom sinks. It suits anyone struggling to tighten or remove faucet shanks in areas where standard wrenches can’t fit. The long, narrow handle allows for work in tight vertical spaces.
- Gripping nuts in tight, obstructed spaces behind vanity cabinets.
- Adjusting the jaw to accommodate various nut sizes and shapes.
- Providing enough reach to clear deep basins and plumbing supply lines.
The tool’s effectiveness depends on the length of the shaft; for deep pedestal sinks, use a telescoping model that extends up to 17 inches. A common mistake is trying to use the wrench for heavy-duty pipe rotation, which it isn’t designed to handle.
If the nut is rusted solid, apply a penetrating oil and wait 10 minutes before attempting to move it to avoid bending the wrench shaft. For example, a user extends the sliding T-handle of a basin wrench to unscrew a stubborn faucet nut located 12 inches behind a tight porcelain sink bowl.
When selecting your tool, check the jaw capacity. Most standard models handle nuts between 1/2 inch and 1 1/4 inches. If you’re working on commercial-grade faucets with larger mounting hardware, you’ll need a heavy-duty wrench with a wider jaw opening.
To determine if you have the right fit, test the jaw on the nut before reaching behind the basin. The jaw should lock onto the flat sides of the nut securely. If the jaw slips, you’re likely using the wrong size or the teeth are worn down. In that case, stop immediately to prevent stripping the nut, which turns a simple repair into a major plumbing project.
Always orient the jaw teeth toward the direction you want to turn. If you need to loosen, the teeth must face the left. If you need to tighten, flip the head to face the right.
Additional Plumbing Tools

- Drain Auger: This tool is for clearing blockages in sink and tub drains. It consists of a flexible cable that feeds into the pipe to break apart clogs. It’s ideal for homeowners who want to handle minor, localized clogs without calling a professional.
- Internal Pipe Wrench: This tool is for removing broken pipe nipples from fittings. It works by expanding inside the pipe to provide grip for a standard wrench. It’s for situations where the pipe has snapped off flush with a wall or floor.
- Strap Wrench: This tool is for turning pipes with finished surfaces like chrome or PVC without scratching them. It uses a nylon strap to create friction. It’s for people who need to protect the look of exposed plumbing fixtures.
Deciding which tool to use begins with identifying the material of the pipe and the nature of the job. If you’re working with threaded iron gas lines, grab a heavy-duty pipe wrench to provide the necessary torque. If you’re installing copper water lines, a tubing cutter is required to ensure the ends are square for a proper seal.
For those working with modern PEX or press-fittings, a press tool is the primary choice to ensure a permanent, leak-free connection. These tools are often sold individually, and while some are interchangeable, picking the one specifically designed for your pipe material prevents damage and saves time. You can’t combine a pipe wrench and a press tool for the same task, as they serve entirely different mechanical functions in a plumbing system.
Related guides
- Foosball Resources: Where to Find Tactics and Gear in 2026
- Oven Alternative to Grilling: How to Broil Like a Pro in 2026
- Best Time to Test Pool Water: 5 Essential Testing Tools in 2026
Frequently Asked Questions
How do I know which size pipe wrench I need?
Choose a pipe wrench size that matches the pipe diameter to ensure a secure grip. A 10-inch or 14-inch wrench works for pipes up to 1 inch, while larger pipes require 24-inch or 36-inch tools. Always check the jaw capacity marked on the handle to ensure it spans the pipe width.
Is it safe to use a basin wrench on gas lines?
No, never use a basin wrench on gas lines because it’s designed for light-duty faucet nuts rather than high-torque gas piping. Gas lines require heavy-duty iron pipe wrenches to create a gas-tight seal. Using the wrong tool risks damaging threads or causing dangerous leaks.
How long do the press tool jaws last?
Press tool jaws typically last for several thousand cycles if kept clean and properly lubricated. Check your manufacturer’s manual for the specific service interval before professional inspection is required. Stop using the jaws immediately if you notice any cracks, chips, or excessive wear on the inner profile.
What happens if I over-tighten a pipe fitting?
Over-tightening a pipe fitting can cause the metal to crack or the threads to strip, resulting in difficult leaks. Stop turning once the joint feels firm, as the seal is likely already engaged. If a joint continues to leak after moderate tightening, disassemble it to check for damage.
Why is my tubing cutter leaving a jagged edge?
A jagged edge on copper pipe usually means the cutting wheel is dull or you’re applying too much pressure. Replace the cutting wheel if it shows signs of chipping and start with light pressure. Increase tension by only a quarter-turn after each full rotation to maintain a clean cut.
Does it matter which brand of fittings I use with a press tool?
Yes, press tools and fittings must be compatible to ensure a reliable seal. Mixing different brands can lead to incomplete crimps or leaks because tolerances vary. Always verify that your press tool manufacturer has approved the specific fitting brand you intend to use before beginning your project.
Conclusion
Select the correct tool for your pipe material and size to ensure you don’t damage your fixtures. You’ll know the tool is working correctly when the pipe is gripped firmly or the cut remains square. If you encounter a joint that refuses to seal, stop and contact a licensed plumber.