
Choosing the best under sink water filter involves balancing your home’s specific water quality issues against the available space under your basin. Most households find that a multi-stage carbon block system provides the most effective balance of contaminant removal and flow rate.
How your water filter cleans the sink supply
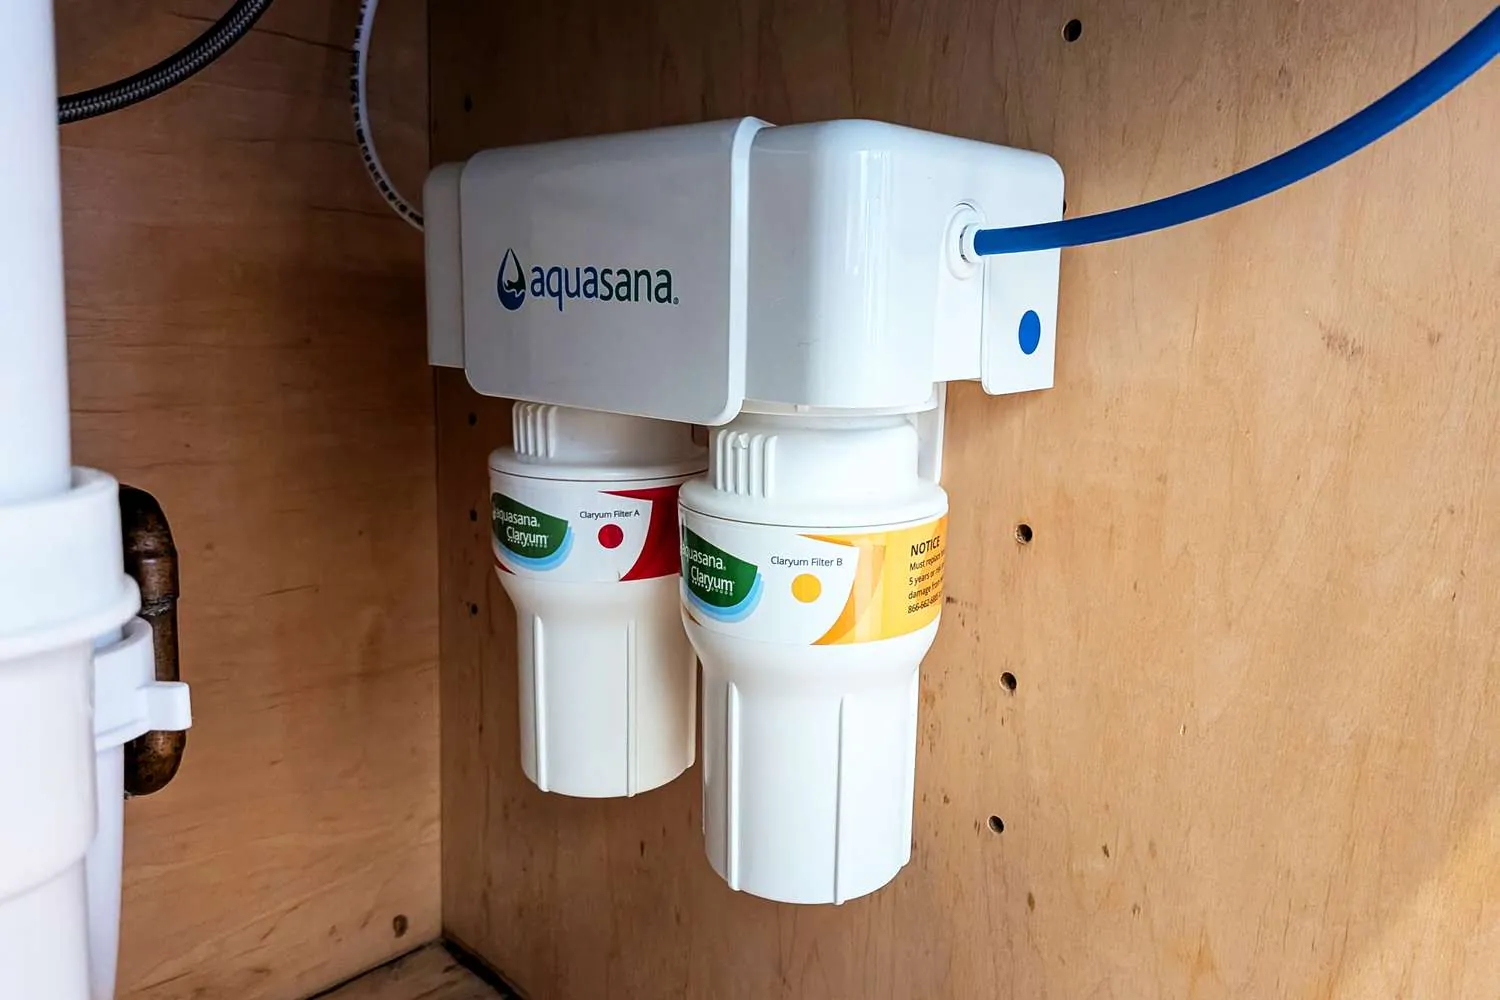
An under-sink filtration system connects directly to your cold water line, allowing treated water to flow through a dedicated faucet or your existing one. These units are designed for people who want high-quality drinking water without the hassle of filling pitchers or the waste of plastic bottles. Because they’re hidden in the cabinet, they keep your counters clear while providing a constant supply of filtered water.
A common misconception is that all filters remove the same contaminants. In reality, different filter media target different issues. Activated carbon is excellent at removing chlorine, taste, and odor, but it doesn’t remove dissolved minerals or certain heavy metals. Reverse osmosis systems are more robust, forcing water through a semi-permeable membrane to remove a wider range of impurities.
The core mechanism relies on contact time. Water must stay in contact with the filter media long enough for the adsorption process to happen. If the flow rate is too high, the water passes through without being properly cleaned.
This is why you should always check the manufacturer’s rated flow rate against your household’s peak water usage. You can verify your local water quality report by contacting your municipal water provider, which helps you decide if you need basic carbon filtration or a more advanced multi-stage system.
Installing Your Filtration System
- Turn off the cold water supply valve under your sink. Open the faucet to relieve any remaining pressure in the pipes.
- Use a wrench to disconnect the cold water supply line from the shut-off valve. Place a small bucket underneath to catch any trapped water.
- Attach the system’s inlet hose to the shut-off valve using the provided adapter. If the threads don’t match, use a brass reducer fitting.
- Connect the outlet hose to the dedicated faucet or the cold water line leading to your main faucet. Ensure all connections are tight but don’t overtighten, as this can crack plastic fittings.
- Mount the filter housing to the side wall of your cabinet. Leave at least 3 inches of clearance at the bottom so you can easily replace the cartridges later.
- Turn the water supply back on slowly. Check every connection for leaks before you fully open the valve.
- Flush the system by running the water for 10 minutes to remove any carbon dust or manufacturing residue.
The most important judgement call is ensuring the seals are perfectly aligned during installation. If you cross-thread a plastic connector, it will leak under pressure and potentially damage your cabinet floor. If you’re uncomfortable working with plumbing or if your home uses PEX piping that requires specialized tools, consult a licensed plumber to prevent accidental flooding.
Performance Metrics at a Glance
| Situation | What to use | How long | What to watch for |
|---|---|---|---|
| Chlorine taste | Carbon block | 6 months | Lower flow speed |
| Heavy metals | Reverse osmosis | 12 months | Waste water drain |
| High sediment | Pre-filter stage | 3 months | Cloudy water output |
| Lead concerns | NSF 53 certified | 6 months | Filter change light |
| Micro-organisms | UV light module | 12 months | Bulb failure signal |
A carbon block filter loses its efficacy once the pores become saturated with trapped organic compounds. If you notice the flow rate dropping by more than 20 percent before the six-month mark, replace the unit immediately. Waiting longer risks the trapped contaminants leaching back into your filtered stream.
Reverse osmosis systems require a steady incoming pressure of at least 40 PSI to function correctly. If your system produces more than four gallons of wastewater for every gallon of purified water, your membrane is likely scaled. Check your local water hardness; if it exceeds 7 grains per gallon, install a water softener upstream to double the membrane’s lifespan.
Sediment pre-filters are your first line of defense against pipe scale and sand. If your output water appears cloudy, your pre-filter is likely bypassed or fully clogged. Never exceed the three-month window, as a saturated pre-filter forces the downstream carbon block to work harder, leading to premature failure of your entire filtration chain.
When dealing with lead, look specifically for the NSF 53 certification mark on the packaging. Generic filters often remove taste but leave heavy metals untouched. If your indicator light fails to activate, rely on a physical calendar rather than the device. Relying on an electronic sensor alone can cost you months of exposure to undetected lead particles if the internal battery dies.
Maximizing Your Water Quality
Experienced users know that the secret to clean water is consistency. You must replace your filter cartridges according to the manufacturer’s schedule, even if the water still tastes fine. Carbon filters lose their ability to trap contaminants once the internal pores are saturated, which can lead to bacterial growth inside the housing if left for too long.
When you install a new cartridge, always note the date on a piece of tape or a sticker placed on the housing. This simple habit prevents you from guessing when the next change is due. If you notice a sudden drop in water pressure, it often means the filter is clogged with sediment. Experienced owners check the pre-filter first, as replacing a cheap sediment pad is much more cost-effective than replacing a high-end multi-stage block.
Avoid using harsh chemicals to clean the exterior of the housing, as these can leach into the plastic over time; a simple damp cloth is enough to keep the unit clean and functional.
Addressing Common Issues
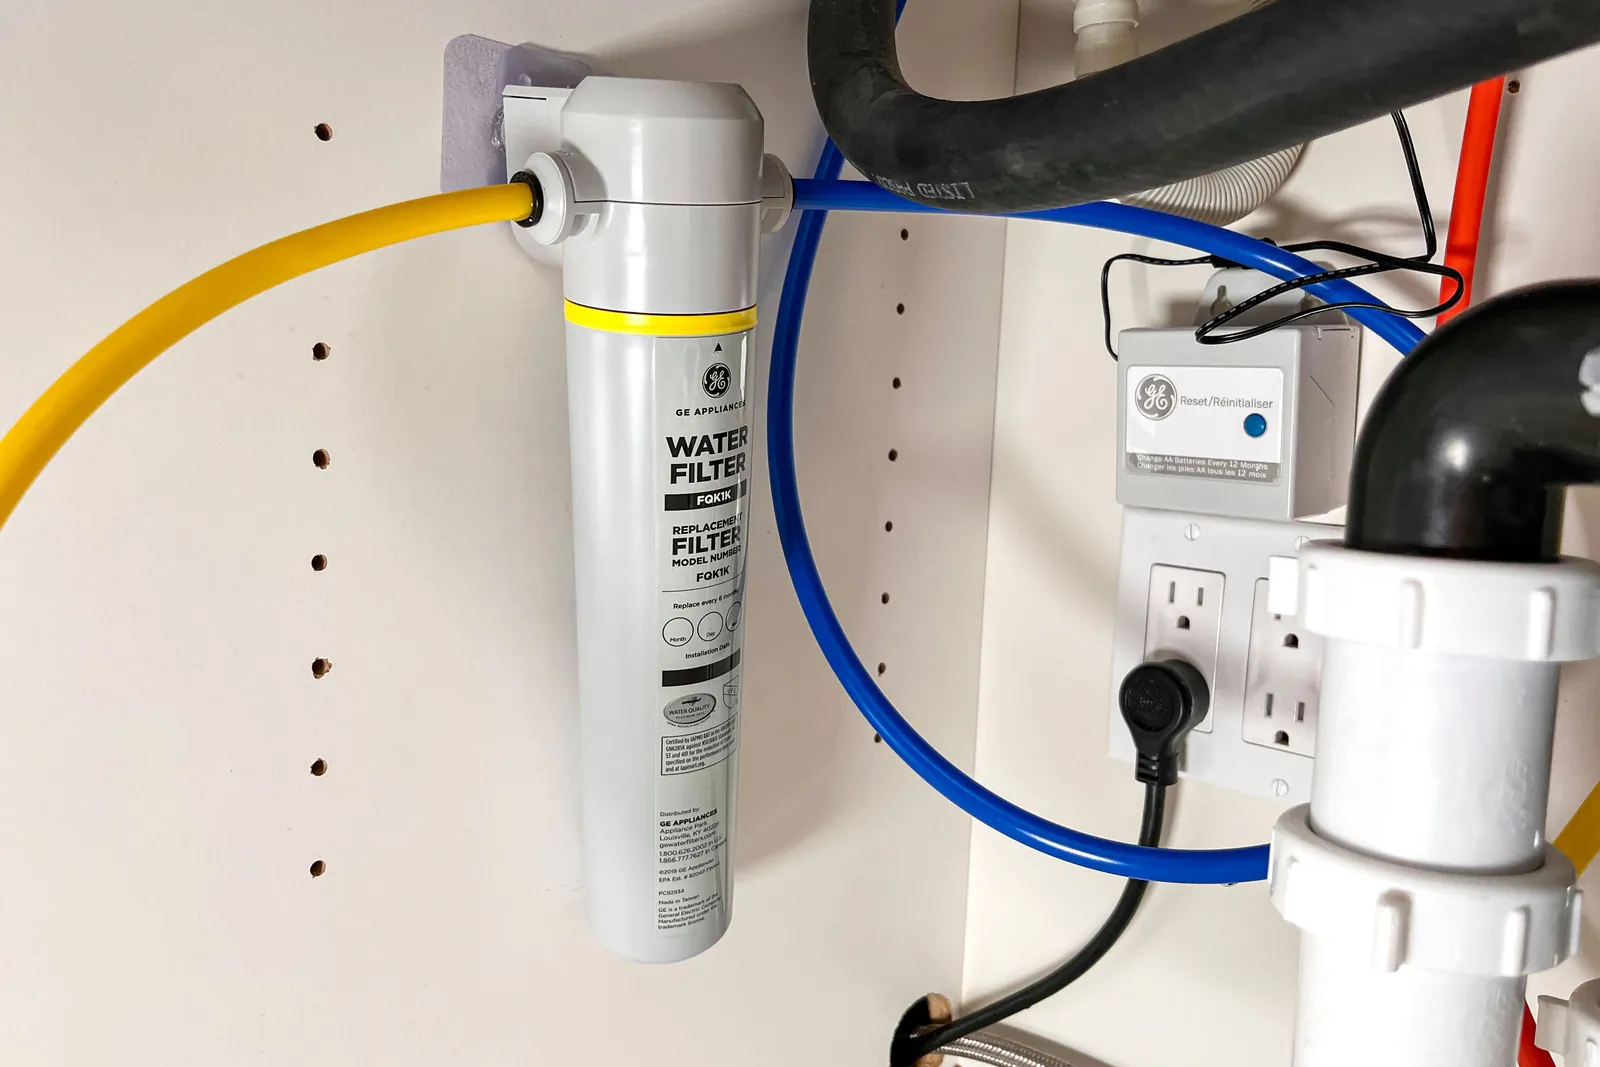
| What you notice | What it usually means | What to do first |
|---|---|---|
| Low flow rate | Clogged filter | Replace cartridge |
| Leaking at fitting | Loose connection | Tighten with wrench |
| Cloudy water | Air in lines | Flush for 5 minutes |
| Strange taste | Expired filter | Check change date |
If your flow rate drops suddenly, check the shut-off valve first. A partially closed valve mimics a clogged filter but costs nothing to fix. If the pressure remains low after opening the valve fully, replace the cartridge immediately to prevent pump strain.
When you see water pooling at a fitting, don’t overtighten the nut. Plastic threads crack easily under excess torque. If a quarter-turn with a wrench doesn’t stop the drip, disassemble the joint and check the O-ring for debris or nicks. A damaged seal is the most common cause of persistent leaks.
Cloudy water often clears within seconds after a filter change as trapped air escapes. If the water remains milky after five minutes, test a sample in a clear glass. If the bubbles rise from the bottom, it’s air. If the water stays opaque, you likely have a sediment issue that requires a pre-filter.
A strange taste usually signals a spent carbon block. If you have replaced the filter recently and the taste persists, the problem is likely stagnant water in the lines. Flush the system for ten minutes. If the metallic or chemical flavor remains, your source water chemistry has shifted, and you need a specialized resin filter.
Regulatory Standards and Compliance
When selecting a system, look for independent testing to ensure quality. These systems are evaluated for their ability to remove specific contaminants, providing a clear framework for performance.
If you’re concerned about specific contaminants like PFAS or arsenic, check that the system is explicitly certified to remove those substances. Never assume a “multi-stage” system removes everything; always read the performance data sheet provided by the manufacturer. This document reveals the actual reduction percentage for each contaminant. If the data sheet shows a reduction rate below 90% for a primary toxin, look for a different model.
Many buyers mistake “tested for” with “certified for.” A system tested for a contaminant may show poor results, while a certified system must meet strict pass-fail criteria. Always verify the specific certification number on the NSF database rather than relying on marketing claims on the box.
If you’re installing a reverse osmosis system, be aware that these units require a drain line connection. If your local building codes prohibit direct connections to the drain, you may need a specialized air gap faucet to stay in compliance with plumbing regulations. Failure to install this air gap can lead to cross-contamination, where wastewater flows back into your clean supply.
Check your municipal plumbing code before starting; most cities require an inspection if you modify the main drain line. If you’re in a rental property, confirm that your lease allows permanent modifications to the under-sink plumbing, as some landlords require professional installation to maintain insurance coverage.
Maintaining Your System
Once your filter is active, the primary maintenance task is monitoring the flow rate. As a filter collects particles, the resistance increases, naturally slowing the water output. If you notice it takes twice as long to fill a glass as it did when the filter was new, it’s time for a change. Most systems use a standard canister size, but verify your specific model number before buying replacements to ensure the O-rings match.
A common mistake is waiting for the taste of the water to change before swapping the cartridge. By the time you detect a flavor shift, the filter media is often oversaturated, which can lead to bacterial growth inside the housing. Check your owner’s manual for the recommended replacement frequency based on your specific usage.
Store spare filters in a cool, dry place away from direct sunlight. Exposure to heat degrades the plastic packaging and compromises the integrity of the filter media. If you live in an area with high humidity, keep spares inside a sealed plastic bin to prevent the carbon from absorbing ambient moisture.
If you plan to be away for more than two weeks, turn off the water supply to the unit and drain the lines. Stagnant water sitting in a warm housing becomes a breeding ground for microorganisms. When you return, flush the system for at least 5 minutes to ensure no stagnant water remains.
Choosing Alternative Solutions
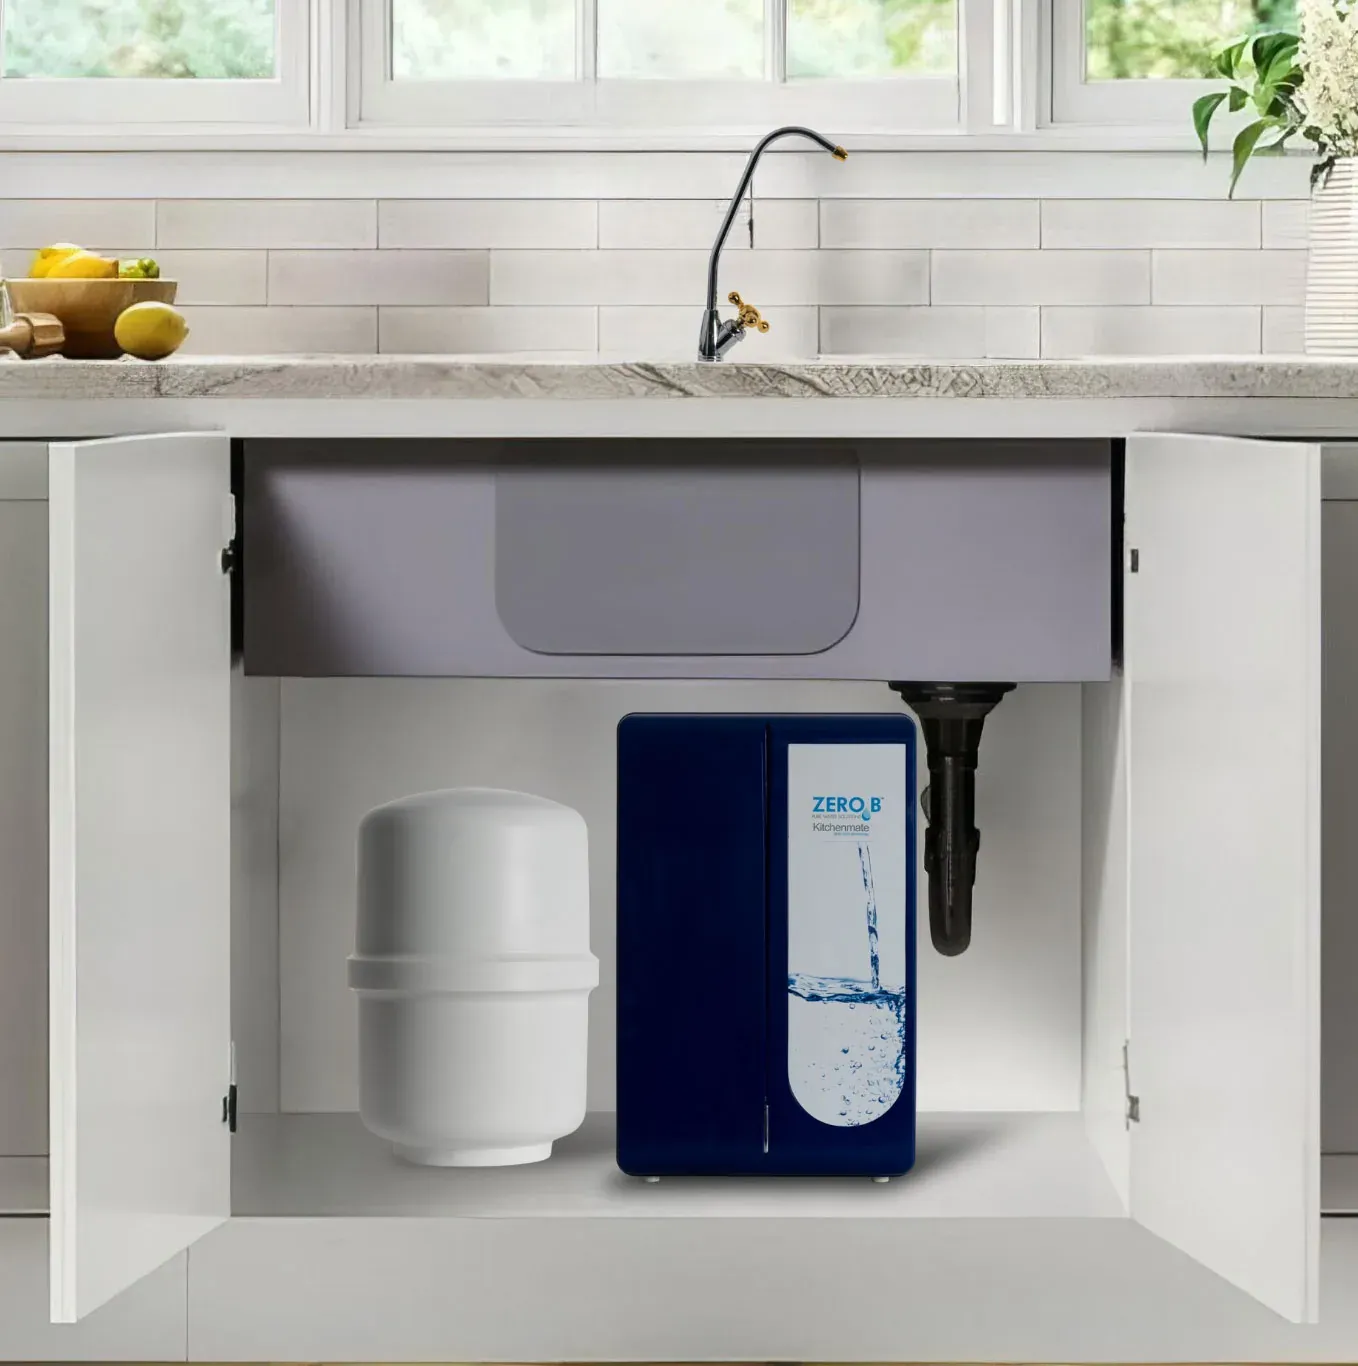
If your water quality issues are severe, such as high levels of dissolved solids or widespread chemical contamination, an under-sink unit may not be enough. In these cases, a whole-house filtration system is often the better choice. This addresses the water before it enters your pipes, protecting your appliances and plumbing from mineral buildup and corrosion.
Install a whole-house system if you notice orange stains on bathroom fixtures or if your water heater elements fail prematurely. If your primary concern is merely the taste of municipal chlorine, a whole-house unit is overkill and will waste money on unnecessary filter replacements. Stick to point-of-use systems in that scenario, replacing cartridges according to your owner’s manual based on your usage.
For renters who can’t modify their plumbing, a countertop filtration system offers a similar experience without the need for tools. These units connect to your existing faucet via a diverter valve and can be removed easily when you move. Verify that your faucet has a standard aerator thread before purchasing; if you have a pull-down sprayer or a designer faucet, a countertop unit won’t fit.
If you only need to remove chlorine for drinking and cooking, a simple gravity-fed pitcher might suffice. If you fail to track this, the filter becomes a breeding ground for bacteria, potentially making your water quality worse than if you had used nothing at all.
Use a permanent marker to write the replacement date directly on the pitcher lid to avoid this health risk. If you require high flow rates for a large family, skip the pitcher and invest in a plumbed-in system.
Related guides
- Does Iron Float in Water? Why Solid Blocks Always Sink in 2026
- Best Hot Tub Water Monitoring Systems: Our Top 10 Picks in 2026
- Does Lead Float in Water? The Simple Answer Explained in 2026
Frequently asked questions
How long do under sink water filters last?
Most under sink water filters last about six months, though this depends on your water usage and local sediment levels. Always check the manufacturer’s performance data sheet for the total capacity in gallons, which is a more accurate measure than time alone.
Can I install an under sink filter myself?
Yes, you can install most under sink filter kits yourself if you have basic tools like a wrench and a screwdriver. You should be able to turn off the water supply and disconnect the cold water line under your sink without needing professional help. If your pipes are old, corroded, or made of material you’re unfamiliar with, call a plumber to avoid a leak that could damage your kitchen cabinets.
Is it safe to drink water from an under sink filter?
Yes, it’s safe to drink water from an under sink filter, provided you follow the manufacturer’s maintenance schedule for replacing the cartridges. A filter that isn’t changed on time can become a breeding ground for bacteria or stop removing contaminants effectively. Always look for systems certified by independent testing bodies like NSF to ensure the device performs as advertised for your specific water concerns.
How do I know when to change my water filter?
You’ll know it’s time to change the filter when you notice a significant drop in water pressure at the dedicated tap. If the water starts to have a slight taste or odor, this is a clear sign that the filter media has reached its capacity and must be replaced immediately.
What happens if I don’t change the filter on time?
If you don’t change the filter on time, the filter media will become saturated and stop trapping contaminants, allowing them to pass directly into your glass. In some cases, the trapped organic material can begin to grow mold or bacteria, which can negatively impact the quality of your water. Replacing the filter at the suggested interval ensures you’re always drinking clean, filtered water as intended by the system.
How much does it cost to maintain an under sink filter?
The annual cost to maintain an under sink filter typically ranges from $50 to $150, depending on the system’s complexity. Always check the price of replacement cartridges before buying the system, as the long-term cost of these parts determines the true affordability of the unit over time.
Conclusion
Regularly monitoring your filter’s performance and keeping to the recommended replacement schedule ensures your system provides clean, consistent water. If you ever have doubts about the quality of your water, contact your local water utility for a current report or use a certified testing kit to verify the output of your system.