
For most pilots, the dji avata vs dji avata 2 comparison shows that the newer model is the better investment because it offers significantly better image quality and easier flight controls. If you already own the original drone and only fly occasionally, you won’t see enough changes to justify the upgrade. The Avata 2 features a larger image sensor and improved stabilization, making it the superior choice for those who want to capture high-quality cinematic footage without years of practice.
Comparing FPV drone models
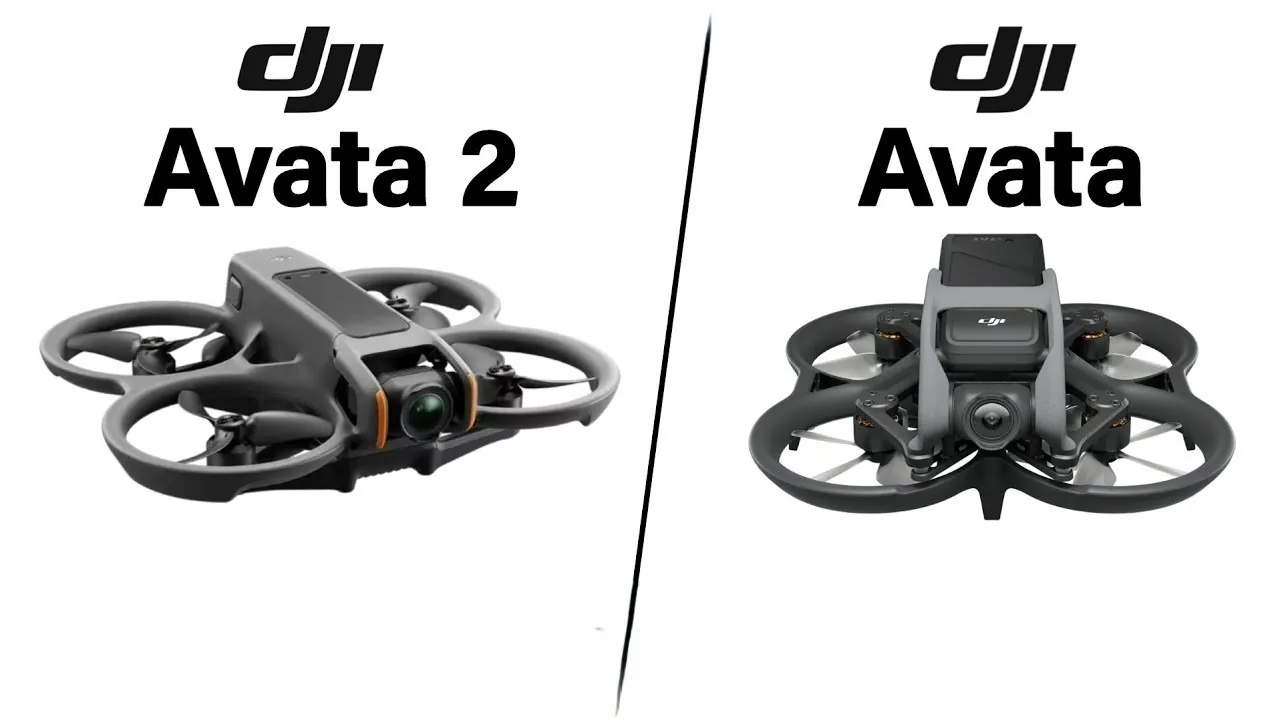
Choosing the right drone depends on your experience level and your primary goals. The original Avata is a rugged, compact drone built for beginners, while the Avata 2 refines those features with superior battery life and a more intuitive motion controller.
| Method | How long | Effort | Cost | Best for |
|---|---|---|---|---|
| Avata 1 | 18 mins | Medium | Low | Tight spaces |
| Avata 2 | 23 mins | Low | Medium | Cinematic video |
| Manual FPV | 5-10 mins | High | High | Racing/Stunts |
This table assumes standard flight conditions with minimal wind. If you fly in temperatures below 40°F, reduce these flight times by 20% to account for rapid battery drainage. A common mistake is buying the Avata 1 to save money, only to find the lack of a modern sensor makes low-light footage unusable. If you prioritize image quality, the Avata 2 is the mandatory choice.
Decide based on your intent. If you want to learn Acro mode and perform flips, choose a manual FPV build. If you want to capture stable, high-definition footage of landscapes, choose the Avata 2.
The decision rule is simple: if you’re flying indoors or near obstacles, the durability of the Avata 1 is your best insurance policy. If you’re flying outdoors where range and image fidelity matter, the Avata 2 is the only logical path. Always verify the sensor size in the manufacturer specs before purchasing, as the Avata 2 features a larger CMOS sensor that significantly reduces noise in shadows.
The original Avata experience
The original Avata introduced many people to the world of First-Person View (FPV) flight through its built-in propeller guards and simple interface. It’s a sturdy machine, but it lacks some of the modern software refinements found in newer releases.
- Power on the drone and the goggles, ensuring the antennas are tightened.
- Calibrate the compass on a flat, non-metallic surface to avoid signal drift.
- Use the Motion Controller to steer by tilting your wrist rather than using traditional sticks.
- Keep the drone within line-of-sight if you’re flying in areas with dense trees or buildings.
If you notice the drone drifting during a hover, stop immediately. You likely calibrated near a hidden metal object like a rebar-reinforced concrete slab. Move at least ten feet away and recalibrate to prevent a flyaway.
This model is excellent for learning the basics of drone movement without the fear of immediate crashes. However, its image stabilization can struggle in low-light conditions, often resulting in “jello” or vibration artifacts in your video files. If you’re shooting at dusk, lock your shutter speed to double your frame rate to mitigate this blur.
This isn’t for people who need professional-grade color depth, as the older sensor has a limited dynamic range compared to current standards. If you require high-fidelity grading in post-production, you’ll find the highlights clip far too quickly. Use this drone for practice or casual social media clips rather than commercial cinematography.
The Avata 2 performance
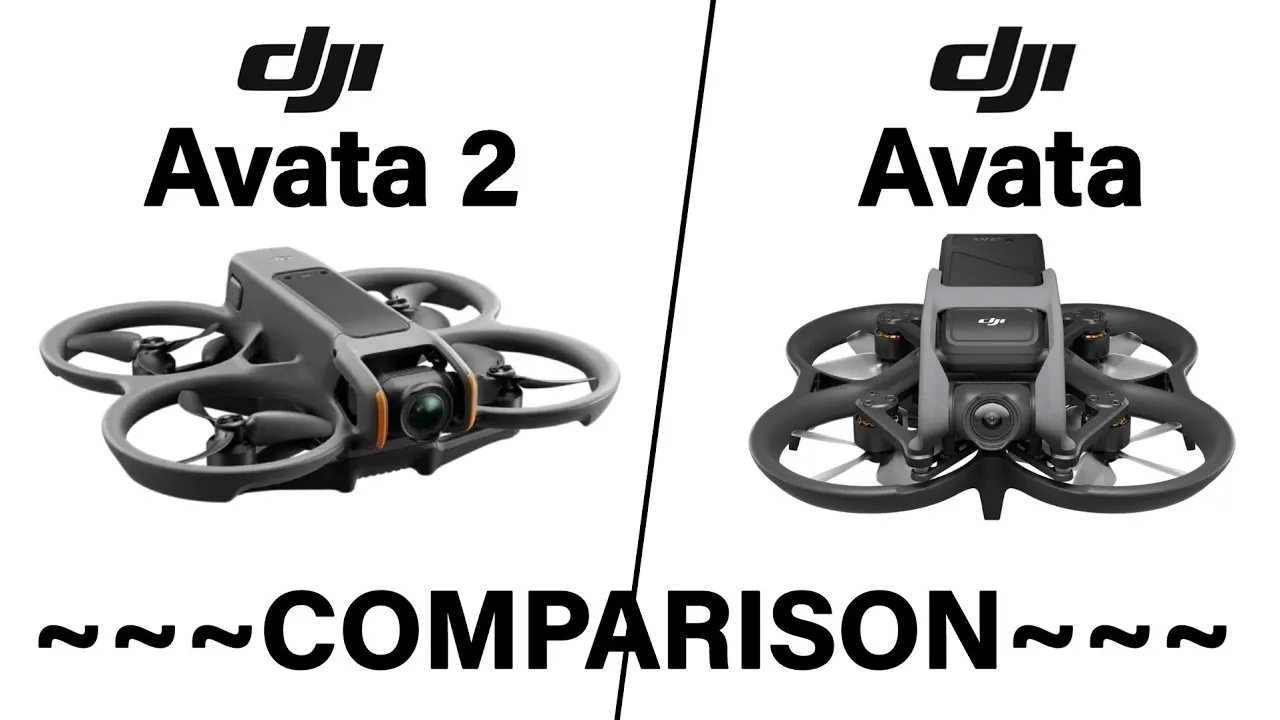
The Avata 2 focuses on making the flight experience smoother and more reliable for the average user. Its updated sensors allow for better obstacle detection and more stable hovering, which is helpful when you’re trying to capture specific shots.
- Update the firmware using the DJI Fly app before your first takeoff.
- Pair the Goggles 3 and the Motion Controller 3 through the device menu.
- Select “Normal” mode for your first flight to keep the speed manageable.
- Use the “Easy ACRO” feature to perform flips or rolls with a single button press.
The biggest strength here is the improved 1/1.3-inch CMOS sensor, which performs much better in varied lighting. This sensor provides a wider dynamic range, specifically reducing the blown-out highlights often seen in high-contrast outdoor environments.
A common mistake people make is flying with the propeller guards removed to save weight. This costs them the primary safety feature that makes this drone unique. If you’re flying near people or through narrow gaps, keep the guards attached.
The decision rule is simple: if your flight path includes any solid objects within three feet, the guards must stay on. Always prioritize the structural integrity of your props over marginal gains in agility.
Manual flight for experts
If you want total control, you can switch to manual flight mode using a traditional remote controller. This bypasses the safety software that keeps the drone level, allowing for aggressive maneuvers that the standard motion controller can’t perform.
-
Toggle the flight mode switch on your remote to “M” mode.
-
Manually manage the throttle to maintain altitude, as the drone won’t hold its position. Without the flight controller’s self-leveling, the drone will continue moving in the direction of its last tilt until you physically counteract it.
-
Practice in an open field to learn how the drone reacts to wind and momentum. Focus on “throttle management,” where you adjust power to compensate for the drone’s angle.
-
Use the “Emergency Brake” button on your controller if you lose orientation.
This method is for those who want to perform high-speed racing or complex cinematic dives. A major limit of this approach is the risk to your equipment; in manual mode, the drone has no assisted hovering, so a small error will result in a hard crash.
The most common mistake is over-correcting during a turn, which causes the drone to flip. If you find yourself oscillating, reduce your stick inputs rather than fighting the movement. If you aren’t familiar with manual flight, spend at least ten hours in a flight simulator on a computer before trying this with a real drone. If you can’t land smoothly in the simulation, don’t attempt a real flight.
Which drone should you use?
Choosing between these models comes down to your specific needs. If you’re in a hurry to get flying, the Avata 2 is the better choice because it’s much easier to set up and requires less time to learn the control scheme.
If you’re a beginner, the Avata 2 is superior because its improved safety software and omnidirectional obstacle avoidance provide a safety net the original model lacks. The original model’s lack of rear sensors often leads to costly propeller damage during reverse maneuvers in tight spaces.
If you want the best possible result, the Avata 2 wins again due to its significantly better image quality and color reproduction in daylight. It handles high-contrast scenes with a 10-bit D-Log M color profile, which provides more flexibility for professional color grading.
The trade-off is between the low cost of the older model and the refined performance of the newer one. If you’re on a strict budget, the original Avata is still a capable tool for learning. However, you’ll find yourself limited by its older sensor technology and shorter battery life.
Use this decision rule: if you intend to fly in open fields, the original model saves you money. If you plan to navigate complex environments like forests or urban areas, the Avata 2 is the only logical investment. Choosing the wrong unit for your environment typically results in a total loss of the aircraft within the first ten flight hours.
Rules for safe operation
Regardless of which model you choose, you must follow basic aviation safety rules to keep your drone and the public safe. Always check your local regulations regarding registration and flight zones before you take off.
- Register your drone with the aviation authority in your country if the weight exceeds the legal threshold.
- Check for temporary flight restrictions or “no-fly” zones using official government mobile apps.
- Maintain a clear view of your drone at all times to avoid collisions with birds or other aircraft.
- Inspect your propellers for cracks or chips after every flight; even a small nick can cause a vibration that leads to a motor failure mid-air.
Flying in restricted areas or without proper registration carries real risks, including heavy fines or the confiscation of your equipment. If you’re unsure about the laws in your area, contact your national civil aviation department for a map of permitted flight zones.
Related guides
- Kettle vs Electric Kettle: Which One Should You Choose in 2026
- Which Oven Is Best for Baking: The Professional Choice in 2026
- Convection Oven vs Electric Oven: Which One Do You Need in 2026
Frequently Asked Questions
Is it safe to fly the Avata 2 indoors?
Yes, it’s safe to fly indoors because the Avata 2 has integrated propeller guards and improved sensors that help it stay stable in tight spaces. You should ensure you have at least 10 feet of clearance in all directions and clear the room of fragile objects.
How long does the battery last?
The battery lasts for about 23 minutes under ideal, calm conditions with the Avata 2. This time will decrease if you fly in high-speed modes or against strong winds, so always land when your battery reaches 20% to ensure you have enough power for a safe return.
Can I use the original goggles with the Avata 2?
No, the Avata 2 requires the Goggles 3, which aren’t compatible with the original Avata goggles. The internal communication protocols are different, meaning you must purchase the new headset to use the updated features like the improved video transmission system.
Why is my drone drifting while hovering?
Your drone is drifting because the compass or inertial measurement unit (IMU) needs to be calibrated on a level surface. If the problem persists after calibration, check for magnetic interference from nearby metal structures or large electronic devices that might be confusing the sensors.
What happens if I lose the signal?
The drone will automatically trigger a “Return to Home” sequence if it loses connection with the controller for more than a few seconds. Ensure your home point is set correctly before takeoff so the drone knows exactly where to land if the signal fails.
How much does it cost to repair a crash?
The cost varies based on which parts are damaged, but a full motor or arm replacement is generally inexpensive compared to buying a new unit. You can view the official repair price list on the manufacturer’s website to get an estimate based on your specific region and the current labor rates.
Conclusion
Ultimately, your choice depends on whether you value top-tier visuals or simply enjoy casual flying. If you’re ready to level up your aerial photography, head to your local hobby shop to test the controls yourself. You’ll quickly see how these improvements make capturing stunning, smooth video feel like a breeze.