
You should start your oven 15 to 20 minutes before you plan to put your food inside, as the best time to preheat the oven is when you begin your final preparation steps. This gap allows the internal air and the oven walls to reach a stable temperature before you start cooking.
This timing assumes a standard residential electric or gas oven. If you have an older model or a very large unit, you might need to add five to ten minutes to that window. The specific type of food you’re cooking also changes the required stability of the heat.
Why you need to preheat your oven time
Home cooks who want their recipes to turn out exactly as the instructions describe are the primary readers for this page. You likely follow recipes that specify a starting temperature and are frustrated when your baked goods, like cookies or cakes, don’t rise or brown as expected. You need a reliable method that doesn’t waste electricity or gas by running the appliance for an hour before it’s needed.
This page serves best the reader who uses a standard, modern oven and wants to avoid the common mistake of putting food in before the appliance is ready. If you use a professional-grade convection oven with rapid-heat technology, you should check the manufacturer’s manual, as those units often reach target temperatures in under ten minutes. The assumption here is that your oven is in good working order and that you’re using a standard baking set-up. If your oven has a broken thermostat or a faulty heating element, you’ll need to use an external oven thermometer to verify the actual heat levels, regardless of what the digital display shows. This page isn’t for people using industrial kiln-style ovens or specialized wood-fired equipment where the heating process involves complex fuel management.
Factors that change heating speed
The internal volume of your oven is the biggest factor in how long it takes to reach the target temperature. A larger cavity requires more energy to heat the air and the heavy metal racks inside. If you have a double oven, the total time to heat both sections will be longer than a single unit, and you should account for this when preparing your kitchen schedule.
The thickness and material of your baking trays also play a role in the total time required for your dish to cook properly. Heavy cast iron or thick steel pans absorb significant heat when they first go into the oven, which can temporarily drop the internal air temperature. If you use heavy cookware, allow an extra five minutes of preheating to ensure the walls of the oven are saturated with heat.
The current room temperature of your kitchen affects the start time, especially during winter months. If your kitchen is very cold, the oven has to work harder to overcome the initial temperature difference. Most people forget that the door seal is a major variable; if your oven door doesn’t close tightly or has a worn gasket, heat escapes constantly. This makes it impossible for the unit to maintain a steady temperature, leading to uneven results.
People often make the mistake of trusting the “preheat complete” beep too early. Many ovens signal that they’re ready as soon as the air sensor hits the target, but the metal walls may still be cool. Waiting an additional five minutes after the beep ensures that the heat is radiating evenly from all sides of the oven, which is essential for consistent baking results.
Steps to achieve accurate heat
- Clear the oven of any stored pots or pans that you don’t need for your current recipe.
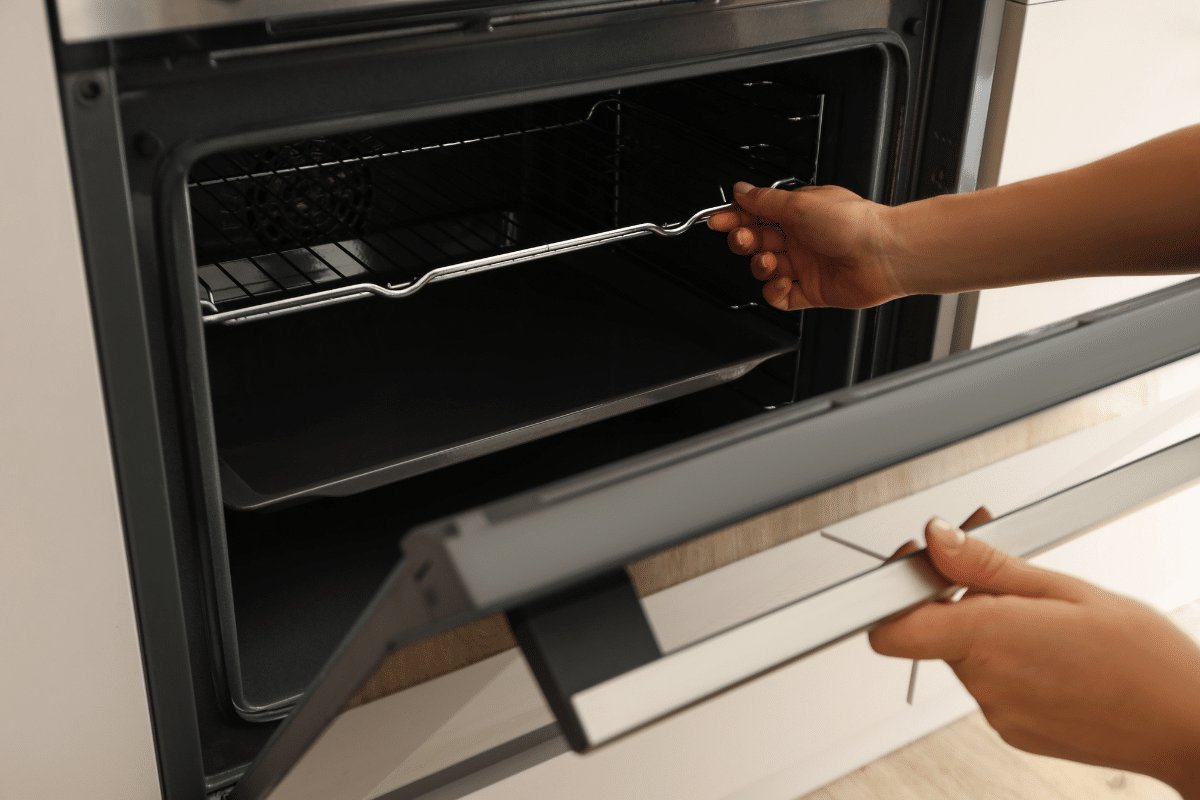
- Position the oven racks at the required height before you turn the heat on.
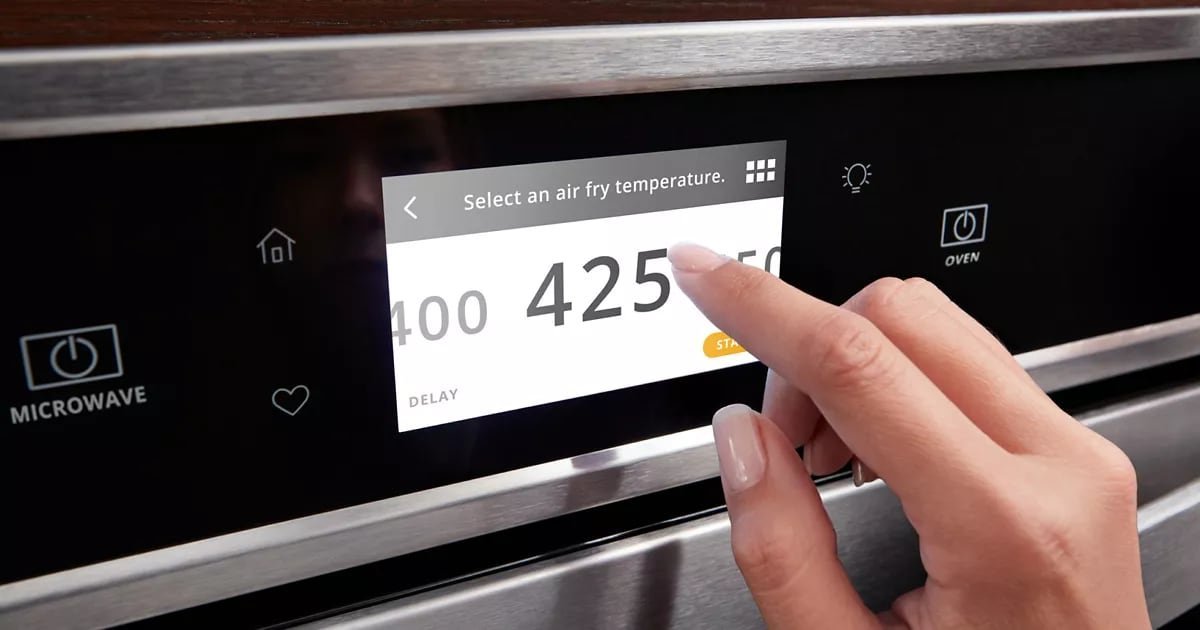
- Turn the dial or press the digital buttons to your desired temperature.
- Set a manual timer for 15 minutes as a buffer, even if your oven has an automatic preheat signal.
- Check that the door is fully latched and the seal isn’t obstructed by crumbs or grease.
- Verify the oven is ready by using an oven thermometer placed on the center rack to ensure the air temperature matches your setting.
- Place your food in the center of the oven quickly to prevent a large drop in temperature.
- Close the door immediately and don’t open it again until the shortest recommended cooking time has passed.
The single most important judgement call is deciding when the oven is truly ready. If you open the door to peek at your food before the oven has fully stabilized, you lose significant heat. Resist the urge to check on the dish during the first half of the cooking time.
Heating variations at a glance
| Situation | What to do | What it takes | Watch for |
|---|---|---|---|
| Standard baking | Preheat 20 minutes | 15-20 minutes | Steady heat |
| Large double oven | Preheat 30 minutes | 25-30 minutes | Both zones |
| Rapid-heat setting | Follow manual | 5-10 minutes | Quick rise |
Many people fail by relying solely on the oven’s “ready” chime. That beep often signals the air temperature has peaked, but the oven walls remain cold. This causes a massive heat drop the moment you open the door.
If you’re baking delicate pastries, ignore the chime. Wait an additional ten minutes to ensure the thermal mass of the interior walls is fully saturated.
If your kitchen temperature falls below 65 degrees, your oven works harder to compensate for the ambient chill. In this case, always add five extra minutes to your preheat cycle. Failing to do so results in uneven browning and sunken centers.
When using heavy cast iron, the pan acts as a heat sink. It will pull energy away from the air, delaying your bake time significantly. Place your cookware inside during the preheat phase if you want a crisp crust. If you add the pan after the oven is hot, you must extend the bake time by at least seven minutes to account for the recovery period.
Signs of a successful preheat
Reading the heat correctly
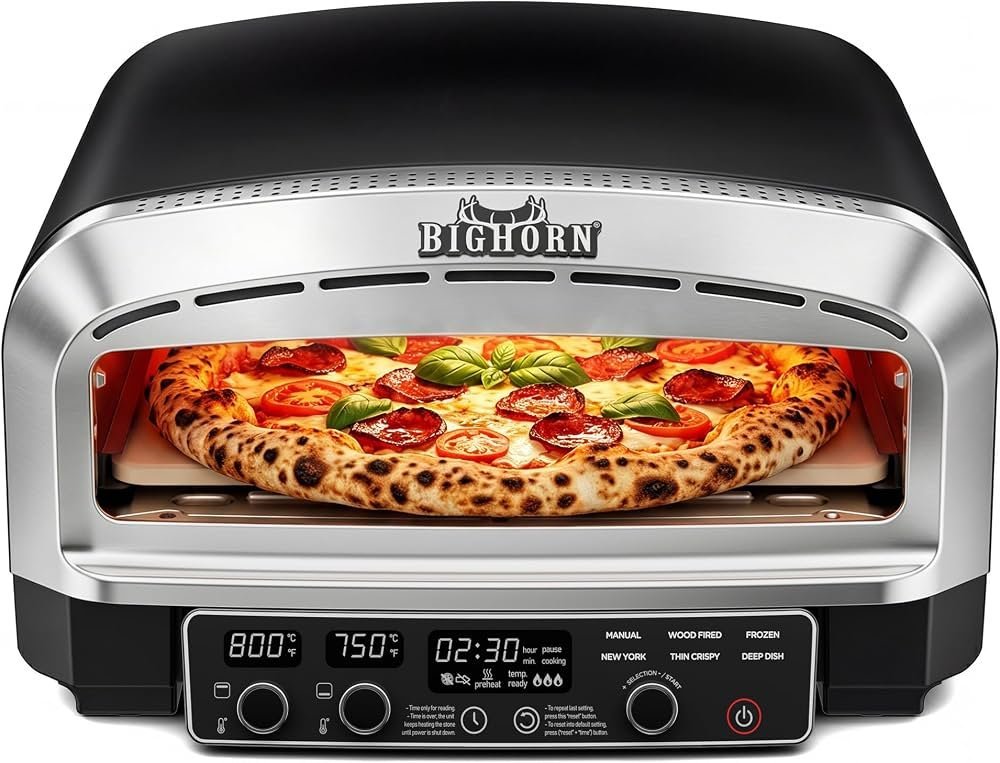
You know the oven is ready when an independent thermometer inside the unit shows the target temperature for at least three minutes without fluctuating. If the needle or digital reading continues to climb, the oven is still absorbing energy. Beginners often put food in the moment the oven light turns off, but this can lead to a soggy bottom on pizzas or bread because the floor of the oven hasn’t yet reached the required heat. Always trust the external thermometer over the internal display if you notice your food is consistently undercooked.
Maintaining the environment
Experienced cooks keep the oven door closed to trap the heat inside the cavity. If you’re baking multiple trays, rotate them quickly and only when necessary. If you see the internal temperature drop on your thermometer after you load the food, don’t panic; this is normal. Just ensure the oven isn’t being overloaded, as too many items will block the airflow and prevent the heat from circulating around your food.
Common heating issues
| What you notice | What it usually means | What to do first | How to stop it |
|---|---|---|---|
| Food is pale | Oven not hot enough | Use thermometer | Preheat longer |
| Burnt edges | Heat spike | Lower temperature | Check thermometer |
| Uneven browning | Poor airflow | Rearrange racks | Don’t crowd |
| Slow cooking | Door leak | Check gasket | Clean the seal |
| Long heat time | Old thermostat | Call technician | Use thermometer |
Many people mistake a pale crust for a lack of time, but the real culprit is usually a short preheat cycle. Even if your oven beeps, the walls often need ten extra minutes to radiate heat evenly.
If your food shows burnt edges while the center remains raw, your oven is likely cycling too aggressively. Place a standalone oven thermometer in the center rack to see if the internal temperature swings more than 25 degrees from your set point.
Crowding is the most common error. If you block the convection fans or the bottom heating element, heat can’t circulate. A good rule is to leave at least two inches of space around every pan.
Finally, check your door seal by closing it on a thin strip of paper. If the paper slides out without resistance, you’re losing heat. A loose gasket can add 20 minutes to your cook time and drive up your energy bill.
Regulations and safety standards
The way your oven performs is governed by design standards set to meet regional energy and safety requirements. In the United States, appliances must comply with testing standards established by groups like Underwriters Laboratories (UL) to ensure that electrical or gas components don’t pose a fire risk during the heating phase.
If you smell gas or notice sparks when you turn your oven on, stop using it immediately. These aren’t DIY problems. You must contact a licensed technician to inspect the heating elements or gas lines, as a damaged component can cause a fire or carbon monoxide buildup.
Many owners mistakenly assume that a tripped circuit breaker is merely a power surge. If your breaker trips twice in one week, treat it as a warning of a short-circuiting heating element rather than a fluke. Continued use in this state risks melting internal wiring insulation, which often leads to permanent damage to the control board.
Never attempt to bypass safety interlocks or open the metal housing yourself. If you’re unsure about the safety of your unit, check the manual for the recommended maintenance schedule. If the unit is older, prioritize a professional inspection of the door seal, as a compromised gasket allows heat to escape and triggers premature component failure.
The real cost of preheating
The cost of preheating is measured in both time and energy. A typical electric oven uses between 2,000 and 3,000 watts per hour. If you preheat for 45 minutes instead of 15, you’re using double the energy required for the task. While a single instance costs only a few cents, these costs add up over a year of daily cooking.
You can reduce this cost by planning your meals so that you bake items back-to-back, which keeps the oven hot without needing to restart the heating cycle. If you’re baking multiple batches, keep the door closed and use the residual heat to finish the second tray.
The most expensive cost is actually the waste of ingredients. If your oven isn’t at the right temperature, your expensive proteins or delicate pastries won’t cook properly, leading to wasted food. A common mistake is trusting the “ready” chime too early; most ovens reach the set temperature at the sensor, but the walls and air remain cooler.
Wait an additional five minutes after the beep to ensure even heat distribution. If you’re roasting meat, this delay prevents a burnt exterior and a raw center. Always check your utility provider’s website for current electricity or gas rates if you want to calculate the exact cost for your specific area.
Managing your oven afterwards
Once the timer goes off, remove your food promptly to stop the residual cooking process. If you must keep the dish warm, turn the oven off and leave the door slightly ajar to vent excess heat, or move the food to a pre-warmed serving dish.
When the oven cools to a touchable temperature, wipe away spills while the cavity remains slightly warm. Hardened grease bonds to the enamel over time, requiring abrasive scrubbing that ruins the finish. If the spill is sugary, clean it immediately; sugar carbonizes into a permanent black stain that can cause hot spots during future cycles.
Never use harsh chemical cleaners unless the manual specifically permits them. These agents often strip the protective coating, leading to premature rusting.
If you detect a gap, replace the seal before the next use.
Finally, ensure the bottom vents remain clear. If residue blocks these slots, airflow stalls, leading to uneven browning. Use a damp cloth and mild soap to clear these channels, ensuring the air circulates freely for your next session.
When to avoid this method
If you’re cooking a slow-roasted dish like a large brisket or a whole turkey, the preheat time is less critical because the long cooking duration will compensate for the initial temperature fluctuation. In these cases, you don’t need to stress about the exact 15-minute window. If you’re using a recipe that specifically calls for a “cold start” method, such as certain types of bread or specific stews, following the preheat rule will actually ruin the result. Always read the recipe instructions entirely before you start. If you’re dealing with a faulty appliance that takes over an hour to heat up or fails to maintain a consistent temperature, you should stop using it for sensitive baking until a professional can replace the thermostat.
Can I preheat my oven while the food is inside?
No, putting food in a cold oven usually leads to uneven cooking and poor texture. Most recipes rely on a hot environment to trigger the initial rise in cakes or the crisping of crusts. Starting from cold makes it impossible to time your recipe accurately, as different ovens heat at different rates.
How long does it take to preheat to 400 degrees?
Most standard ovens take about 15 to 20 minutes to reach 400 degrees. This assumes the oven is empty and the door remains closed. If your oven is older or has a large cavity, it may take closer to 25 minutes to fully stabilize at that temperature.
Is it necessary to preheat for roasting vegetables?
Yes, preheating is necessary for vegetables because the high initial heat is what creates the desired browning and caramelization. If you put vegetables into a cold oven, they will steam in their own juices rather than roast, resulting in a mushy texture instead of a crisp, golden finish.
What happens if I open the oven door too often?
Opening the door causes a rapid drop in temperature that forces the heating elements to work harder, which can lead to uneven cooking. This also extends the total cooking time and can cause delicate items like soufflés or cakes to collapse. Only open the door when you absolutely must rotate or check the dish.
Does the oven light tell me when it’s ready?
No, the oven light or the “preheat” beep usually indicates that the air sensor has reached the target, not that the entire oven is ready. The metal walls and racks often need an extra five minutes to soak up enough heat to maintain the temperature once you open the door to put your food inside.
How can I tell if my oven is heating correctly?
The best way to tell is by placing an independent oven thermometer on the center rack and comparing its reading to your dial. If there’s a consistent difference of more than 25 degrees, your oven’s thermostat may be miscalibrated. This is a common issue that a technician can fix or that you can adjust for by setting your dial slightly higher or lower.
Start by preheating your oven 20 minutes before you plan to cook, using an internal thermometer to verify the heat. Once the temperature is steady, place your dish inside and close the door immediately to lock in the heat. If you notice your food is constantly undercooked or burnt, contact a professional to inspect your oven’s thermostat or heating elements.
Related guides