
Yes, you can make yogurt in a slow cooker by heating milk to 180°F to denature proteins, then cooling it to 110°F to incubate with a starter culture. This process relies on maintaining a consistent, low heat for several hours to allow the bacteria to ferment the milk sugars into lactic acid.
The outcome depends on three main variables: the accuracy of your slow cooker’s “warm” setting, the freshness of your yogurt starter, and the fat content of the milk you choose. If your slow cooker runs too hot, it will kill the beneficial bacteria; if it stays too cool, the milk won’t thicken.
Can I make yogurt in a slow cooker? Who should try it
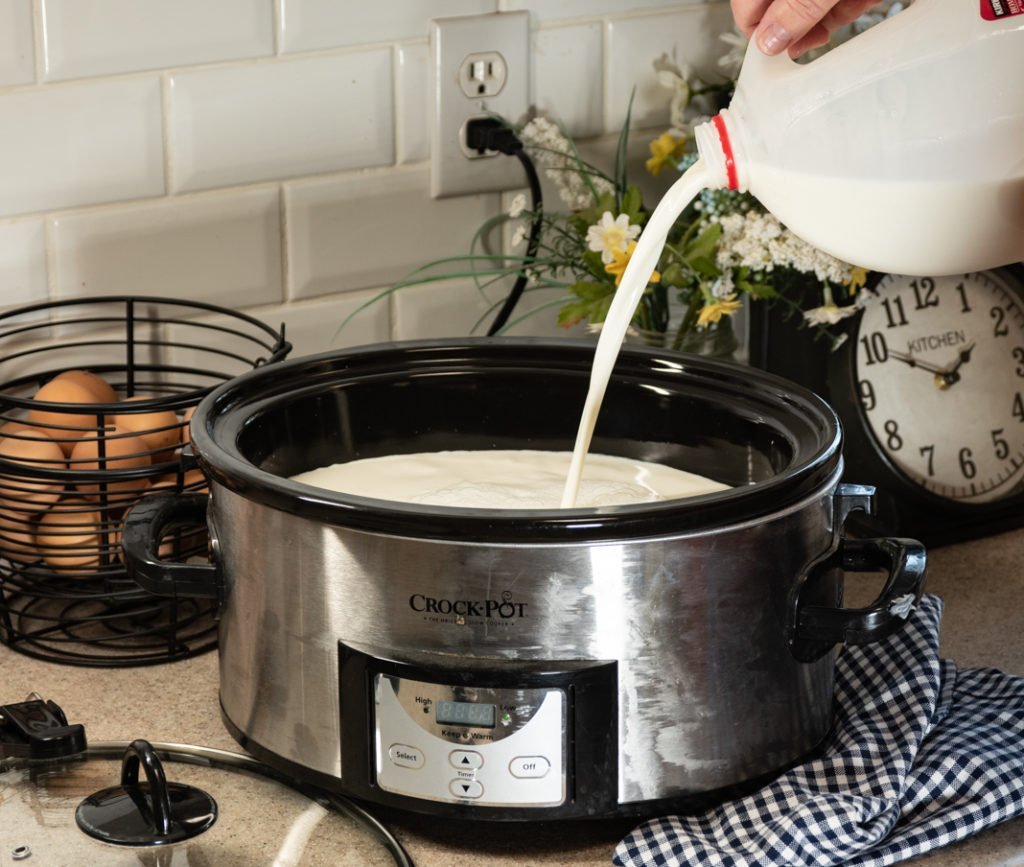
Home cooks who want to control the ingredients and sugar levels in their dairy products often turn to their slow cooker for this task. These users typically have a standard slow cooker with a manual “warm” or “low” setting and a basic digital thermometer to monitor the milk temperature. This method serves best those who have the patience to wait for the incubation period and the desire to avoid the cost of buying individual yogurt cups at the store.
This page assumes you have a basic slow cooker that holds between four and six quarts. This isn’t for anyone expecting the exact texture of store-bought Greek yogurt without an extra straining step. If you need a perfectly thick, commercial-style product, you’ll need a cheesecloth or a fine-mesh nut milk bag to remove the excess whey after the incubation is complete. Those who prioritize speed over cost-savings will find the process too slow, as it requires a full night or day of waiting.
What decides the outcome
The temperature of the milk during the incubation phase is the most critical factor. If the milk stays above 120°F, you risk killing the live cultures, which prevents the yogurt from setting. Always verify the temperature with a probe thermometer; never rely on the dial setting of the appliance alone.
Milk quality and fat content significantly change the final texture. Whole milk produces a creamier, thicker result, while skim or low-fat milk yields a thinner product. If you prefer a thicker consistency, use whole milk and consider adding a small amount of dried milk powder during the heating phase to increase the protein density.
The age and quality of your starter culture determine the success of the fermentation. You need a fresh, plain yogurt with “live active cultures” listed on the label. Using a starter that has been sitting in the fridge for more than two weeks often leads to a weak set or no thickening at all.
Many people make the mistake of adding the starter while the milk is still too hot. This kills the bacteria immediately. Always wait until the milk reaches 110°F or slightly lower before whisking in your starter. This specific range is the “sweet spot” for the bacteria to consume the lactose effectively.
Step by step
- Pour two quarts of whole milk into the clean slow cooker insert.
- Set the slow cooker to “low” and heat the milk for 2.5 hours, or until it reaches 180°F.
- Turn off the slow cooker and remove the insert from the base to help it cool down to 110°F.
- Place the insert into a sink filled with ice water to speed up the cooling process, stirring occasionally to ensure the temperature drops evenly.
- Once the milk hits 110°F, remove a cup of the warm milk and whisk it into your half-cup of fresh yogurt starter in a separate bowl.
- Pour this mixture back into the slow cooker and stir gently to combine everything thoroughly.
- Wrap the slow cooker in a large, thick bath towel to insulate it, keeping it in a warm, draft-free spot.
- Let the mixture sit undisturbed for 8 to 12 hours.
- Check the consistency after 8 hours; if it isn’t firm enough, leave it for another 4 hours.
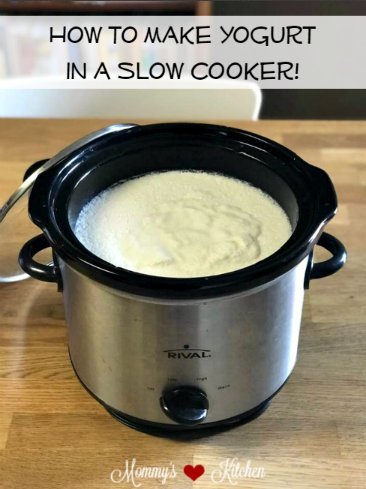
- Transfer the finished yogurt to glass jars and store it in the refrigerator for at least 6 hours to let it set completely.
The final judgement call involves the “set” of the curd. If you tilt the insert and see a clean break in the surface, the fermentation is finished. If it looks like runny milk after 12 hours, the temperature likely dropped too low during the incubation, or your starter was inactive.
The variations at a glance
| Situation | What to do | Time / Effort | Watch for |
|---|---|---|---|
| Whole milk | Heat and incubate | 12 hours | Creamy texture |
| Low-fat milk | Add milk powder | 12 hours | Thin consistency |
| Greek style | Strain in cheesecloth | 2 extra hours | Thick, rich curd |
| No thermometer | Use finger test | 12 hours | Lukewarm feel |
When using whole milk, aim for a fat content of at least 3.25%. Anything lower creates a watery whey layer that separates during the cooling process. If you notice this separation, it’s often due to over-fermentation or excessive agitation.
For low-fat varieties, add one-third cup of non-fat dry milk powder per quart of liquid. This provides the necessary proteins for the bacteria to build a firm structure. Without this additive, the yogurt will remain drinkable rather than spoonable.
If you prefer Greek style, strain the finished product using a double layer of fine-weave cheesecloth. A two-hour window is sufficient for a standard yield, but four hours will produce a spreadable consistency similar to labneh. Always keep the bowl in the refrigerator during this process to prevent spoilage.
Large batches require constant monitoring because the center of the pot stays hot much longer than the edges. If the center exceeds 115°F, the bacteria will die, resulting in a batch that never sets. Use a wide-bottomed pot to ensure even heat distribution.
The finger test is a reliable fallback if your digital thermometer fails. Submerge a clean finger for ten seconds; if it feels comfortably warm but not painful, you’re in the 105°F to 110°F range. If you must pull your finger away immediately, the milk is too hot and will kill your starter.
Preparing for success
Maintaining temperature stability
Consistent heat is the secret to a professional result. Because most slow cookers don’t have a precise “low” setting, you must monitor the temperature during the first hour of incubation. This manual adjustment is what separates a smooth, custard-like yogurt from a grainy, separated mess.
Managing the starter
Always use fresh, high-quality plain yogurt as your source of bacteria. If you use a flavored yogurt, the added sugar and fruit will interfere with the fermentation process and lead to an uneven, watery texture. Beginners often try to reuse their own homemade yogurt as a starter indefinitely; however, after three or four generations, the culture loses its strength. Start with a fresh store-bought container every few batches to ensure a strong, reliable set.
Troubleshooting common issues
| What you notice | What it usually means | What to do first | How to stop it happening |
|---|---|---|---|
| Runny texture | Culture died | Add more starter | Keep temp at 110°F |
| Grainy curd | Too hot | Chill immediately | Use thermometer |
| Sour taste | Over-fermented | Strain the whey | Reduce time |
| Separation | Too much movement | Don’t stir | Leave undisturbed |
| No thickening | Dead bacteria | Check expiration date | Use fresh starter |
If your yogurt remains liquid despite a long incubation, check the milk temperature before adding the culture. Adding starter to milk above 120°F kills the bacteria instantly. If the milk feels hot to your touch, it’s likely too hot for the culture.
Many beginners make the mistake of checking the texture by shaking the container. This breaks the delicate protein bonds forming the curd. Once you place the jar in the incubator, you must leave it completely undisturbed for at least eight hours.
If you notice a sharp, vinegary smell, you have likely fermented the batch for too long. For a milder flavor, reduce the incubation time by one hour in your next attempt. If the yogurt is already sour, straining it through a cheesecloth for thirty minutes will remove the excess acidic whey and improve the consistency.
Finally, verify your starter’s potency. If you’re using a store-bought yogurt as a starter, ensure it contains “live and active cultures.” If the label doesn’t explicitly state this, the bacteria may be inactive. Always store your starter in the coldest part of your refrigerator to maintain its viability for future batches.
The rules that apply
Food safety standards for dairy products are strict because of the risk of bacterial growth. According to FoodSafety.gov’s chart, you should keep homemade yogurt refrigerated at or below 40°F. Never leave the yogurt sitting out at room temperature for more than two hours after the incubation is complete, as this allows harmful pathogens to multiply. If you’re immunocompromised, consult your local health department or a medical professional before consuming homemade fermented dairy products, as home kitchens can’t guarantee the same level of pasteurization as commercial facilities. Always ensure your slow cooker insert and all utensils are thoroughly sanitized in hot, soapy water before you begin. If you notice any mold or an off-smell, discard the entire batch immediately.
What it costs you
The cost of making yogurt is primarily the price of the milk, which varies by region and brand. You’ll need two quarts of milk and one small container of plain yogurt to serve as a starter.
Beyond the ingredients, your primary investment is time. The process requires about 30 minutes of active work and 12 hours of waiting time. If you value your labor at a standard hourly wage, the convenience of store-bought cups often wins. However, if you treat the process as a passive kitchen task, the savings become significant.
This mistake costs you the entire batch and forces you to discard the milk, doubling your ingredient spend. Always check the label for pasteurized, not ultra-pasteurized, milk to ensure success.
While it’s cheaper than buying individual Greek yogurt cups, the cost of electricity for running a slow cooker for 12 hours is negligible. Compare the price of two quarts of milk at your local grocery store against the cost of an equivalent amount of store-bought yogurt to see your exact savings. If you find your batch is too thin, you’re likely using too little starter; use two tablespoons per quart.
Maintaining the quality
After your yogurt is made, store it in airtight glass containers in the back of your refrigerator, where the temperature remains most consistent. It will stay fresh for up to two weeks, but you’ll notice the flavor becoming more acidic the longer it sits.
If you find the yogurt becomes too sour, reduce your incubation time by one hour in the next batch. If you prefer a milder profile, move the batch to the refrigerator as soon as the desired thickness is reached rather than letting it sit at room temperature.
If you see a small amount of clear liquid on top, that’s just whey; you can pour it off or stir it back in. However, if you see a thick layer of liquid that doesn’t incorporate after stirring, your yogurt may have separated due to excessive heat during incubation.
If the yogurt develops a pink or orange tint, or if you see fuzzy growth, it has spoiled and must be thrown away. Never taste yogurt that shows these signs, as mold can produce toxins that remain even if the visible growth is removed. Always use a clean, dry spoon to serve to prevent introducing bacteria that shorten the shelf life.
When this is the wrong approach
If you require a specific, consistent probiotic strain for health reasons, a slow cooker is the wrong tool. Commercial yogurt makers have built-in thermostats that maintain a precise temperature within one degree, which is impossible to achieve with a standard slow cooker.
The mistake most beginners make is assuming that “low” on a slow cooker equates to the 105°F to 115°F range required for fermentation. In reality, many slow cookers cycle between 160°F and 190°F. This heat spike kills the live cultures before they can thicken the milk. If your yogurt remains liquid or tastes sour despite a long incubation, your internal temperature likely exceeded 120°F.
If you’re looking to make large-scale batches for a business, you must use equipment that meets local health department regulations for commercial food production. Home equipment lacks the stainless steel sanitation standards required for resale.
For those who want a “set and forget” experience without checking temperatures, a dedicated digital yogurt maker is a safer, more reliable alternative. Use this decision rule: if you’re experimenting for fun, the slow cooker works fine. However, if you’re managing a medical condition or selling your product, invest in a device with a calibrated digital thermostat. Precision prevents wasted batches and ensures the final product contains the active bacteria you intended to cultivate.
Frequently asked questions

Can I use almond milk to make yogurt?
Yes, but you must add a thickener like agar-agar or gelatin because nut milks lack the proteins found in cow’s milk. Without a thickening agent, almond milk will remain liquid even after the incubation period. Follow the instructions on your chosen thickener to ensure the correct texture before starting the heating phase.
How long does homemade yogurt last?
It stays fresh for up to two weeks when stored in an airtight container in the refrigerator. Always check for signs of spoilage, such as an odd smell, mold, or a change in color, before eating. If you notice any of these signs, discard the entire batch immediately for safety.
Is it safe to use raw milk?
No, you should never use raw milk for this process because it hasn’t been pasteurized to kill harmful pathogens. Always use pasteurized milk from a grocery store to ensure the safety of your final product. Using raw milk significantly increases the risk of foodborne illness, which is especially dangerous for vulnerable individuals.
Why is my yogurt lumpy?
Lumpy yogurt usually happens because the starter wasn’t whisked into the milk thoroughly enough before incubation. To prevent this, whisk the starter into a small amount of milk first to create a smooth paste, then slowly incorporate the rest of the milk. Straining the finished yogurt through a fine-mesh sieve can also remove any remaining lumps.
Can I add fruit before I incubate?
No, the sugar and acidity in fresh fruit will disrupt the fermentation process and prevent the yogurt from setting properly. Always add fruit, honey, or other flavorings after the incubation is complete and the yogurt has been chilled. This ensures that the bacteria can focus on fermenting the lactose in the milk without interference.
Does the type of slow cooker matter?
Yes, the thickness of the ceramic insert and the accuracy of the heating element determine the success of the batch. Some slow cookers run significantly hotter than others, which can kill the bacteria during the incubation phase. If your slow cooker doesn’t have a “warm” setting that stays below 115°F, it isn’t suitable for making yogurt.
Yogurt slow, in short
Start by heating your milk and monitoring the temperature closely with a digital thermometer to ensure you stay within the required 100°F to 110°F range for incubation. If the temperature stays steady, you’ll have a thick, creamy result within 12 hours. If you notice visible mold or an off-smell, discard the batch.