
To achieve a crispy exterior and fluffy interior, toss parboiled, starch-heavy potatoes in hot fat and roast them at 425°F for 45 to 50 minutes. The key to the best oven roasted potatoes is balancing moisture removal with high-heat browning.
The final quality hinges on three variables: the type of potato you choose, the surface moisture before roasting, and the temperature of your fat. If you use a waxy potato, it will hold its shape but lack fluffiness; if you use a starchy potato like a Russet, you’ll get the desired texture.
Ideal Candidates for Roasting
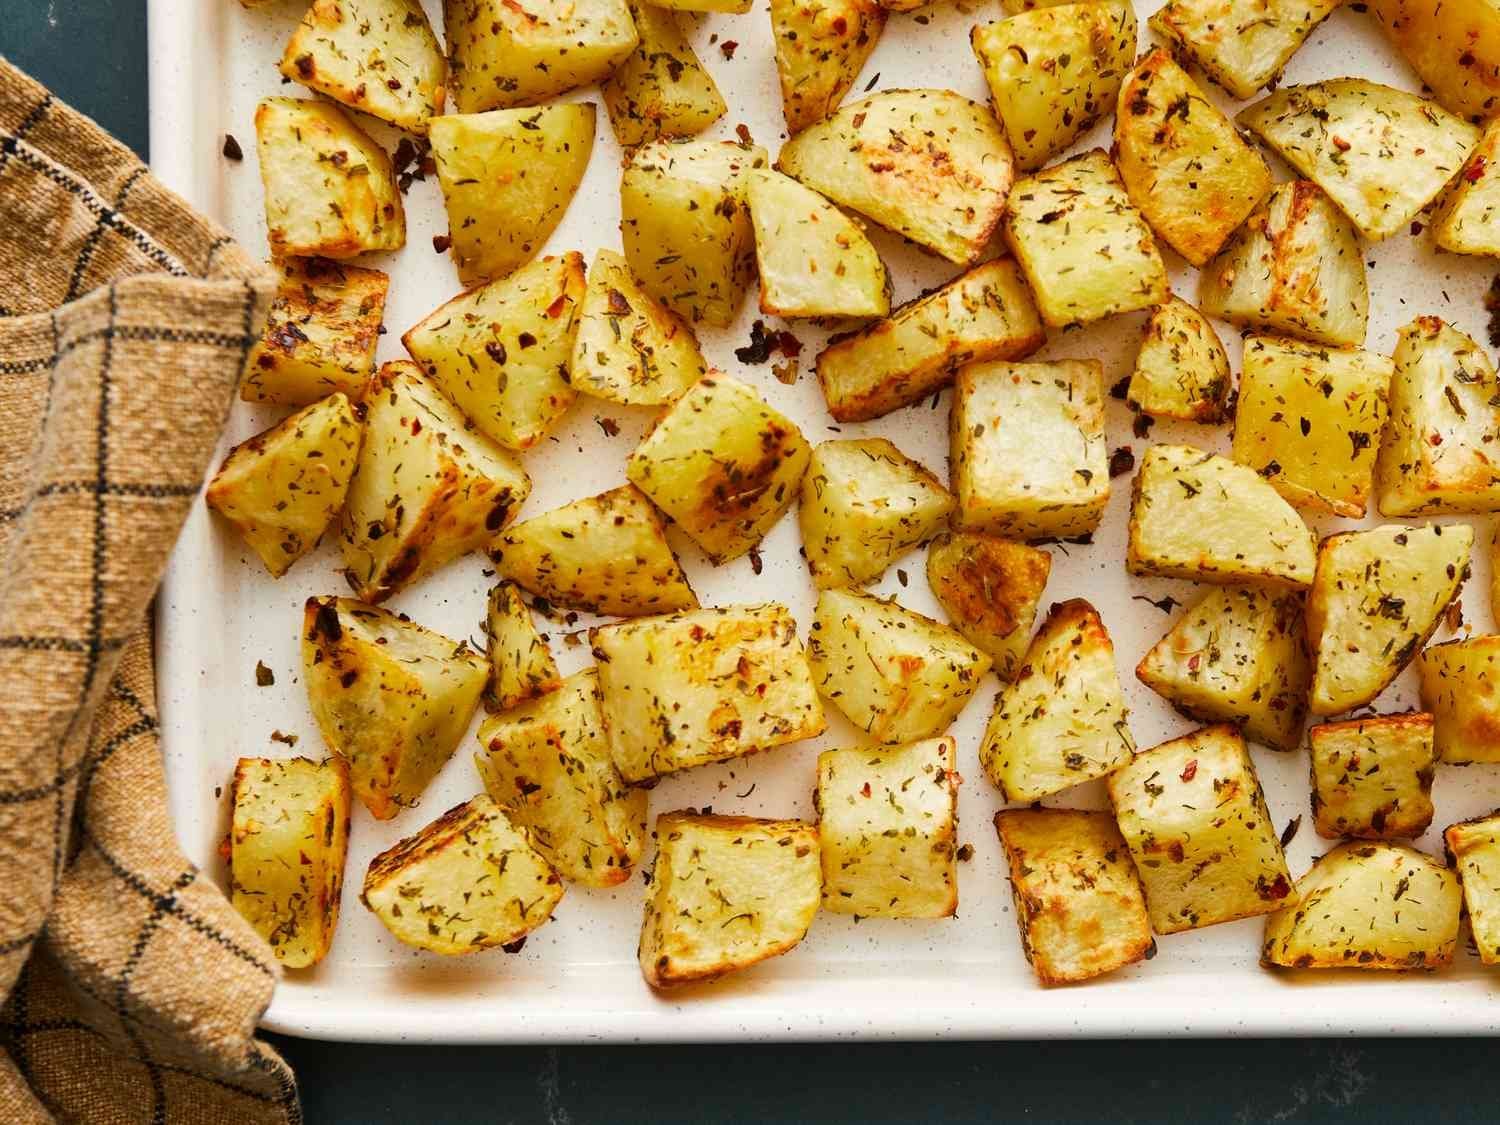
This guide serves home cooks who want to move beyond basic roasting into consistent, restaurant-style results. You’re likely someone who has struggled with soggy skins or uneven browning in the past. If you’re looking for a recipe that uses minimal equipment or requires no pre-boiling, this page isn’t for you. We assume you have a standard oven, a heavy-duty sheet pan, and access to a reliable thermometer.
We focus on the starchy potato variety, specifically Russets or Yukon Golds. These possess the internal structure required to break down into a soft, creamy center while the exterior crisps up under direct heat. If you only have small, waxy new potatoes, expect a firmer, creamier bite rather than a fluffy one. This guide assumes you’re preparing at least two pounds of potatoes, which is the standard capacity for a half-sheet pan. If you double the amount, you must use two pans to prevent steaming, as crowding the pan is the most common mistake that ruins crispness.
Factors That Influence Crispness
The primary factor is the initial parboil. By simmering potatoes in salted water until the edges are soft but the core remains firm, you create a layer of starchy “sludge” on the surface. This starch is what turns golden and crunchy in the oven. If you skip this step, the potato will roast evenly but lack that signature crackle.
Surface moisture is the second critical factor. After draining your potatoes, you must let them sit in the colander for at least five minutes to steam off excess water. If the surface is damp when it hits the hot oil, the steam will prevent the browning process. Use an oven thermometer to ensure your oven is calibrated correctly, as internal heat levels dictate how quickly the fats interact with the potato starches.
The choice of fat matters significantly. You need a fat with a high smoke point, such as duck fat, beef tallow, or refined avocado oil. Butter contains milk solids that burn at 425°F, leading to an acrid taste. If you prefer the flavor of butter, add it only in the final five minutes of roasting.
Finally, the spacing on the tray is a critical requirement for success. Potatoes need at least one inch of space between them. If they touch, the sides that are pressing against each other will remain pale and soft.
Preparing the Perfect Batch
- Peel and cut 2 pounds of potatoes into uniform 1.5-inch chunks.
- Place the chunks in a pot of cold, salted water; use 1 tablespoon of salt per liter of water.
- Bring the water to a boil and simmer for 8 to 10 minutes until the edges are softened.
- Drain the potatoes and return them to the warm pot for 2 minutes to evaporate surface moisture.
- Preheat your oven to 425°F and place a rimmed baking sheet inside while it heats.
- Add 3 tablespoons of hot fat to the preheated tray, swirling it to coat the surface.
- Carefully add the potatoes to the tray, turning each one to coat it in the hot fat.
- Roast for 45 to 50 minutes, turning the potatoes every 15 minutes for even color.
- Remove from the oven when the potatoes are deep golden brown and feel firm to the touch.
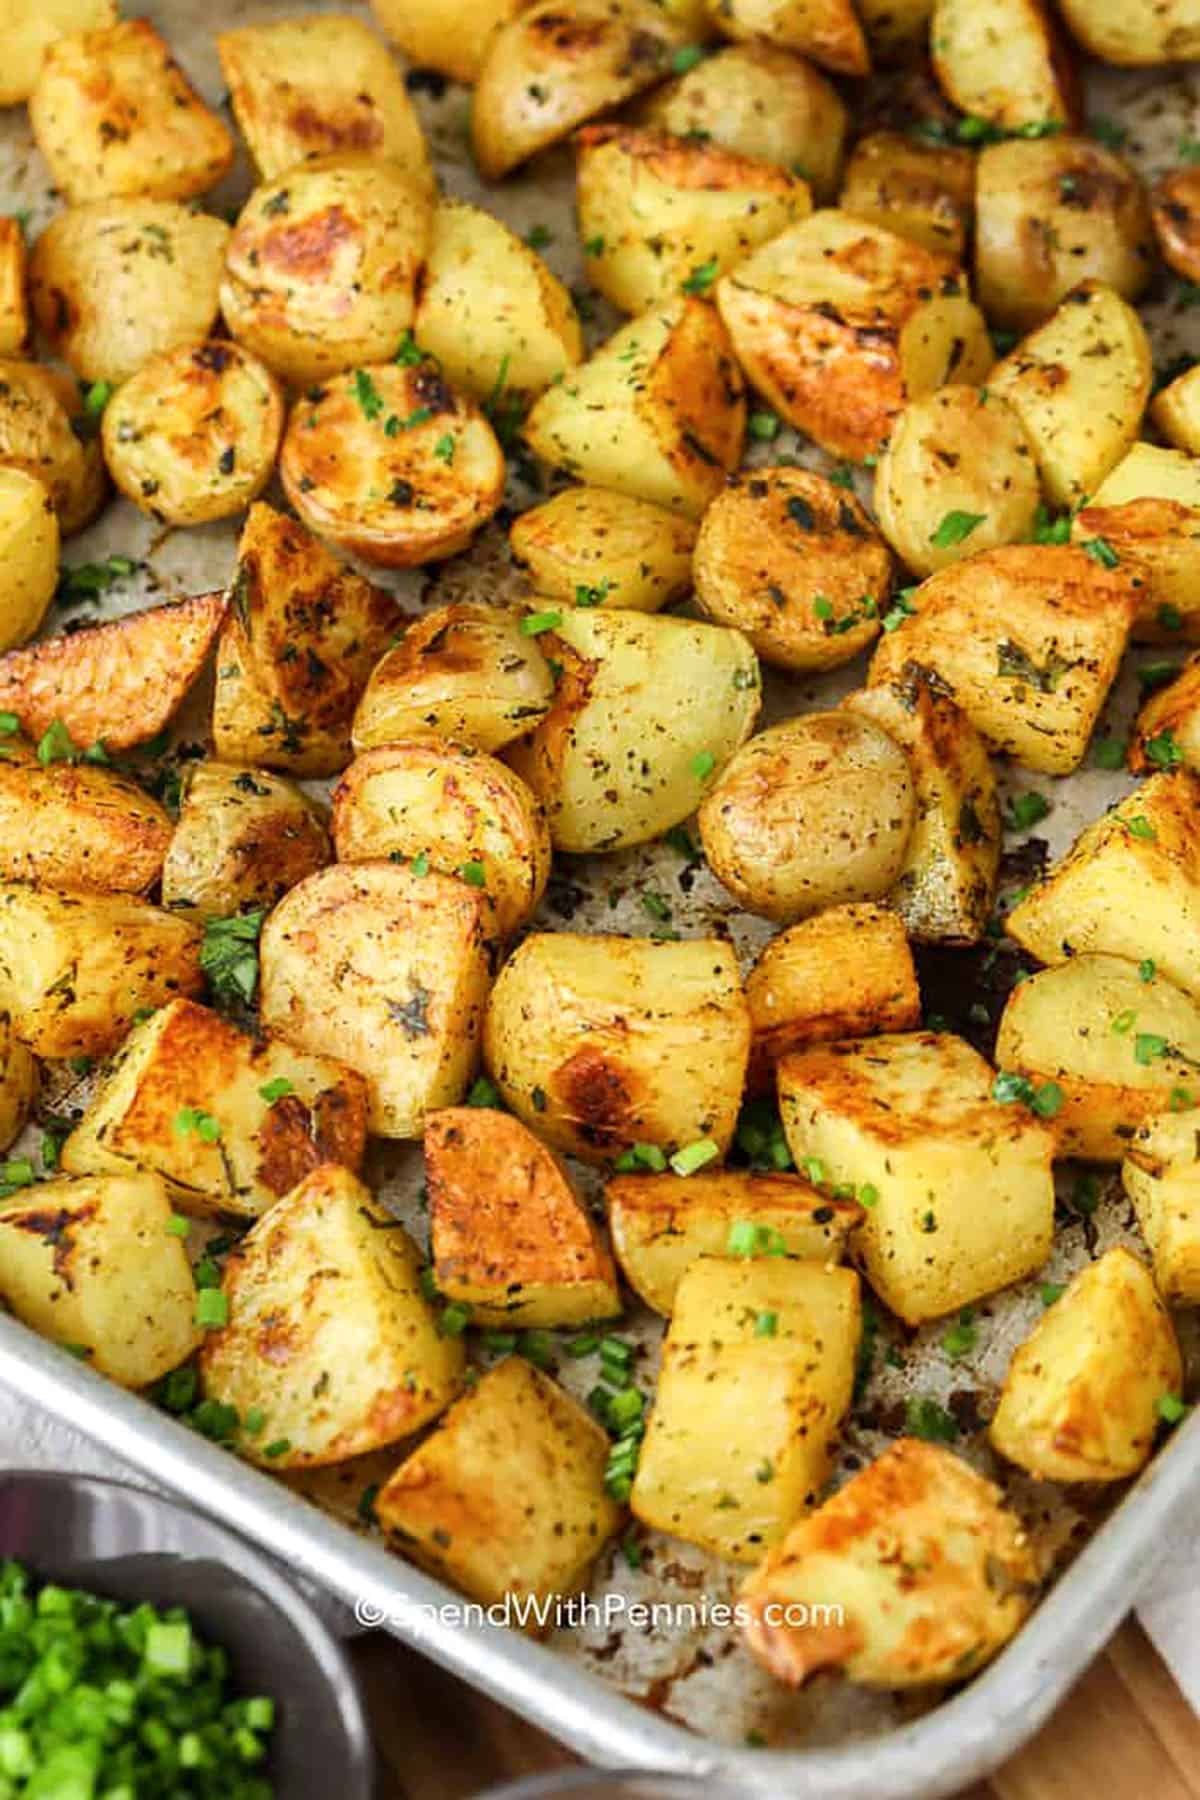
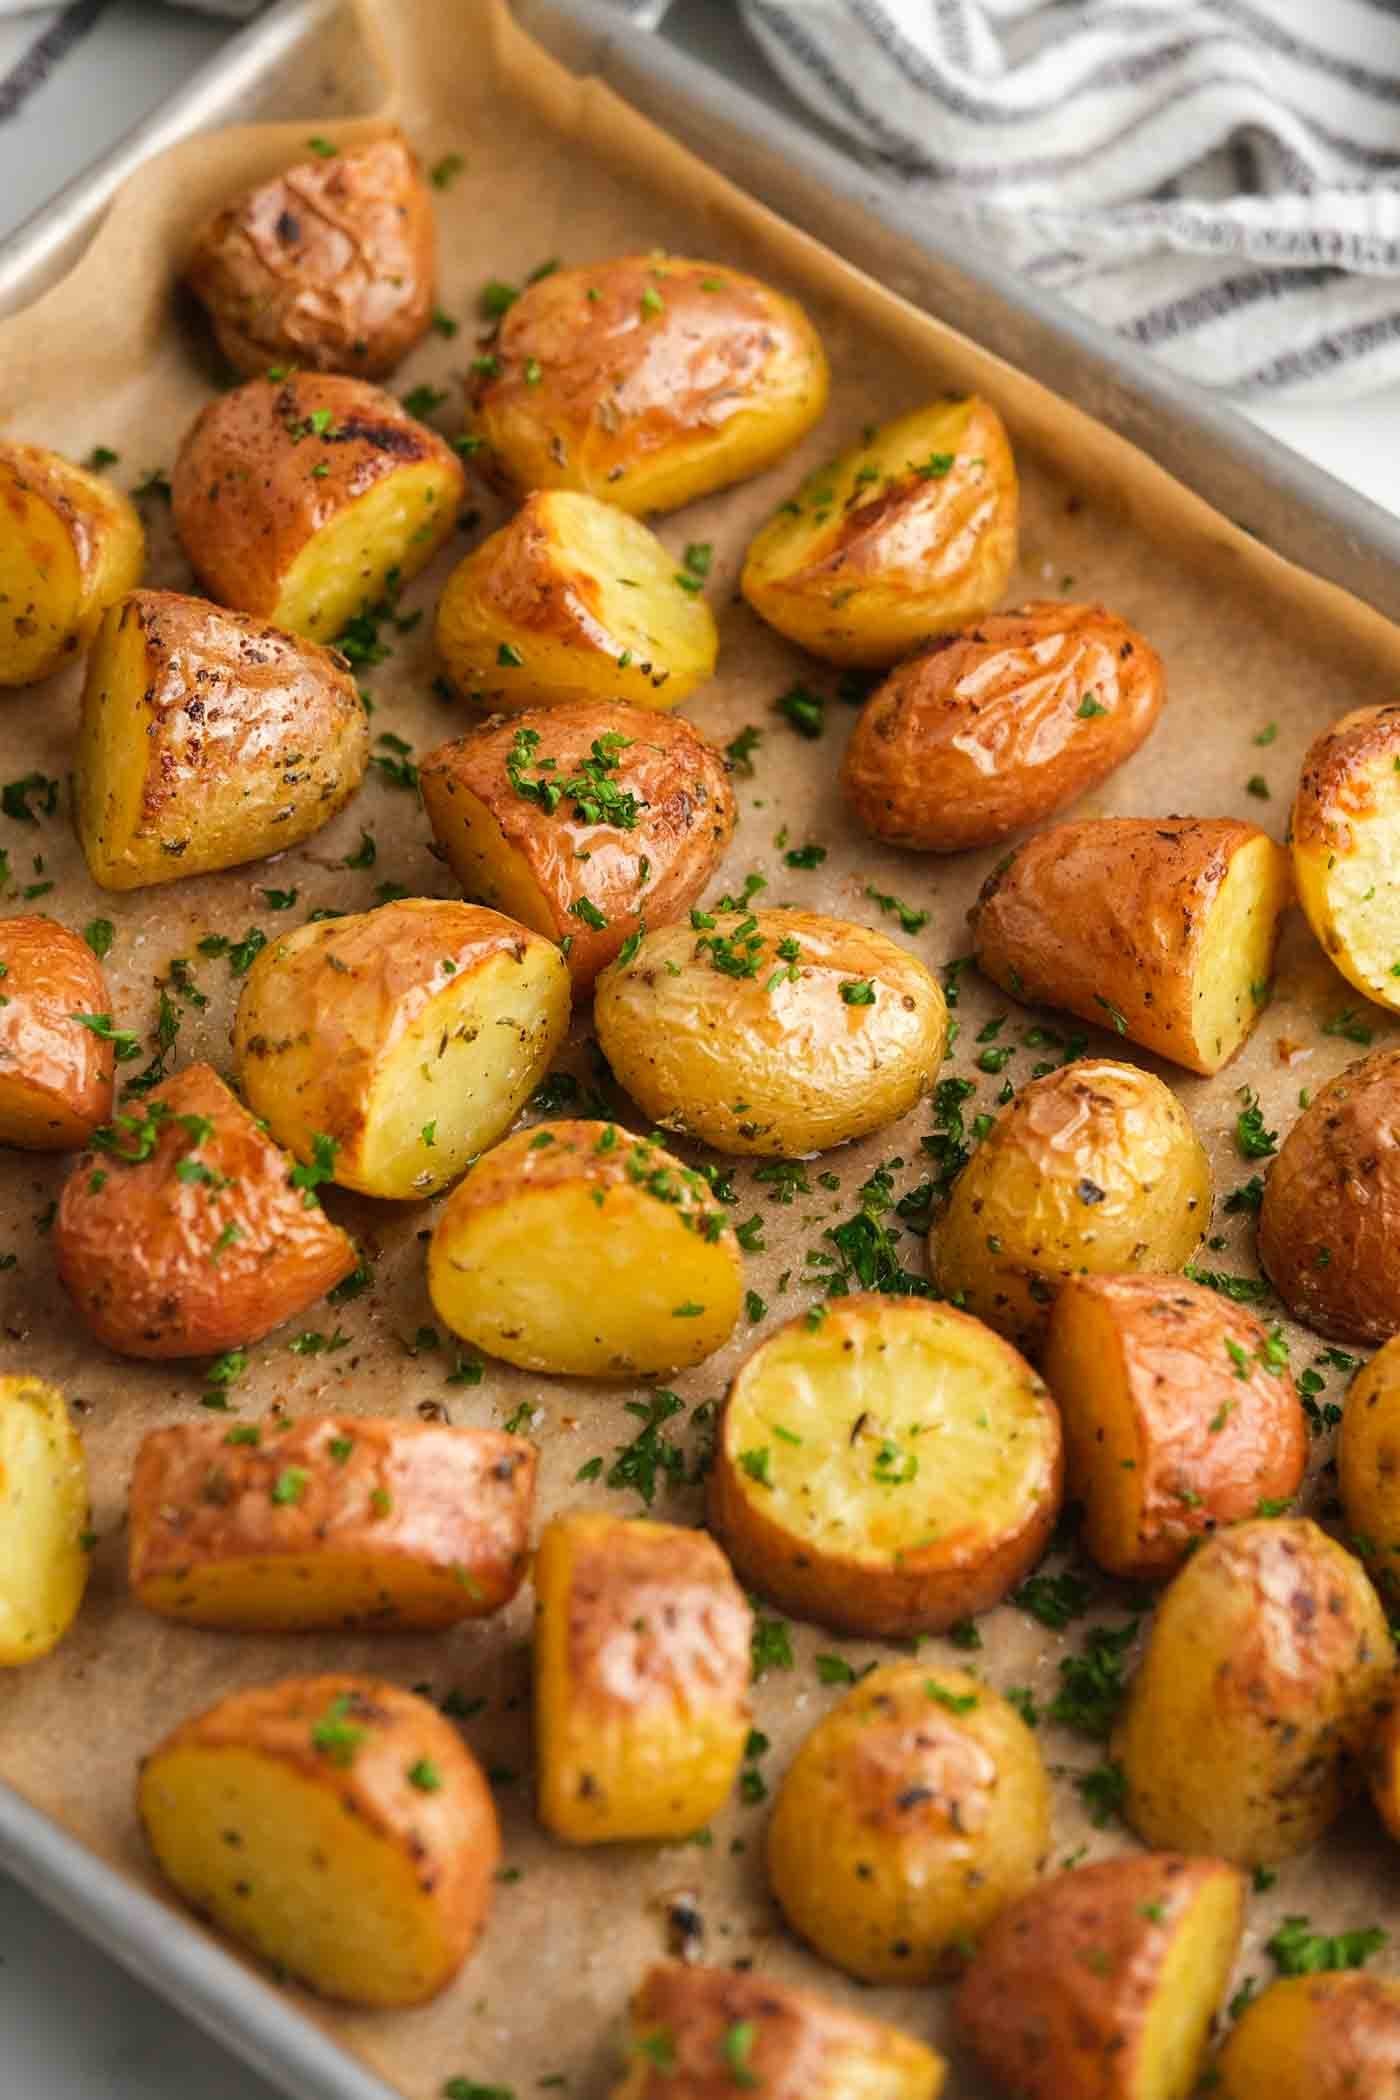
The judgment call here is the color. If the potatoes are soft but pale, they’re cooked but not roasted; wait for that deep, mahogany brown shade before pulling them out.
Comparison of Roasting Methods
| Method | Result | Time | Effort |
|---|---|---|---|
| Parboil & Roast | Crispy, fluffy | 60 mins | High |
| Direct Roast | Firm, chewy | 45 mins | Low |
| Air Fryer | Very crispy | 30 mins | Medium |
| Microwave then Roast | Soft, uneven | 40 mins | Medium |
Parboiling remains the gold standard for potatoes, specifically Russets or Yukon Golds. By boiling them until the edges soften, you create a starchy “fuzz” that catches oil and crisps significantly better than raw surfaces. If you skip this, you sacrifice the signature crackle.
Direct roasting is the choice for weeknight efficiency. It yields a denser, nuttier bite that holds up well in salads or grain bowls. Use this method when you want a concentrated potato flavor without the extra cleanup of a boiling pot.
The air fryer excels at speed, but it has a strict capacity limit. Never crowd the basket; if the pieces touch, they will steam rather than crisp. If you’re cooking for more than two people, you must roast in two batches to maintain that texture.
Microwaving serves as a desperate shortcut for baked potatoes, but it rarely works for roasted cubes. The internal moisture gets trapped, leading to a gummy interior that never truly crisps. Avoid this unless you’re strictly pressed for time.
Decide based on your priority: if texture is the goal, invest the hour in parboiling. If you’re feeding a crowd, use the oven’s full surface area for direct roasting. If you’re cooking a single portion, the air fryer is your most efficient tool.
A common mistake is failing to preheat the oil or the pan. Regardless of the method, cold fat leads to soggy results. Always ensure your fat—whether duck fat, olive oil, or tallow—is shimmering before the potatoes hit the heat. This simple step cuts your cooking time by nearly ten minutes and ensures a uniform golden finish across every batch.
Achieving Consistent Browning
Managing the Heat
The secret to browning is the reaction between the fat and the starch. Ensure your fat is shimmering on the tray before you add the potatoes. If the fat is cold, the potatoes will absorb it rather than fry in it, resulting in a greasy, heavy finish.
Handling the Starch
The rougher the surface of your potato, the better. After parboiling, shake the colander vigorously to bruise the edges of the potato chunks. This creates “fuzz” that catches the fat and turns into extra-crispy bits.
Common Issues and Fixes
| What you notice | What it means | What to do first | How to stop it |
|---|---|---|---|
| Pale, soft skin | Too much moisture | Increase heat 25°F | Steam dry longer |
| Burnt edges | Oven too hot | Lower heat 25°F | Use lower rack |
| Stuck to pan | Not enough fat | Scrape and flip | Use more oil |
| Greasy texture | Too much fat | Drain on paper | Measure the fat |
| Uneven cooking | Pan crowded | Use larger pan | Give more space |
Standards for Success
You must follow the manufacturer’s guidelines for your specific oven, as some models have “convection” settings that circulate air faster. If your oven is a convection model, reduce the temperature by 25°F to avoid burning the exterior before the center is cooked.
The most common mistake is failing to calibrate your oven’s internal thermostat against an external hanging thermometer. Most residential ovens drift by 15 to 20 degrees over time. If your cookies consistently brown on the edges while remaining raw in the middle, your oven is likely running hot. Use an external thermometer to confirm the true temperature before adjusting your technique.
Never attempt to use high-heat oil in an oven that isn’t properly ventilated, as the smoke point can be reached quickly at 425°F. If you’re using refined avocado oil, you have a buffer up to 500°F. However, extra virgin olive oil will begin to degrade and smoke at 375°F. Always check the label of your specific fat source before setting your dial.
If you notice smoke, turn the oven off and open a window immediately. Never use water to extinguish a grease fire, as it will cause an explosive flare-up. Instead, keep a box of baking soda or a dedicated Class B fire extinguisher within arm’s reach of the range.
If the fire is contained inside the oven, leave the door closed and turn off the heat. The lack of oxygen will eventually starve the flame. If you see flames escaping the oven cavity, evacuate the kitchen and call emergency services. Don’t attempt to move a burning pan. The decision rule is simple: if the fire is larger than a dinner plate, don’t fight it yourself.
The Real Cost of Excellence
The cost is primarily your time. While the ingredients—potatoes, salt, and fat—are inexpensive, the process takes at least an hour from start to finish. You’re paying for a quality result with your attention to detail during the parboiling and flipping stages.
If you try to rush the process by increasing the heat to 500°F, you’ll likely burn the exterior before the center finishes cooking. This error creates a bitter, carbonized crust that masks the potato’s natural sweetness. You lose the structural integrity required for a crisp bite, leaving you with a soggy interior instead of a fluffy, cloud-like texture.
The true investment is the ten-minute window required to monitor the parboil. If the potatoes soften too much, they will disintegrate when you toss them in fat. Aim for edges that are tender but still hold their shape under light pressure. If a fork slides into the center with zero resistance, you have already gone too far.
Distinguish your approach based on your equipment. If you use a heavy cast-iron skillet, you must preheat the fat for five minutes before adding the potatoes to ensure an immediate sear.
The decision rule is simple: if the potatoes stick to the surface, they aren’t ready to be turned. Forcing them off the pan too early will tear the delicate, crispy skin you worked to develop. Patience here isn’t just a virtue; it’s the primary ingredient that separates a mediocre side dish from a professional-grade result. You’re trading sixty minutes of focus for a texture that can’t be replicated by high-speed cooking methods.
Maintenance After Cooking
Leftover potatoes lose their crispness within minutes of leaving the oven. To store them, keep them in an airtight container in the refrigerator for up to 3 days.
The primary mistake home cooks make is sealing the container while the potatoes are still steaming. Trapped moisture turns the exterior soggy before the potatoes even reach the fridge. If you see condensation forming on the inside of the container, leave the lid slightly ajar for an additional ten minutes.
To reheat, don’t use the microwave, as this turns them into mush. The microwave steams the starch from the inside out, destroying the structural integrity of the crust. Instead, place them back on a baking sheet in a 400°F oven for 10 minutes until they regain their heat.
If you’re reheating a smaller portion, a cast-iron skillet is often superior to the oven. Use a teaspoon of neutral oil and medium-high heat. If the potatoes are smaller than one inch, three minutes per side is sufficient. For larger wedges, add a tablespoon of water to the pan and cover it for two minutes to steam the center, then remove the lid to crisp the skin.
You can tell if your potatoes have passed their prime by checking for a slimy film on the skin. If the texture feels tacky or smells faintly sour, discard them immediately. Reheating spoiled potatoes won’t neutralize the toxins produced by bacteria that cause foodborne illness. When in doubt, prioritize safety over the effort of storage.
When to Use Another Method
If you’re cooking for a large group, roasting individual chunks is inefficient. Use a slow-cooker or a pressure cooker for mashed potatoes instead. When preparing dinner for more than six people, the surface area of a standard baking sheet forces you to crowd the potatoes. This causes them to steam in their own moisture rather than crisping, leading to a soggy exterior.
If you’re on a strict low-fat diet, oven roasting won’t provide the texture you want; steaming or boiling is the better choice. Roasting relies on the Maillard reaction, which requires a thin coating of oil to conduct heat evenly across the skin. Without at least one tablespoon of fat per pound of potatoes, the starch will dehydrate and turn chalky before it browns. If your dietary plan restricts oil, boil the potatoes in salted water and finish them with a dash of vinegar to brighten the flavor.
If you have a physical condition that makes handling heavy, hot baking sheets difficult, use a smaller toaster oven or an air fryer to keep the weight manageable. A full-sized sheet pan loaded with potatoes can weigh over five pounds. When pulled from a hot oven, the leverage required to stabilize that weight puts significant strain on the wrists.
Use this simple decision rule to choose your equipment: if you need a crispy, golden-brown crust, use the oven. If you need a soft, uniform interior for mashing or a low-fat preparation, use moist heat. If you can’t safely maneuver a heavy pan, switch to an air fryer basket. The air fryer handles smaller batches perfectly and eliminates the risk of dropping a heavy, scalding tray during the transfer from the oven rack.
Frequently Asked Questions
How long do I boil the potatoes?
Boil them for 8 to 10 minutes until the edges are soft. You want the outside to look slightly “fuzzy” and tender when poked with a fork, but the center should remain firm enough to hold its shape during the roasting process.
Is it safe to store roasted potatoes?
Yes, you can safely store them in the refrigerator for 3 days if you place them in a sealed container within 2 hours of cooking. Always discard any potatoes that have been sitting at room temperature for more than 2 hours to avoid bacterial growth.
Can I use olive oil instead of duck fat?
Yes, but use a high-quality extra virgin olive oil and keep the temperature at 400°F instead of 425°F. Olive oil has a lower smoke point than duck fat or avocado oil, so it will burn if the oven is set too high for a long roasting time.
Why do my potatoes stick to the pan?
They stick because the pan wasn’t hot enough or you didn’t use enough fat. Ensure the baking sheet is preheated with the oil for 5 minutes before adding the potatoes, and always use enough fat to coat the entire bottom of the pan.
Does the type of potato matter?
Yes, the starch content determines the final texture. Use a high-starch potato like a Russet for the fluffiest interior, as low-starch, waxy potatoes will remain dense and firm no matter how long they roast in the oven.
What happens if I crowd the pan?
Crowding the pan creates steam that prevents potatoes from browning. You should leave at least one inch of space between each chunk to allow hot air to circulate. This spacing is essential for achieving a crispy, golden crust on all sides.
Oven roasted, in short
Once they’re golden and crisp, serve them immediately while they’re still steaming. Don’t be afraid to experiment with your favorite dried herbs or a sprinkle of smoked paprika next time you’re in the kitchen. You’ll find that a little extra salt right before eating makes the flavors really pop. Enjoy your meal!