
You can dry herbs in the oven if you use the lowest possible temperature setting and monitor them closely to prevent burning. This method is effective for woody herbs like rosemary, thyme, and sage, which hold up better to heat than delicate leafy herbs like basil or cilantro.
The final result depends on your oven’s thermostat accuracy, the moisture content of the herbs, and how thinly you spread them on the tray. If your oven doesn’t have a setting below 170°F, you risk cooking the herbs rather than drying them.
Best herbs to dry in the oven
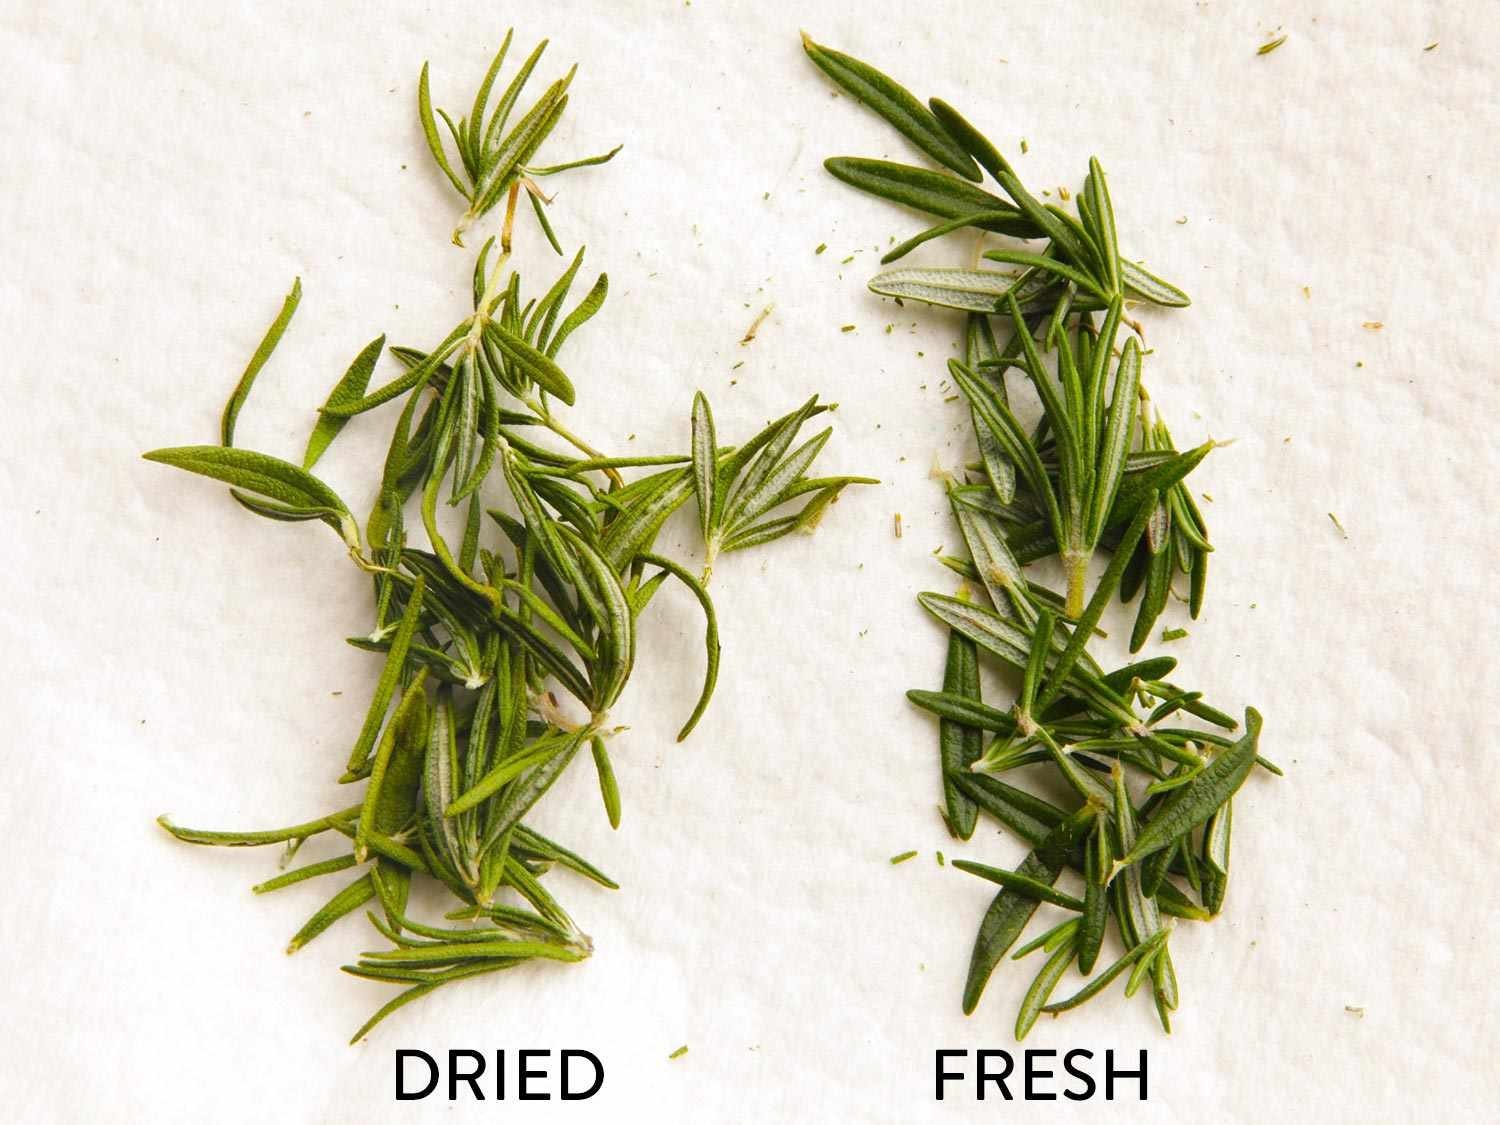
Home cooks who have a large harvest of woody herbs often turn to the oven to preserve their stock quickly. If you have a garden full of rosemary or thyme, this method prevents waste when you can’t use everything fresh. This page is best for people who already have herbs on hand and want a fast way to store them. It assumes you have a conventional or convection oven that can maintain a very low, stable temperature.
Focus exclusively on herbs with low water content and sturdy, fibrous stems. Rosemary, thyme, oregano, and winter savory are the gold standard here. Their structural integrity allows them to withstand the heat without collapsing into a flavorless, shriveled mess.
This guide isn’t for people looking to dry delicate herbs like parsley, mint, or basil. Those varieties lose almost all their flavor and color in the oven and are better suited for air-drying. If you try to oven-dry soft herbs, you’ll likely end up with brown, tasteless leaves.
We assume your herbs are clean, dry, and free of dirt before you start. Any residual moisture on the leaves will steam the herb, turning a vibrant green into a dull, muddy olive. Use a salad spinner or paper towels to ensure they’re bone-dry before they hit the baking sheet.
If you have high-moisture herbs, consider using a food dehydrator instead of an oven. Dehydrators provide consistent airflow at lower temperatures that ovens struggle to match. If your oven doesn’t have a “warm” or “dehydrate” setting below 150 degrees Fahrenheit, you risk cooking the herbs rather than drying them. This mistake costs you the essential oils that provide the aroma. If you smell the herbs strongly while they’re in the oven, you’re losing flavor to the air; turn the heat down immediately.
Factors influencing your success
Oven temperature control is the most important factor in this process. Most home ovens aren’t designed to hold temperatures as low as 100°F to 120°F, which is ideal for drying. If your oven runs hot, you’ll bake the essential oils out of the herbs, leaving you with dry, flavorless plant matter. Always check your oven’s manual to see its minimum setting.
Air circulation is the second factor. If you have a convection oven, use the fan setting. The constant movement of air pulls moisture away from the leaves quickly. If you have a standard oven, you may need to prop the door open with a wooden spoon to allow humidity to escape. This prevents the oven from becoming a steam chamber.
The density of your herb arrangement matters. Never stack leaves on top of each other. If the herbs are crowded, the moisture trapped in the middle will lead to mold growth during storage. Spread them in a single, thin layer so air can reach every surface of the leaf.
Preparation state is the final variable. If you wash your herbs, you must pat them completely dry with paper towels first. Adding wet herbs to an oven increases the drying time and forces you to run the heat longer, which increases the risk of scorching.
How to process your herbs
- Preheat your oven to its lowest possible setting, ideally between 100°F and 120°F.
- Rinse the herbs in cold water to remove dust and debris, then pat them thoroughly dry with clean paper towels.
- Strip the leaves from the woody stems of herbs like rosemary or thyme, or leave them on the stem if they’re small.
- Line a baking sheet with parchment paper to prevent the herbs from sticking to the metal surface.
- Spread the herbs in a single, thin layer on the parchment paper, ensuring no leaves overlap.
- Place the tray in the oven on the center rack and prop the door open slightly if your oven lacks a convection fan.
- Check the herbs every 15 minutes; they’re done when they’re brittle and crumble easily between your fingers.
- Remove the tray immediately once the herbs reach this state to prevent them from darkening or losing aroma.
The judgment call here is knowing exactly when to stop. If you wait until they look dark, you have waited too long. They should retain their original green color; if they turn brown, the heat was likely too high or they were in the oven for too long.
Common drying situations
| Situation | Method | Time | Watch for |
|---|---|---|---|
| Woody herbs | Low heat oven | 1–2 hours | Brittle texture |
| Soft herbs | Air dry only | 3–5 days | Color change |
| High humidity | Use dehydrator | 4–8 hours | Mold risk |
| Thick stems | Remove leaves | 1–2 hours | Even drying |
For woody herbs like rosemary or thyme, set your oven to its lowest setting, typically 170°F. If your oven lacks a low setting, crack the door open slightly to prevent cooking the oils. You know they’re finished when the leaves snap cleanly rather than bending.
Soft herbs like basil or cilantro contain high water content. If you attempt to oven-dry these, they will turn black and lose their flavor profile. Instead, bundle them loosely and hang them in a dry, dark space. If the leaves turn brown before they’re crisp, the room lacks sufficient airflow.
High humidity above 60% prevents natural evaporation. In these conditions, air drying leads to mold growth before the drying process completes. A dehydrator is mandatory here to force moisture out quickly.
Thick stems hold significantly more moisture than leaves. If you dry them together, the leaves will crumble into dust while the stems remain rubbery. Always strip the leaves first. If you must dry the stems for flavoring, keep them in a separate, longer cycle to ensure the leaves don’t over-dry and lose their essential volatile oils.
When choosing a method, follow this rule: if the herb has a high oil content or thick, woody structure, use heat. If the herb is delicate, leafy, or bright green, prioritize airflow over temperature. Using the wrong method often results in a “hay-like” flavor, which indicates the essential oils have evaporated entirely.
Achieving the best quality
Preparing the herbs
Successful drying starts with how you handle the plant material before it enters the heat. Experienced cooks know that moisture is the enemy of shelf-stable herbs. If you leave water on the leaves, the oven will steam them, which destroys the delicate oils that give herbs their scent. Ensure the herbs are dry to the touch before you begin.
Managing the heat
Many people make the mistake of cranking the heat to speed up the process. This is a costly error because it cooks the herbs rather than drying them. If you can’t get your oven low enough, turn it on for 5 minutes, turn it off, and let the residual heat do the work. This “pulse” method protects the volatile oils. Always keep the oven door cracked if you’re worried about heat buildup.
Troubleshooting common issues
| What you notice | What it means | What to do first | How to stop it |
|---|---|---|---|
| Herbs turn brown | Too much heat | Lower temperature | Prop door open |
| Herbs stay soft | Too much moisture | Add more time | Use thinner layer |
| Burnt smell | Scorching occurred | Remove tray | Lower setting |
| Mold on leaves | Trapped moisture | Discard batch | Spread out more |
| Loss of scent | Heat too high | Stop heating | Use lower heat |
Brown edges often signal that your thermostat is calibrated higher than the dial suggests. If you see browning, check the internal temperature with a digital probe. If it exceeds 110°F, you’re cooking the volatile oils rather than drying the leaves.
Softness after hours of drying usually indicates high humidity in the room. In this case, move the process to a climate-controlled room or use a dehumidifier nearby.
A burnt smell is a critical failure. It means the plant material is touching the heating element directly. Always ensure a two-inch gap between the tray and the heat source. If you smell smoke, stop immediately to prevent a fire hazard.
Mold is the silent killer of dried batches. A good rule is to never stack leaves more than one layer deep. If the leaves overlap, they will trap pockets of air that never fully dry.
Finally, loss of scent happens when the drying process takes too long. If you take over 24 hours to dry a batch, the essential oils evaporate naturally. If this happens, increase your airflow rather than your temperature to speed up the cycle.
Essential safety and storage
You must store dried herbs in airtight glass containers to maintain their quality. Exposure to light and air will cause the flavor to fade within weeks. Keep your jars in a cool, dark cupboard, away from the stove or windows.
If you see any condensation inside the jar after a few days, the herbs weren’t dry enough. If this happens, take them out and return them to the oven at its lowest setting for thirty minutes. Skipping this step leads to mold, which ruins the entire batch.
If you’re drying large batches, label the jars with the date. Dried herbs generally maintain their best flavor for about six months. After this time, the volatile oils evaporate, and the herbs become significantly less potent.
Test your herbs by crushing a small amount between your fingers. If the scent is faint or nonexistent, the herb has lost its culinary value. If you notice a musty or off-smelling odor when you open the jar, discard the herbs immediately, as this indicates spoilage.
When choosing storage, avoid plastic bags or containers. Glass is the only material that provides a true barrier against moisture and oxygen.
The decision rule is simple: if you plan to use the herb within a month, a pantry shelf is fine. If you want to keep them for the full six months, move them to the back of the cupboard where the temperature remains stable. Fluctuating temperatures near a stove cause internal sweating, which creates the very moisture you worked so hard to remove. Always prioritize a location that stays below 70 degrees Fahrenheit.
When to avoid the oven
If you’re dealing with very delicate herbs like basil, chives, or cilantro, the oven is the wrong tool. These plants have high water content and thin cell walls that collapse under heat. Even at the lowest setting, most ovens create localized hotspots that scorch the essential oils, turning your vibrant greens into flavorless, brown dust.
Use an air-drying method by hanging them in small bundles in a well-ventilated, dark room. The darkness is critical; direct sunlight causes chemical degradation, which strips the herb of its aromatic profile before you even store it.
If you live in a climate where the ambient humidity consistently exceeds 60 percent, air-drying invites mold growth. In this case, abandon the oven and use an electric food dehydrator instead. The dehydrator provides a consistent, low-heat airflow that the oven simply can’t match.
The decision rule is simple: if your oven’s lowest setting is above 115°F, it’s too hot for delicate foliage. If you have a large commercial quantity of herbs, don’t stack them in an oven. Instead, use a dedicated drying rack or a professional-grade dehydrator to ensure consistent airflow across all trays.
A common mistake is overcrowding the trays to save time. This traps moisture, creating a steam chamber that ruins the texture of the herbs. If you can’t see the mesh of the tray through the leaves, you’re overloading the unit. This oversight often costs you the entire batch, as damp, crowded leaves will rot rather than dry. Always prioritize surface area over speed to preserve the integrity of your harvest.
Frequently asked questions
Can I dry herbs in the oven with the fan on?
Yes, using the convection fan is the best way to dry herbs because it moves air across the leaves. This constant airflow removes moisture faster, which allows you to use a lower temperature. Start checking the herbs after 15 minutes, as the fan will significantly reduce the required time.
How long do herbs take to dry in the oven?
It usually takes between one to two hours, depending on the moisture content and your oven temperature. Because every oven is different, you must check the texture of the leaves every 15 minutes. They’re ready as soon as they feel brittle and crumble easily between your fingers.
Is it safe to leave the oven door propped open?
Yes, propping the door open with a wooden spoon is a standard way to vent humidity during the drying process. Ensure the spoon is made of wood or heat-resistant material and doesn’t block the oven controls. Keep children and pets away from the oven while the door is held open.
Why did my herbs turn black in the oven?
Your herbs turned black because the temperature was too high, which caused the plant cells to burn. Even if your oven is set to its lowest point, it might still be too hot for delicate plant material. If this happens, try the “pulse” method where you turn the oven off after 10 minutes.
Does oven drying destroy the flavor?
Yes, oven drying can reduce flavor if the temperature isn’t kept very low. High heat evaporates the essential oils that provide the herb’s aroma and taste. Keeping the temperature below 120°F is the best way to preserve as much flavor as possible during the process.
What happens if I overlap the herbs on the tray?
Overlapping the herbs prevents air from reaching the leaves, which causes them to steam instead of dry. This leads to uneven drying and significantly increases the risk of mold growth during storage. Always use enough trays to ensure every herb has its own space in a single layer.
Should I wash the herbs before drying them?
Yes, you should always rinse herbs to remove dust, insects, and garden soil. However, you must pat them completely dry with paper towels before placing them in the oven. If you put wet herbs directly into the oven, the drying time will be much longer and the quality will suffer.
Herbs oven, in short
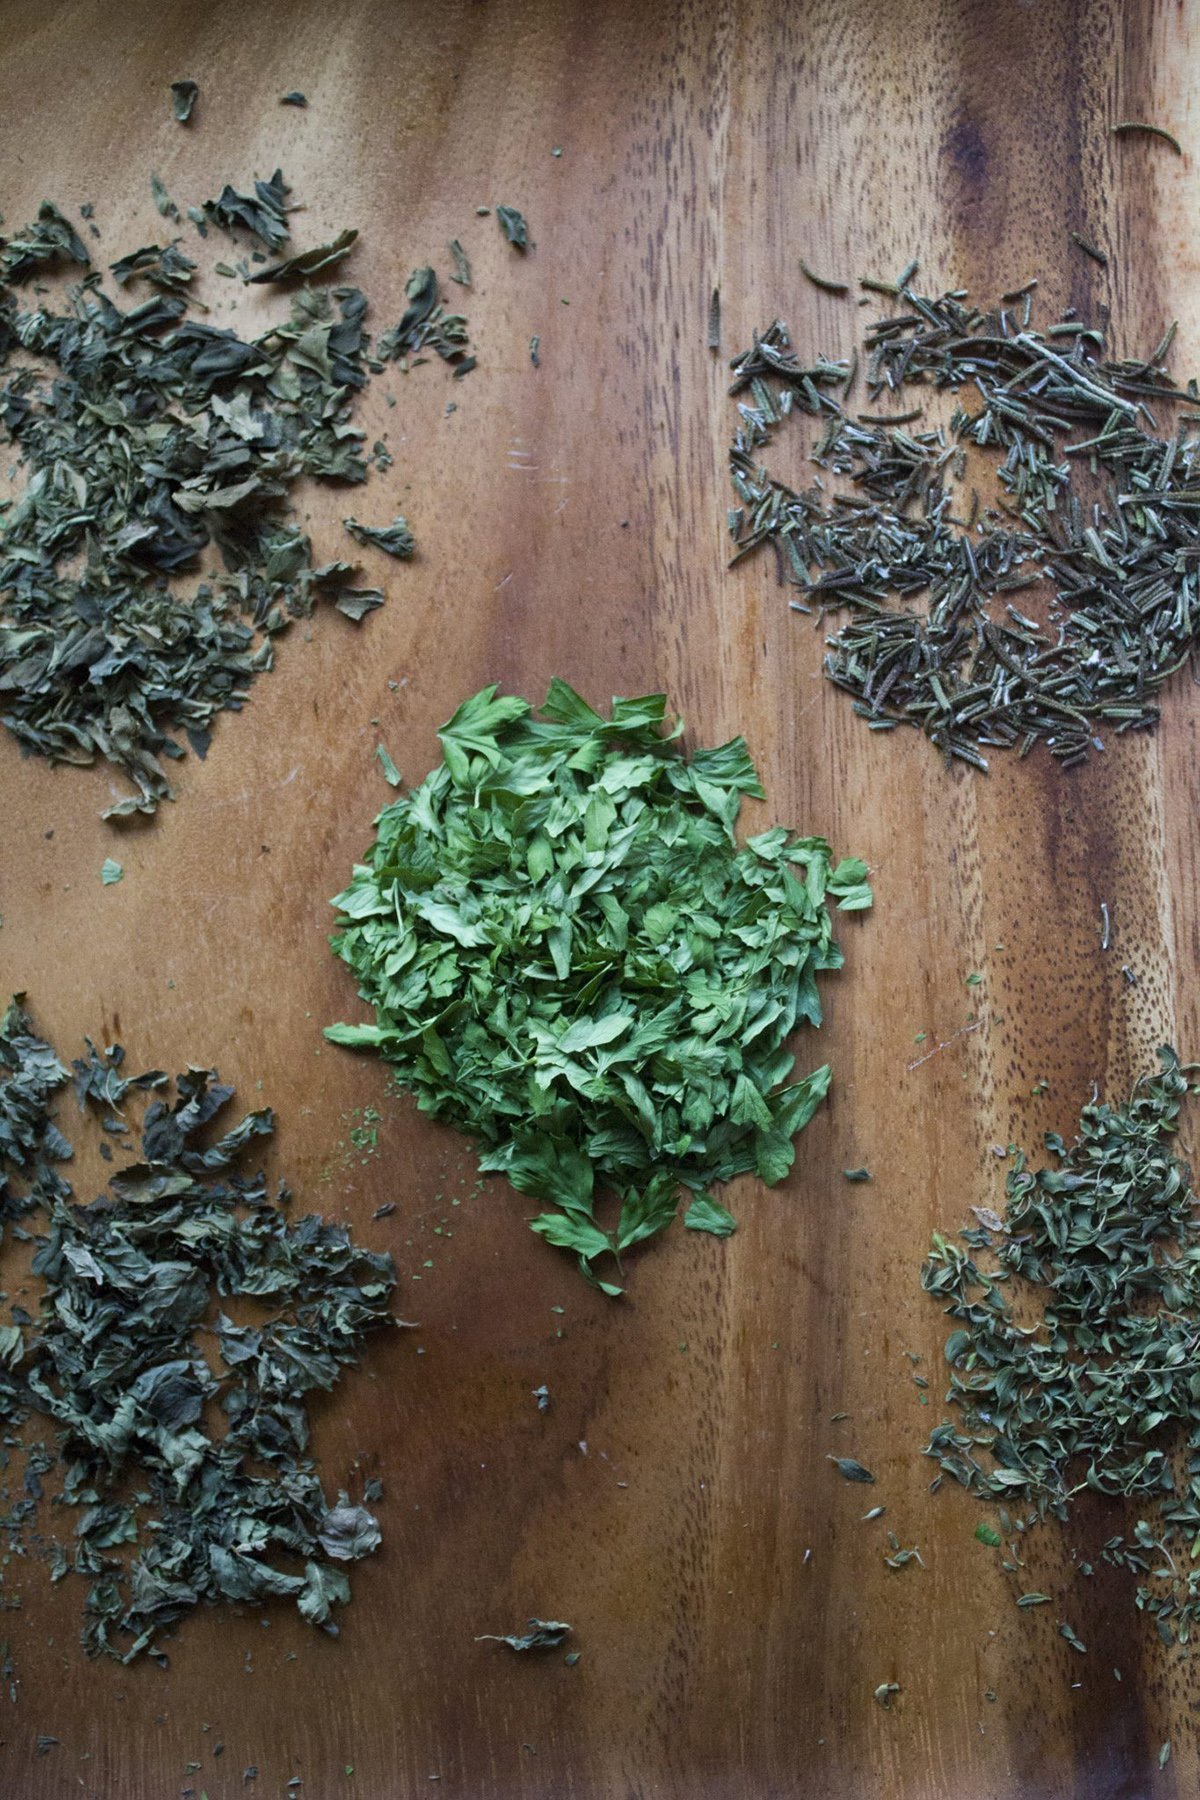
Place your dried herbs into clean glass jars and seal them tightly. If the herbs are fully brittle, they should stay fresh for up to six months in a dark pantry. If you notice any signs of moisture or a change in color after a few days, discard the batch to prevent potential spoilage.