
The Camp Chef Outdoor Oven is the best camping oven for outdoor cooking because it provides a reliable, controlled heat source that functions like a home stove. This unit delivers consistent temperature regulation through its two-burner stovetop and an insulated oven box, making it the top choice for those who need to bake, roast, or boil while off-grid.
Your choice depends on your fuel preference, the number of people you’re feeding, and how much weight you can haul to your campsite. This article helps you decide based on these practical limitations, focusing on performance rather than just brand names.
Selecting your camping oven for outdoor cooking
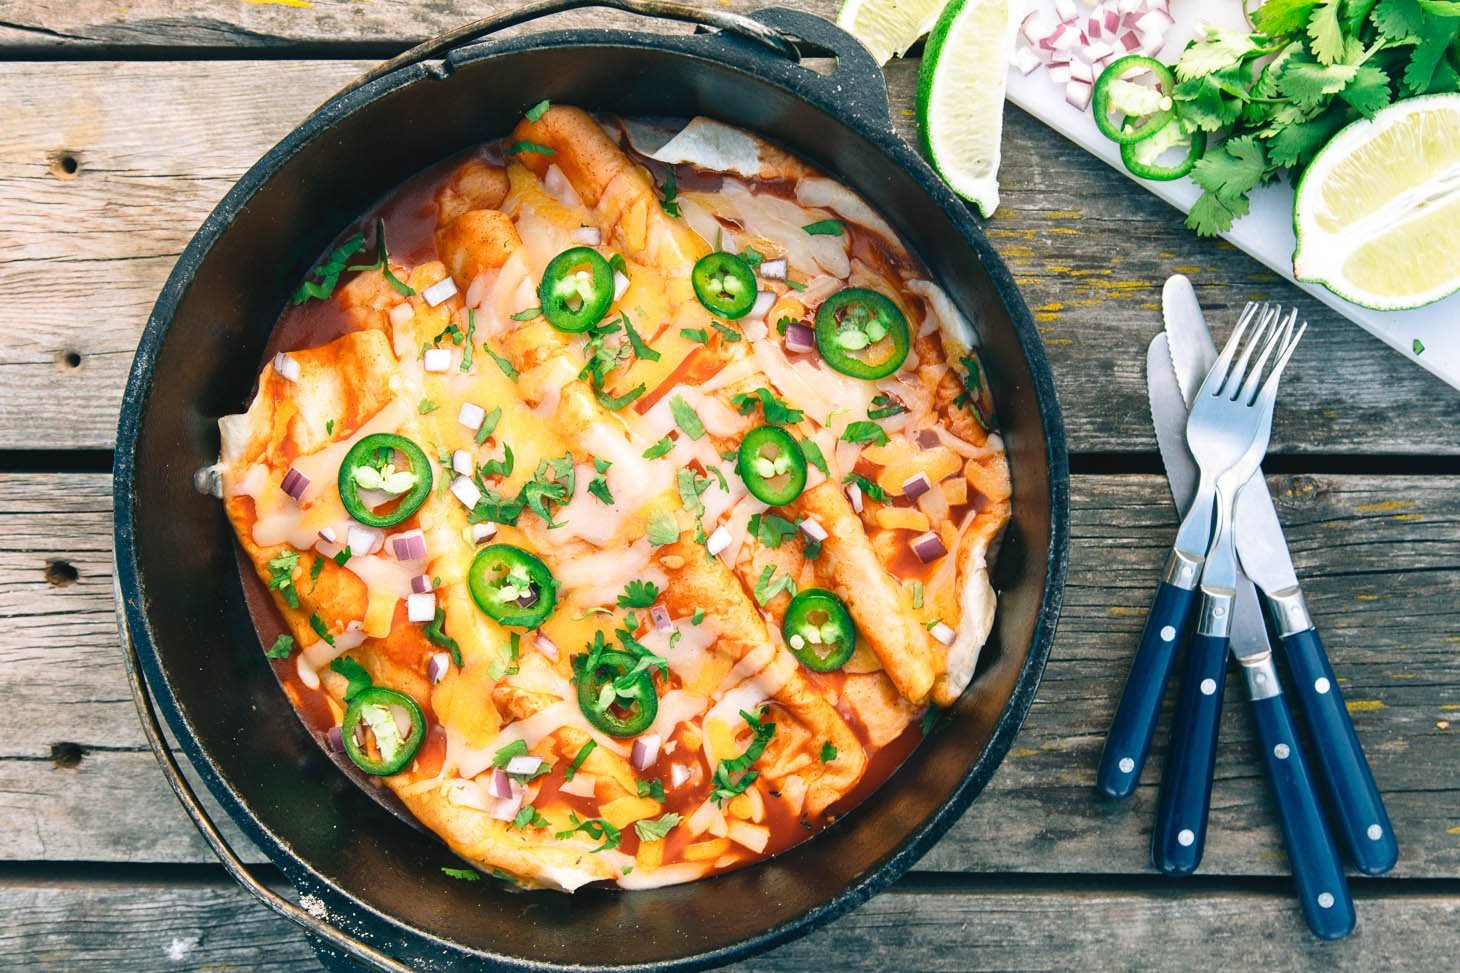
Selecting the right equipment comes down to matching the heat output and build quality to your specific trip style. A solo hiker needs portability, while a group of four or more requires the capacity to prepare full meals simultaneously.
Weight is the primary trade-off. If you’re backpacking, you can’t carry a heavy steel oven; you’ll need a lightweight folding stove or a titanium canister system. If you’re driving to a developed site, you can afford a heavier, high-performance unit with a built-in thermometer and dual burners.
The most common mistake is ignoring the fuel type. Liquid fuel stoves perform well in sub-zero temperatures, whereas propane canisters often lose pressure in extreme cold. If you plan to camp in winter, check the manufacturer’s manual for cold-weather compatibility before you commit to a model.
Use this decision rule: if you’re traveling above 8,000 feet or in temperatures below freezing, choose white gas. For three-season weekend trips, a standard isobutane canister stove saves you roughly two pounds of pack weight.
Always check the label for BTU ratings. A stove producing 10,000 BTUs per burner is sufficient for boiling water, but you need at least 15,000 BTUs if you intend to simmer complex meals or cook for a group. Ignoring these ratings often results in fuel waste or burnt food.
What decides the outcome
The heat capacity and insulation of the oven box determine whether you can bake bread or just reheat pre-cooked meals. A well-insulated box keeps the internal temperature stable when the wind picks up, which is vital for baking.
Fuel efficiency matters if you’re staying out for more than a weekend. A stove that burns through a 16-ounce propane canister in under two hours will force you to pack excessive weight. Always check the manufacturer’s technical specifications for the average burn rate per hour on high heat.
Wind resistance is the third factor.
The size of the cooking surface is the final variable. If you use oversized cast-iron pans, ensure the burner spacing accommodates them. Many smaller portable ovens crowd the burners, making it impossible to use two medium pots at once.
Setting up your equipment
- Place the oven on a level, fire-resistant surface at least 15 feet away from tents or dry brush.
- Connect the propane hose to the regulator, tightening it by hand until it’s snug but not overtightened.
- Open the valve on the propane tank slowly to allow the pressure to equalize before lighting.
- Turn the oven knob to the “light” position and use a long-reach lighter near the burner port.
- Watch for a steady blue flame; if it appears yellow or orange, turn it off and check for debris in the burner.
- Close the oven door and preheat for 10 minutes on the “medium” setting to ensure even heat distribution.
- Place your food inside, monitoring the internal temperature using a food-grade thermometer to ensure poultry reaches 165°F and ground meat reaches 160°F as specified in the safe minimum internal temperatures guide.
- When finished, turn off the burners first, then close the valve on the propane tank completely.
- Allow the unit to cool for at least 30 minutes before cleaning or storing it in its bag.
The judgement call here is the preheat time. If you don’t wait for the metal to heat through, the first batch of food will cook unevenly, often burning on the bottom while staying raw in the center.
Comparison of cooking methods
The following table summarizes the trade-offs between different outdoor heating methods based on typical usage patterns.
| Situation | Best Method | Effort Required | Watch For |
|---|---|---|---|
| Car camping | Propane oven | Low | Fuel levels |
| Backpacking | Folding stove | High | Wind stability |
| Group cooking | Large double burner | Medium | Weight limits |
| Quick meals | Single canister stove | Very low | Tip-over risk |
| Base camp | Dutch oven | High | Charcoal management |
Choose propane when you need consistent, adjustable heat for multi-course meals. It excels in base camps where weight is irrelevant, but always carry a backup canister. A single failure to check your fuel level before a trip can leave you eating cold rations for three days.
Backpackers prioritize the folding stove for its compact footprint. If you expect sustained winds above 15 miles per hour, use a dedicated windscreen. Without one, your boil time can triple, wasting precious fuel.
Group settings demand the double burner to manage multiple pots simultaneously. Never exceed the manufacturer’s weight limit, or the frame will warp under the pressure of heavy cast iron.
Finally, distinguish between “quick meals” and “cooking.” If you’re only boiling water for dehydrated pouches, the single canister stove is superior. However, if you attempt to simmer complex sauces on a high-output burner, you’ll likely scorch the bottom of your pot. Use the canister for speed and the Dutch oven for slow, even heat.
Performance and preparation
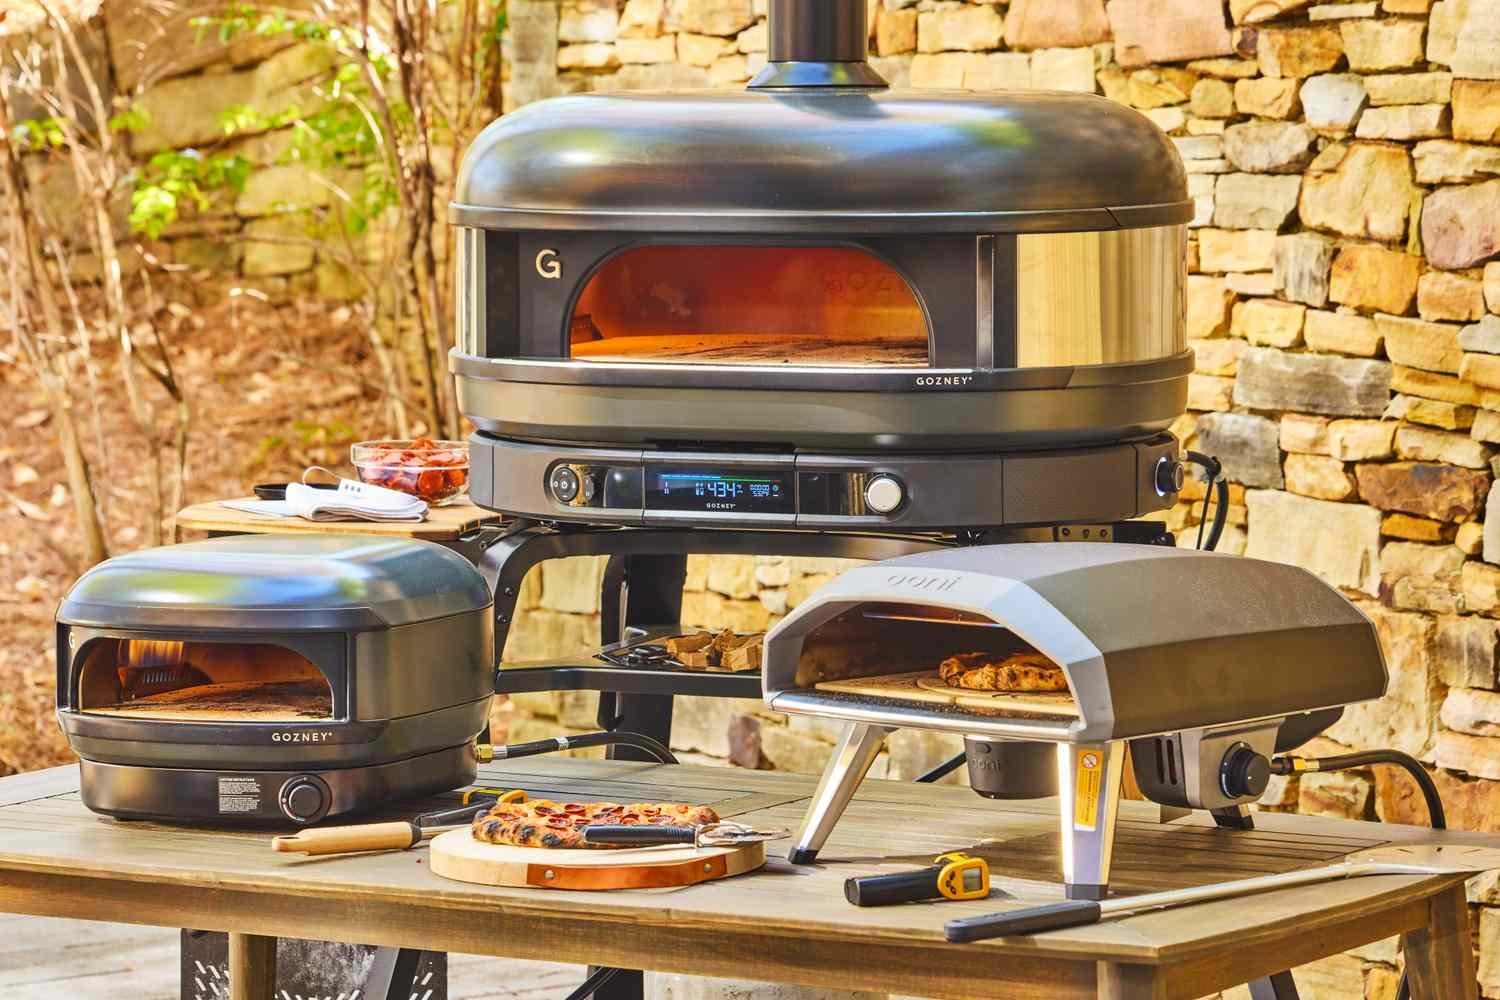
Mastering heat control
Experienced campers focus on managing the flame early. Since most portable ovens lack precise thermostats, you must learn to adjust the knob by feel and sight. Start with the lowest setting to prevent scorching, then increase it slowly. If you’re using a dutch oven, count your charcoal briquettes to control temperature, as adding too many will create an unmanageable hot spot.
Maintaining equipment safety
Regular cleaning prevents grease buildup, which is the leading cause of burner clogs. After every trip, wipe down the interior with a damp cloth and mild soap. Never use harsh abrasives on the non-stick coatings, as they will flake off into your food. Always store your unit in a dry, ventilated space to prevent rust on the steel components.
Troubleshooting common issues
| What you notice | What it means | What to do first | How to stop it |
|---|---|---|---|
| Flame is weak | Low fuel pressure | Check hose connection | Tighten all fittings |
| Soot on pots | Incomplete combustion | Clean the burner | Use proper fuel |
| Oven won’t light | Clogged nozzle | Brush the burner | Keep unit covered |
| Uneven baking | Hot spots | Rotate your pans | Use thicker pans |
| Clicking sound | Regulator issue | Reset the tank | Store upright |
If your flame remains yellow instead of blue, you’re dealing with a fuel-to-air ratio imbalance. A yellow flame indicates incomplete combustion, which deposits carbon on your cookware. You must clean the burner ports with a fine wire brush to restore airflow.
Many users assume a weak flame means the tank is empty. Before swapping the cylinder, check the excess flow valve. If you open the tank valve too quickly, the safety mechanism restricts pressure. Close the valve, wait thirty seconds for the pressure to equalize, then open it slowly.
Finally, avoid the common mistake of storing your propane tank on its side. This allows liquid propane to enter the regulator, which ruins the diaphragm and causes erratic pressure. Always keep the tank upright and secured with a strap to prevent accidental tipping.
Rules for safe operation
Outdoor cooking equipment must meet specific safety standards to prevent fire and carbon monoxide hazards. In the United States, look for appliances that carry the ANSI certification marks, which indicate the unit has been tested for safety and performance. These standards are critical because they dictate the quality of the pressure regulators and the stability of the frame.
If you’re camping on public lands, check the local agency’s website for fire restrictions. The Bureau of Land Management often prohibits the use of open-flame devices during high-risk fire seasons. Never ignore these bans, as they’re based on current environmental conditions and regional drought levels.
If your equipment leaks or the flame control is erratic, contact the manufacturer for a repair center recommendation or replace the unit.
Managing your resources
The true cost of outdoor cooking isn’t just the price of the oven; it’s the weight you carry and the fuel you consume. A high-end oven might be a significant investment, but it saves you money over time by allowing you to cook fresh ingredients instead of relying on expensive, pre-packaged freeze-dried meals.
Time is your most valuable resource in the backcountry. A unit that heats up quickly and cleans easily gives you more hours for hiking or relaxing. If you choose a system that requires a long setup time, you’ll find yourself cooking less often. Compare the weight of the oven against your pack capacity; if it adds significant weight to your total load, ensure the benefit of hot, oven-baked meals justifies the physical strain. Always check current retail prices on the manufacturer’s website to account for seasonal changes and accessory bundles.
Keeping your gear in shape
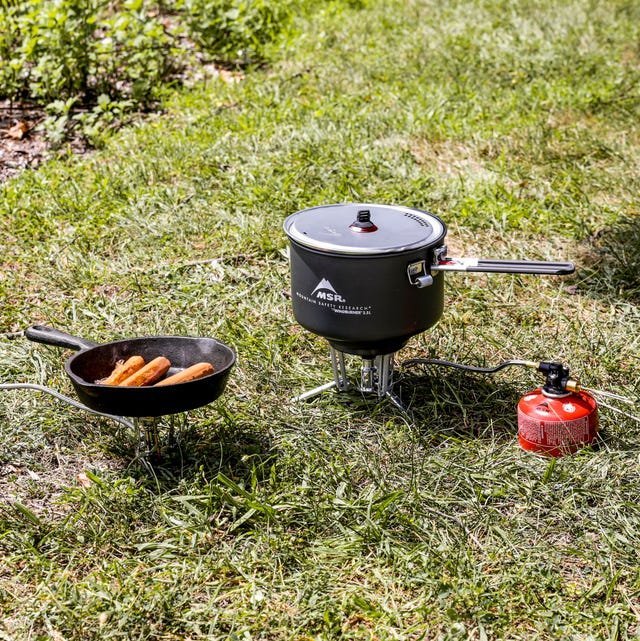
To keep your oven working for years, you must protect it from moisture and debris. Store the unit in a heavy-duty, weather-resistant bag when not in use. If you notice rust spots on the steel, sand them down lightly and apply a thin coat of high-temperature paint to prevent further corrosion.
The primary sign that your oven needs attention is a change in the flame color or a hissing sound near the connection points. If you smell gas, turn off the fuel source immediately, disconnect the canister if safe to do so, and move to a well-ventilated area.
Regularly inspect the rubber O-rings on your fuel lines. If they look cracked or brittle, replace them before your next trip. A common mistake is over-tightening these connections, which crushes the rubber and causes the very leaks you’re trying to prevent. Tighten them only until you feel firm resistance.
Always refer to your specific model’s manual for the exact service interval, as some require inspection of the burner assembly. If you use your oven frequently, perform a deep cleaning of the gas ports regularly. Use a thin wire to clear any carbon buildup that could cause uneven heating.
Clearing these obstructions restores efficiency and prevents the soot buildup that eventually ruins the finish.
When to avoid this approach
If your trip involves fast-paced, high-mileage trekking, carrying a dedicated oven is the wrong approach. The weight will slow you down, and the setup time will eat into your daylight hours. Instead, use a lightweight, single-burner canister stove that fits inside your pot.
If you’re camping in a region with strict fire bans, check if your specific stove model is exempt. Many areas only allow stoves that have an on/off valve. If your gear doesn’t meet these requirements, you’ll be forced to eat cold food or use a small, battery-operated heating element. In these cases, it’s safer and legal to leave the heavy oven at home and opt for a simple, compliant cooking system. Never try to bypass fire regulations by hiding your stove; the fines are substantial and the risk to the environment is permanent.
Is it safe to use a camping oven inside a tent?
No, it’s never safe to use any gas-burning appliance inside a tent. Burning fuel produces carbon monoxide, an odorless and colorless gas that can reach fatal levels in confined, poorly ventilated spaces within minutes. Always use your stove in an open area with plenty of airflow.
How long does a standard propane canister last?
A standard 16-ounce propane canister typically lasts between two to four hours of continuous cooking on medium heat. This varies depending on the ambient temperature and the wind exposure at your campsite. Always carry an extra canister if you plan to cook for more than two people.
Can I bake bread in a camping oven?
Yes, you can bake bread if your oven has a thermometer and a way to hold a steady temperature. You’ll need to preheat the box for 10 to 15 minutes and keep the door closed to prevent heat loss. Monitor the bread closely, as camp ovens often have hot spots.
Why does my flame turn yellow?
A yellow flame usually indicates that the burner isn’t getting enough oxygen or is clogged with debris. Check the air intake ports for spider webs or dust, and ensure your fuel supply is clean. If the flame remains yellow after cleaning, stop using the stove and contact the manufacturer.
What is the best way to clean a camping oven?
Use a damp cloth and mild dish soap to wipe down the interior once the unit is completely cool. Avoid using steel wool or harsh chemicals, as these will damage the heat-resistant coating. Ensure the oven is bone dry before packing it away to prevent rust from forming during storage.
Does the altitude affect how my camping oven works?
Yes, higher altitudes reduce the amount of oxygen available, which can cause your stove to burn less efficiently. You may notice a weaker flame or slower cooking times as you go higher. Adjust your cooking expectations and allow for extra time when preparing meals at elevations above 5,000 feet.
Is it necessary to use a wind guard?
Yes, using a wind guard significantly improves the efficiency of your stove by preventing heat loss. Without one, you’ll use more fuel to reach the same cooking temperature, especially on breezy days. Many modern camping ovens come with built-in wind guards, but a simple foil screen can also work in a pinch.
Start by checking your current fuel supply and the weather forecast for your destination. If you have enough fuel and a stable, flat area, you can expect a reliable, hot meal within 20 minutes of lighting your stove. If the burner fails to ignite or you smell gas, stop immediately and seek assistance from a qualified outdoor equipment technician.