
Cooking a ham in an infrared oven at 325°F for 15 to 20 minutes per pound produces a moist, evenly browned result. These units use halogen light and infrared energy to crisp the exterior while the interior reaches a safe temperature. Because they heat differently than traditional ovens, monitoring the internal temperature is the most reliable way to ensure the meat is ready without drying out.
How infrared oven cooking works
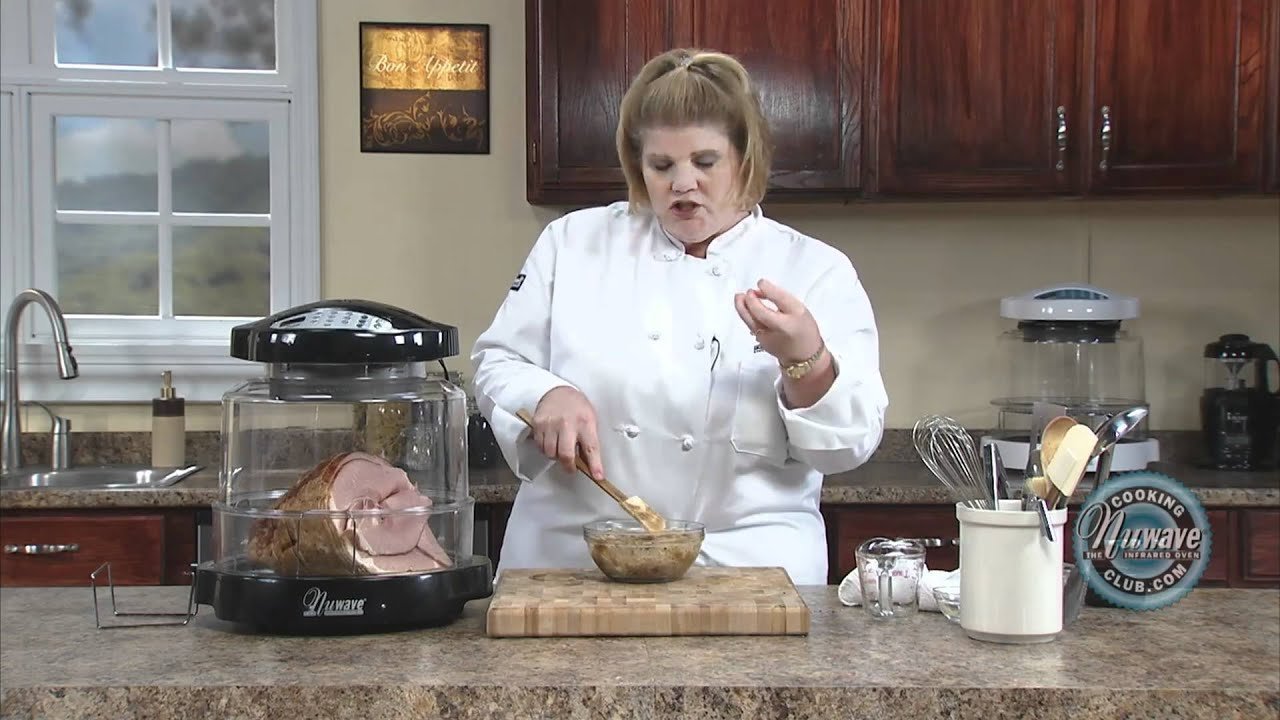
Infrared ovens work by emitting light waves that transfer energy directly to the surface of the food. Unlike standard convection ovens that rely on circulating hot air, the infrared waves create intense heat on the outer layer of the ham almost immediately. This is ideal for those who want a faster cooking time and a distinct texture on the surface of the meat.
These ovens are typically smaller than conventional wall ovens, making them perfect for compact kitchens or countertop use. However, they aren’t ideal for very large, whole hams that exceed the physical capacity of the cooking chamber. If the ham touches the glass or the heating element, it will char or burn before the inside is cooked. The key misconception many people bring to this process is the idea that infrared radiation will cook the center of a dense piece of meat as quickly as the edges. In reality, the center still relies on heat conduction from the surface. Always check the manufacturer’s manual for your specific model to understand its wattage limits, as this varies by model — check the label to see if your oven requires a lower heat setting for larger items.
Cooking a Ham in an Infrared Oven: Prep and Heat
- Preheat your infrared oven to 325°F. If your specific model has a “high” or “low” setting rather than exact degrees, choose the lower setting to prevent the outside from burning before the center is ready.
- Place the ham on the rack provided with the unit. Ensure the ham is centered and doesn’t touch the glass sides or the heating element at the top.
- Insert a digital meat thermometer into the thickest part of the ham, making sure it doesn’t touch the bone, as the bone conducts heat differently and will give you a false, high reading.
- Cook the ham until the thermometer reaches a safe internal temperature of 145°F for whole cuts, according to the FoodSafety.gov safe minimum internal temperatures.
- If the surface begins to darken too quickly, loosely tent the ham with a piece of aluminum foil for the remainder of the cooking time.
- Remove the ham from the oven and let it rest for 15 to 20 minutes before carving.
The judgement call that separates a good result from a bad one is the decision to remove the ham from the heat once it hits 145°F. Because the surface is exposed to direct infrared energy, the residual heat will continue to raise the internal temperature by a few degrees after you pull it out. If you wait until it hits 145°F while inside the oven, the final result may be overcooked.
Essential Settings and Timing
The times provided below assume a standard 1,200-watt infrared countertop oven. If your unit has a lower wattage, increase the time by 10 to 15 percent. If you’re using a higher-wattage commercial unit, start checking for doneness 10 minutes earlier than the suggested range.
| Situation | What to use | How long | What to watch for |
|---|---|---|---|
| Half ham (bone-in) | Low rack | 18–22 min/lb | Surface browning |
| Whole ham (spiral) | Low rack | 12–15 min/lb | Drying of edges |
| Boneless ham | Low rack | 15–18 min/lb | Internal temp |
| Glazed ham | Foil tent | Last 15 mins | Sugar burning |
| Reheating slices | Mid rack | 5–8 mins total | Moisture loss |
Many people make the mistake of relying solely on the clock rather than the internal temperature. Always aim for a final internal reading of 140°F. If you pull the meat at 130°F, the residual heat will carry it to the safe zone without drying out the protein.
Use the low rack position for any cut weighing over five pounds. This distance from the heating element prevents the exterior from scorching before the center reaches a safe temperature. If you notice the edges curling or turning dark brown prematurely, tent the meat loosely with heavy-duty aluminum foil.
For glazed hams, the timing rule changes based on the sugar content of your recipe. If your glaze contains high amounts of honey or maple syrup, apply it only during the final 15 minutes of the cook. Any longer, and the sugars will caramelize into bitter carbon.
If you’re reheating individual slices, place them on the middle rack with a tablespoon of water in the bottom of the pan. This creates a humid environment that prevents the meat from turning into jerky. If the slices are thicker than one inch, cover the pan tightly to trap the steam.
Distinguish between a fresh ham and a city ham by checking the packaging. City hams are already cured and cooked, meaning you’re simply warming them. Fresh hams are raw and require a longer, slower process to ensure the collagen breaks down fully. If the meat feels firm to the touch, it likely needs another 20 minutes of rest under foil.
Achieving Consistent Results
Experienced cooks focus on the positioning of the meat. Because infrared ovens create a directional heat source, the side of the ham facing the heating element will always cook faster. If your oven doesn’t have a rotating rack, you must manually turn the ham halfway through the cooking time to ensure even browning. If you forget this step, one side will be perfectly caramelized while the other remains pale or cool.
To calibrate your timing, use the rule of thirds. Divide your total estimated cook time by two, then rotate the meat 180 degrees. If you’re using a probe thermometer, place the sensor in the thickest part of the muscle, avoiding the bone. The bone can create a localized temperature variance, which may lead to an inaccurate reading if the probe is touching it.
Another detail is the use of glazes. Many people apply a sugar-based glaze at the very beginning of the process. This is a mistake, as the high intensity of the infrared light will cause the sugar to burn and turn bitter within minutes. The cost of this error is a scorched, acrid exterior that masks the flavor of the meat. Instead, wait until the ham has reached an internal temperature of 130°F before brushing on your glaze. This allows the glaze to set and caramelize during the final 15 minutes of cooking without turning into carbon.
If your glaze contains honey or maple syrup, apply it in two thin layers rather than one thick coat. A single heavy application often bubbles and slides off the surface before it can set.
Finally, always keep the cooking chamber clean. Splattered grease on the heating element or the glass will absorb the infrared energy. This creates localized hot spots and causes smoke, which potentially damages the internal sensors of the unit. If you see smoke, stop the cycle immediately to wipe the element. A clean reflector plate ensures the heat reflects evenly across the entire surface of the ham.
Troubleshooting Common Issues
| What you notice | What it usually means | What to do first |
|---|---|---|
| Smoke in the kitchen | Grease on the element | Turn off and cool |
| Outside burnt, inside cold | Temperature too high | Lower heat; use foil |
| Uneven cooking | Poor placement | Rotate the ham |
| Dried out meat | Overcooked | Check temp early |
If you see smoke, don’t simply open a window. Grease fires are common when drippings hit a heating element. If the smoke is thick or black, shut off the power immediately and leave the door closed to starve the fire of oxygen. Only wipe the element once it’s completely cool to the touch.
When the exterior chars while the center remains raw, you’re likely using a convection setting that’s too aggressive. Lower the temperature by 25 degrees Fahrenheit and tent the top with aluminum foil. This creates a barrier that slows surface browning while allowing the internal heat to migrate inward.
Uneven cooking often stems from placing the meat too close to the heat source. If your oven has multiple racks, move the ham to the center position to ensure balanced airflow. If you notice one side browning faster, rotate the pan 180 degrees halfway through the cooking time.
Dry meat is the result of missing the target internal temperature. Most people rely on a timer, but ovens vary significantly in calibration. Invest in a digital probe thermometer to track the progress in real time. Pull the ham from the oven when the thickest part reaches 140 degrees Fahrenheit. The temperature will rise another five degrees during the resting period.
If you’re dealing with a spiral-cut ham, the risk of drying out increases because the slices are already exposed. In this case, add a half-cup of liquid, such as apple juice or cider, to the bottom of the pan. Cover the pan tightly with foil to trap the steam, which prevents moisture loss during the final hour.
Rules for Safe Operation
Safety is paramount when using high-intensity heating equipment. Always ensure the oven is placed on a heat-resistant surface with at least six inches of clearance on all sides to allow for proper airflow, as recommended by the Consumer Product Safety Commission guidelines for countertop appliances.
Many users mistakenly place these units under low-hanging cabinets to save counter space. This traps heat, which can warp laminate surfaces or trigger thermal fuses, permanently disabling the unit. If your cabinet clearance is less than twelve inches, you must move the unit to an open island or a dedicated heat-safe cart.
Never attempt to clean the infrared bulbs or the heating element while the unit is plugged in or hot. Residual heat can cause severe contact burns, while moisture from cleaning agents can short-circuit the ceramic bulb housing. Use only a dry, microfiber cloth once the unit has cooled for at least forty-five minutes.
If you notice an unusual smell or see sparks coming from the heating element, unplug the device immediately and contact the manufacturer’s authorized service center. A sharp, acrid odor often indicates that food debris has carbonized on the element, which can lead to a grease fire. If the smell persists after a thorough cleaning, the internal wiring insulation is likely failing.
Never attempt to repair the internal electronics yourself. A capacitor can hold a lethal charge even when the unit is unplugged. Attempting to bypass a blown thermal fuse is a common error that removes the oven’s only protection against runaway heating, turning the appliance into a fire hazard.
If you’re uncertain about the electrical safety of your specific model, refer to the manual or the manufacturer’s website for guidance on maintenance and repair. If the power cord shows any fraying or exposed copper, the unit must be retired immediately. Don’t attempt to use electrical tape for a patch, as the high-wattage draw will melt the adhesive and cause a secondary short.
Maintenance After Cooking
Once you have finished, allow the oven to cool completely before cleaning. Use a damp cloth to wipe down the interior walls, but avoid using abrasive scrubbers that could scratch the reflective surfaces, as these surfaces are essential for bouncing the infrared waves onto the meat.
If you notice a buildup of grease on the glass, use a mild degreaser specifically approved by the manufacturer for your model. Never spray cleaning agents directly into the heating element housing, as liquid seepage can trigger a short circuit or corrode the internal wiring. Instead, apply the cleaner to your cloth first, then wipe the glass.
Store the oven in a dry place to prevent moisture from affecting the electrical components. This simple step prevents the oxidation of metal contacts that leads to intermittent heating failures.
If you don’t plan to use the oven for a long period, cover it to keep dust off the heating elements. Dust can burn off and create an acrid odor the next time you turn it on. If you smell burning during your first preheat after storage, don’t panic; it’s likely just settling dust. However, if the smell persists for more than three minutes, shut the unit down immediately. This indicates that a foreign object, such as a stray piece of food or a fiber from a cleaning rag, has lodged itself against the heating element.
The decision rule for deep cleaning is simple: if the interior reflects light clearly, wipe it down. If the surface looks dull or clouded by carbonized fats, use a manufacturer-approved degreaser. Always prioritize the integrity of the reflective walls over a deep scrub.
When to Avoid This Method
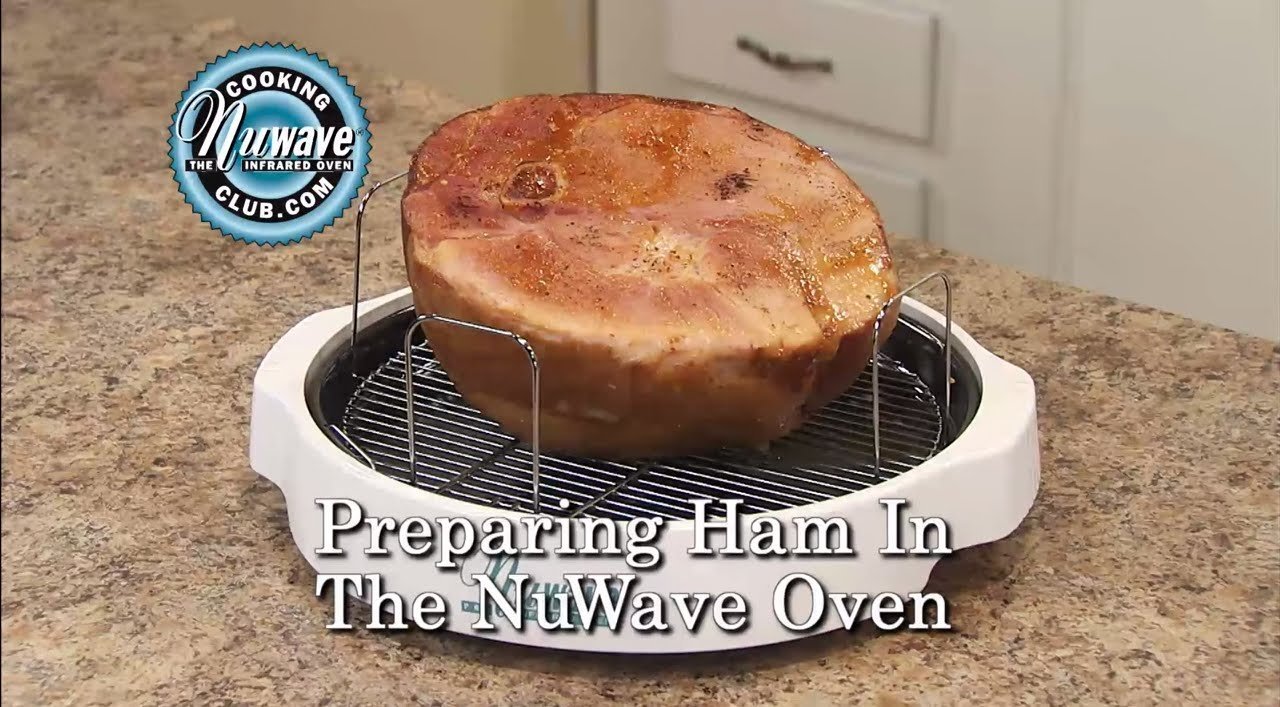
This approach isn’t the right choice for hams that are larger than the oven’s specified cooking capacity. If the meat is too close to the heating source, you won’t be able to achieve an even cook, and the risk of the exterior burning is extremely high. In this case, a standard convection or conventional oven is a safer bet. Additionally, if you’re cooking a very lean piece of meat, the high-intensity light may dry it out too quickly. For very lean cuts, use a traditional oven at a lower temperature with added moisture in the pan to maintain the texture you want.
Can I use a metal pan in an infrared oven?
Yes, you can use metal pans, but they must be low-sided to allow the infrared waves to reach the sides of the ham. High-sided pans will block the light waves and create a “shielding” effect that results in uneven cooking.
How do I know if the ham is done?
The only reliable way to know if the ham is done is to use a calibrated digital thermometer to check that the internal temperature has reached 145°F. Never rely on the color of the meat or the cooking time alone.
Why is my ham browning too fast?
The ham is likely too close to the heating element or the temperature is set too high for the size of the meat. Lower the rack position or reduce the heat setting, and cover the top loosely with foil.
Is it safe to leave the oven unattended?
No, you should never leave an infrared oven unattended while it’s in operation. The intensity of the heat can cause the surface of the food to burn quickly, especially when using glazes that contain sugar or honey.
What should I do if the power goes out?
If the power goes out, check the internal temperature; if it hasn’t reached a safe temperature, move the ham to a conventional oven immediately to finish cooking.
Cooking ham, in short
Once you’ve let the meat rest for twenty minutes, you’ll find the juices have redistributed perfectly. Slice it thinly and serve it alongside your favorite seasonal sides. You’ll be surprised how much better it tastes than the usual store-bought version. Don’t forget to save the bone for a hearty soup later this week.