
Finding a puddle under your kitchen appliance is frustrating, and discovering your coffee maker leaking from the bottom often signals that it’s time for a thorough inspection. While this issue can stem from simple maintenance oversights or aging components, it’s usually manageable with a few basic tools and a bit of patience. Before you consider replacing the entire unit, it’s helpful to understand the common failure points that cause water to pool on your countertop.
Key Takeaways
- Check the water reservoir and its valve assembly for cracks or loose seals.
- Inspect internal hoses for mineral buildup, hardening, or accidental pinhole punctures.
- Verify that your carafe isn’t overfilled, as excess water often overflows through internal vents.
- Perform a thorough descaling process to clear blockages that force water out of unintended exit points.
- Ensure the machine is on a level surface to prevent uneven drainage or internal pooling.
Why Is My Machine Leaking?
A coffee machine is essentially a network of tubes, heating elements, and seals designed to move water from a reservoir to a filter basket. When you notice a coffee maker leaking from the bottom, it typically means one of these pathways has been compromised.
The most frequent culprit is a failing seal or gasket that has dried out over time, especially in machines that see daily heavy use. Another common cause is a cracked water reservoir, which might be difficult to spot without close inspection.
Mineral deposits are the silent enemy of any coffee maker. If you live in an area with “hard” water, calcium and magnesium can accumulate inside the internal tubing. This buildup creates pressure, which can cause hoses to detach or rupture, leading to leaks that appear at the base of the machine. According to the United States Environmental Protection Agency, high levels of mineral content in water supplies can accelerate the degradation of plumbing components in household appliances, making regular maintenance essential for longevity.
Inspecting Your Coffee Maker For Leaks From The Bottom
The reservoir is often the first place to look. If the seal where the reservoir connects to the machine base has failed, water will seep out slowly and collect underneath. Remove the reservoir and check the O-ring or silicone washer at the bottom. If it appears flattened, cracked, or brittle, it’s likely the source of your leak.
- Seal integrity: Look for gaps between the rubber gasket and the plastic housing.
- Plastic cracks: Examine the reservoir body for fine, spiderweb-like cracks that might only leak under the weight of a full tank.
- Valve failure: Press the spring-loaded valve at the bottom of the tank with a pen; it should spring back immediately and sit flush against the base.
Are Internal Hoses Disconnected?
If the reservoir is intact, the issue may be internal. Over time, the constant heating and cooling cycles can cause the plastic or silicone tubing inside the machine to harden and lose its grip on the nozzles. When a hose slips off a fitting, water will spill directly onto the floor of the machine casing, eventually finding its way out through the vents or seams at the bottom.
Warning: Always unplug your coffee maker from the wall outlet before removing the outer casing to inspect internal components, as residual heat and electricity pose significant safety risks.
Addressing Mineral Buildup Issues
Scale buildup acts as a physical barrier that restricts water flow. When the water can’t move through the designated channels, it searches for the path of least resistance. This often results in backflow or pressure spikes that force water past seals that would otherwise hold tight. Regular descaling is the primary defense against this type of failure.
| Method | Frequency | Expected Result |
|---|---|---|
| Vinegar Solution | Monthly | Clears calcium buildup |
| Citric Acid Flush | Quarterly | Removes stubborn lime scale |
| Professional Descaler | As needed | Protects sensitive heating elements |
Should You Replace The Gasket?
If you have identified a specific seal or gasket as the source of the leak, you’re in luck. These are usually inexpensive components. Many manufacturers sell repair kits that include the necessary O-rings and washers.
Replacing a seal is often a matter of sliding the old one off and rolling the new one into the groove. If you can’t find a direct replacement, you may be able to match the size at a local hardware store, provided the material is food-grade and heat-resistant.
Managing Overflow And Spillage
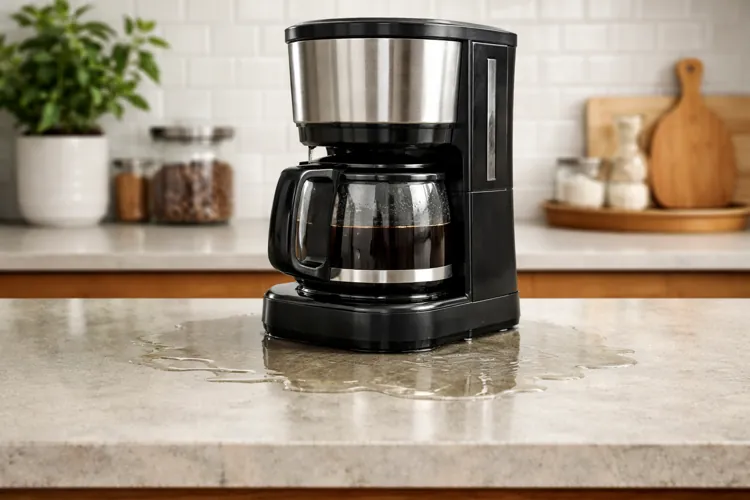
Sometimes, the leak isn’t a mechanical failure at all. If you overfill the water reservoir, the excess liquid may trigger an overflow valve designed to prevent electrical shorts. Similarly, if the carafe isn’t seated properly on the warming plate, the basket may fail to drain correctly. When the filter basket overflows, water cascades down the sides of the machine and gathers at the base, creating the illusion of a bottom-side leak.
Pro Tip: Always place a dry paper towel under your coffee maker for one full brew cycle; the pattern of the dampness on the towel can help you pinpoint exactly where the water is exiting the chassis.
Tools Required For Repairs
To perform a basic repair, you won’t need an expensive toolkit. Most machines are held together by standard Phillips-head or Torx screws. Having a few specific items on hand will make the process much smoother:
- Precision Screwdrivers: Essential for accessing recessed screws in the housing.
- Needle-Nose Pliers: Useful for reattaching hoses that have slipped off their fittings.
- Food-Grade Silicone Grease: Helps lubricate new O-rings to ensure a watertight fit.
- Flashlight: Necessary for seeing deep into the dark corners of the machine’s interior.
Troubleshooting The Heating Element
If your coffee maker is leaking and also failing to heat the water properly, the issue might be the heating element seal. As the heating element expands and contracts, the connection point between the boiler and the delivery tube can loosen.
This is a more complex repair than replacing a simple O-ring and often requires a steady hand. If you notice white, crusty deposits around the heating element, that’s a clear sign that water has been leaking there for some time.
How To Prevent Future Leaks
Maintenance is the best way to avoid a repeat performance. By adopting a routine, you can extend the life of your appliance by several years.
- Descale regularly: Use a solution of water and white vinegar or a dedicated descaling product every 30 to 60 days.
- Clean the carafe plate: Wipe away any coffee spills immediately to prevent acidic residue from eating away at the plastic base.
- Check the filter basket: Ensure it’s free of debris that could cause an overflow.
- Monitor the reservoir: Never force the reservoir into place, as this can crack the plastic or damage the valve.
Repair Versus Replacement Costs
Before you take a screwdriver to your machine, weigh the cost of repair against the price of a new unit. If the machine is under warranty, don’t open it, as this will void your coverage. Contact the manufacturer instead.
| Action Type | Estimated Cost Range | Difficulty Level |
|---|---|---|
| Simple O-ring replacement | $5.00 – $15.00 | Easy |
| Replacing internal hoses | $10.00 – $25.00 | Moderate |
| Replacing heating assembly | $30.00 – $60.00 | Difficult |
| Purchasing new machine | $40.00 – $250.00 | N/A |
Dealing With Electrical Hazards
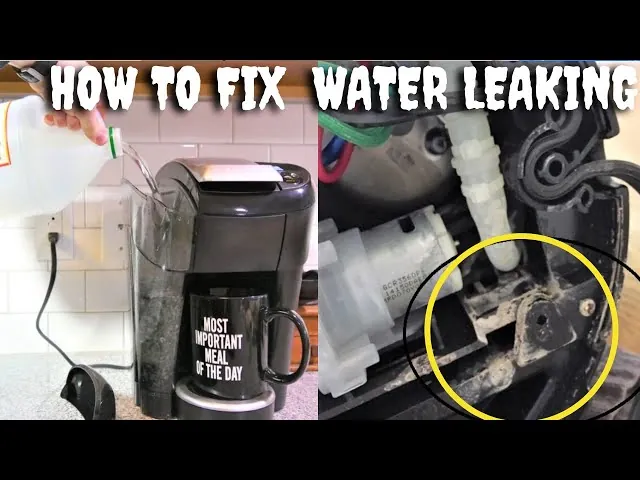
Whenever you deal with water and electronics, caution is paramount. If you see water leaking near the power cord or the control panel, stop using the machine immediately. Water that enters the internal electronics can cause short circuits, which may lead to permanent damage or fire hazards. If the interior of the machine is heavily corroded, it’s usually safer to recycle the unit rather than attempt a repair.
Related guides
Frequently Asked Questions
Is it safe to use a leaking coffee maker?
No, it isn’t safe. A leaking coffee maker poses a significant risk of electrical shock and potential fire if water makes contact with internal circuitry. Furthermore, a leak indicates that the internal pressure or seal integrity is compromised, which can lead to further damage to your countertop or the machine itself. Always unplug the device and resolve the leak before attempting to brew coffee again.
Can I fix a cracked water tank?
While you might be tempted to use waterproof glue or epoxy to seal a crack in the reservoir, this is generally not recommended. Most adhesives aren’t food-safe and may leach chemicals into your coffee when heated. It’s much safer and more reliable to purchase a replacement reservoir from the manufacturer. If a replacement is unavailable, replacing the machine is the only safe option.
How do I know if the leak is just condensation?
Condensation can occur if you use very cold water in a warm room or if the machine is positioned near a steam source. However, condensation will typically manifest as light moisture or small droplets rather than a puddle. If you see a consistent pool of water every time you brew, it’s a mechanical leak, not condensation. Wipe the machine dry and observe it closely during the next cycle.
Why does my coffee maker leak only when brewing?
This usually indicates a problem with the pressurized parts of the machine, such as the pump, the boiler, or the internal tubing leading to the brew head. When the machine is idle, there’s no pressure forcing water through the system. Once the pump activates and the water heats up, the pressure forces liquid out of any loose connections or compromised seals that don’t leak while the machine is at rest.
Does descaling cause leaks?
Descaling itself doesn’t cause leaks, but it can reveal them. If you have a significant amount of mineral buildup, that scale might actually be acting as a “plug” for a small hole in a hose or a worn-out seal. Once the descaling solution dissolves the mineral deposits, the path for the water is suddenly opened, and the leak becomes apparent. In this case, the leak was already present; the descaling just exposed it.
Conclusion
If your machine is still under warranty, contact the manufacturer’s customer support department to request a repair or a replacement unit before attempting any DIY fixes. If the warranty has expired and the repair steps outlined above don’t resolve the issue, consider upgrading to a newer model to ensure your home remains safe from water damage and electrical hazards.
